Operation "Can't hear shit" *Pics*

MarkIII4Me

Project OVERKILL!!!
Apr 10, 2005
1,249
2
38
Charleston, SC
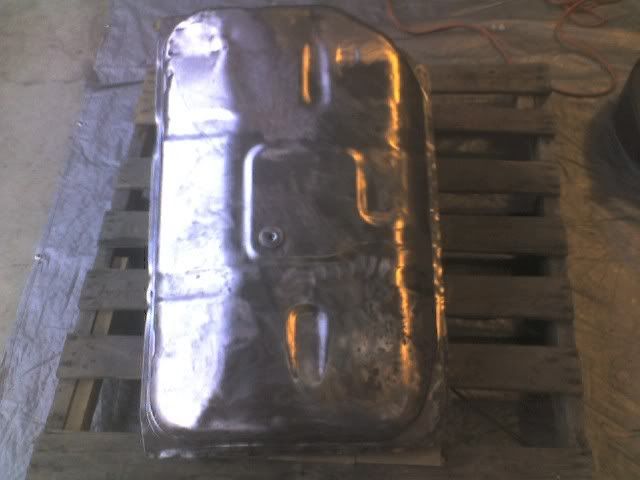
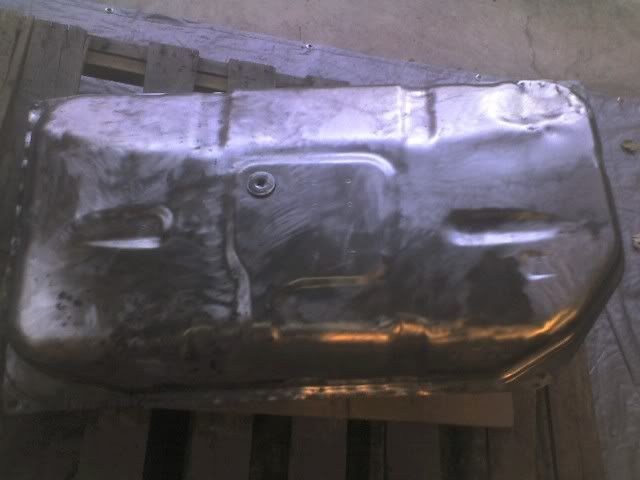
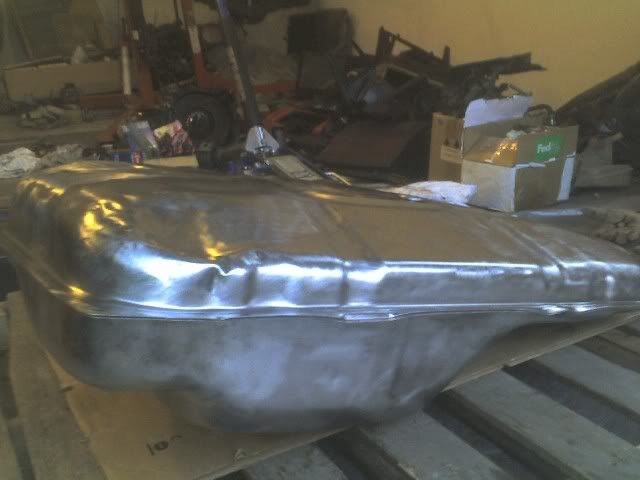
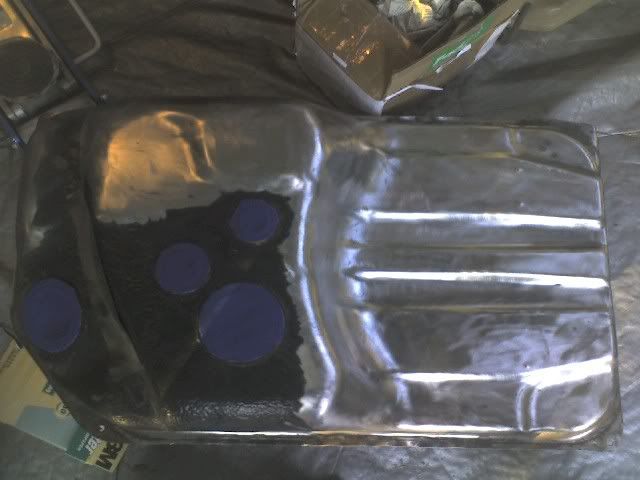
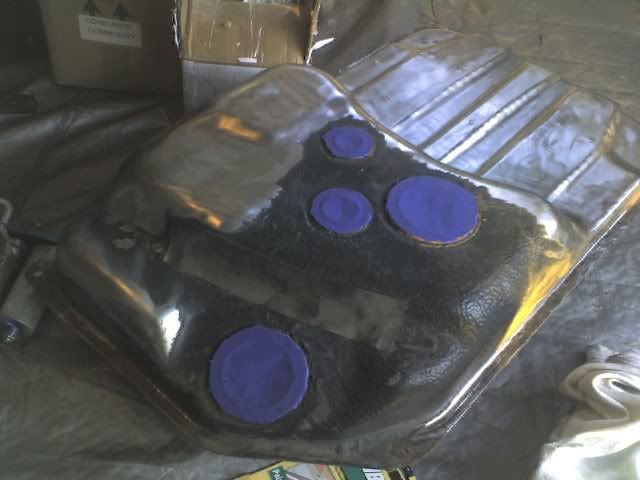
The gas tank was such a royal pain in the asss to strip, I'd never ever consider doing it again. I went through like 5 wire brush heads and couldn't close my hands for 2 days.

There was some rust on the outside of the tank, but the inside was fine. I just decided to refurbish the whole thing with all new hardware since I was installing a Denso in-tank pump at the time.
p1453774_1.jpg


p1453774_2.jpg


p1453774_3.jpg


p1453774_4.jpg


p1453774_5.jpg


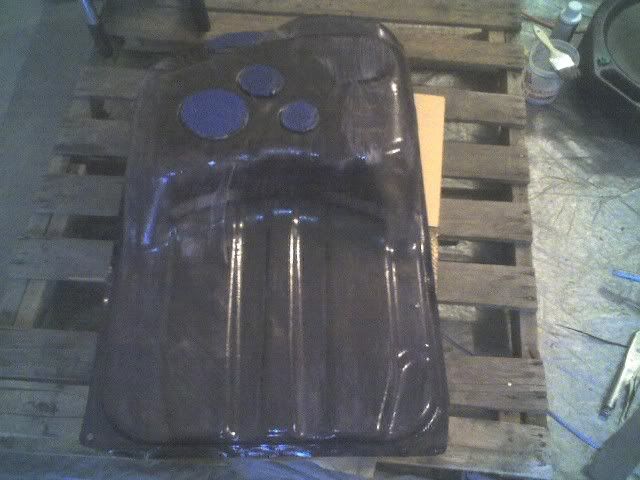
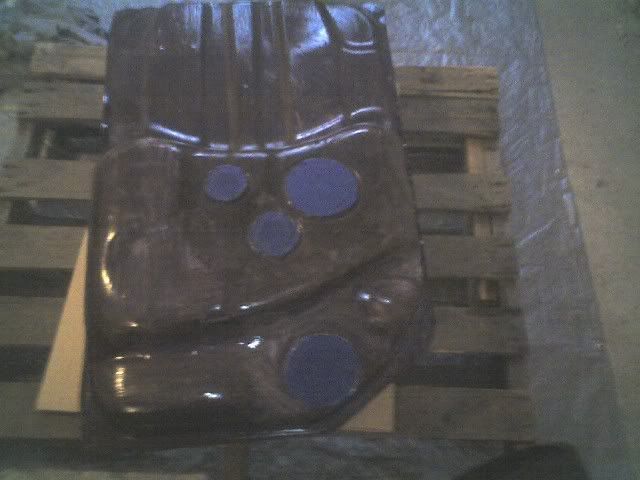
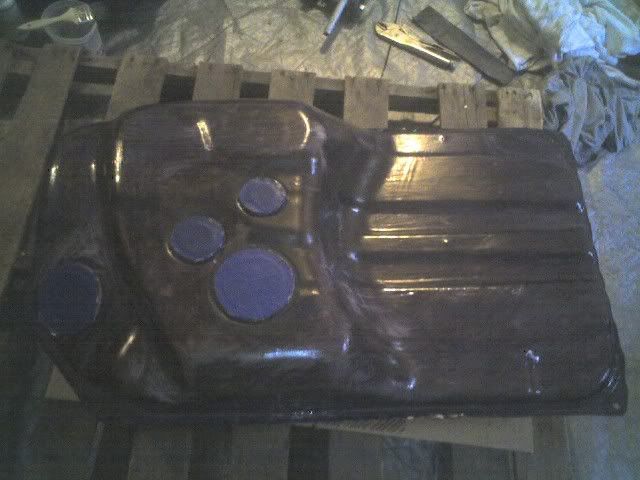
I then treated the tank in rust converter since some of the rust around the edges was just too deep to sand out.
p1453774_6.jpg


p1453774_7.jpg


p1453774_8.jpg


Afterwards I applied 4 coats of second skin deadener along with new hardware and gaskets from Toyota. Unfortunetly, I can't seem to find any pics of this :icon_mad:
 

MarkIII4Me

Project OVERKILL!!!
Apr 10, 2005
1,249
2
38
Charleston, SC
89supraa;1457983 said:
How do you like the short shifter?

It's looks cool. That's about all can I honestly say since I haven't driven with it or even installed the seat to see how it feels. I should have the seats in shortly tho (Corbeau 3 point harnesses with retractors come in next week) . I've thrown it threw the gears a few times and it is very tight and the shifts are extremely short. I hardly have to move the shifter at all. The tightness can be contributed to the the BIC tranny bracket and engine brace. Definitely feel a huge difference with those. Before they were installed, I could shake the tranny a 1/4" in each direction just by moving the shifter. Mind you, the rubber factory tranny support was freakin shot.
 

MarkIII4Me

Project OVERKILL!!!
Apr 10, 2005
1,249
2
38
Charleston, SC
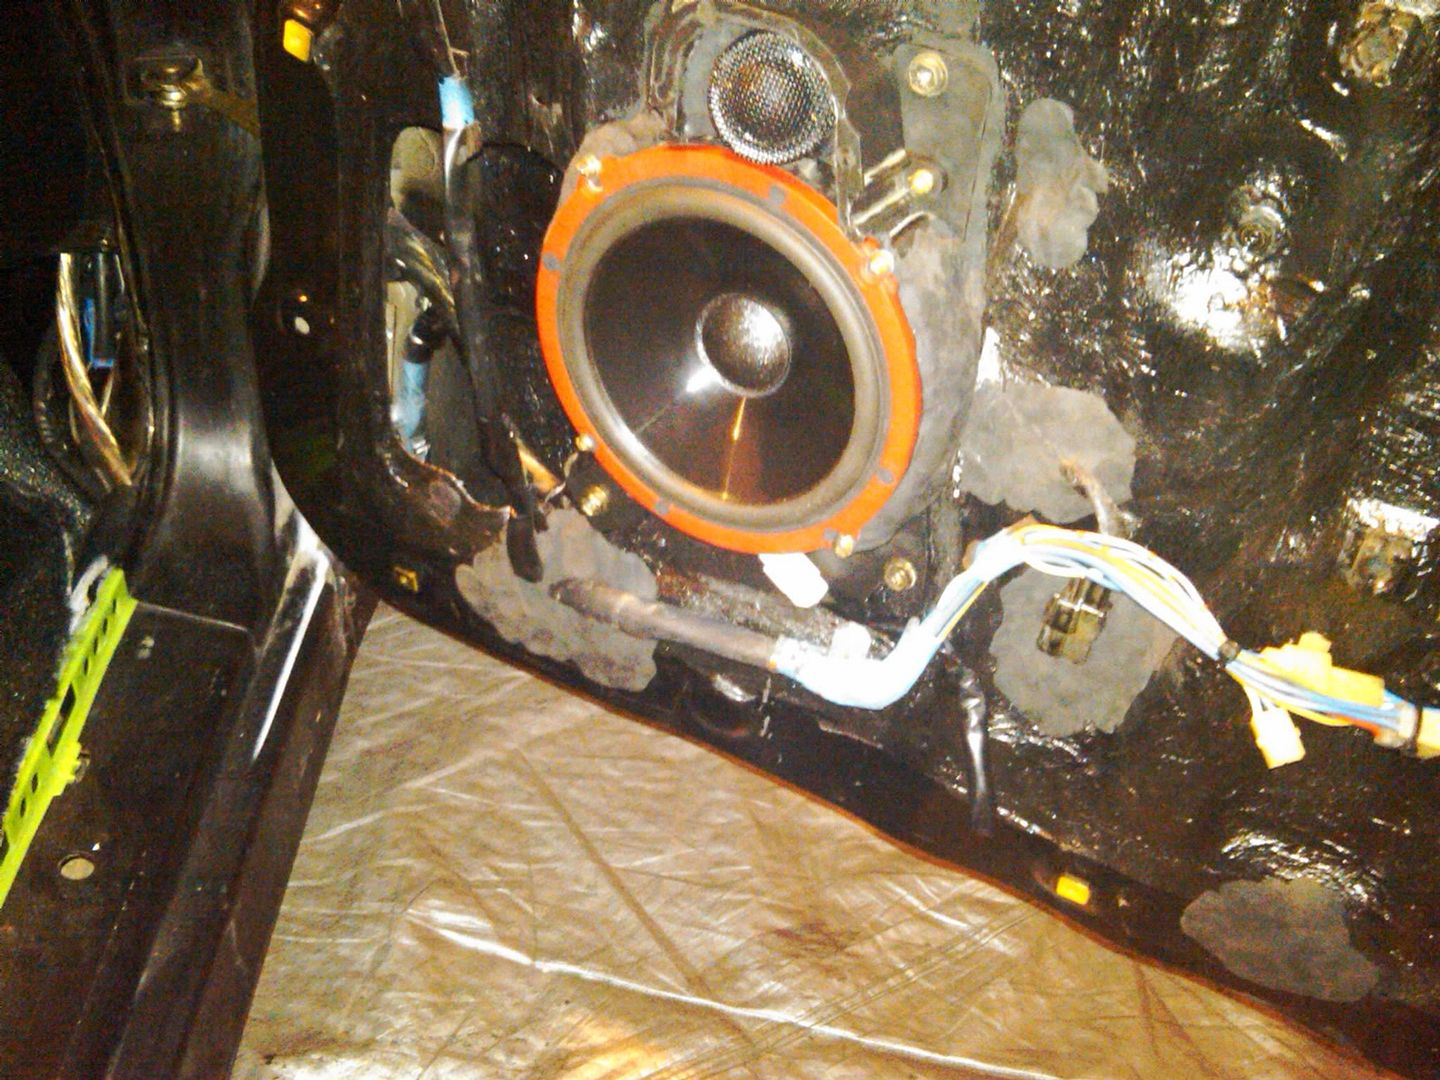
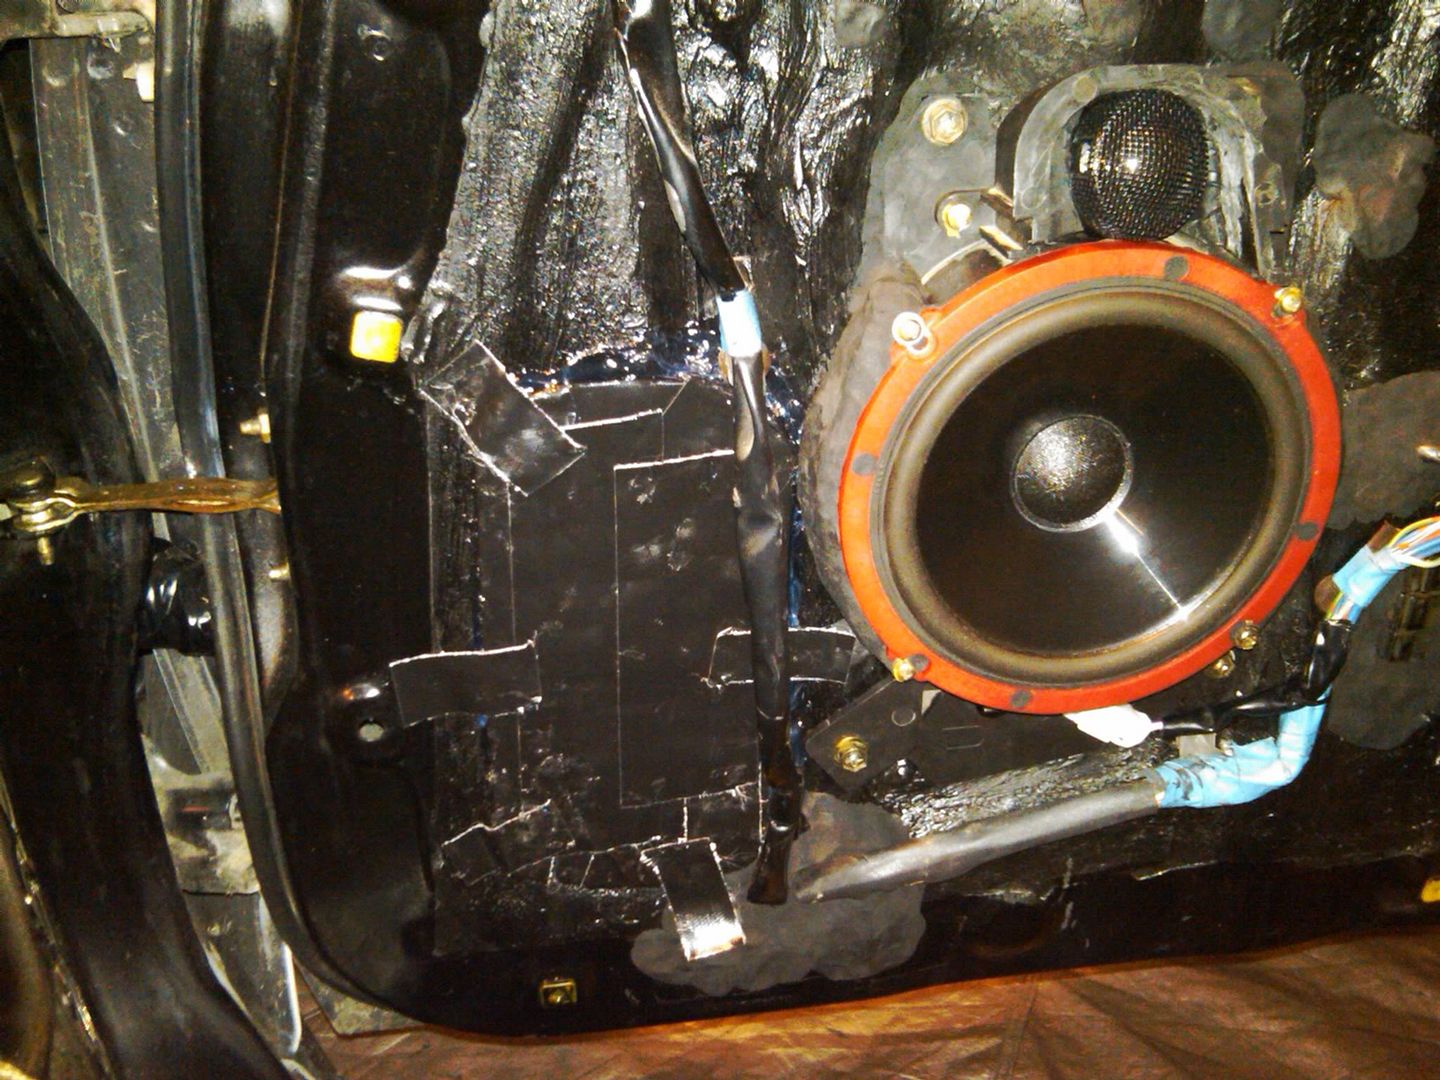
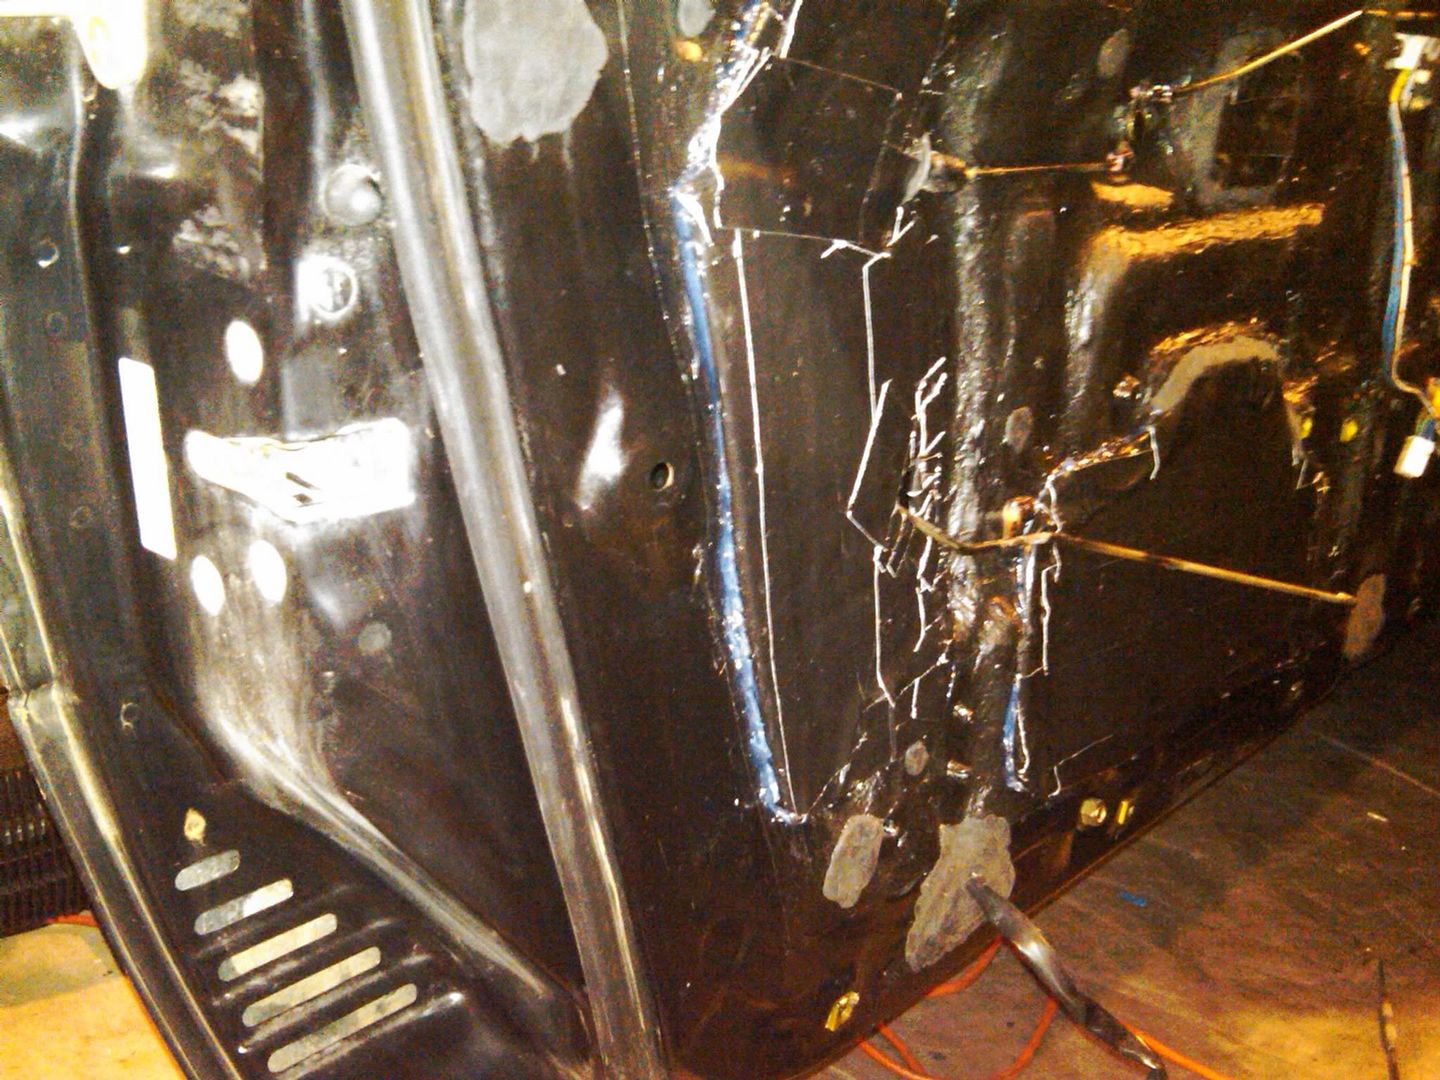
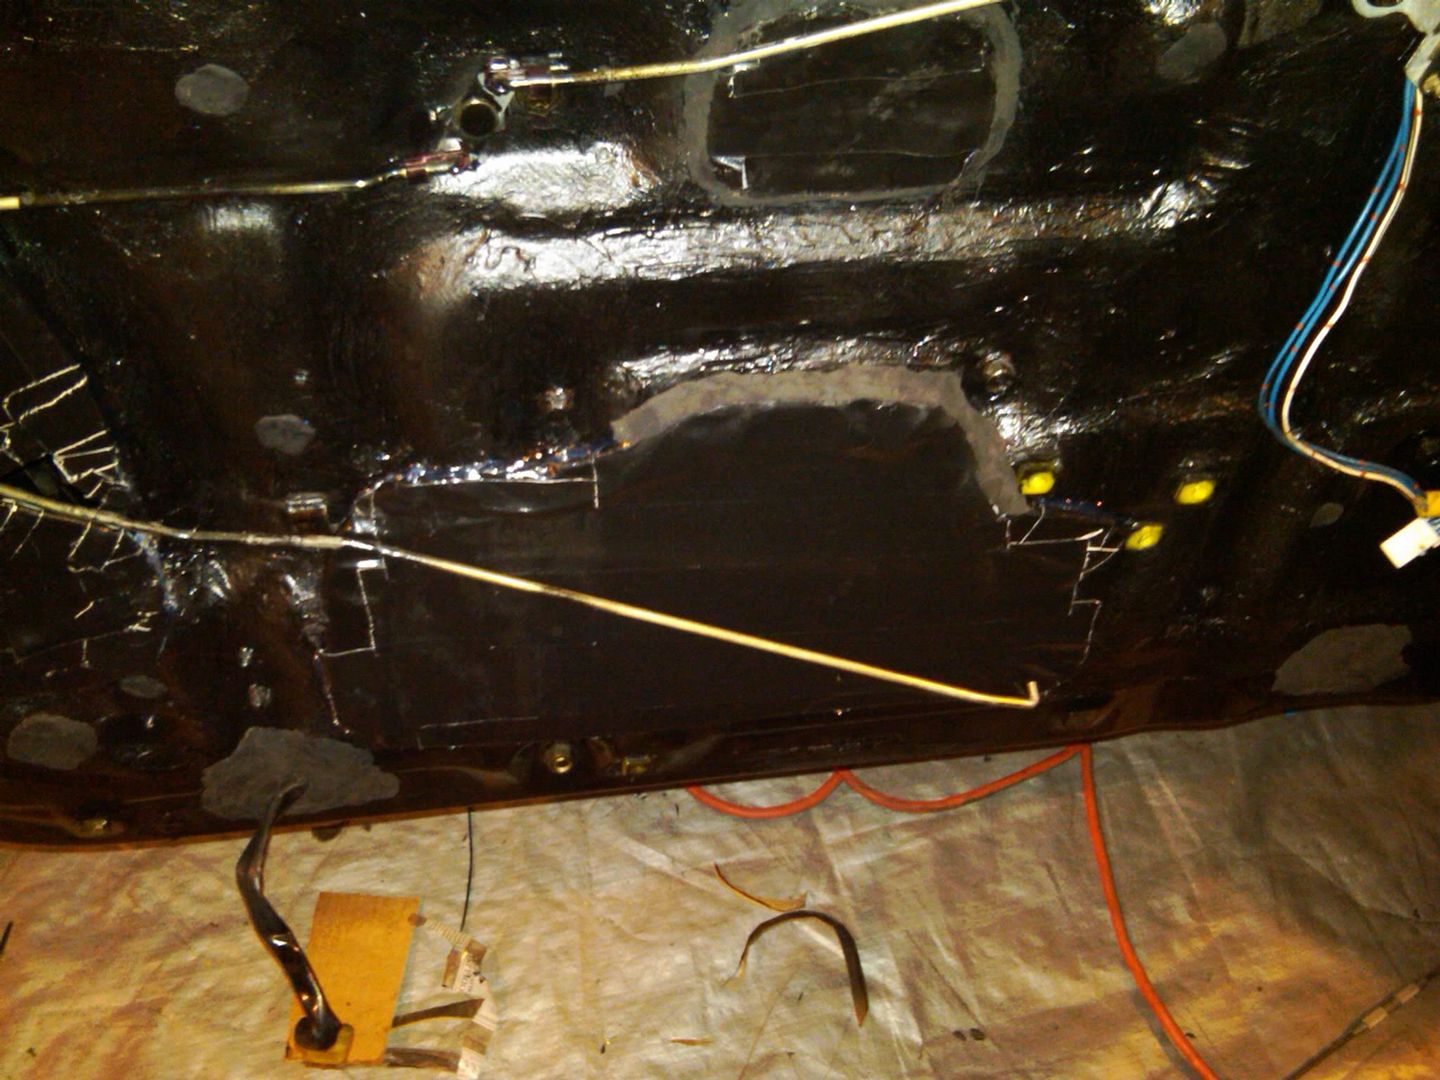
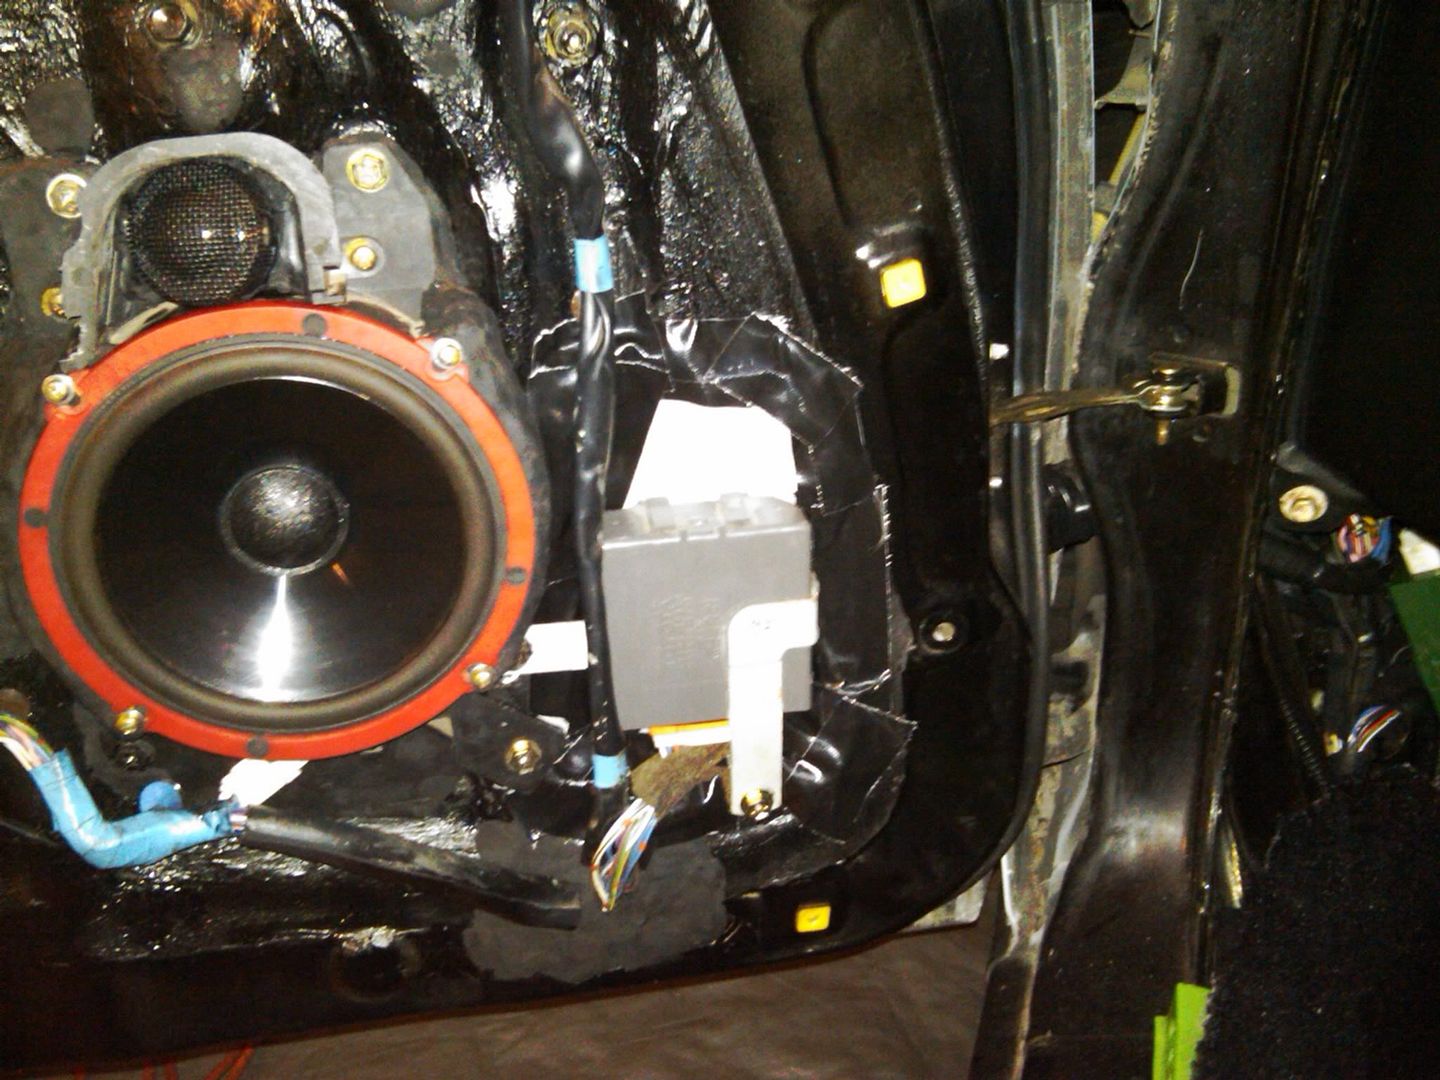
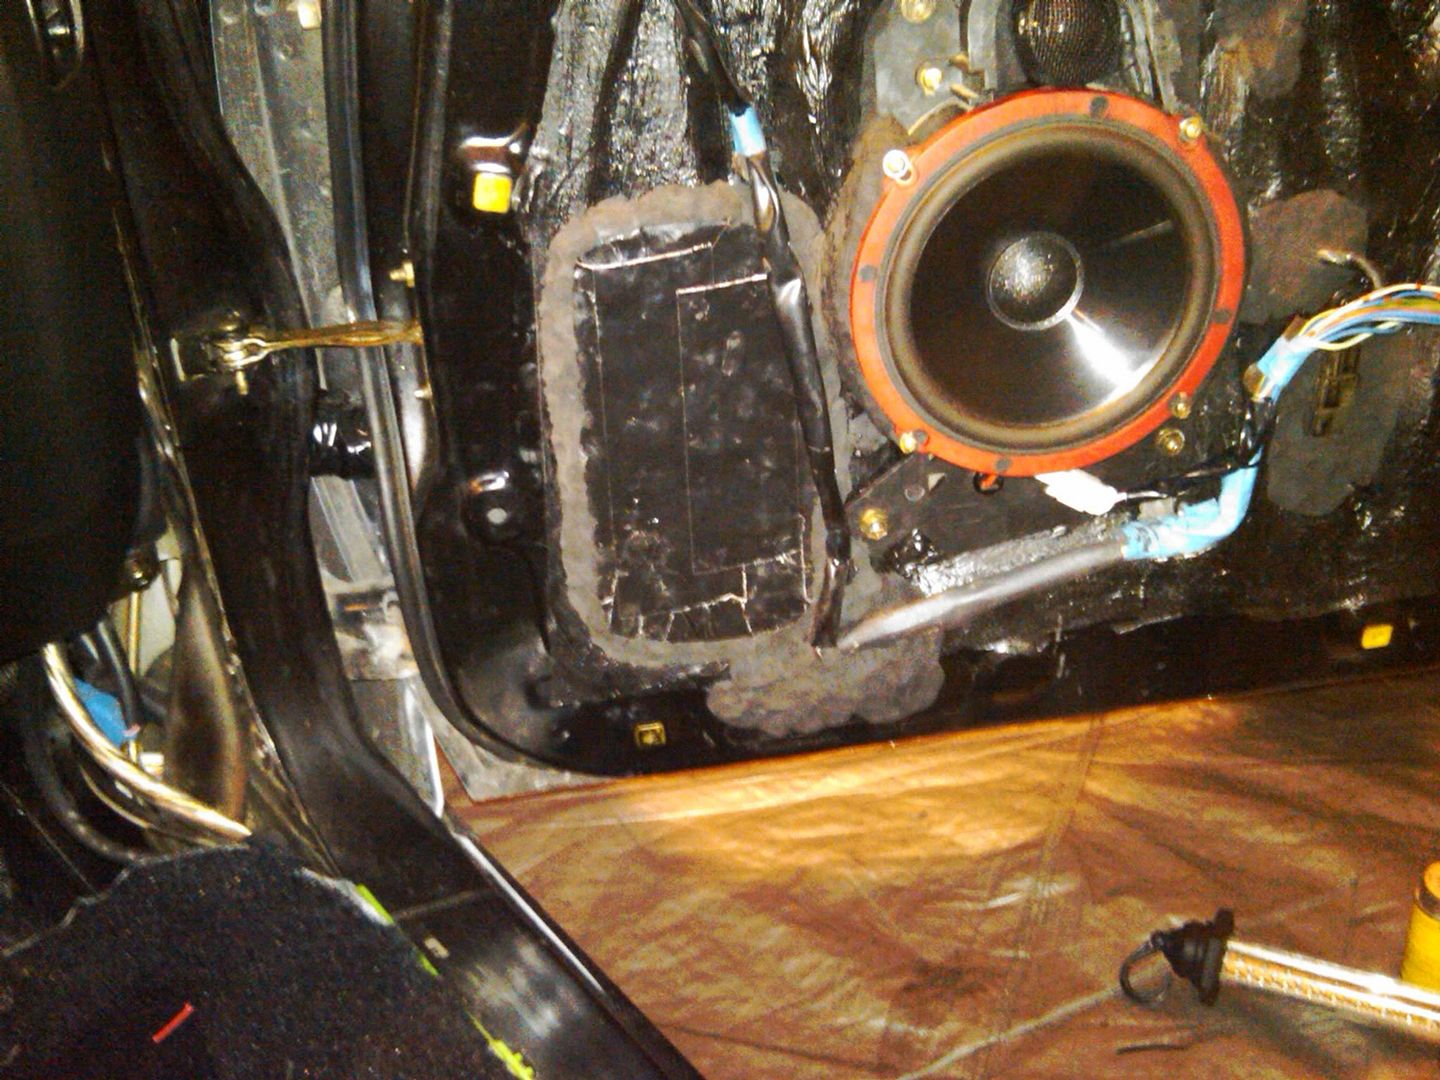
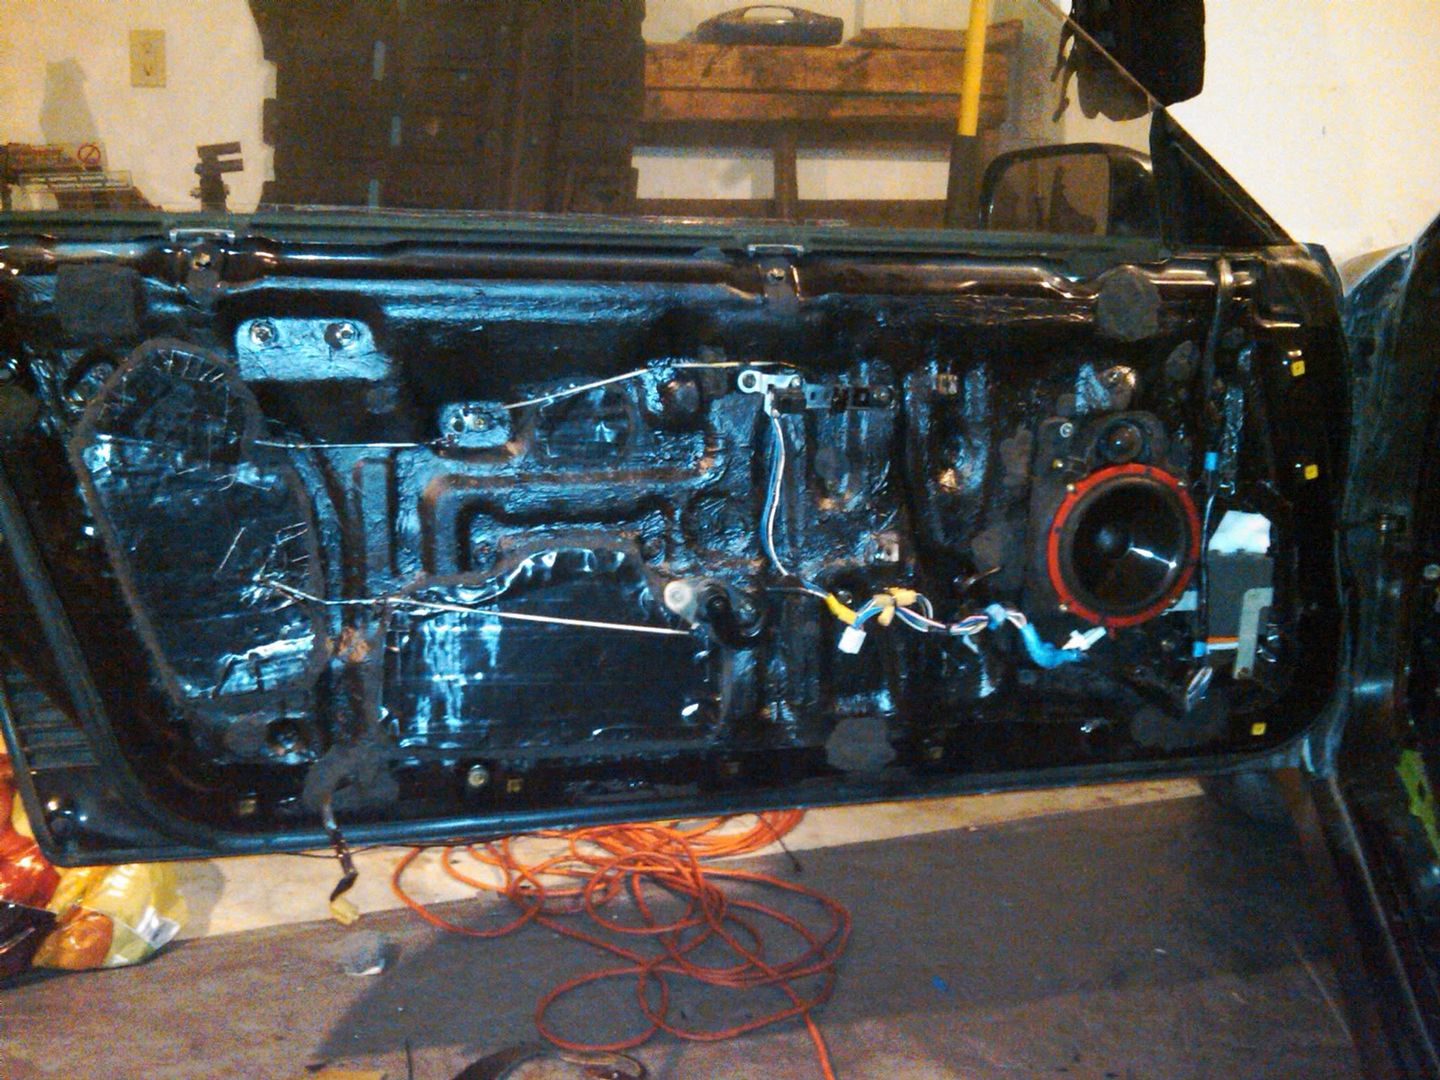
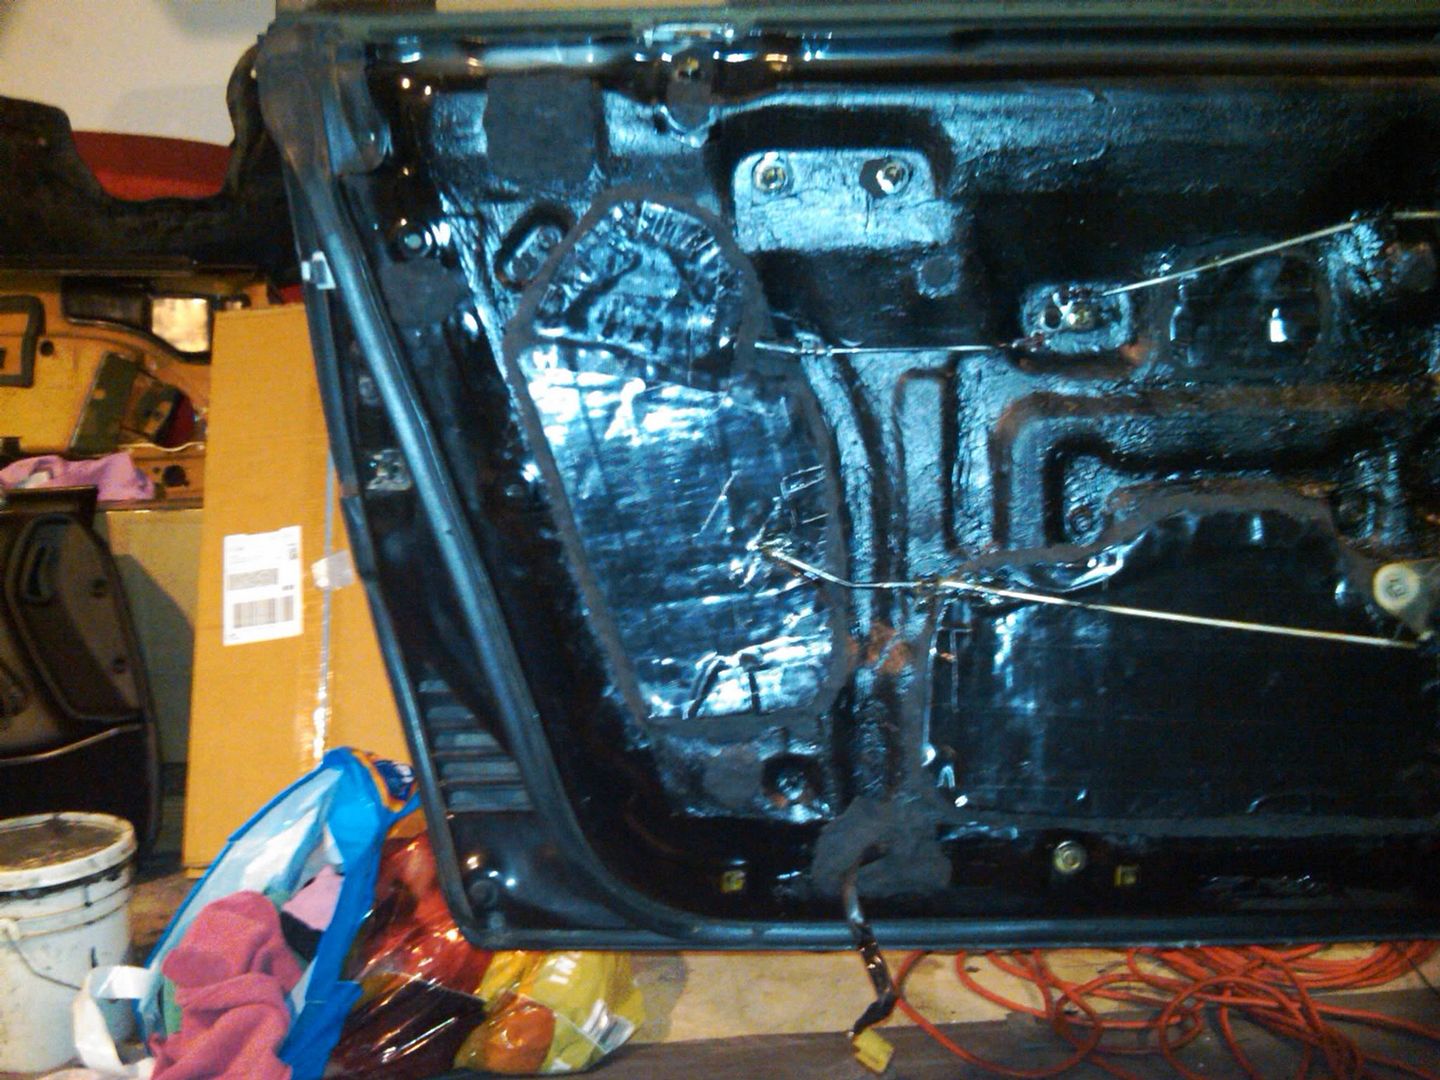
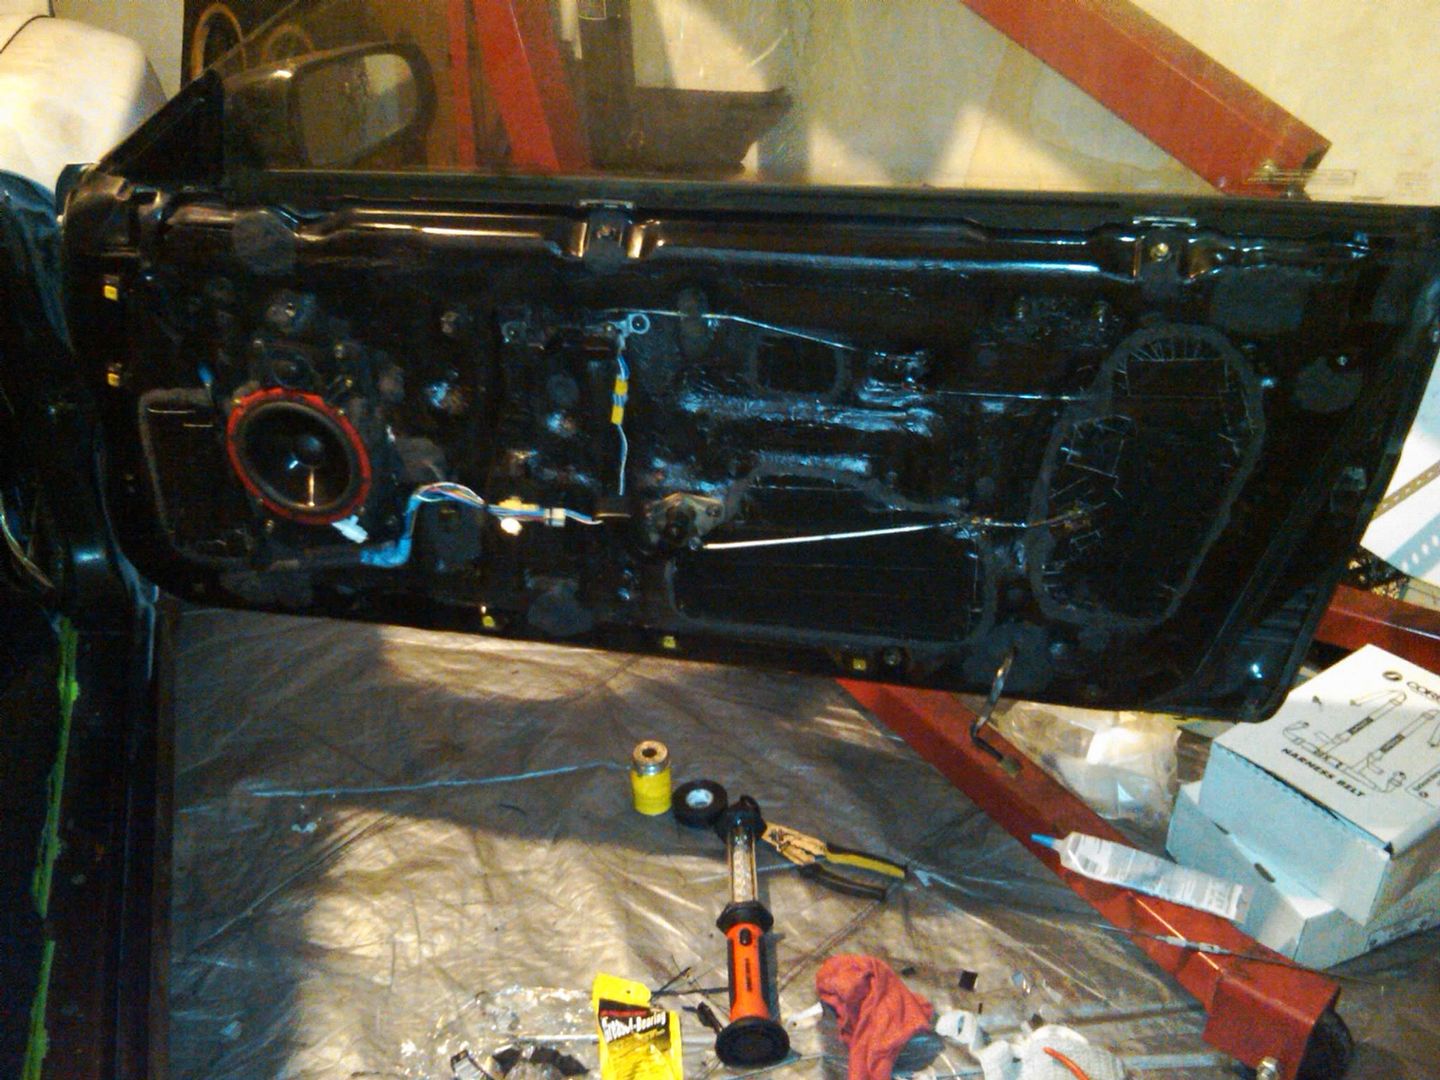
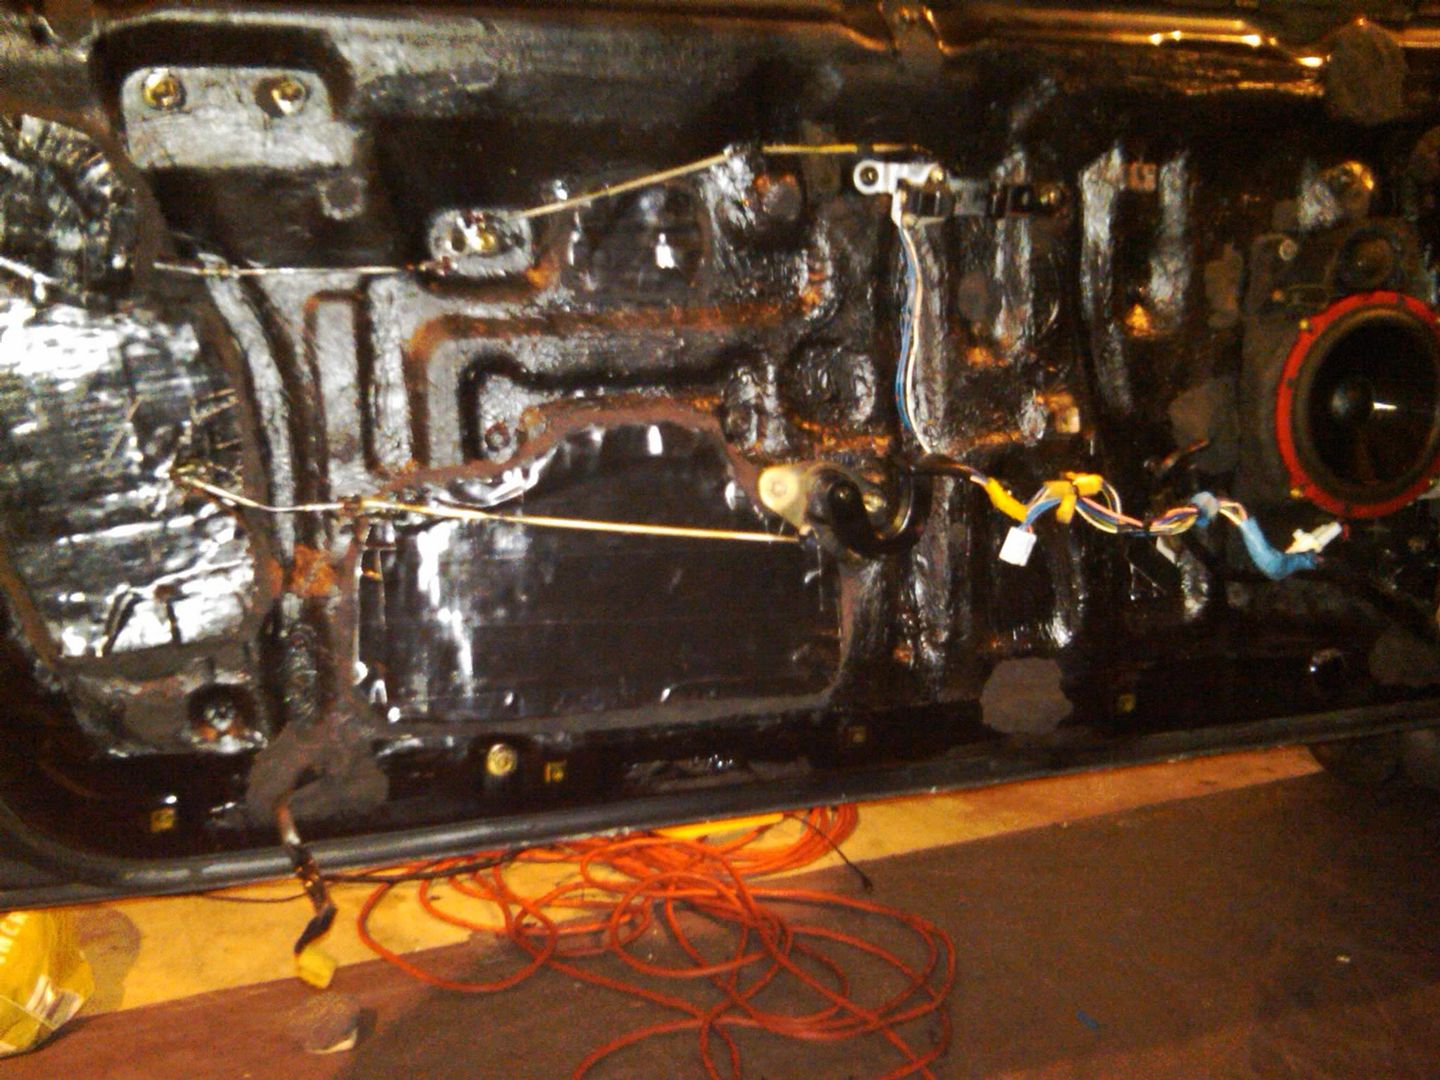
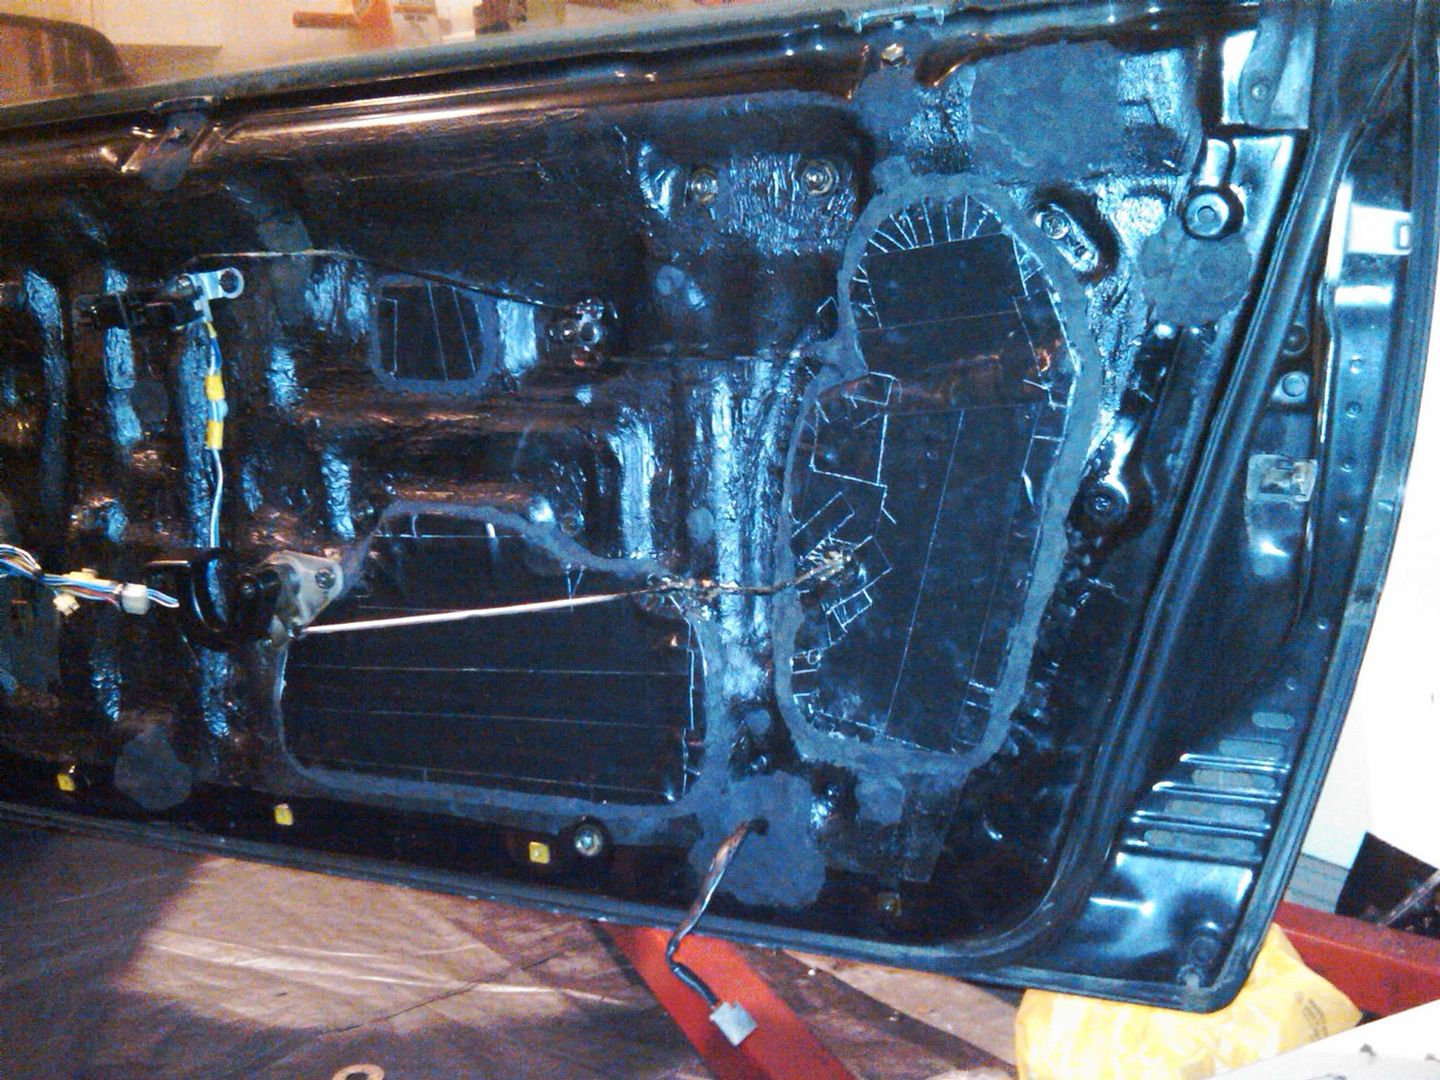
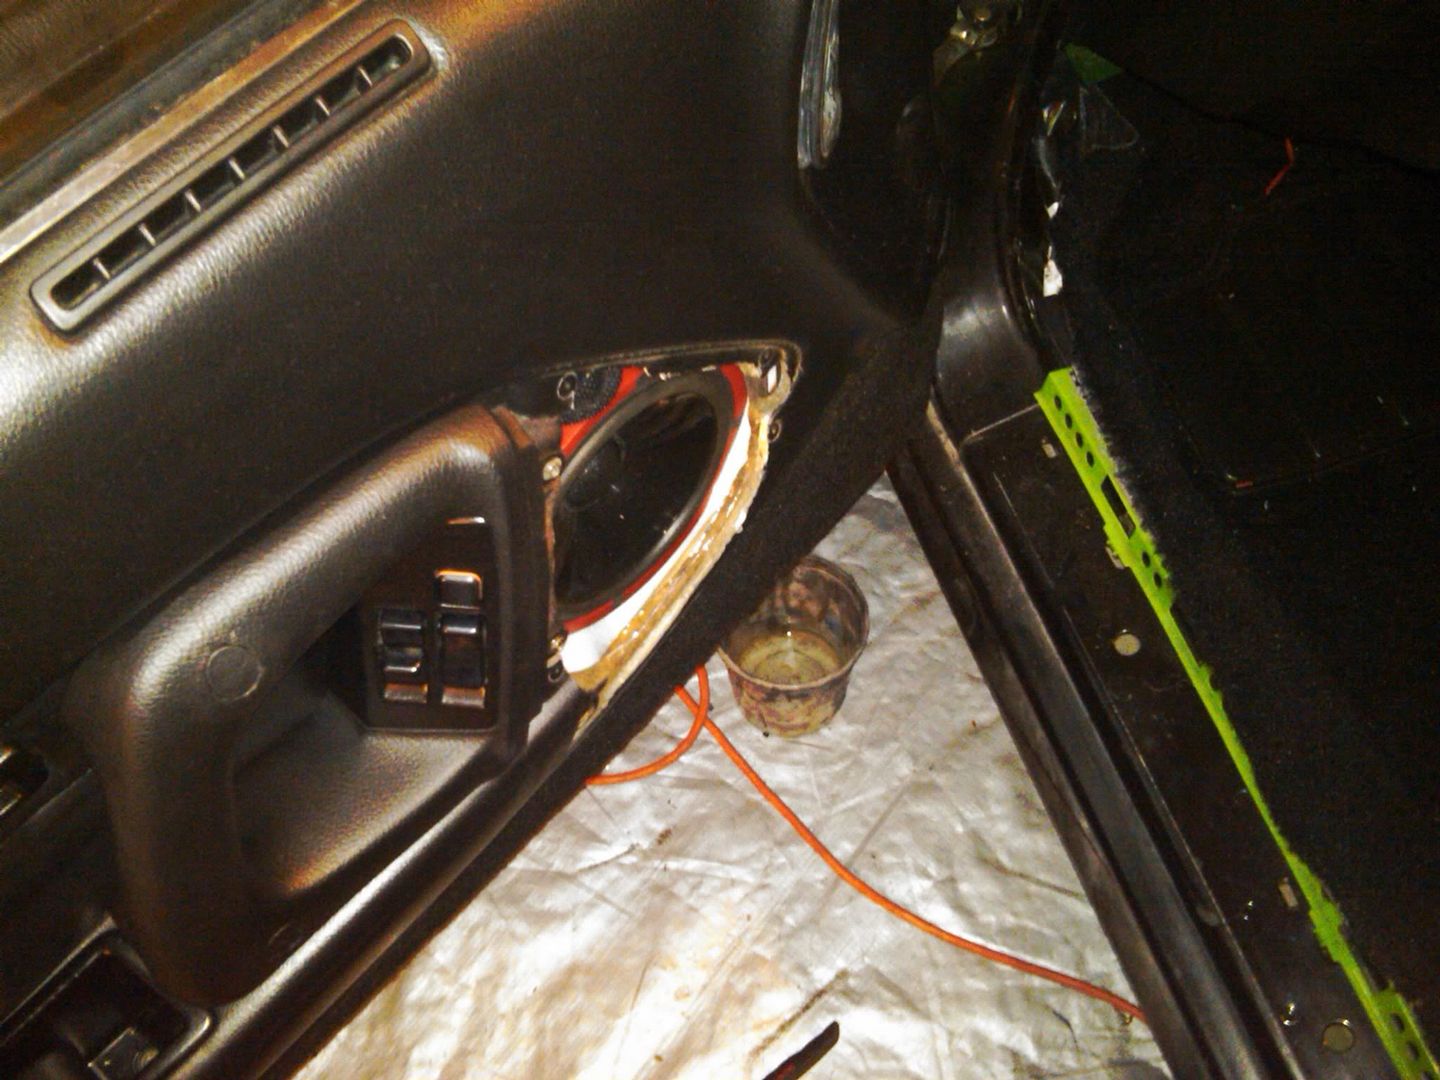
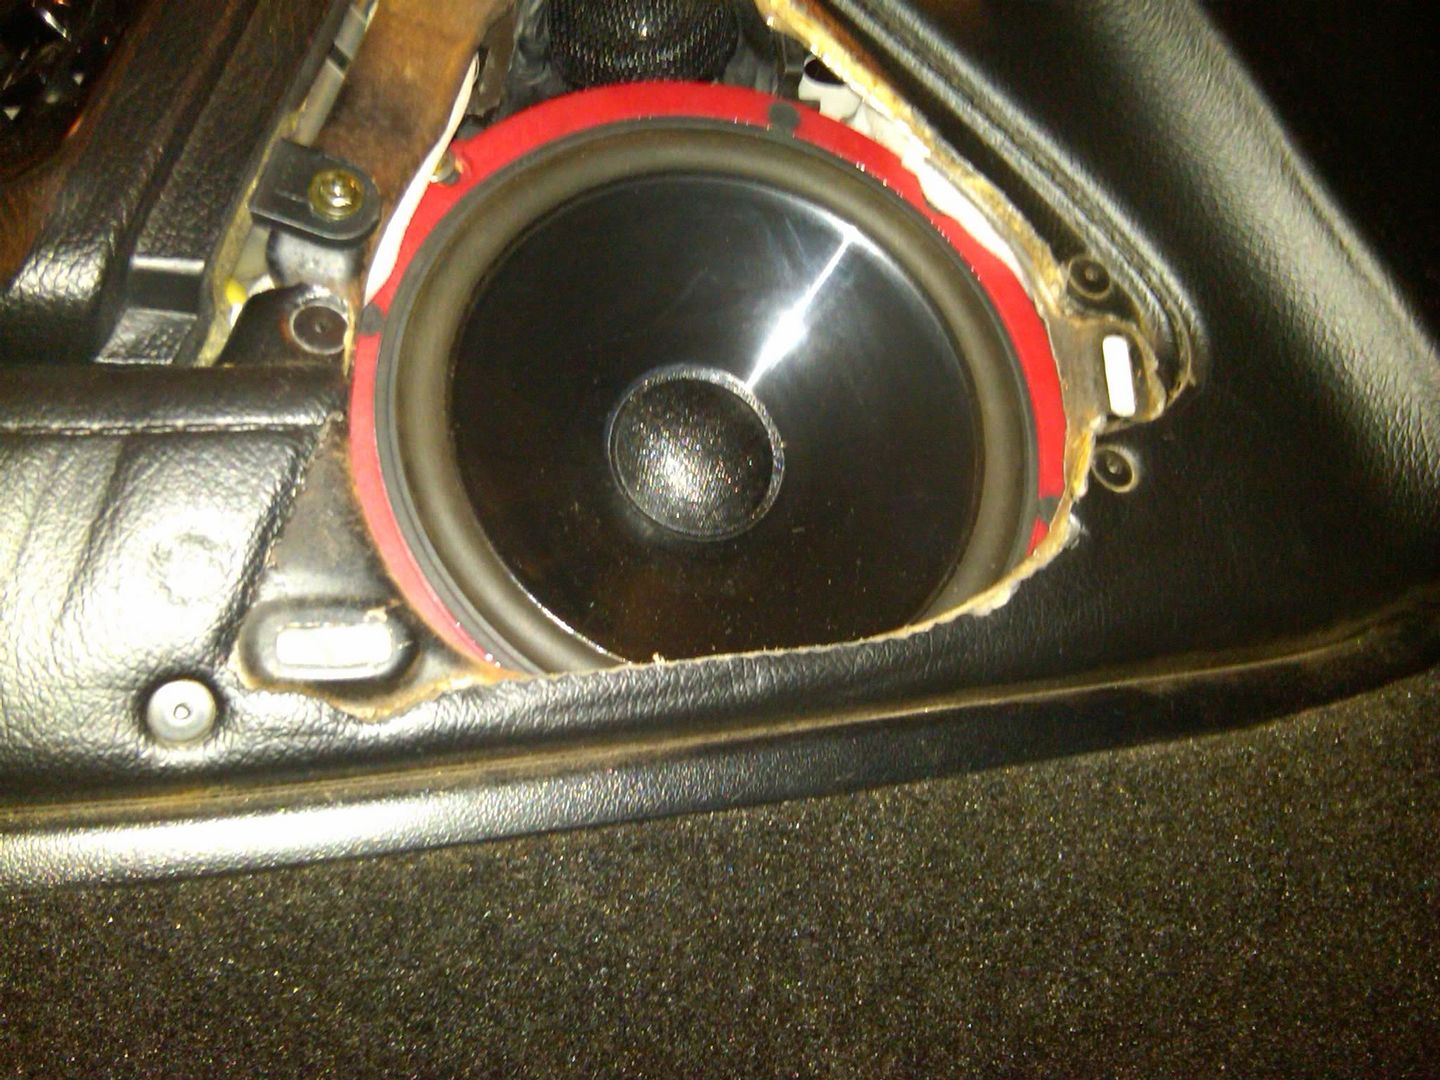
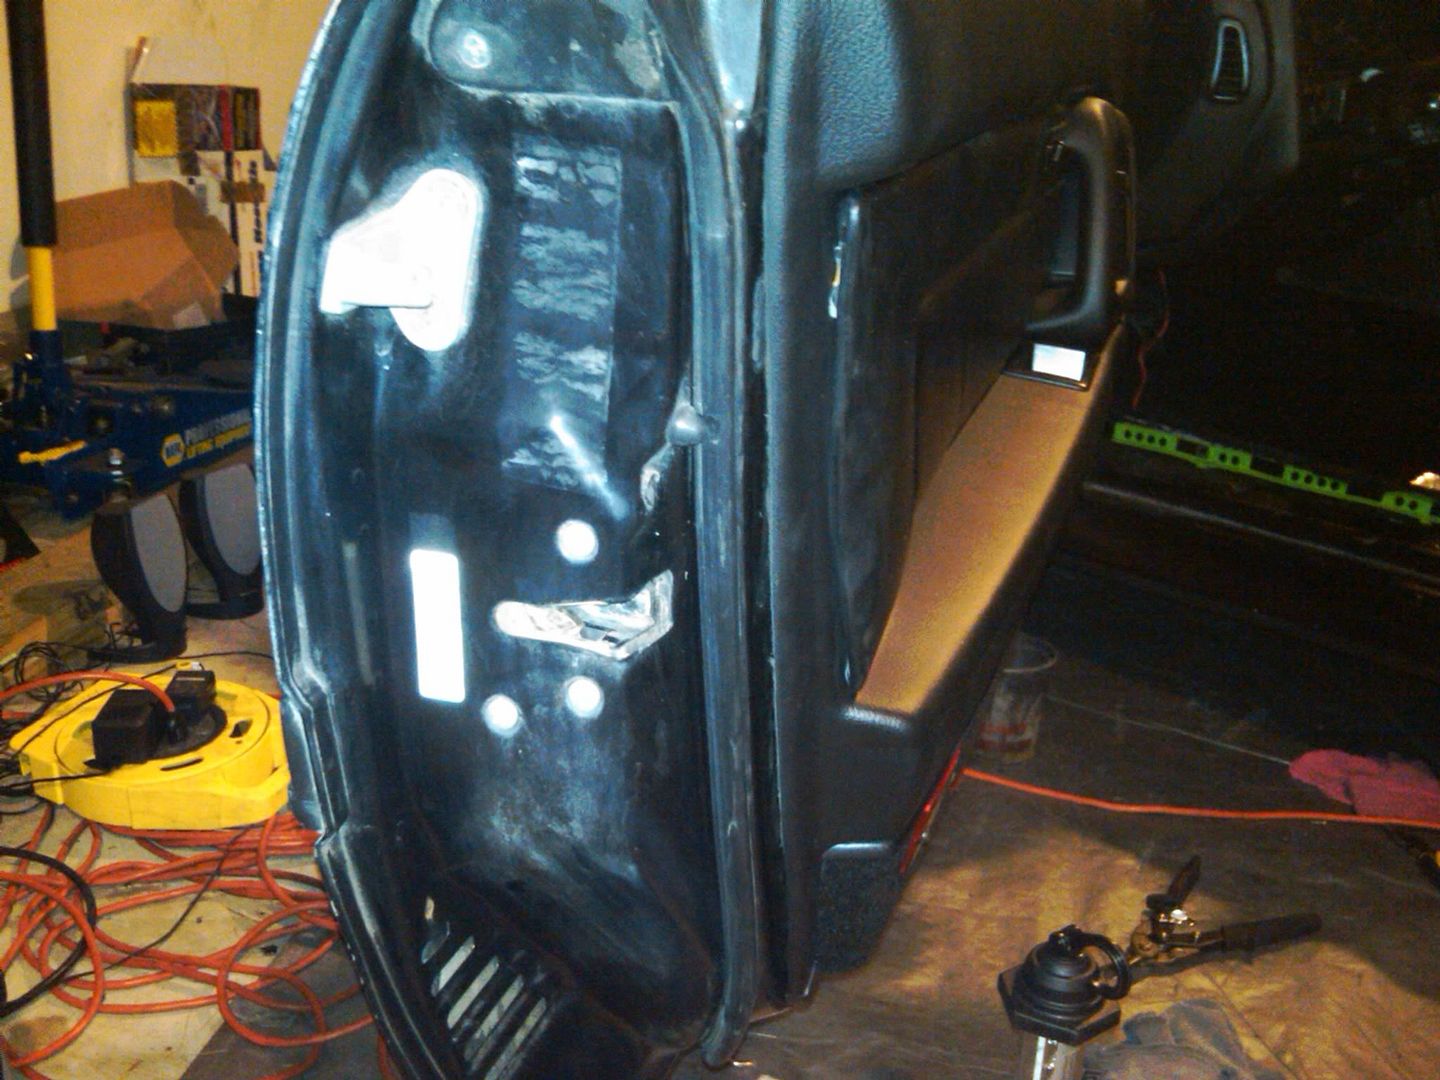
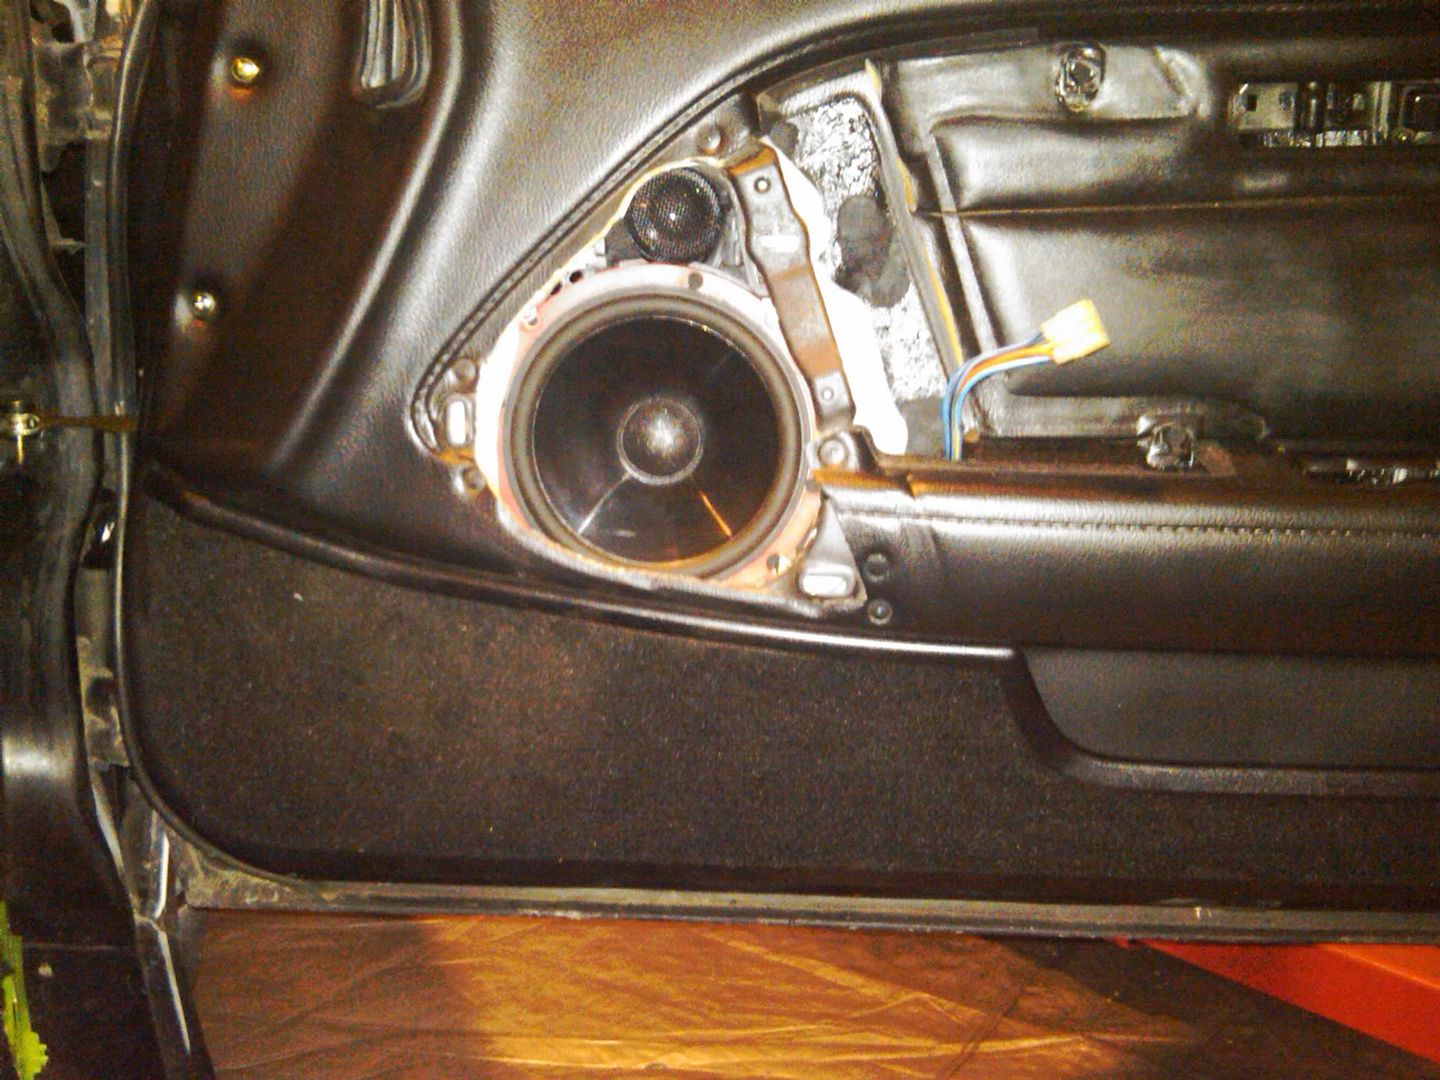
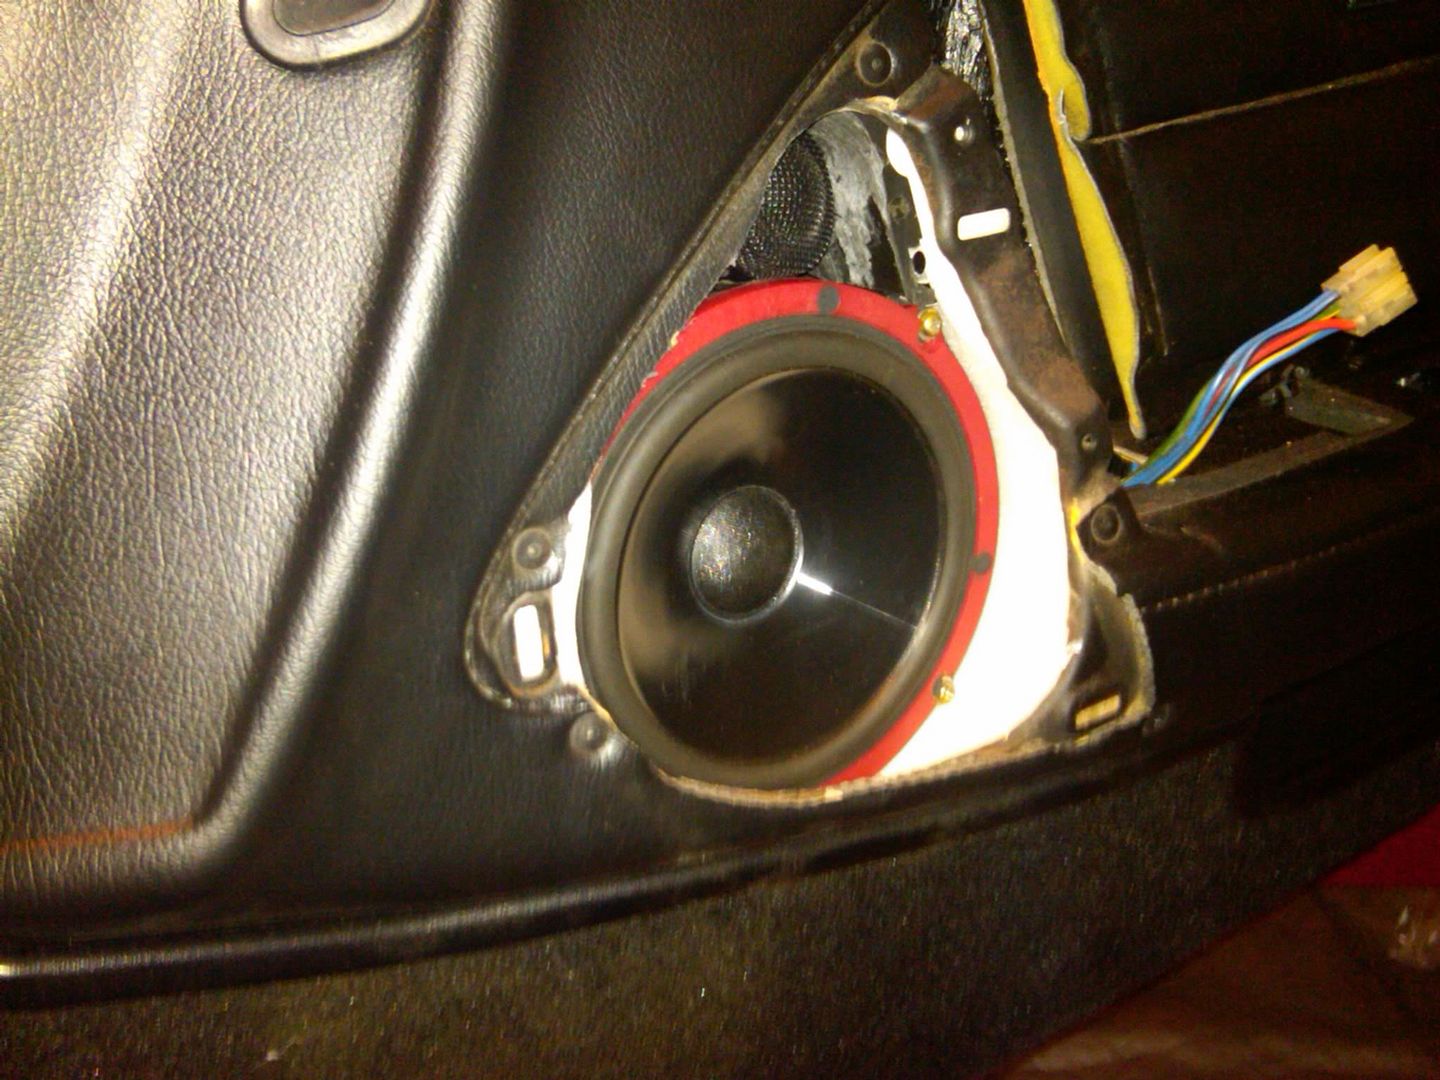
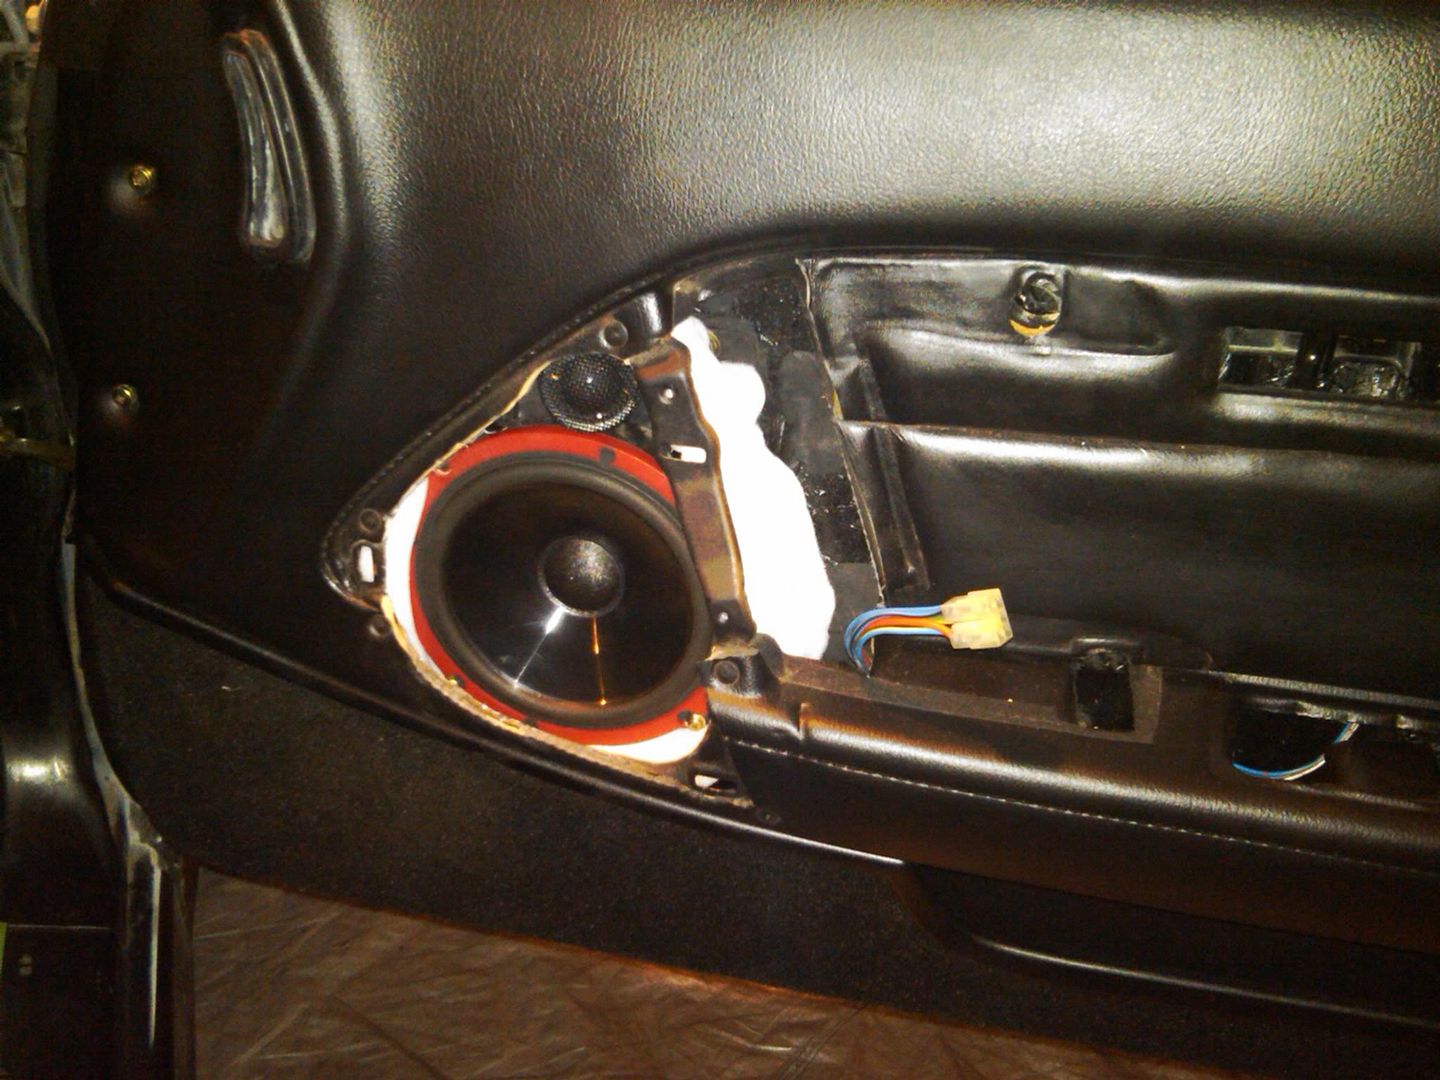
Doors are almost sealed. I've been behind since it took forever to properly shoehorn the 6 1/2" components into the factory location. http://www.supramania.com/forums/showthread.php?t=111575

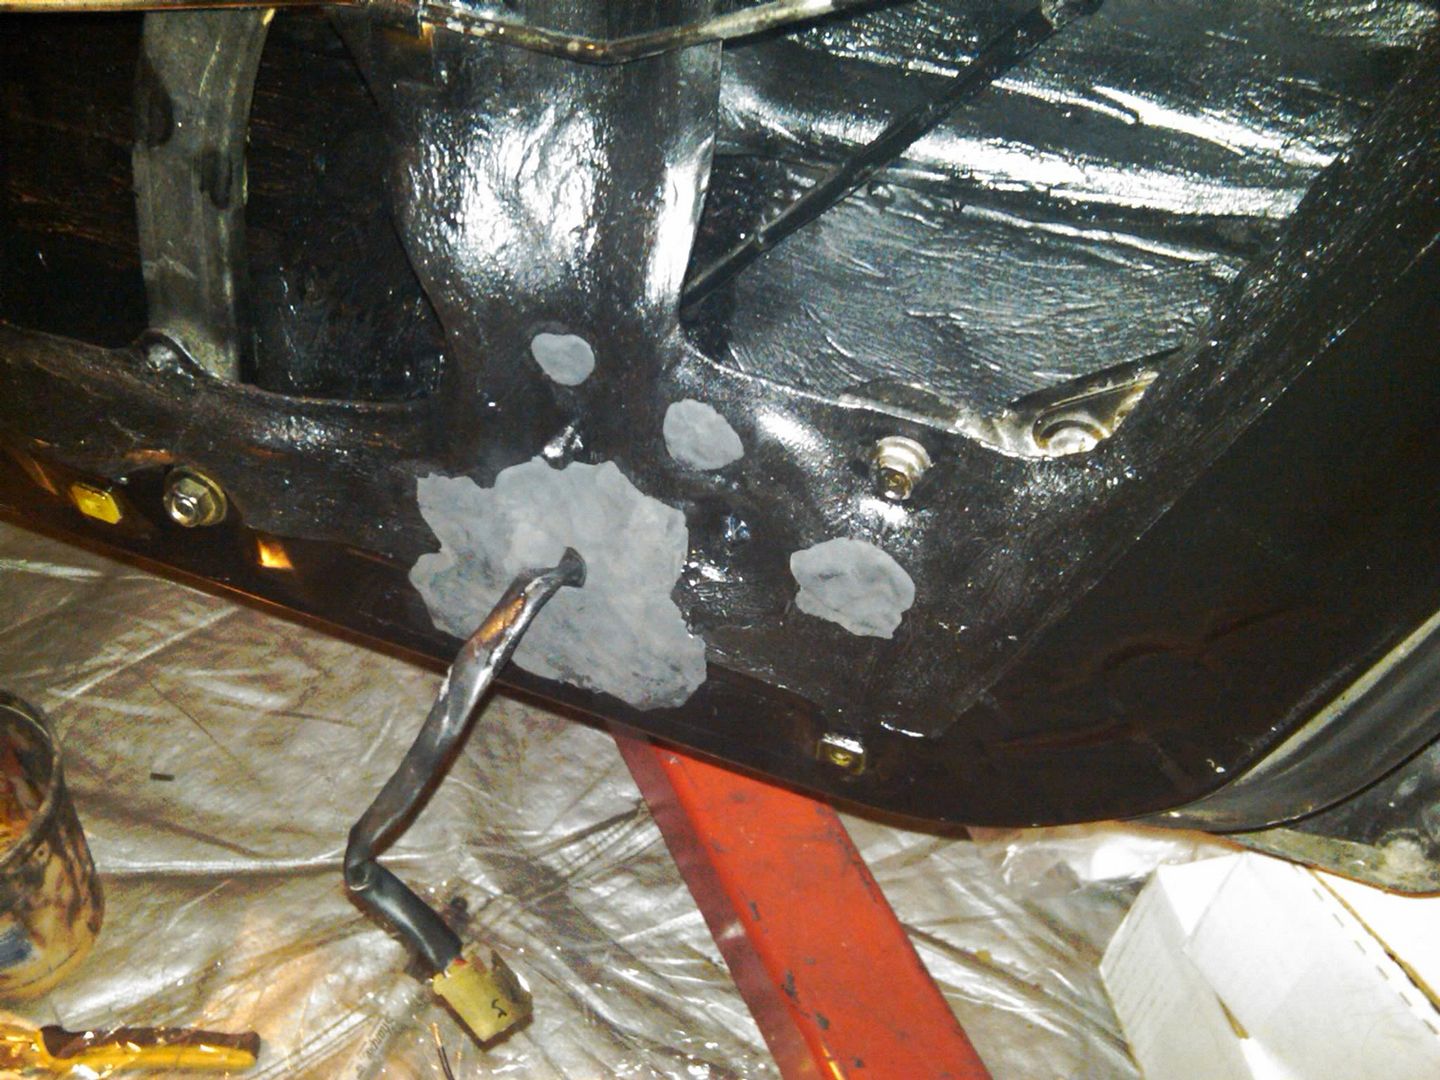
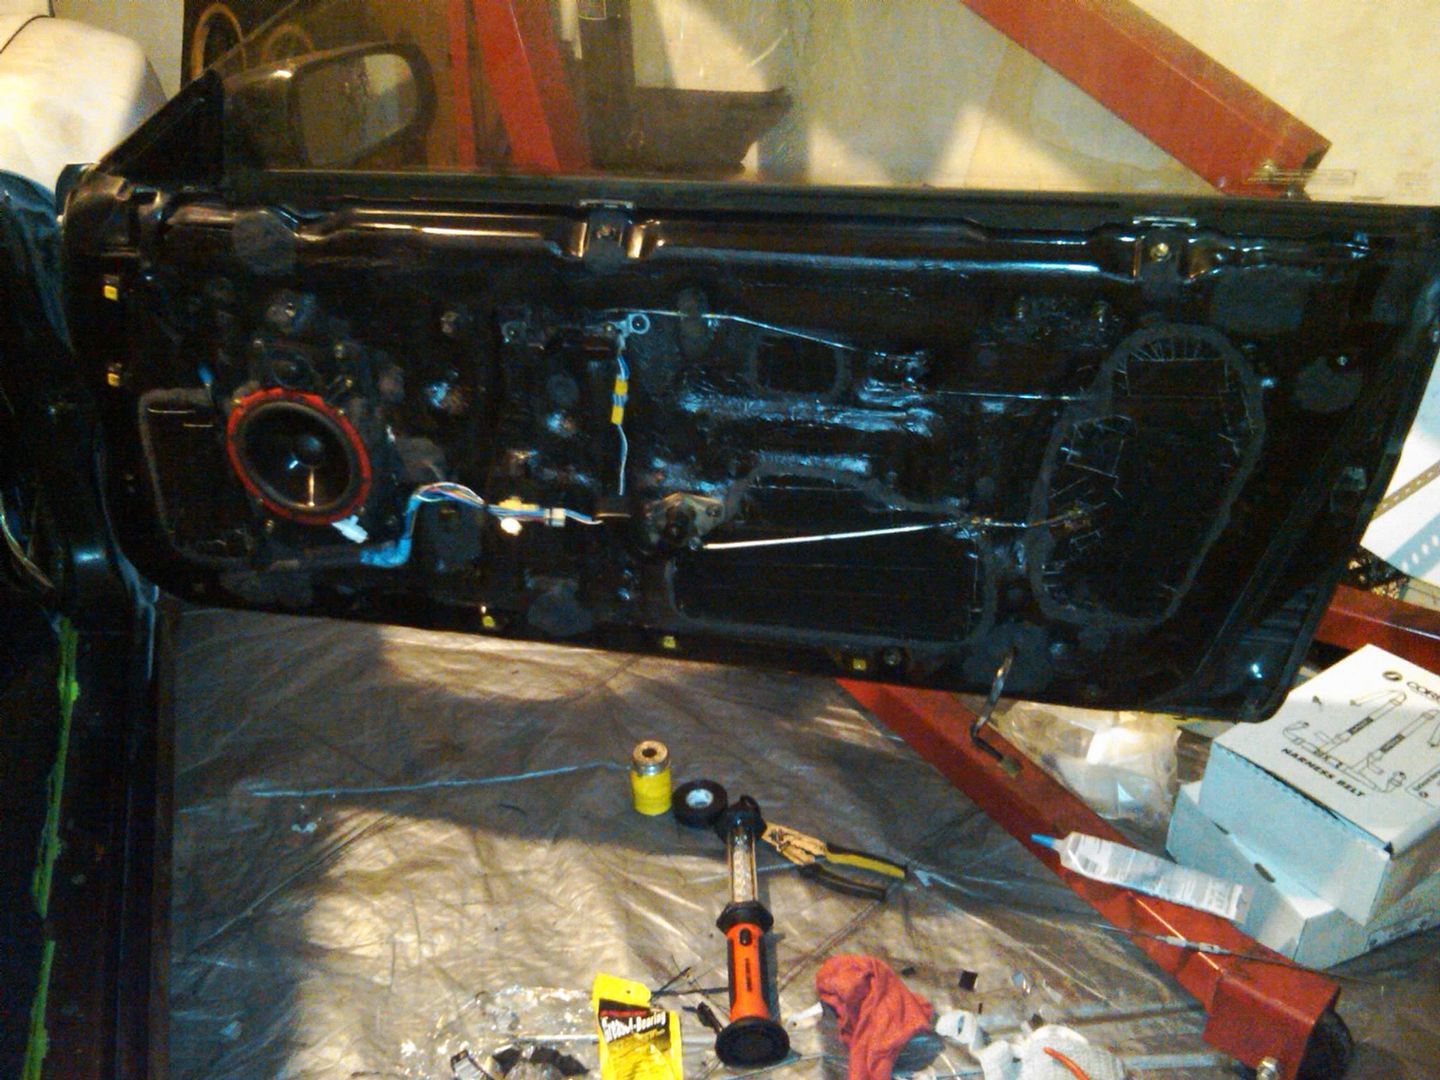
I decided to keep using the molding clay to fill in any small holes in the doors. For the medium sized holes, I lined the back with guerilla tape to keep moisture away from the clay. The adhesive on the tape pretty much cures perminent after a couple of days. Then I applied molding clay to the front.

p1463496_1.jpg


p1463496_2.jpg


p1463496_3.jpg


For the three large opening, I'm cutting out cardboard to shape, then covering the cardboard in guerilla tape and using Liquid Nails clear silicone to secure and seal it to the door. Hopefully I'll have all this done tonight :naughty:
 

carter

"The Ninja"
Nov 1, 2005
743
0
0
Ohio
www.myspace.com
Your interior looks amazing sir, I got a shell a couple months ago, that the previous owner started to paint everything black
p1463603_1.jpg


Don't know what kinda paint he used, some parts came out pretty nice, but others didn't. The dash had finger prints and was glossy which is why i traded it to a friend and i'll be changing my interior color also. I'm lucky enough to have a good start with new black carpet, new leather seats and some panels that are already black, just needs touched up and what not lol :) But I got blue cloth inserts that i'm thinking i'll have to replace them or get new cloth and go from there. And figure out what carpet for the doors, targa liner. I was thinking about dupli-color i just want an oem black look nothing really glossy
 

MarkIII4Me

Project OVERKILL!!!
Apr 10, 2005
1,249
2
38
Charleston, SC
carter;1463603 said:
I was thinking about dupli-color i just want an oem black look nothing really glossy

I'd steer clear of duplicolor and Krylon Fusion for anything that will have any contact at all. Even with proper prepping, the Krylon Fusion just sits on the surface. Also, it says it's a matte finish yet it dries glossy. I've already had to touch up several plastic panels just from the installation.


toy_dremer said:
What paint did you use for the dash? The Auto Magic, of Krylon Fusion??

AutoMagic on everything vinyl. I used the Fusion on all the plastic vents though. If you have the cash, AutoMagic is all I would use on everything! Has a nice matte finish too. Looks factory when dry.


upgradedsupra said:
I read all pages, nice job! Nice to see you take your time and do it properly. Keep up the good work!

If you do it yourself, then do it right. Otherwise, you might as well just pay someone else to half-ass it. :biglaugh:
 
Last edited:

carter

"The Ninja"
Nov 1, 2005
743
0
0
Ohio
www.myspace.com
yea i think i remember looking through and sayin that it'll end up cracking through in flexible places but i'll have to look into it and test some stuff out. I was messin around today painting some parts and I'm really not happy with how it came out.

So back to the drawing board lol
 

toy_dremer

uneek Supra
Oct 7, 2009
51
0
0
Weston, WI
MarkIII4Me;1463990 said:
AutoMagic on everything vinyl. I used the Fusion on all the plastic vents though. If you have the cash, AutoMagic is all I would use on everything! Has a nice matte finish too. Looks factory when dry.

Thanks!! And prepping isn't that much to do right, some rubbing alcohol and I'll be good, right?
 

MarkIII4Me

Project OVERKILL!!!
Apr 10, 2005
1,249
2
38
Charleston, SC
toy_dremer;1467119 said:
Thanks!! And prepping isn't that much to do right, some rubbing alcohol and I'll be good, right?

As stated earlier:

MarkIII4Me said:
2) Prep, prep; then prep again.
Remember, if the paint chips or cracks down the road then you'll be pulling that panel and prepping and painting it all over again. Not such a big deal with some of the side panels, but things like the dash you only want to pull once. Scrub vinyl with scotch pads and comet. Rinse and rub with 91% alcohol or acetone. If you don't get to paint it the same day, then rub with alcohol again before paint. Do a very light 1st coat (light second doesn't hurt either). Follow up with a heavy 3rd coat to prevent a sandpaper feeling finish. For plastics, do the same; however, I've recently started taking 800 grit sandpaper to the panels before alcohol and experienced improved adhering results.
 

MarkIII4Me

Project OVERKILL!!!
Apr 10, 2005
1,249
2
38
Charleston, SC
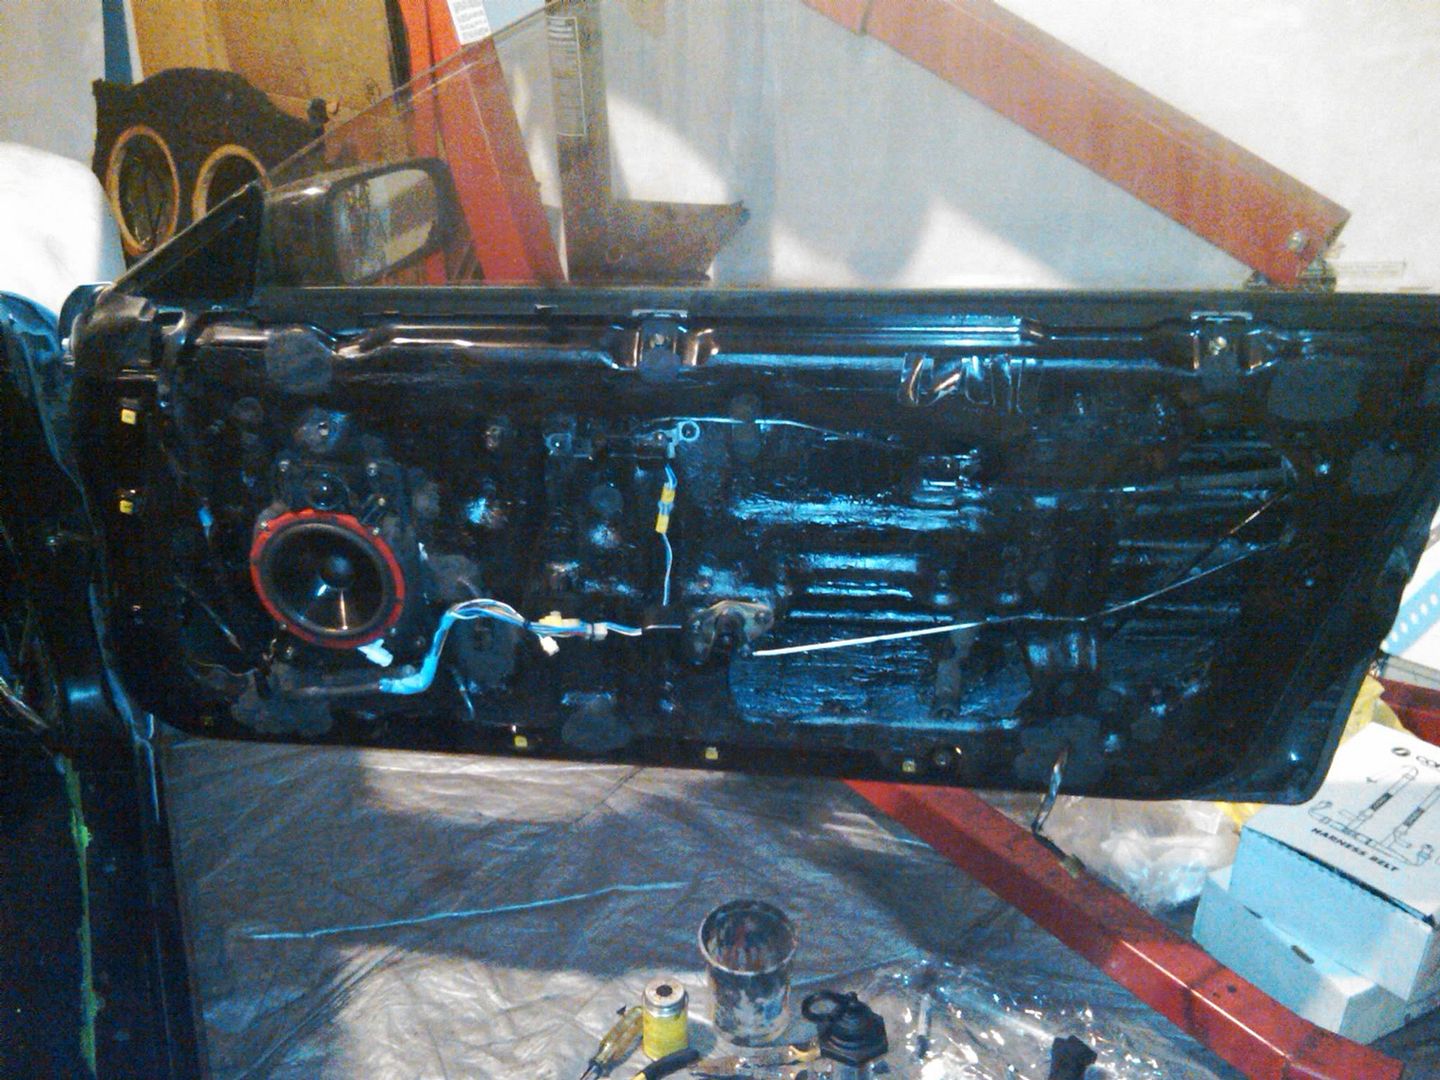
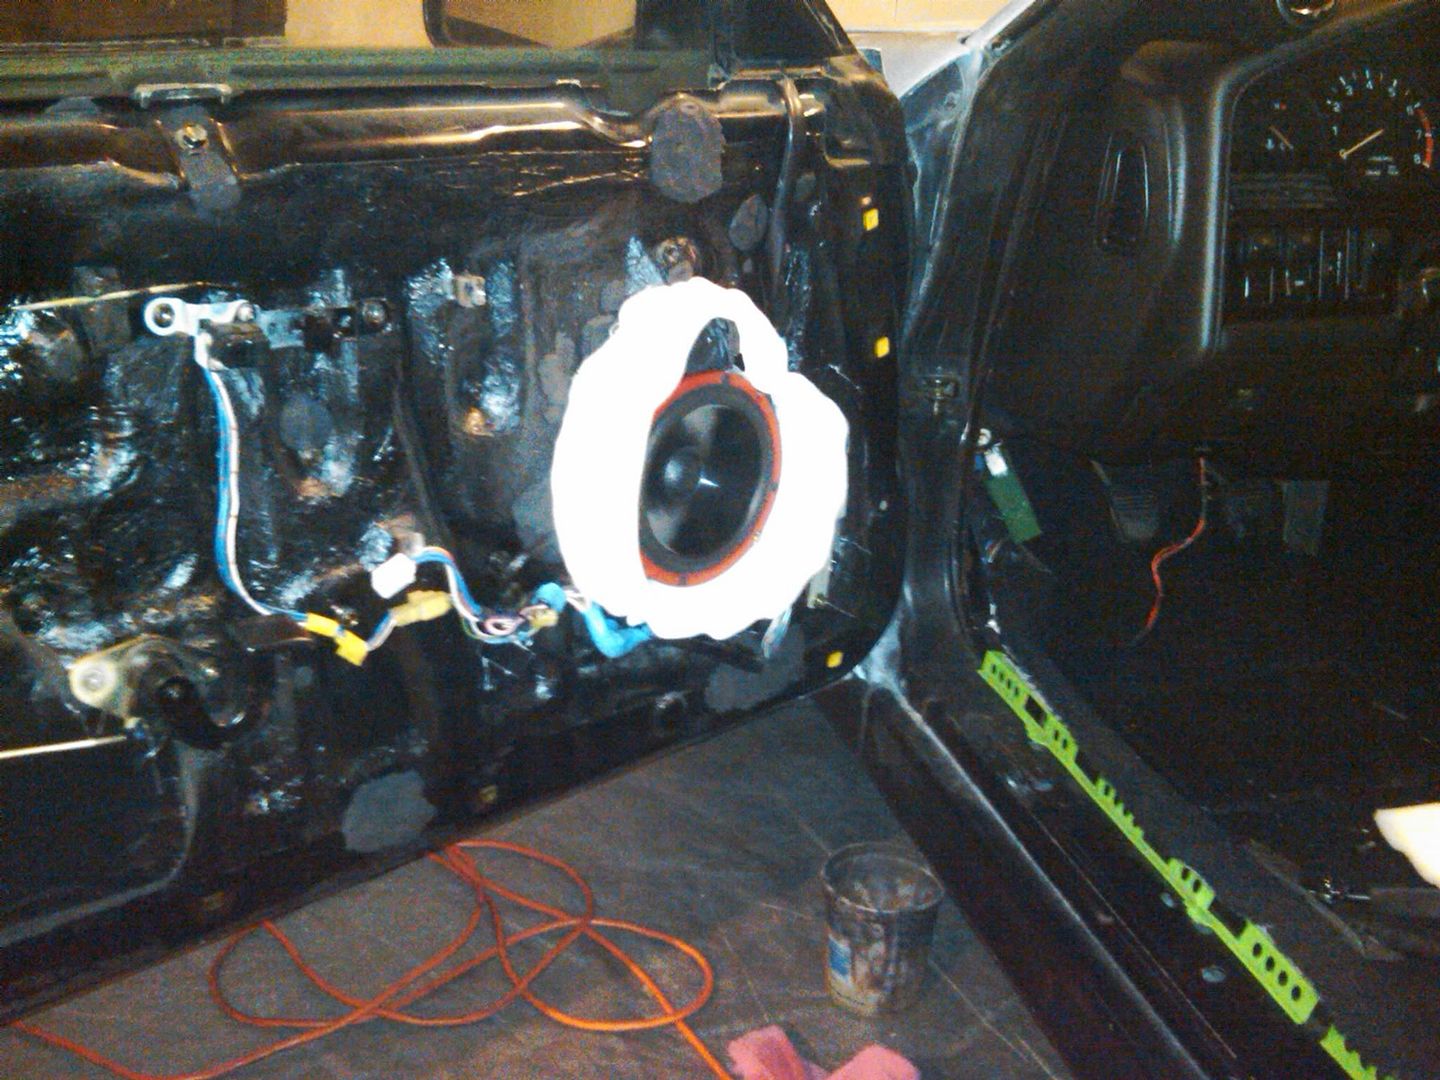
Oh yeah baby! Doors are all sealed up. I just have to modify the panel a bit to fit over the speakers and I'm good to go. Sealing the doors wasn't terribly difficult, it just took freakin forever! At first I was just going to seal the opening covers with silicone, but it was a little too flimsy for my liking.

p1468601_1.jpg


p1468601_2.jpg


So I decided to just go over all the edges with more clay since I had roughly a pound left over.

p1468601_3.jpg


For the opening behind the door module on the drivers side, I cut a piece of foam, lined the back in guerilla tape and then applied additional tape along the front edges for a water-tight seal.

p1468601_4.jpg


I'm loving the finished results. My front stage is going to sound amazing!!!

p1468601_5.jpg


p1468601_6.jpg


p1468601_7.jpg


p1468601_8.jpg


p1468601_9.jpg


p1468601_10.jpg


These doors are about as dead as they're going to get; and with minimal weight added too!
 

MarkIII4Me

Project OVERKILL!!!
Apr 10, 2005
1,249
2
38
Charleston, SC
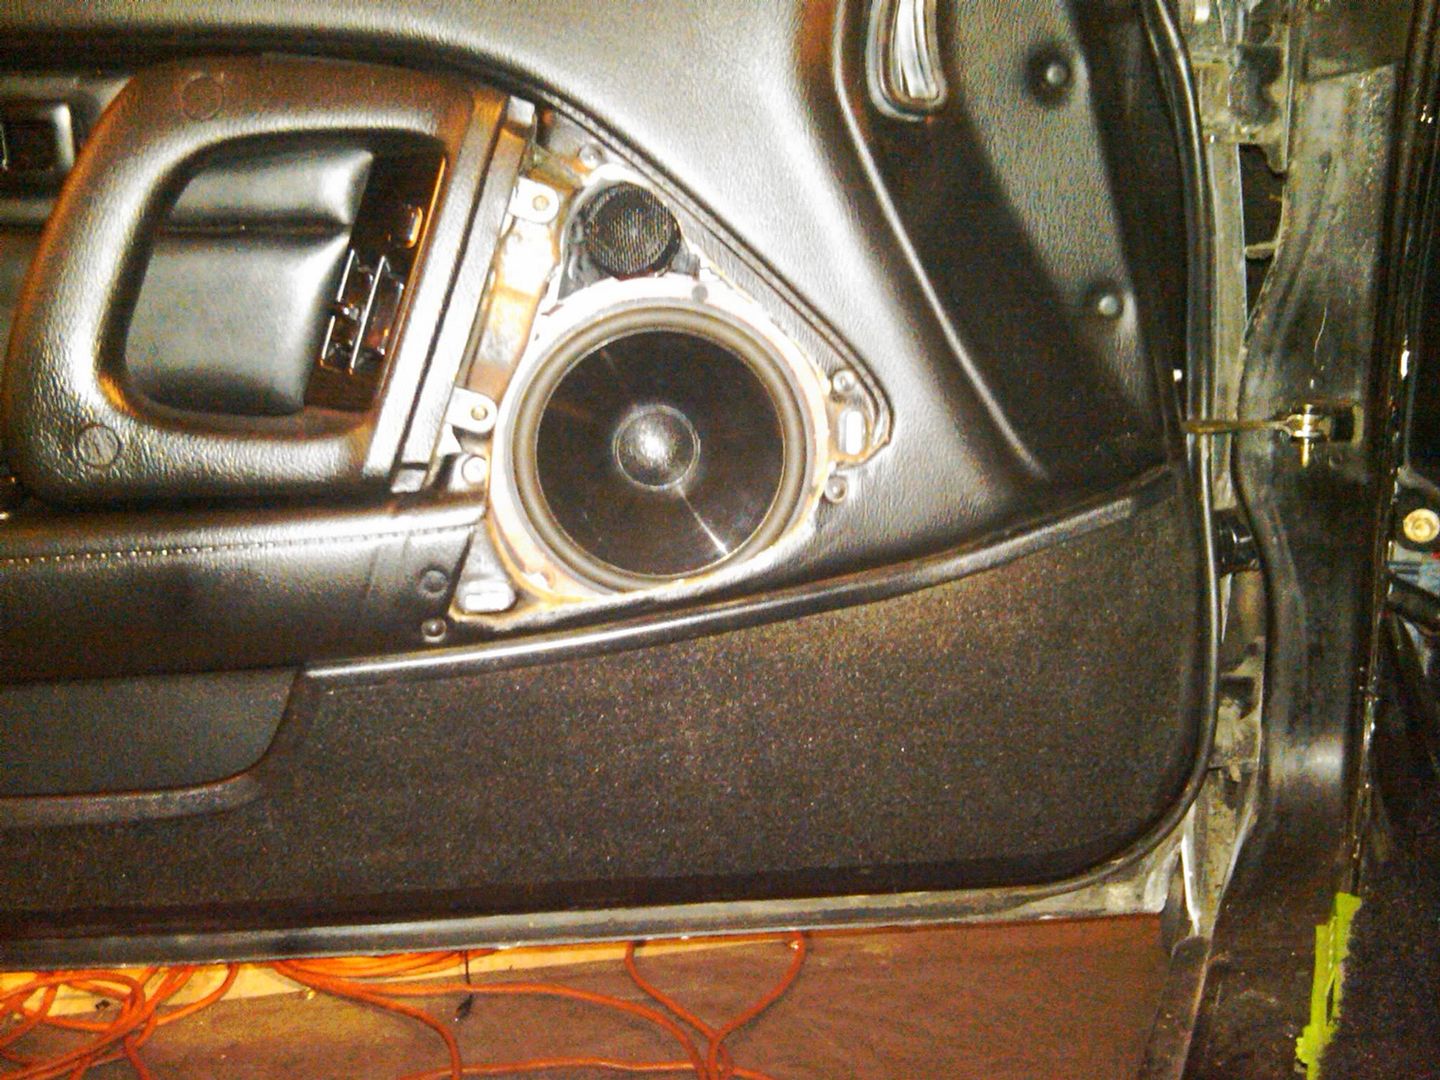
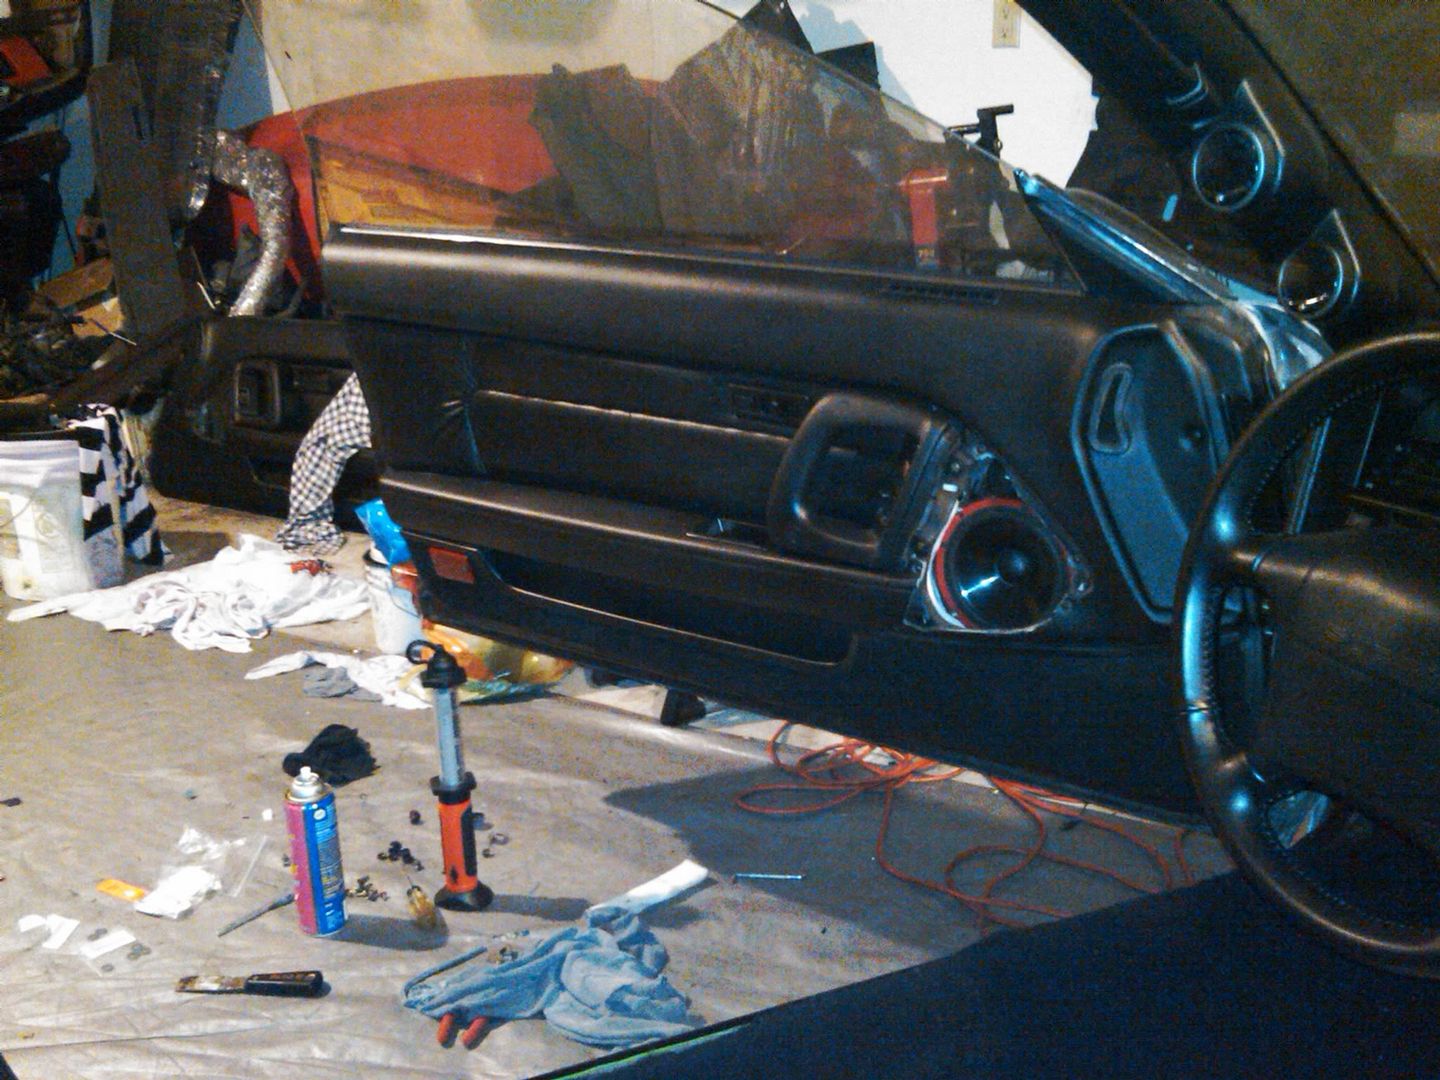
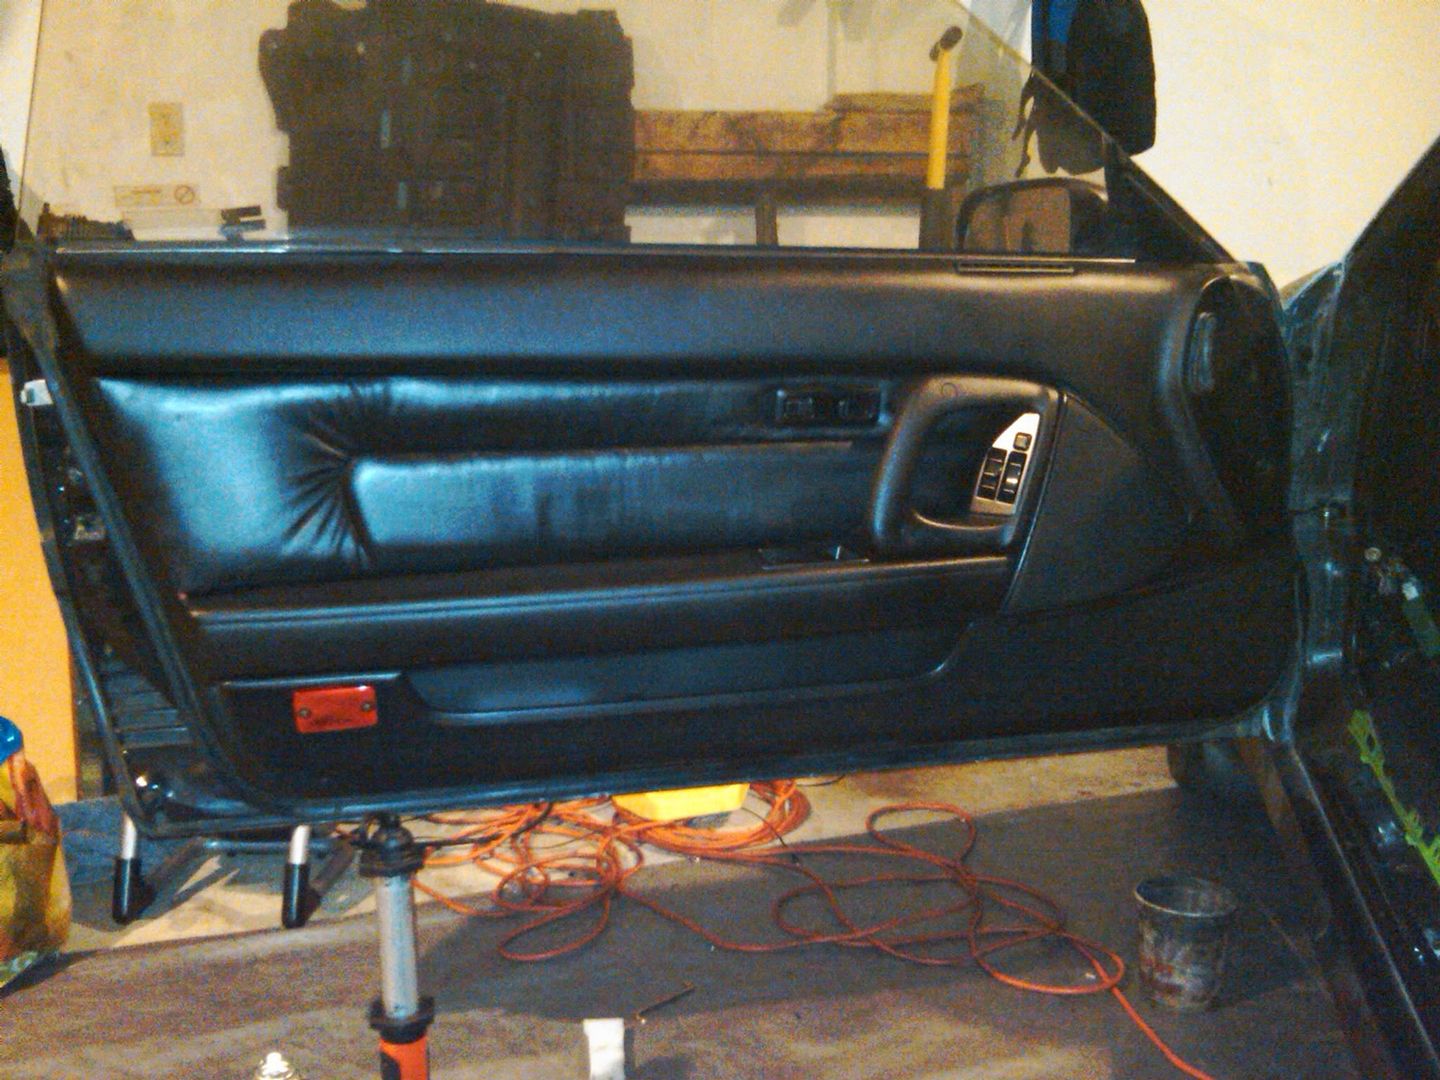
5 hours to get one door panel on. Ridiculous!

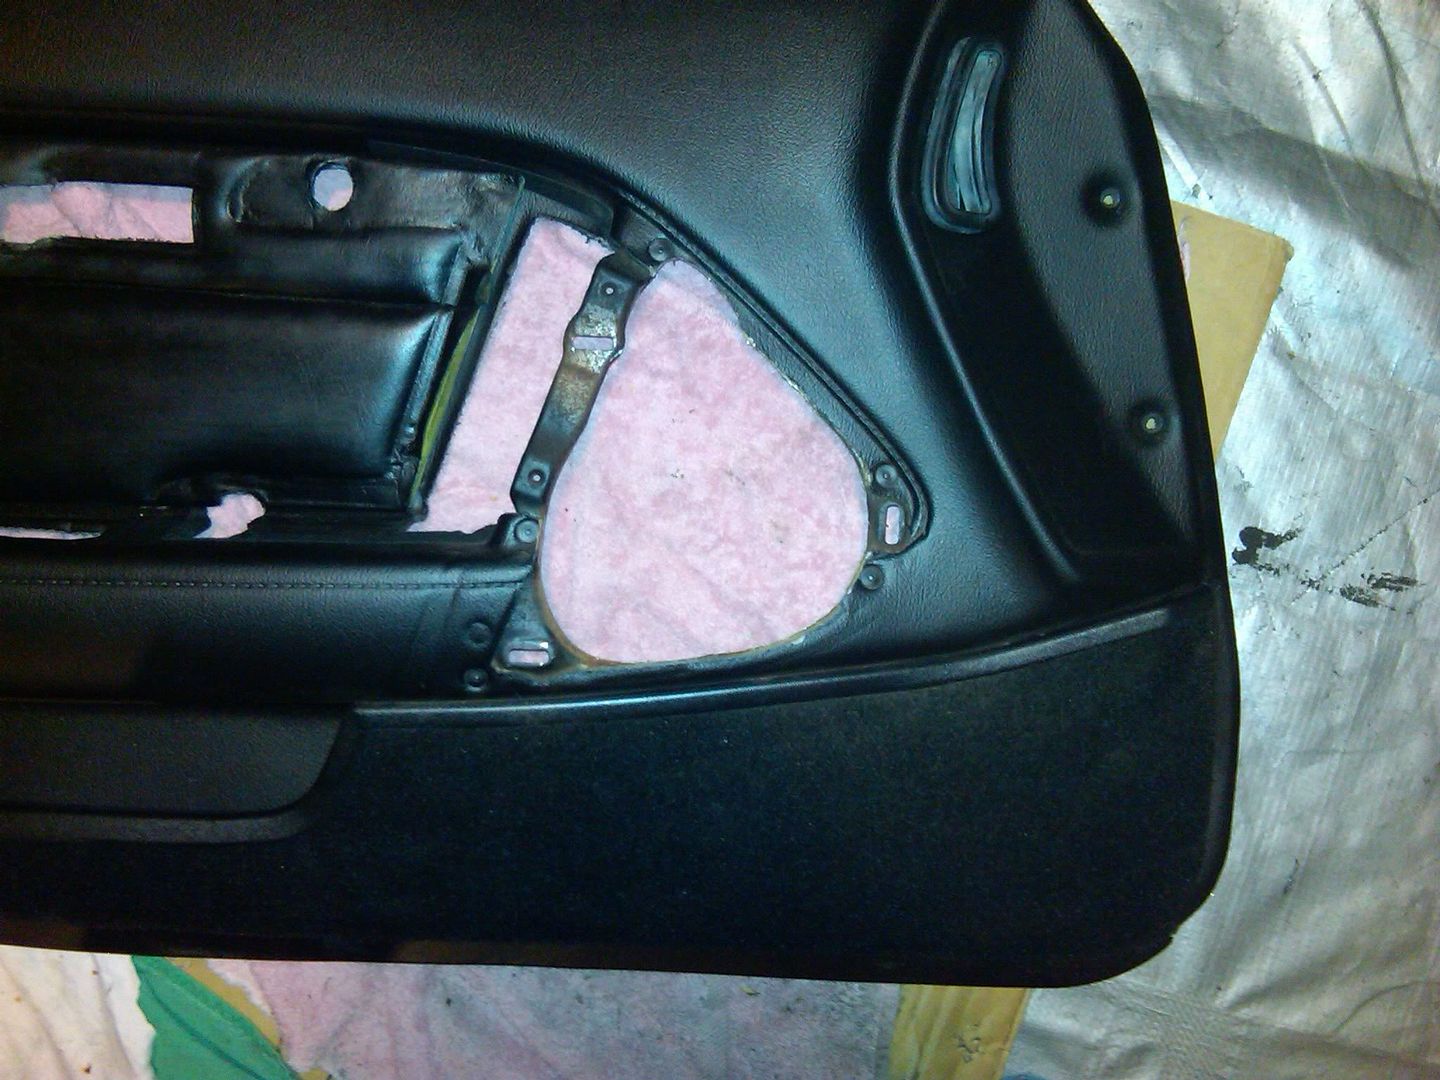
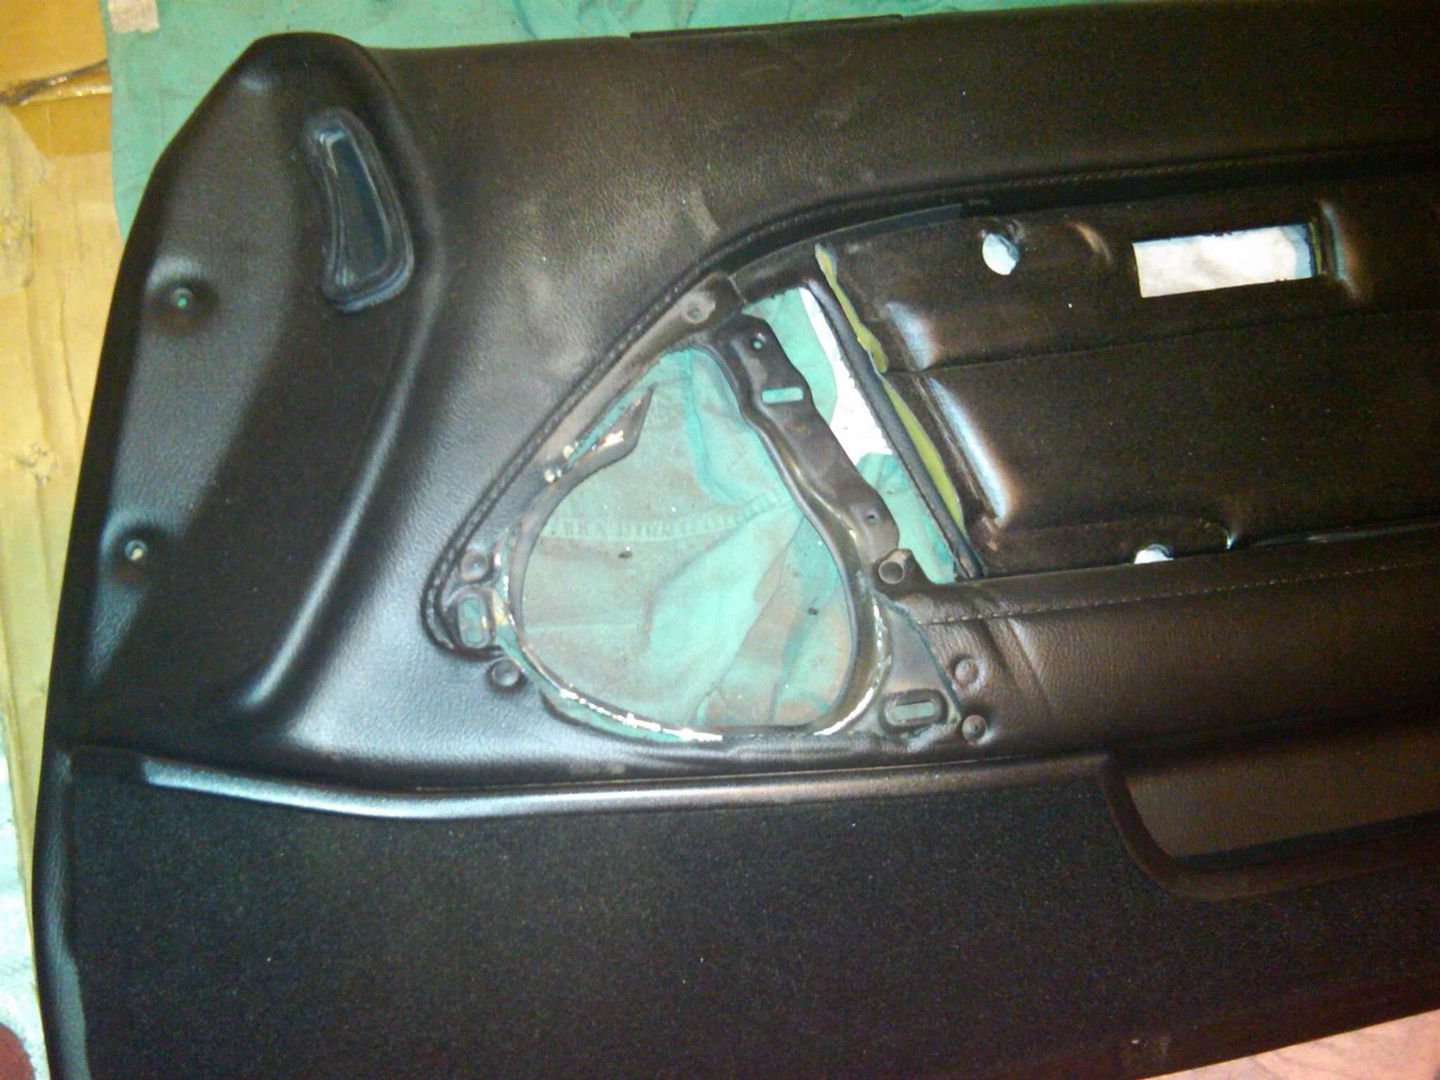
I had issue after issue. First being that I had to cut and shave down the metal speaker grill bracket on the door panel. It was thicker than I expected. I went through 6 dremel wheels, 2 of which were reinforced. I also cut out some of the surrounding vinyl which was blocking a good portion of the tweeter.

It came out great tho.

p1470338_1.jpg


I realized that the JDM leather door insert on the drivers side didn't have a large enough cut-out for the door lock switches. It was square when it needed to be rectangle. So I had to pull the panel and cut that out.

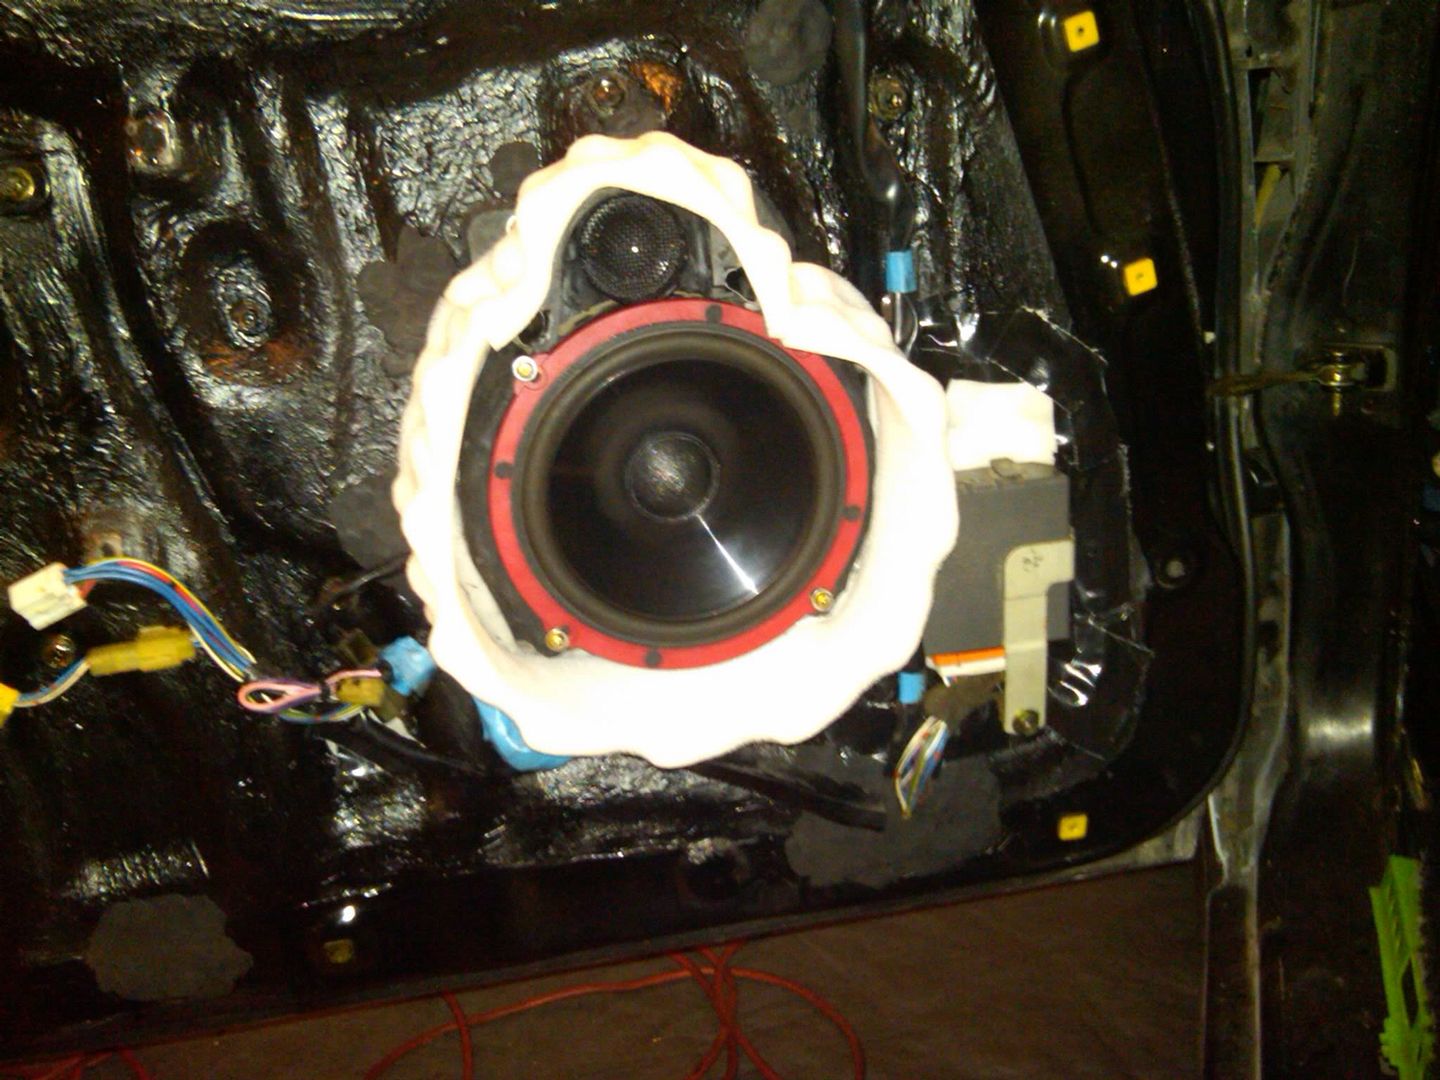
I wrapped foam around the speakers so that they would project the sound straight through the grills without loosing any waves in the panels.

p1470338_2.jpg


p1470338_3.jpg


p1470338_4.jpg


p1470338_5.jpg


p1470338_6.jpg


I must have bolted-up and pulled the door panel a dozen times trying to get it to fit properly. For some reason, it seems like something is hitting the panel behind the leather insert. I checked it over and saw nothing. No matter what I tried, the panel sticks out in the middle about 1/4". I eventually gave up trying to get it to fit properly and just put spacers behind the door handle and sourced longer bolts. This pushed the handle far enough out that it worked perfectly.

So the panel is on and looking awesome!

p1470338_7.jpg


p1470338_8.jpg


p1470338_9.jpg


The final issue is that the back of the panel won't stay against the door. No matter what I tried, the 2 plastic tabs just won't hold and now the panel sits 1/4" out from the door.

p1470338_10.jpg


It shouldn't effect the door from closing properly, but I still want to keep moisture out of there. I'll probably just tuck a thin layer of dark foam in the gap. It really bugs me that I didn't get the panel to seat right. But after hours and hours of trial and error, I had to just do what works.

Any ideas of why the panel isn't fitting? As I mentioned earlier; I see absolutely nothing obstructing the panel. Maybe it's not seated right where it snaps in along the base of the window? However, I tried the original door panel and had the same issue. I'm afraid I'll have to deal with the same thing on the passenger side.
 

MarkIII4Me

Project OVERKILL!!!
Apr 10, 2005
1,249
2
38
Charleston, SC
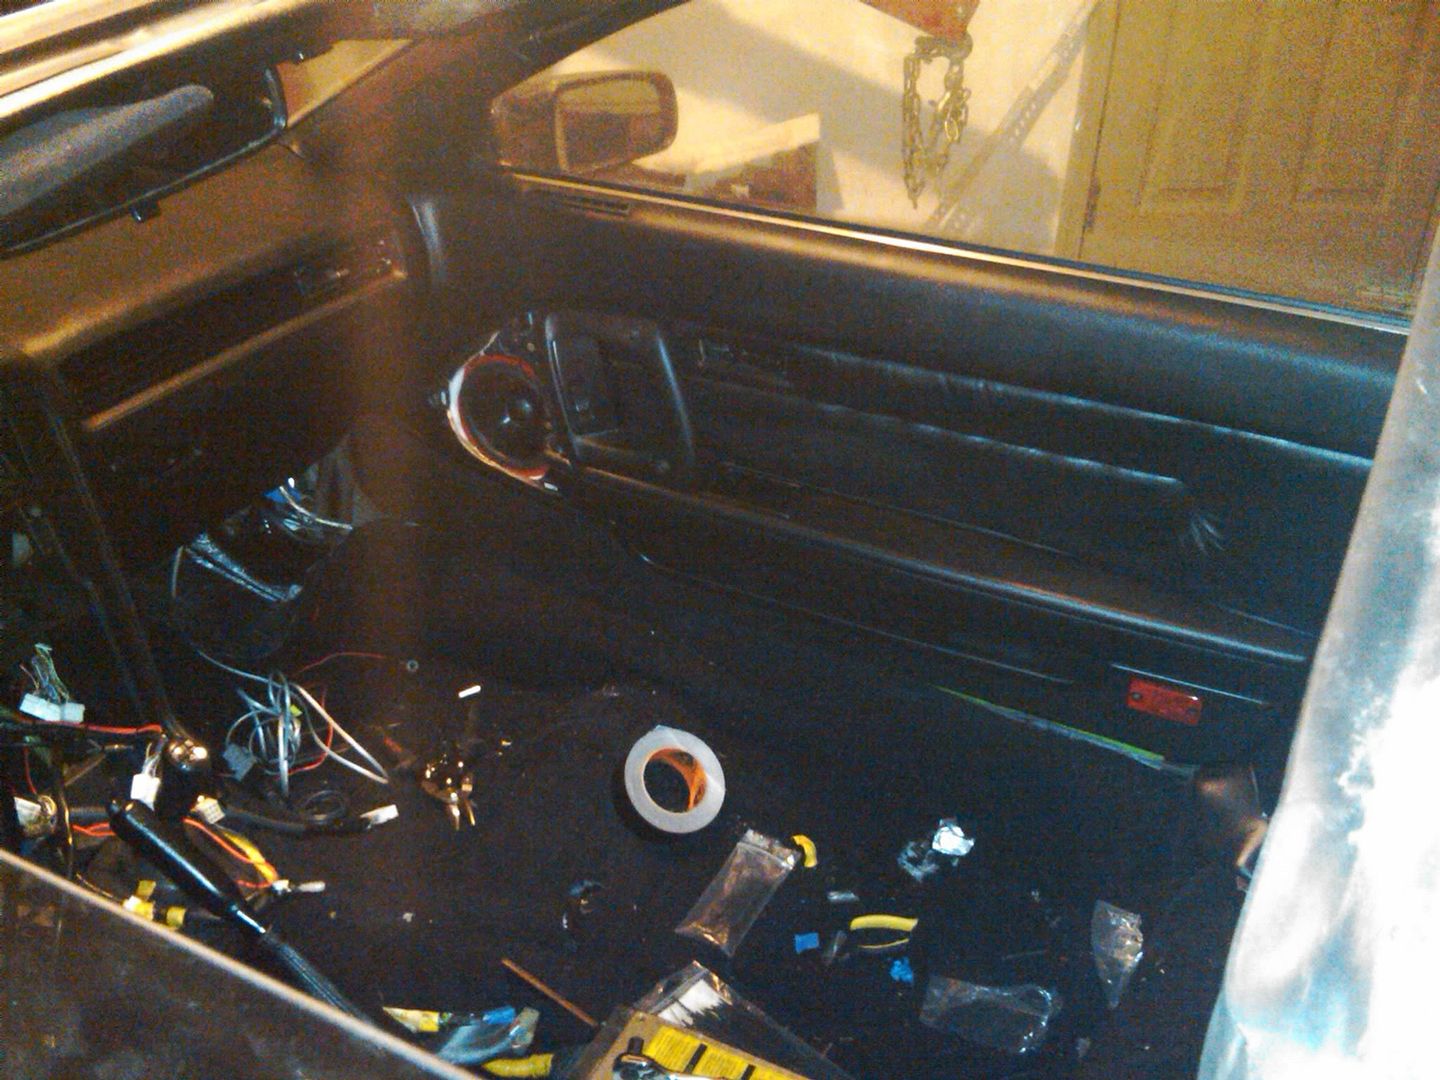
Passenger side panel is on. Very easy the second time around. Took maybe 2 hours if that. I still had to move the door handle forward, but the plastic tabs on the back of the panel seem to be holding it flush against the door just fine. Not sure why the drivers side isn't holding, but I may modify the tabs so they are a bit thicker at their widest point. Hopefully that will keep them from popping off out while keeping the panel flush against the door.

Here's pics of the passenger side.

p1471797_1.jpg


p1471797_2.jpg


p1471797_3.jpg


p1471797_4.jpg


p1471797_5.jpg


I should be able to finish up the rest of the interior in the next few days. Then I can get back to work on getting this baby running :icon_razz
 

tekdeus

Pronounced Tek-DAY-us
Jan 23, 2006
2,115
0
0
Vancouver Canada
www.bitrontech.com
MarkIII4Me;1446847 said:
2) Prep, prep; then prep again.
Remember, if the paint chips or cracks down the road then you'll be pulling that panel and prepping and painting it all over again. Not such a big deal with some of the side panels, but things like the dash you only want to pull once. Scrub vinyl with scotch pads and comet. Rinse and rub with 91% alcohol or acetone. If you don't get to paint it the same day, then rub with alcohol again before paint. Do a very light 1st coat (light second doesn't hurt either). Follow up with a heavy 3rd coat to prevent a sandpaper feeling finish. For plastics, do the same; however, I've recently started taking 800 grit sandpaper to the panels before alcohol and experienced improved adhering results.

Good work, that's a heck of a lot of prep. I used SEM vynil prep for the dash and it's holding up great. For plastic parts I had to use SEM plastic cleaner, then SEM plastic adhesion promoter. The SEM line of products worked great on my interior.
 

MarkIII4Me

Project OVERKILL!!!
Apr 10, 2005
1,249
2
38
Charleston, SC
IBoughtASupra;1476328 said:
You Car Is Retarded. Your Girlfriend Is Hot. I Am Joking About The Car. :)

Correction; she is my wife now :)


gurley0916;1476312 said:
Any pics of the 3 point harness?

I haven't installed them yet. You can see the boxes in the bottom right tho.

p1476418_1.jpg


I'll put them in the next time I'm in the garage. It's been so cold lately that I haven't made it in all week.


tekdeus;1476340 said:
Good work, that's a heck of a lot of prep.

Better safe than sorry. I did look into the SEM vinyl paint, but I was told by my painting specialists over at Unikote that they feel Automagic vinyl paint is far superior. They carry both product lines so I just took their word for it. I can't compare the two since I've only been using the Automagic; but I like it.