Neodeuccio;1446817 said:
carpet isn't that hard to replace.
Uh, yeah; keep telling yourself that :evil2:
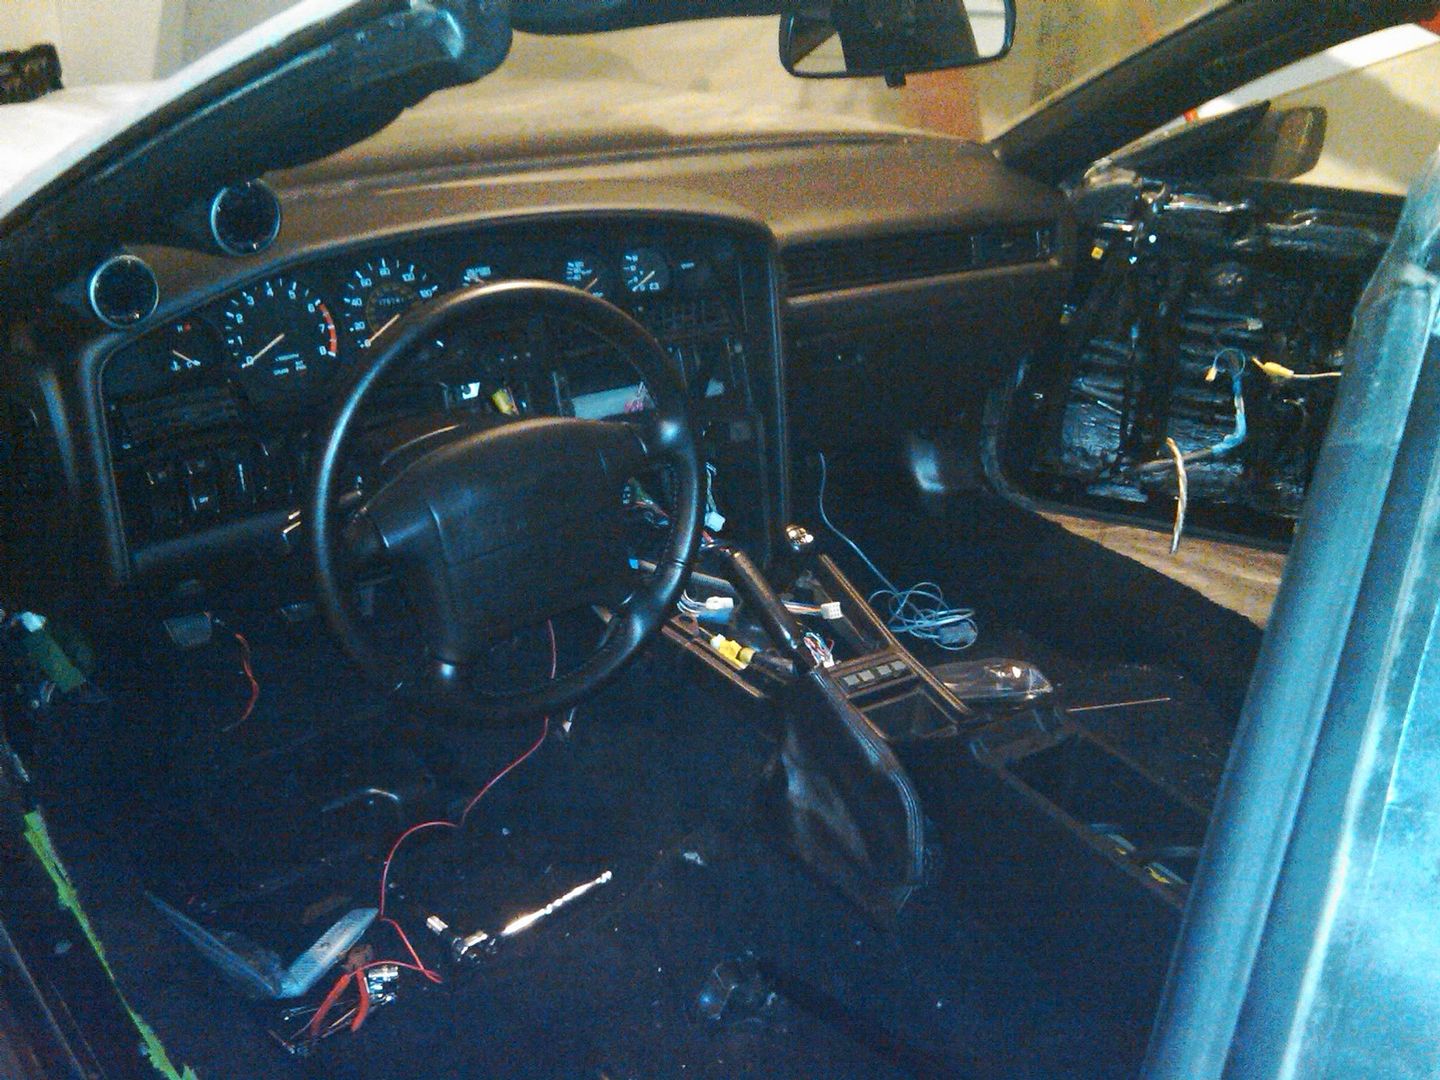
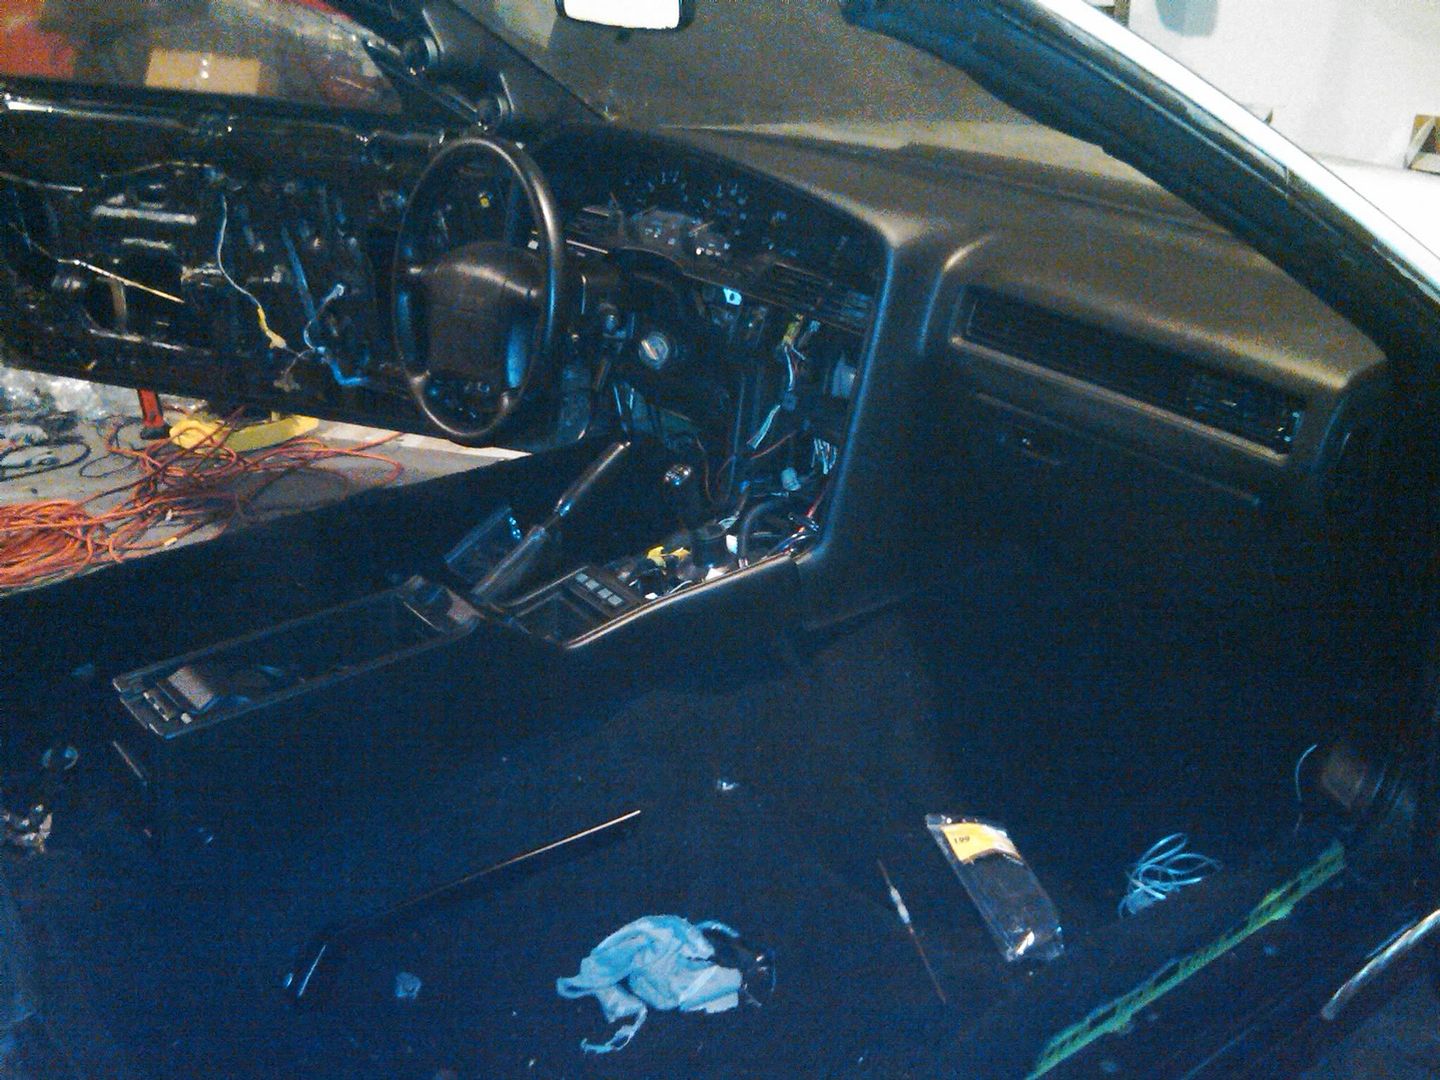
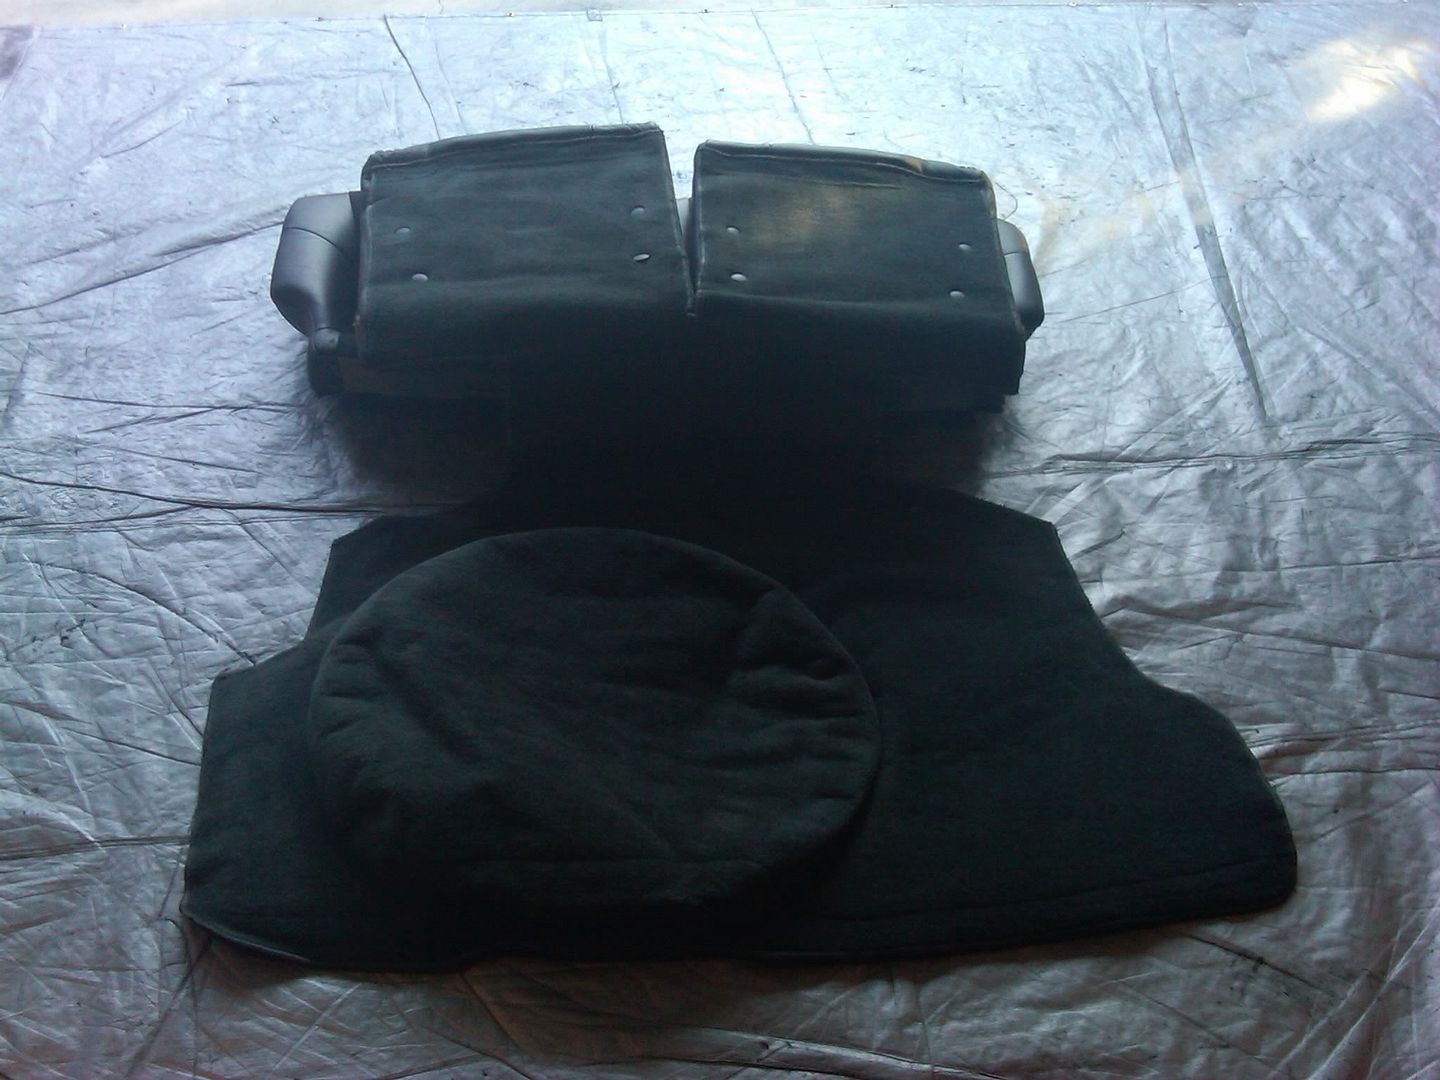
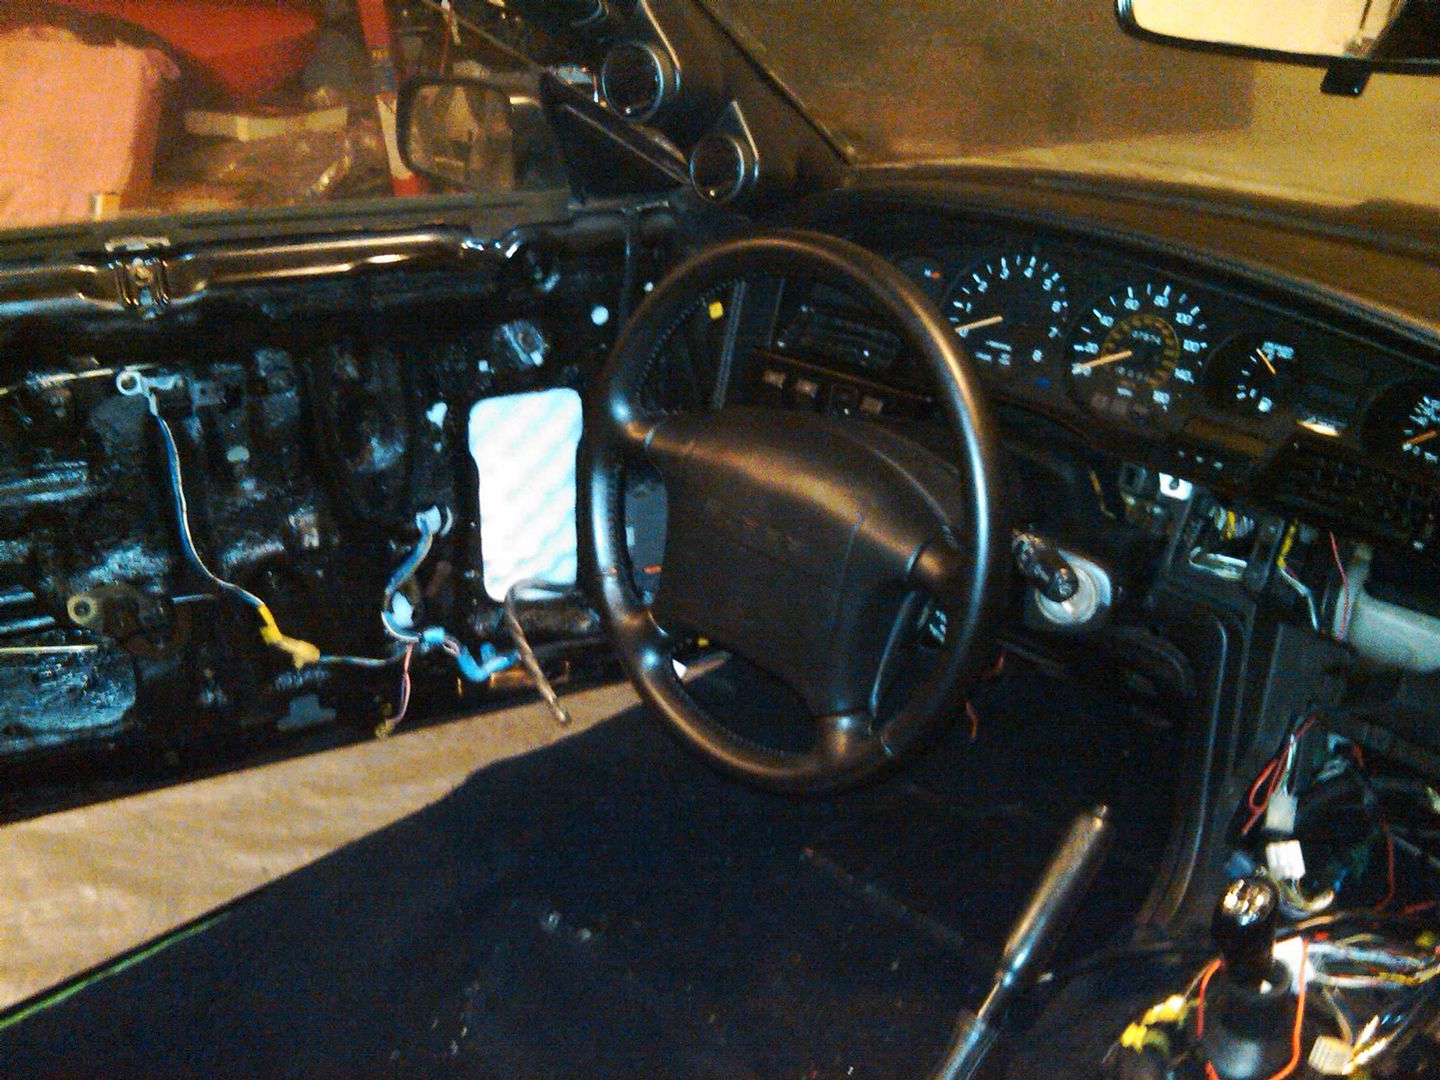
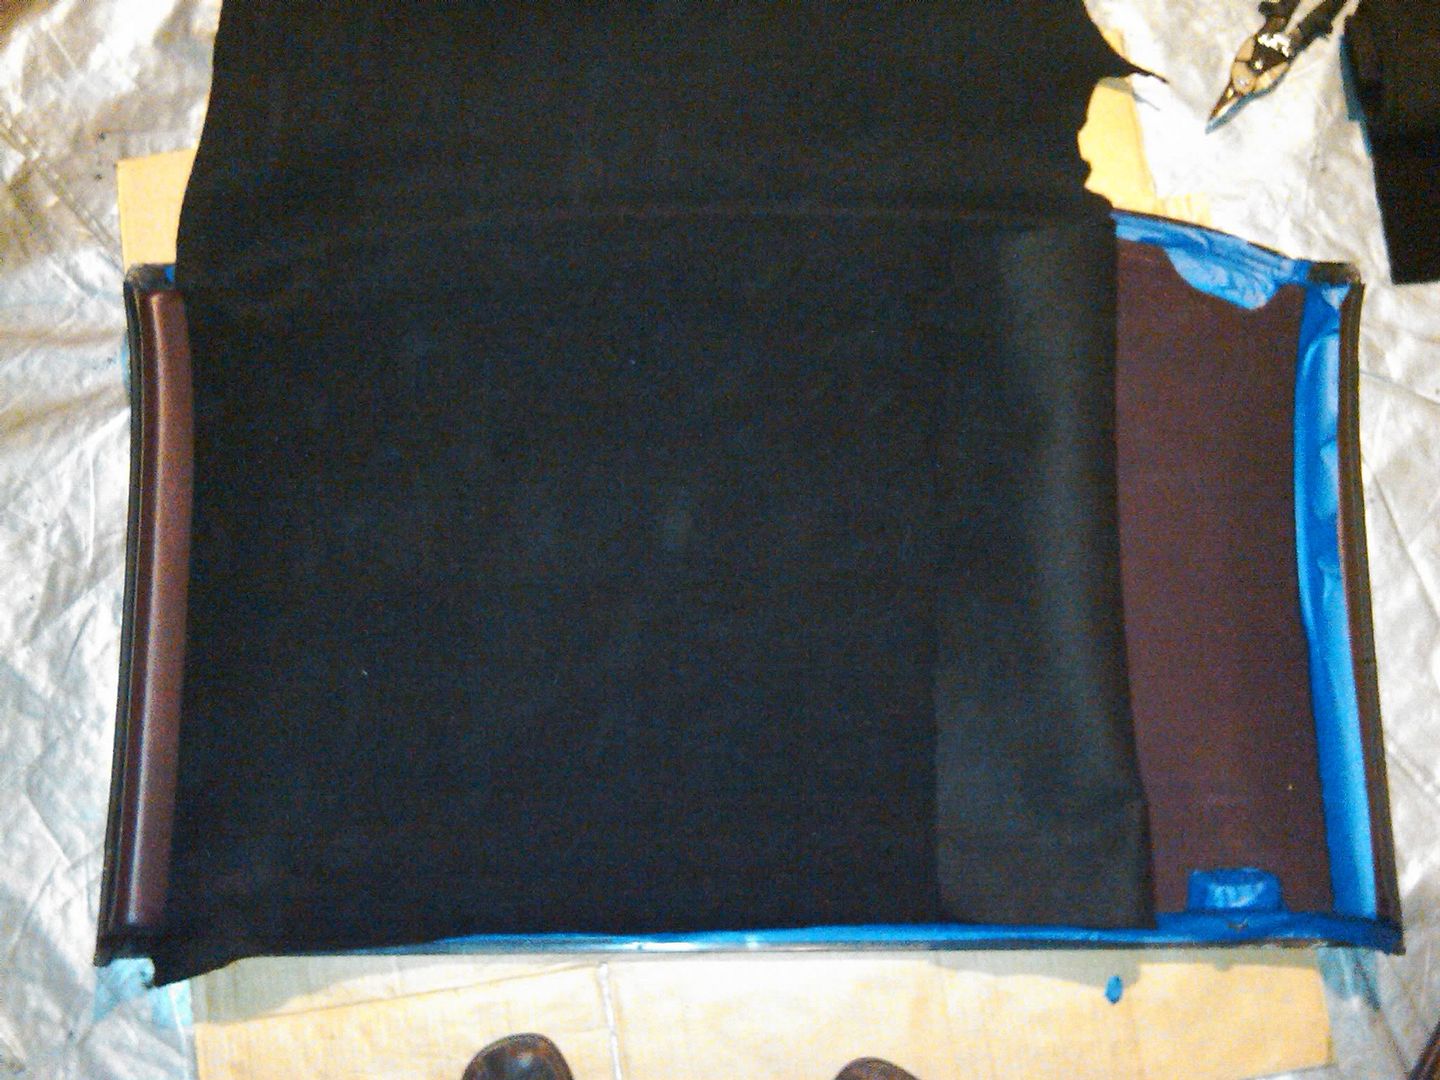
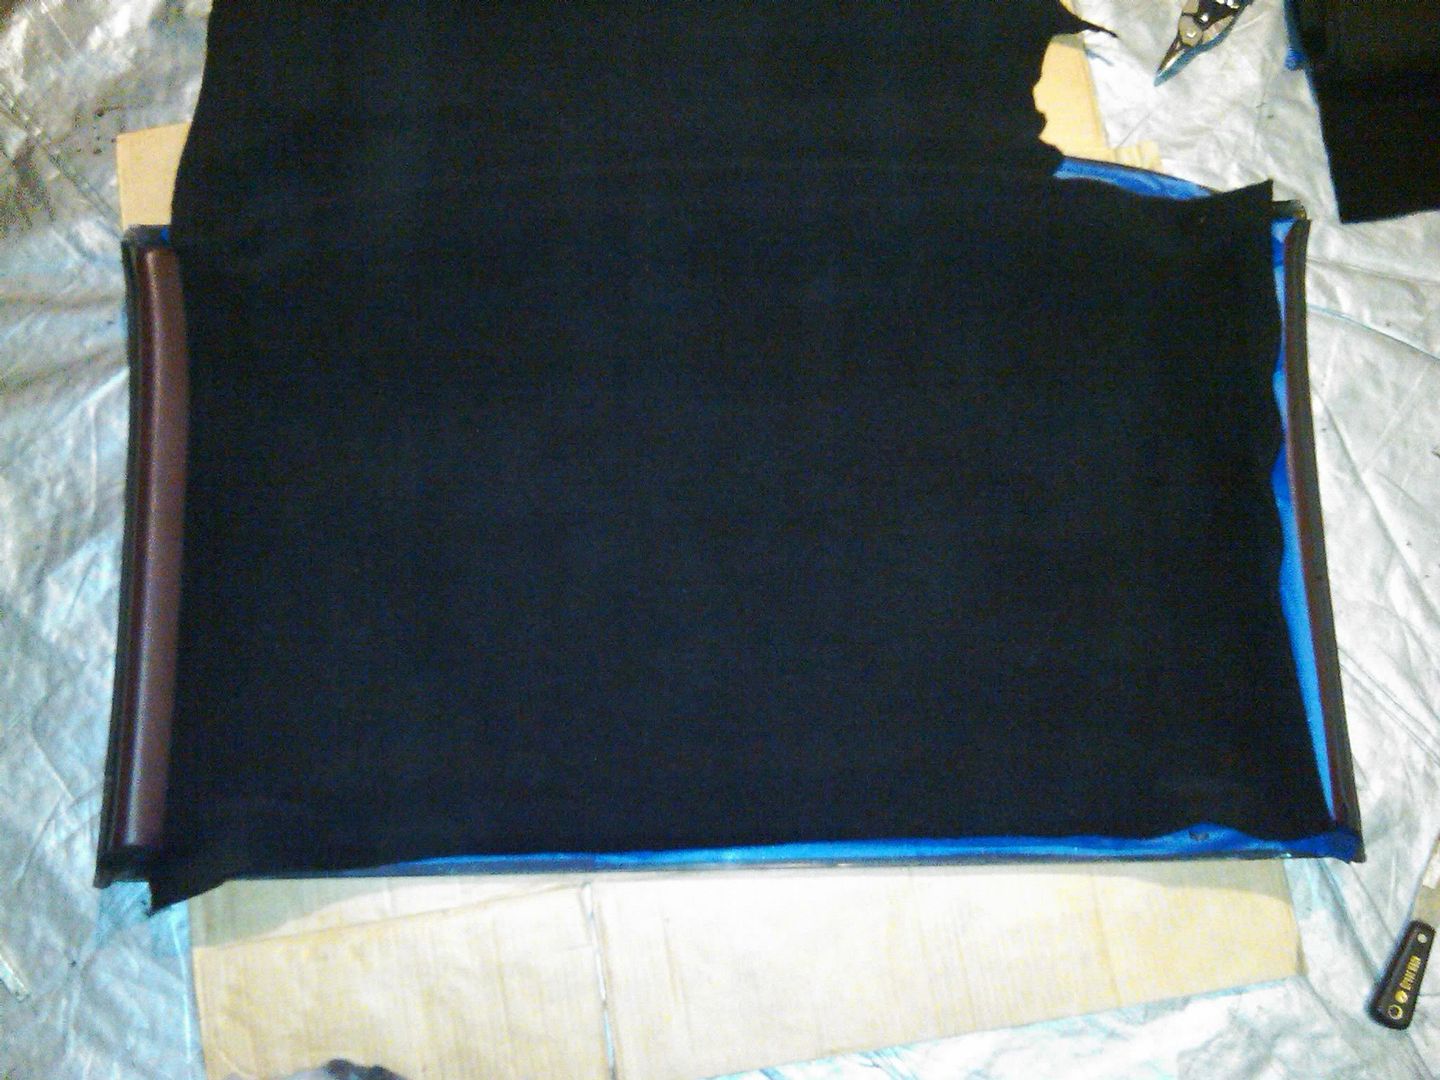
Probably the biggest pain in the ass out of all of this was installing the new carpet since it wasn't pre-molded (even tho the seller advertised that it was). It was barely big enough to fit and extrememly hard to cut since the backing cushion was very thick. I had to use tin snips. Very annoying to when cutting bolt holes for seats and seatbelts. I don't know if there are any good preformed options out there but for the extra costs I would definitely go that route and save the headache. Ask Slow_sc3 what I'm taking about. He has a roll of carpet sitting in his trunk and he's decided to try and source some factory grey carpet so he won't have to deal with the hassle.
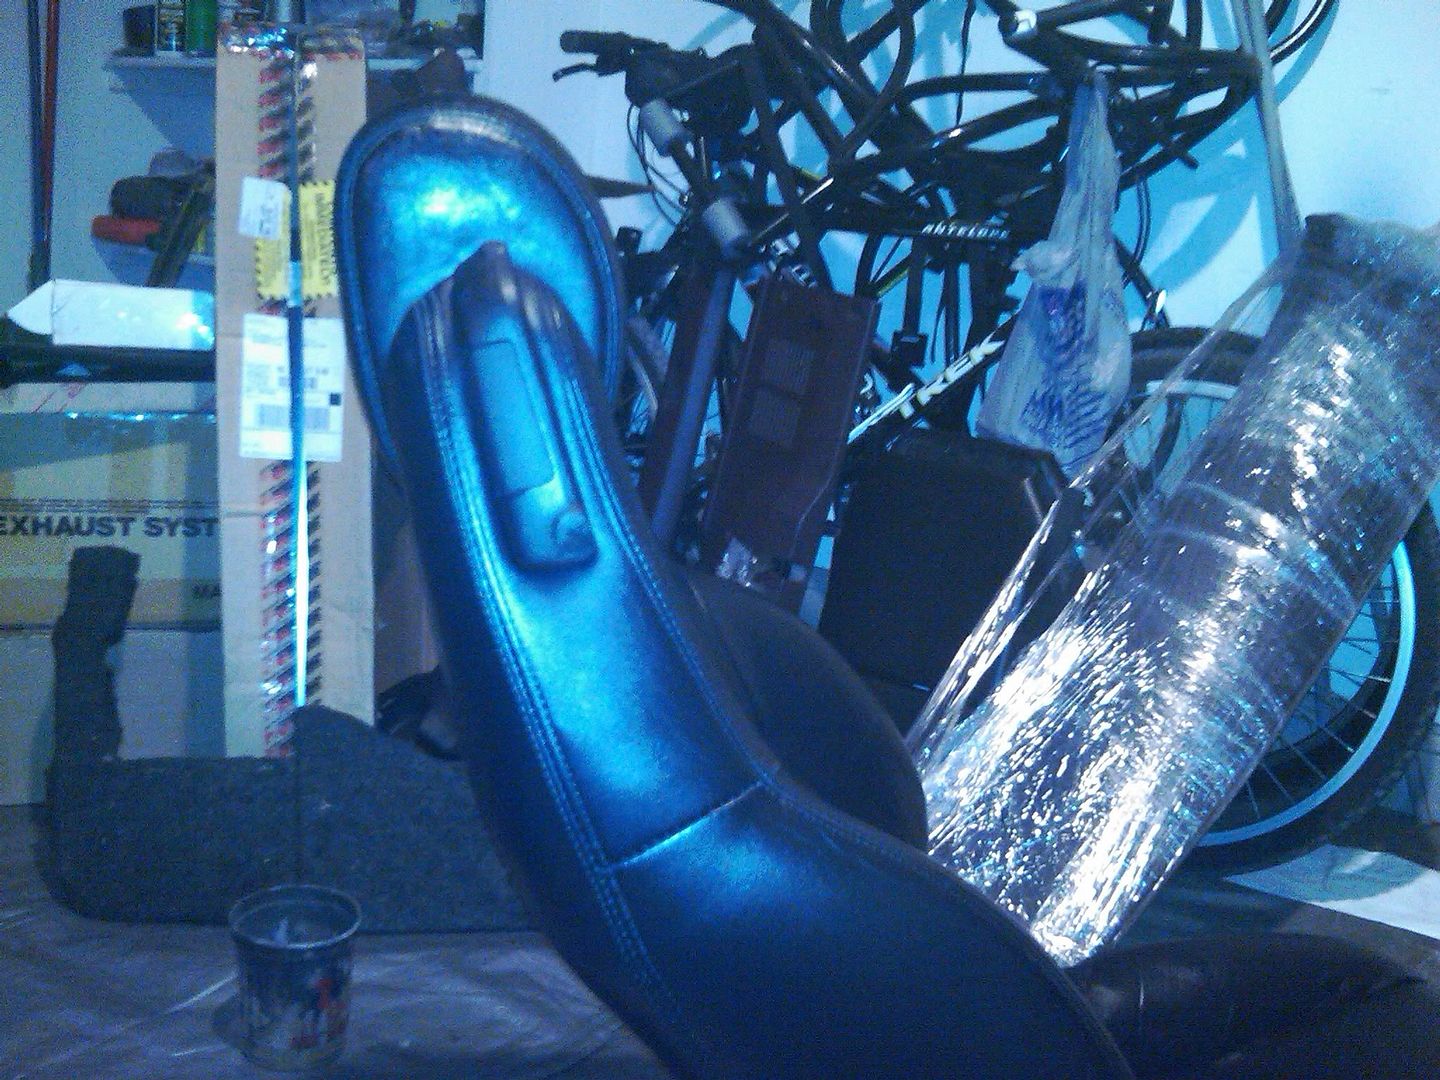
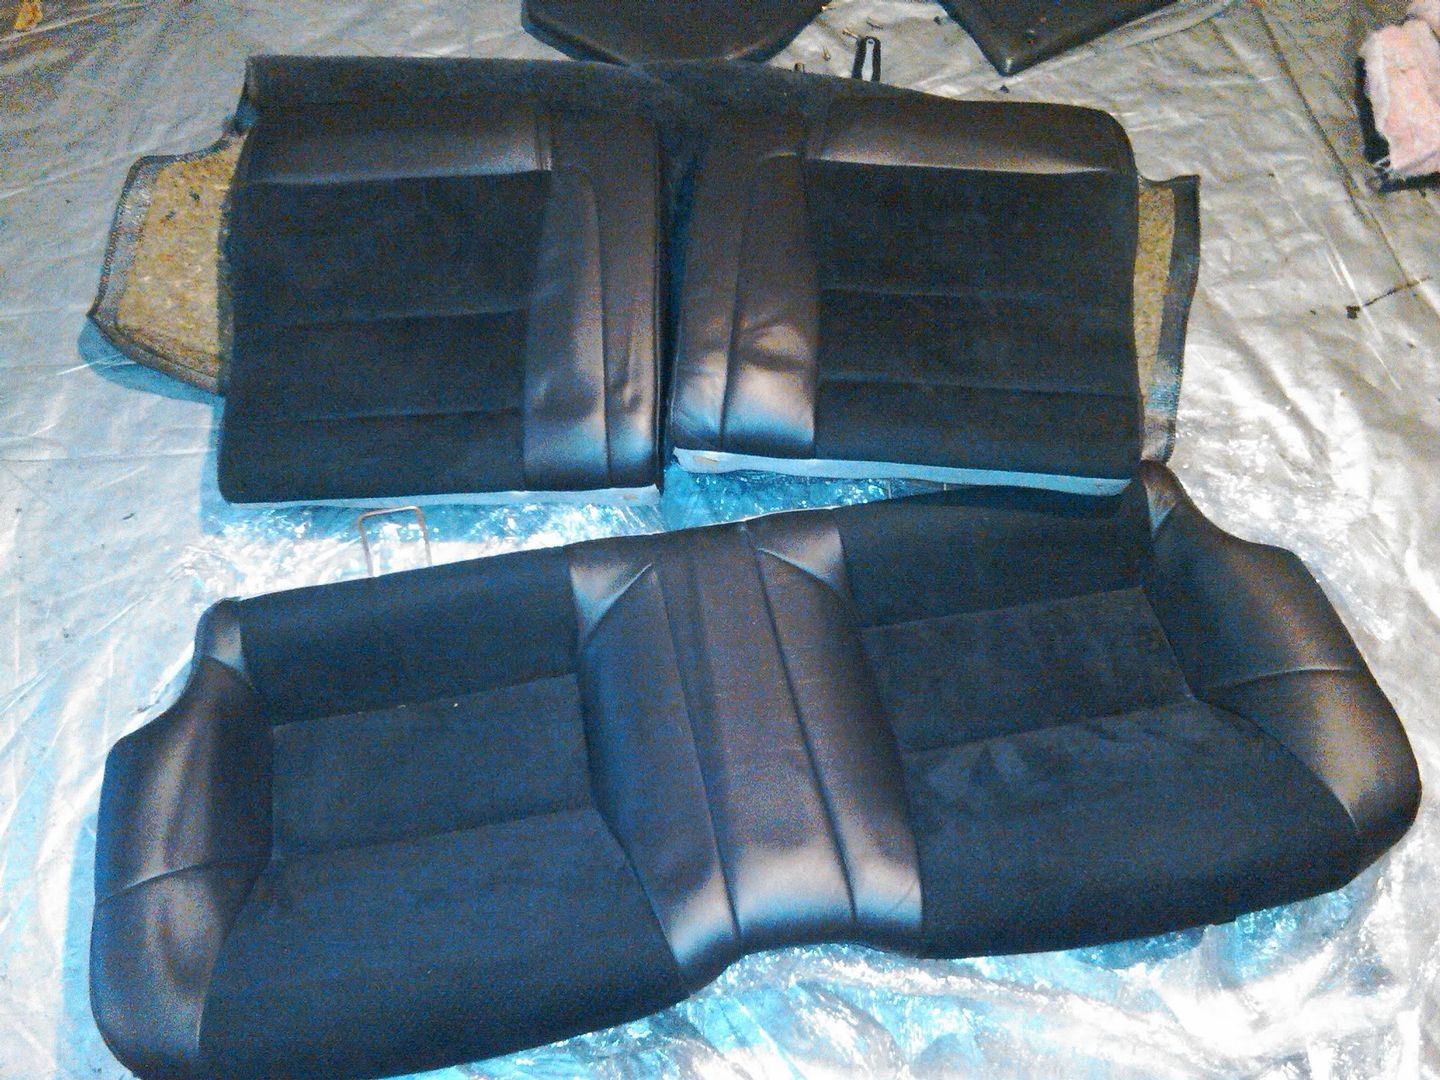
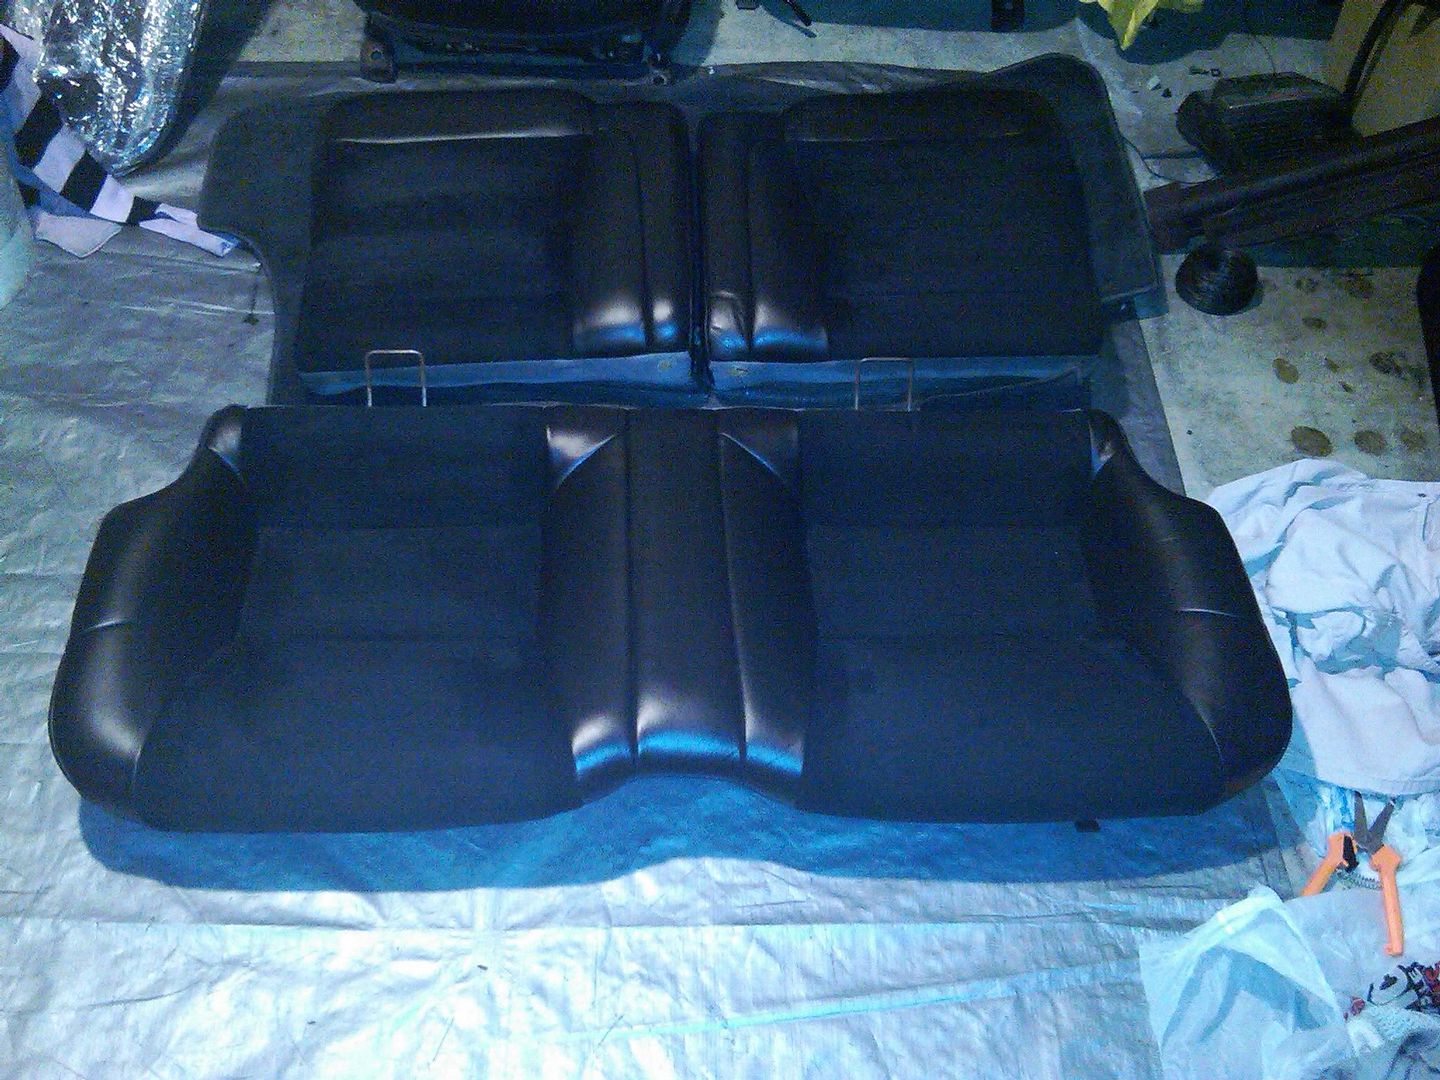
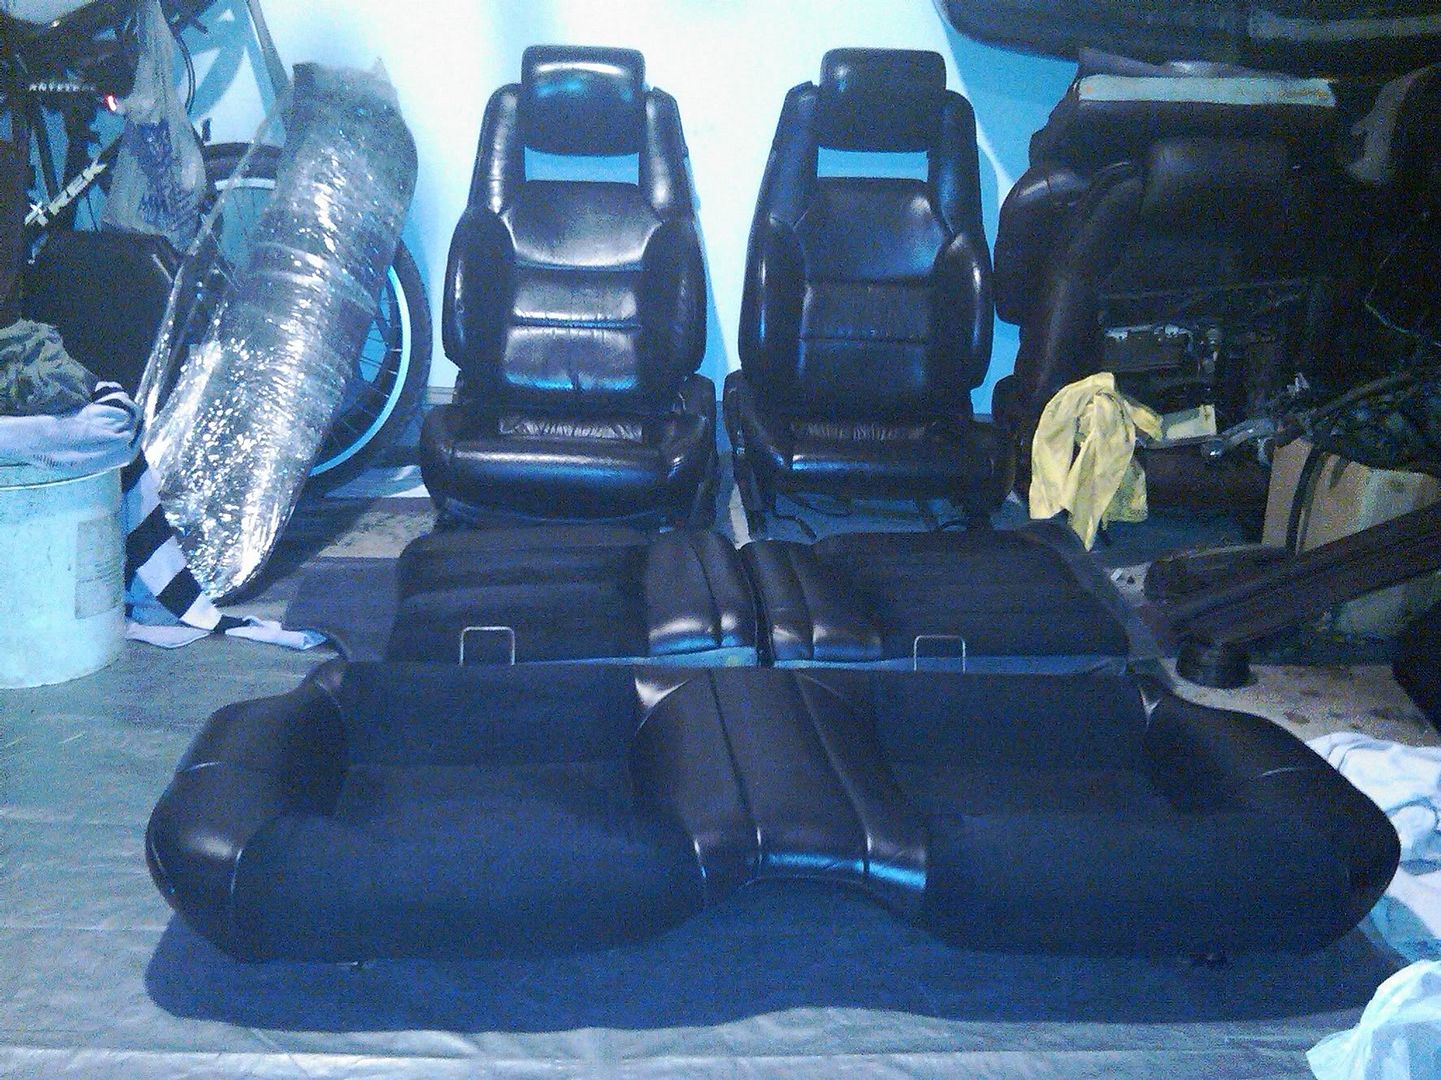
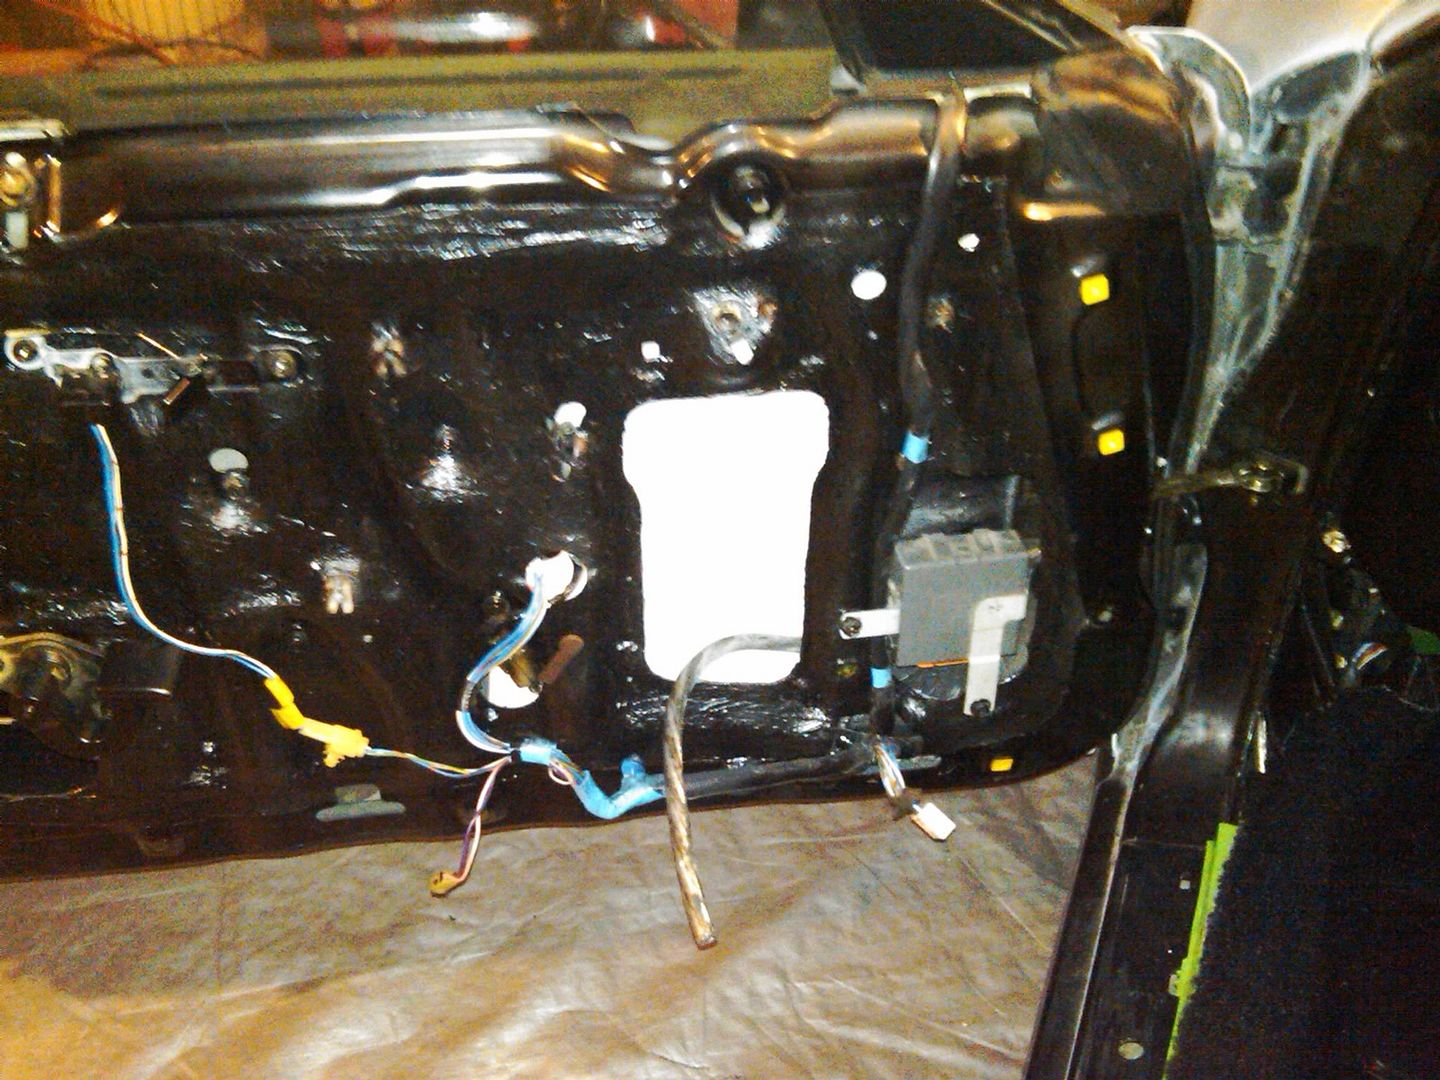
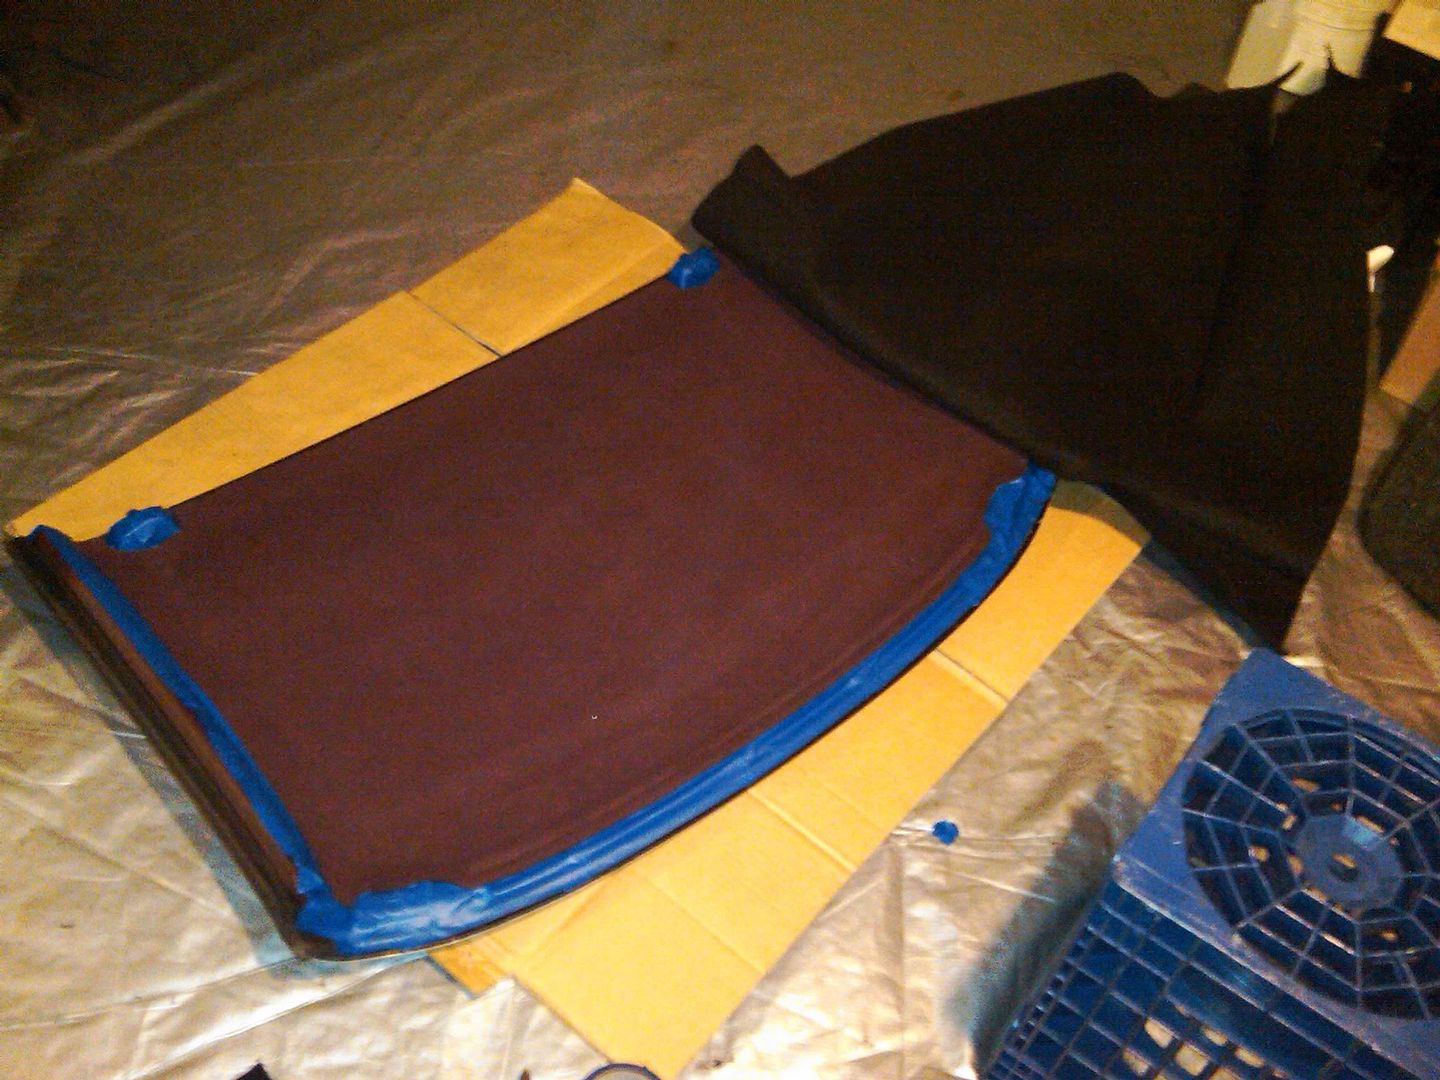
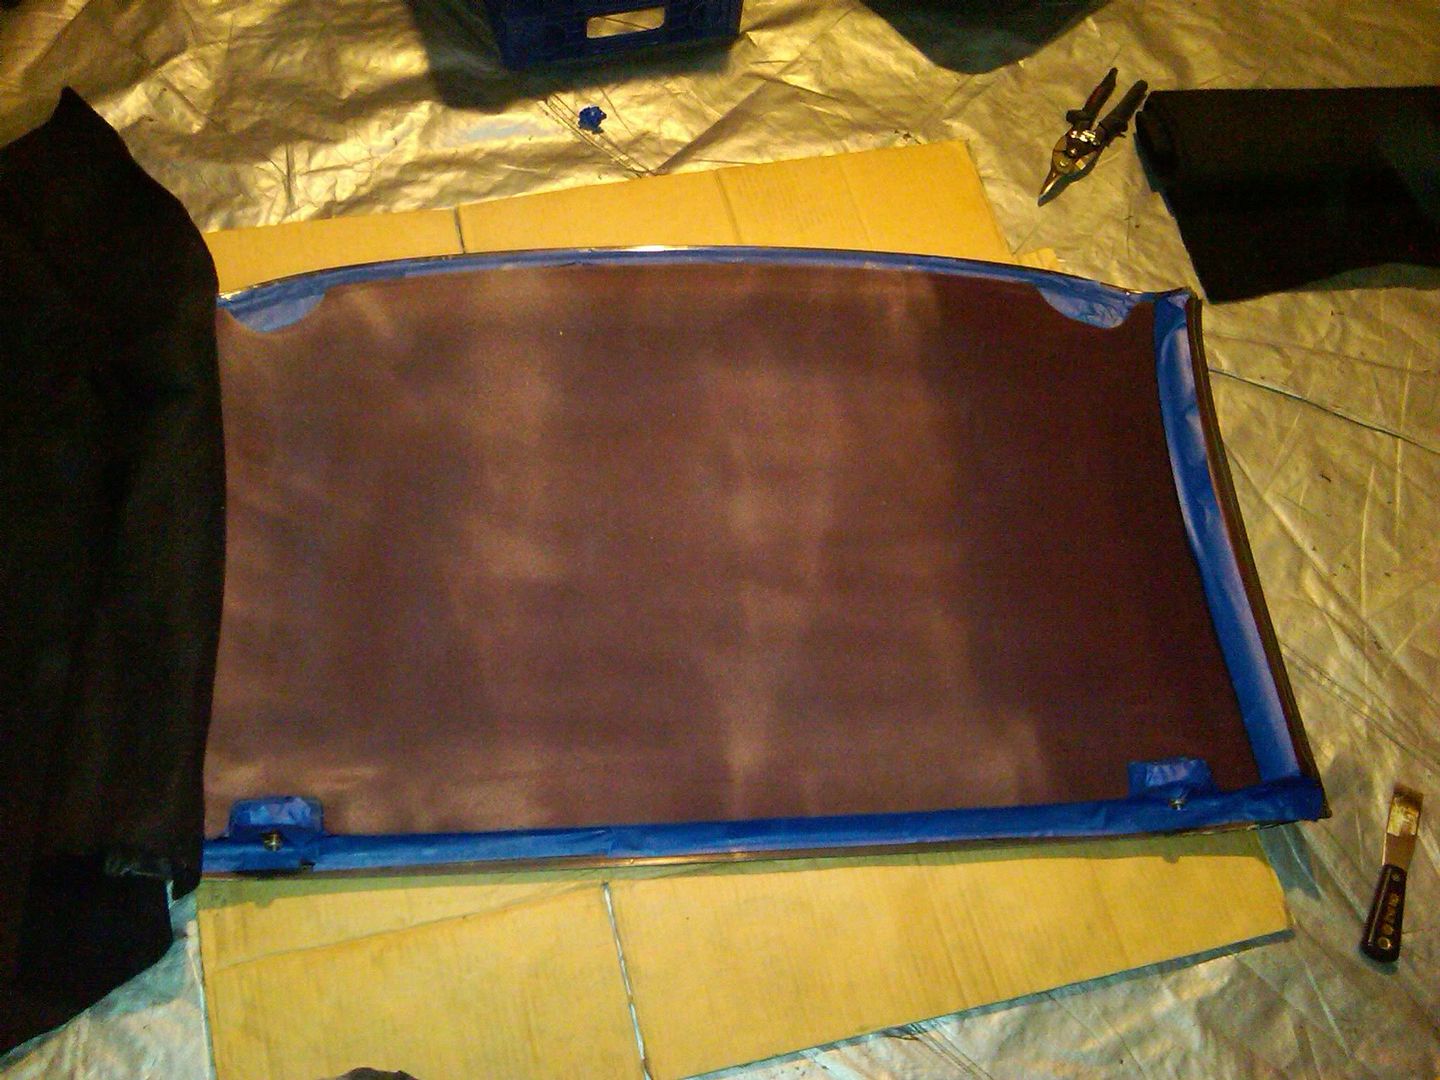
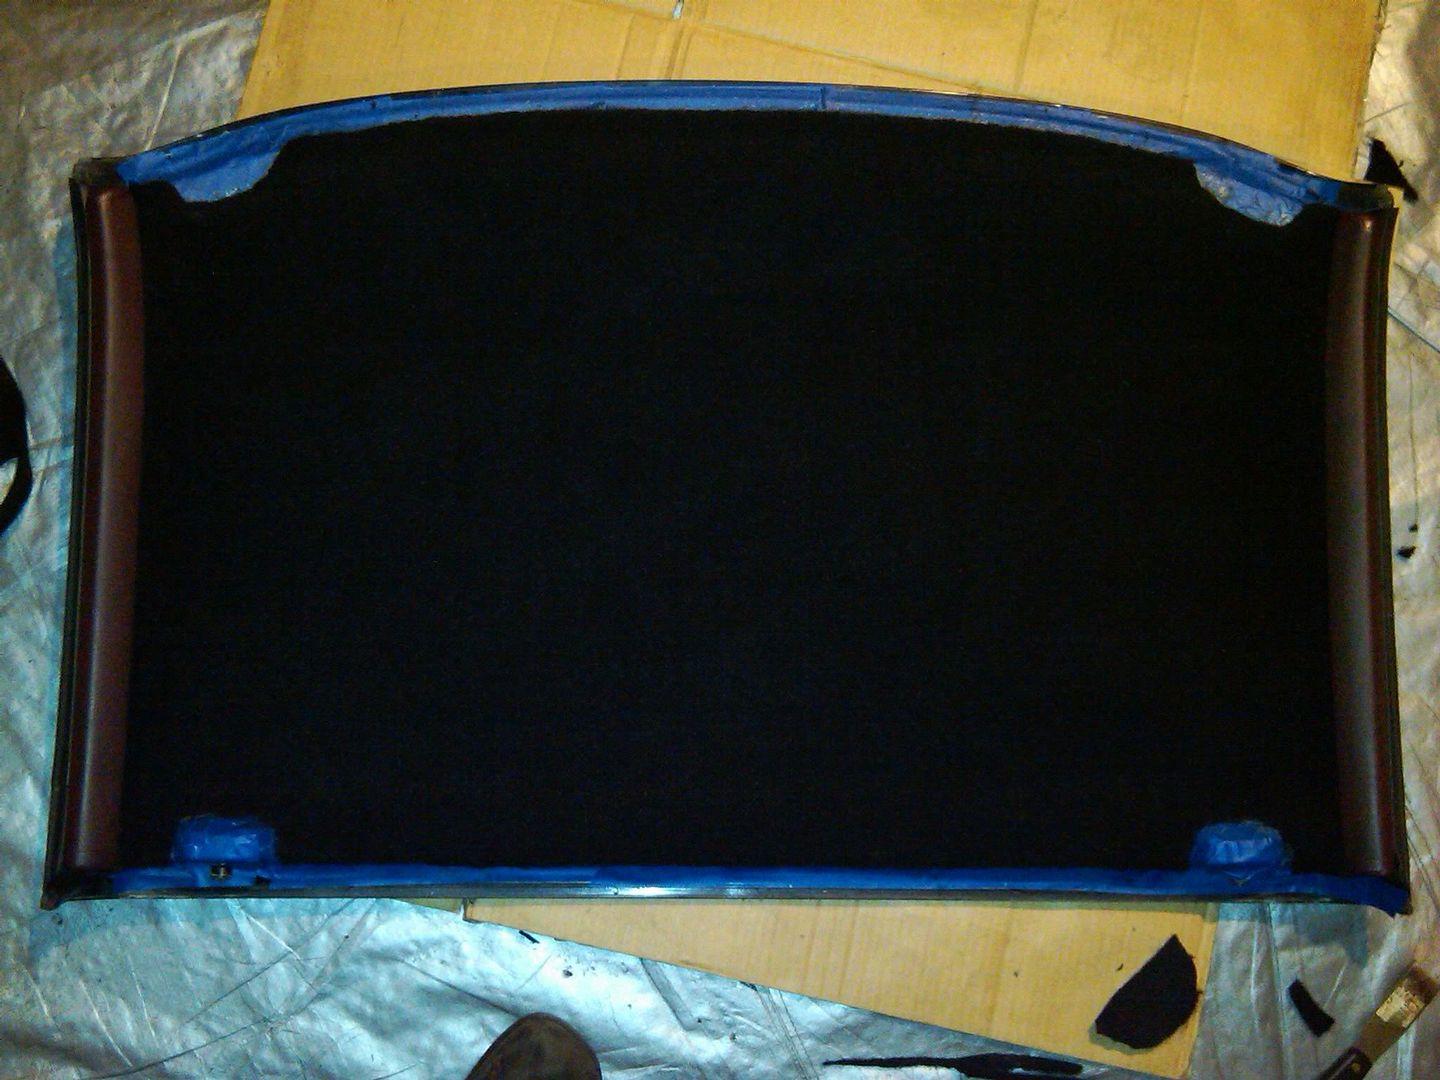
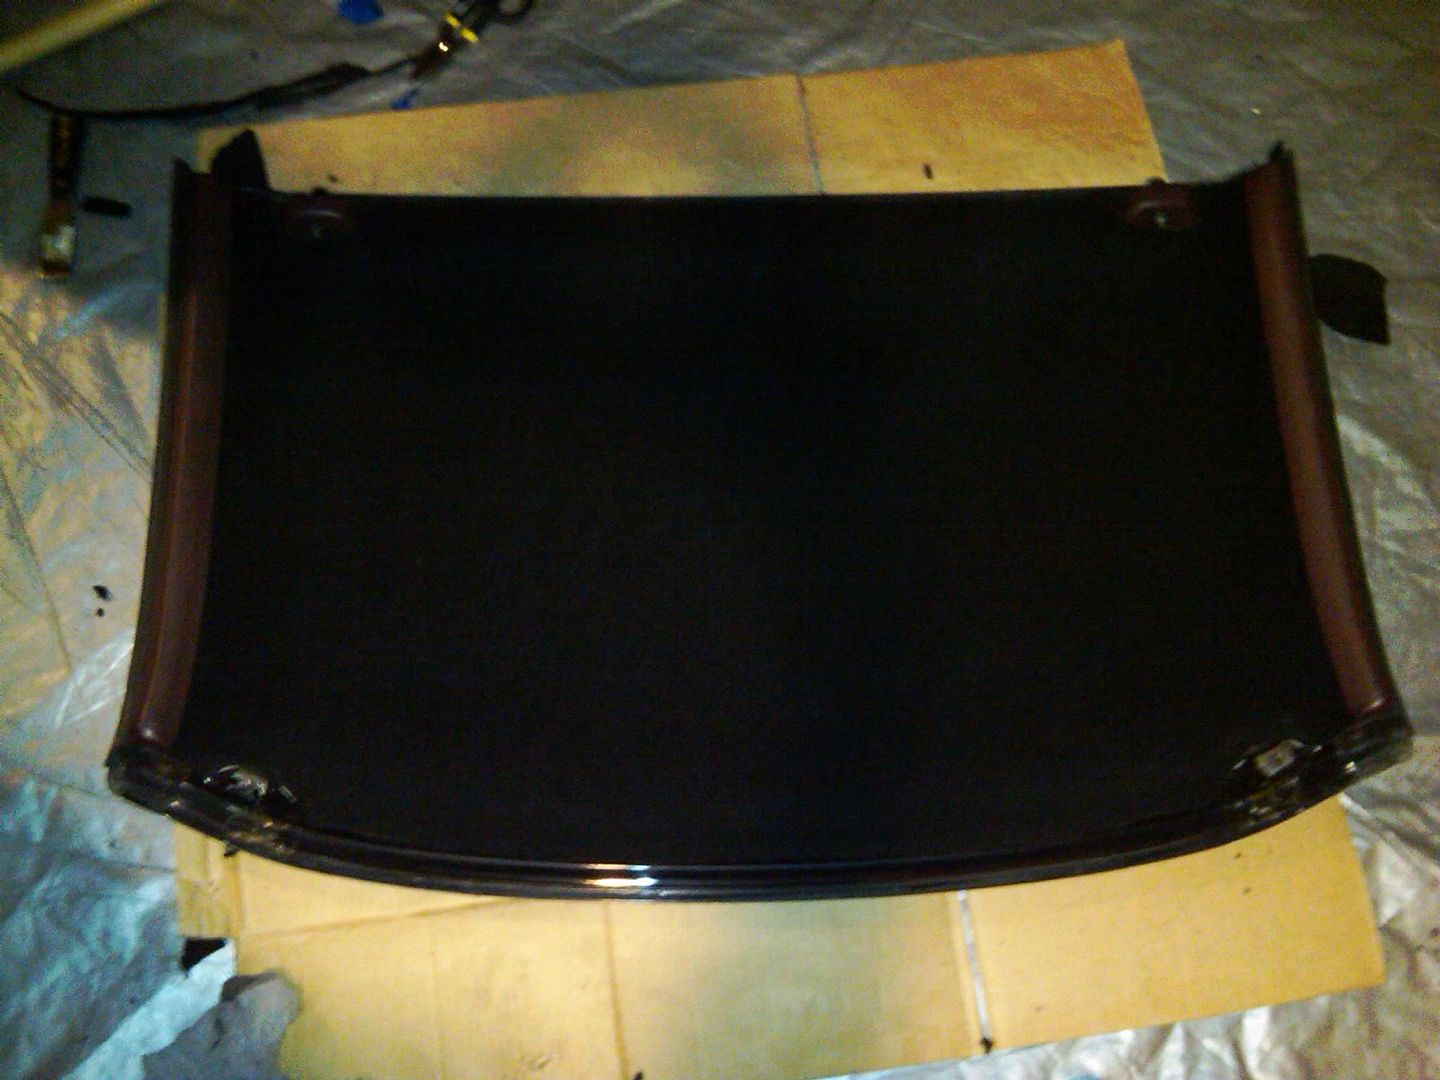
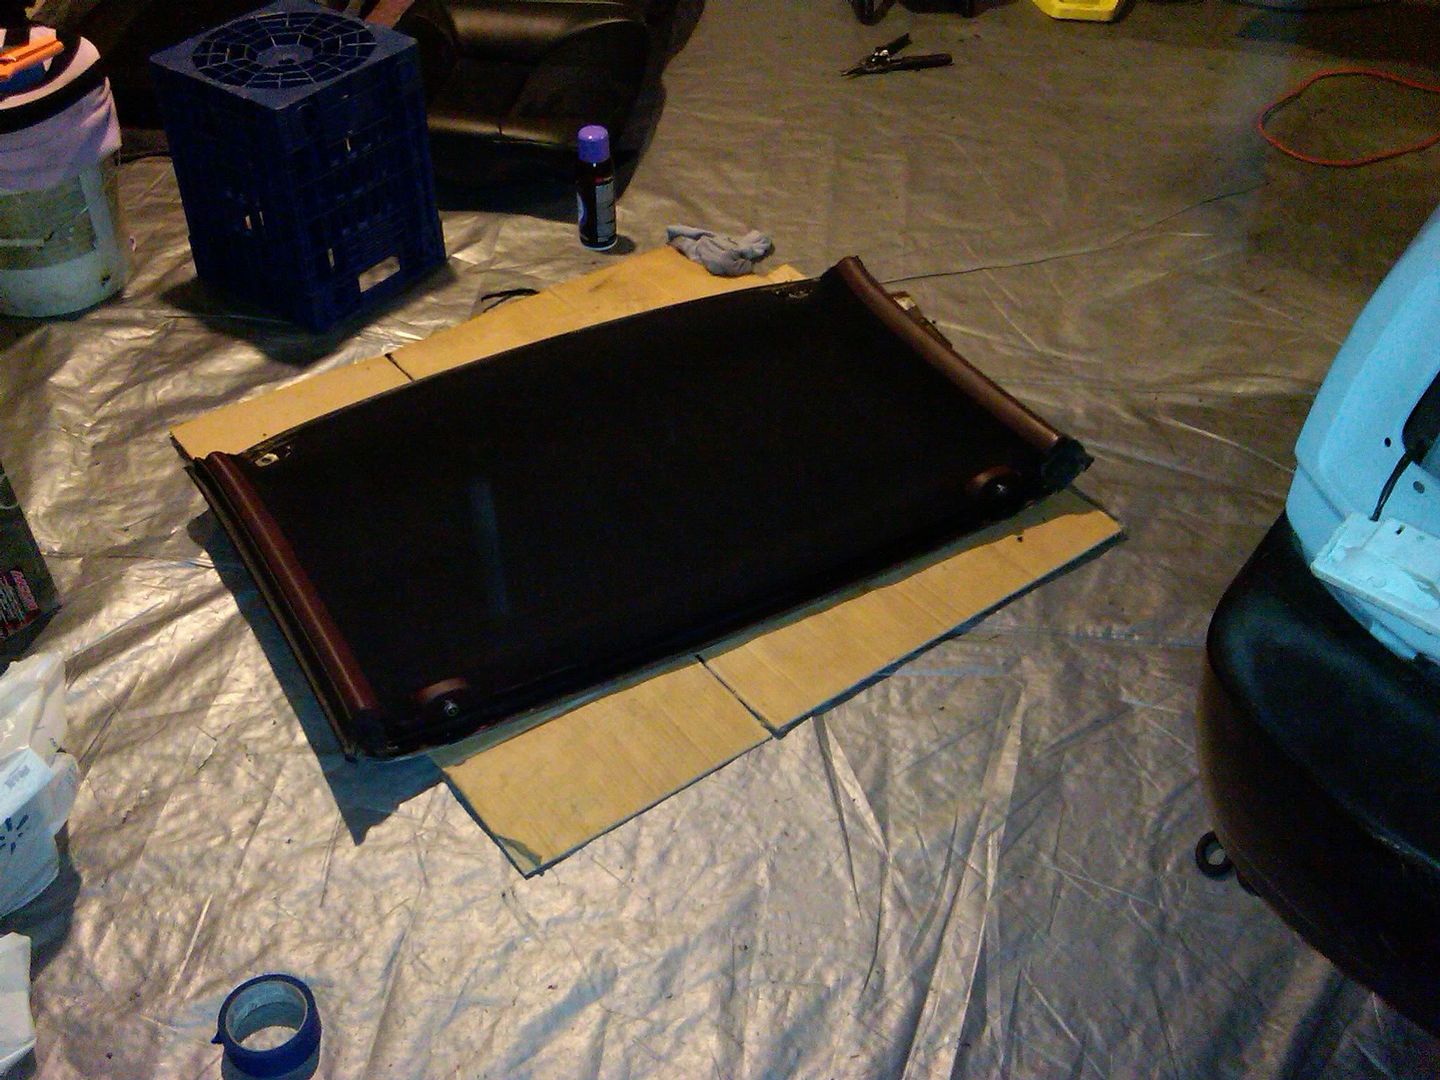
I'd say a rough estimate would be around 50 hours and $1000 - $1500 in supplies. You may find it cheaper to recover things in fabric like the rear ceiling and targa rather than painting. The Automagic paint came out surprisingly good on fabric; but the rear ceiling took nearly 3 cans. And at $11a can and hours of time spend prepping and waiting in between coats, you may reconsider.
I can throw you a few tips I've learned along the way.
1) Keep your workplace clean!
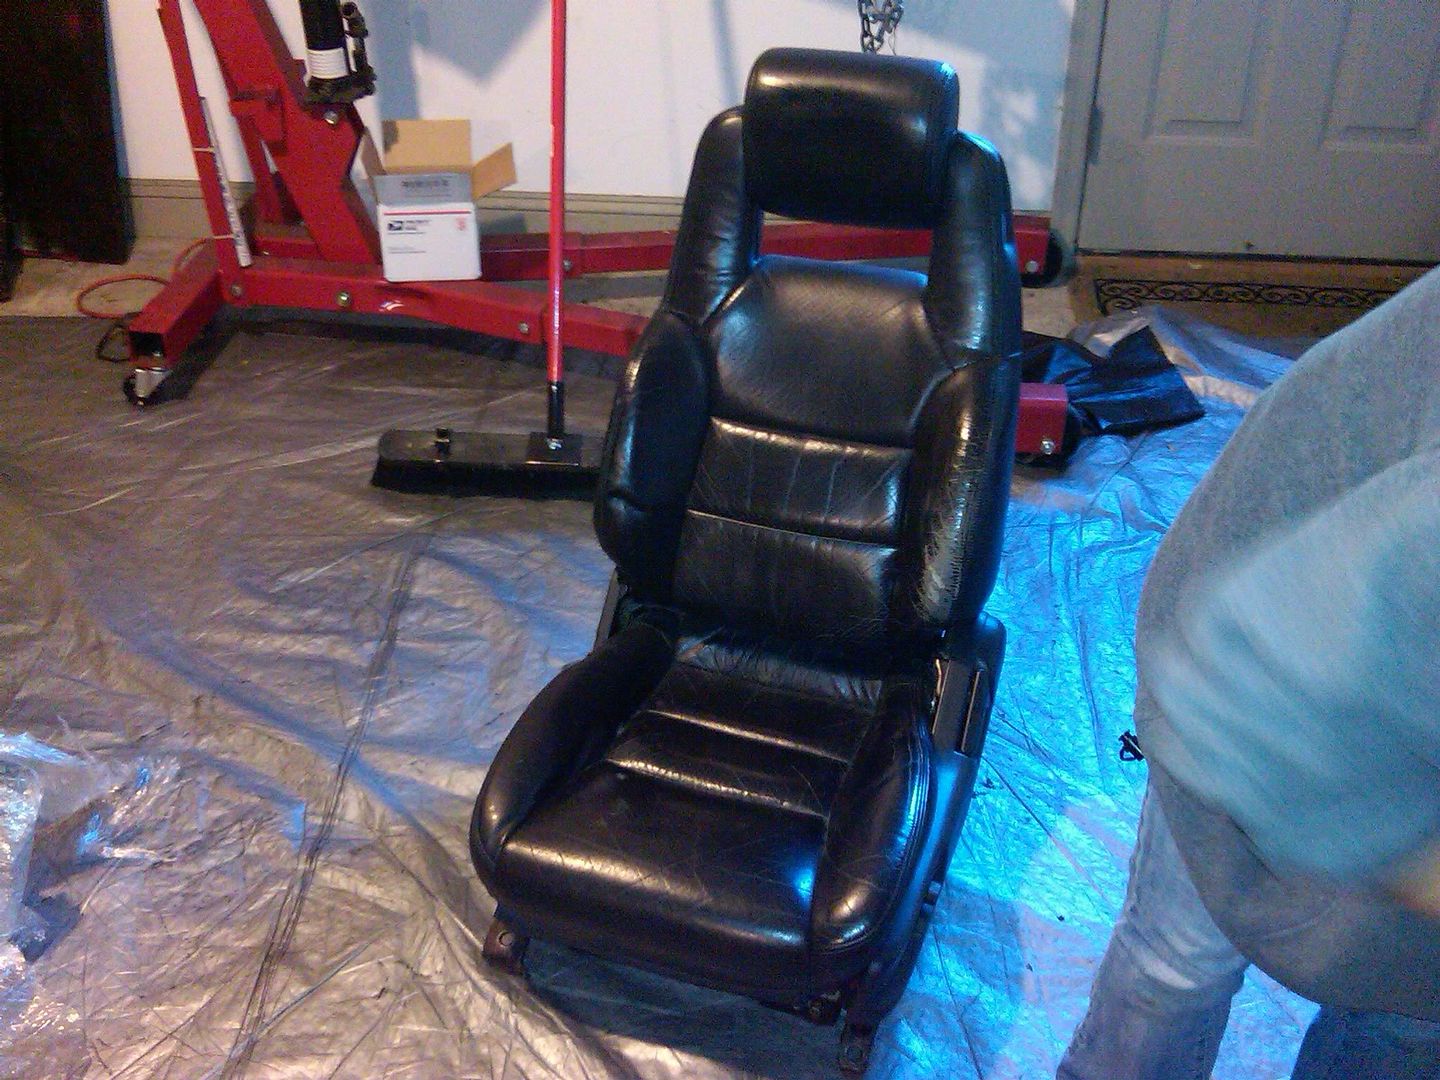
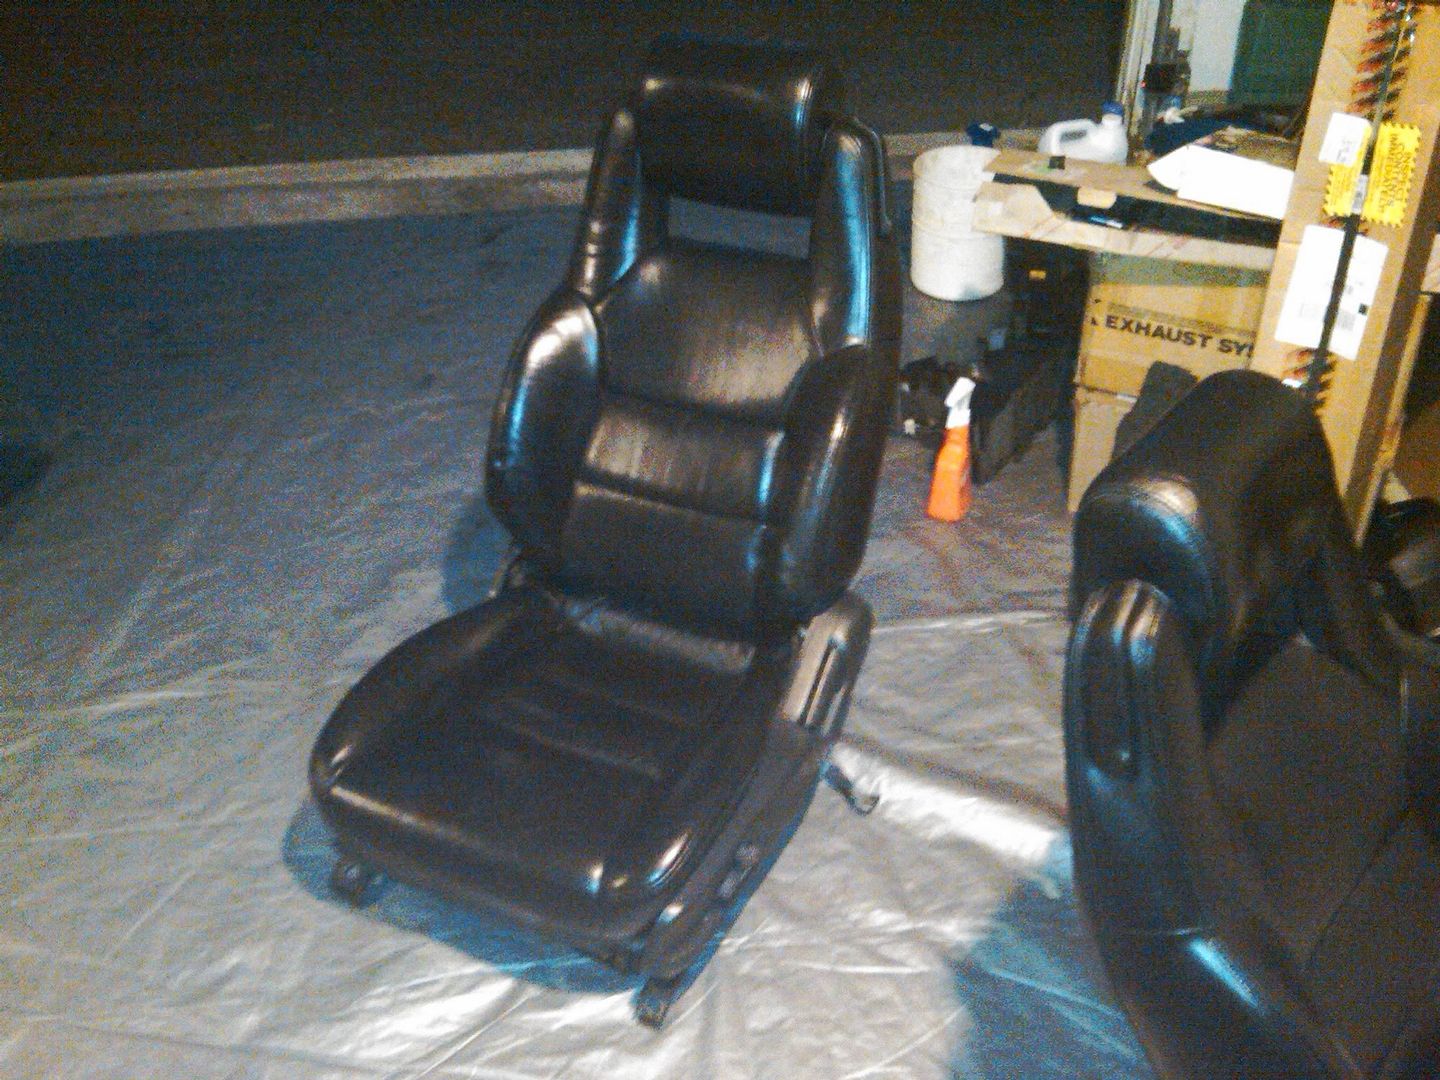
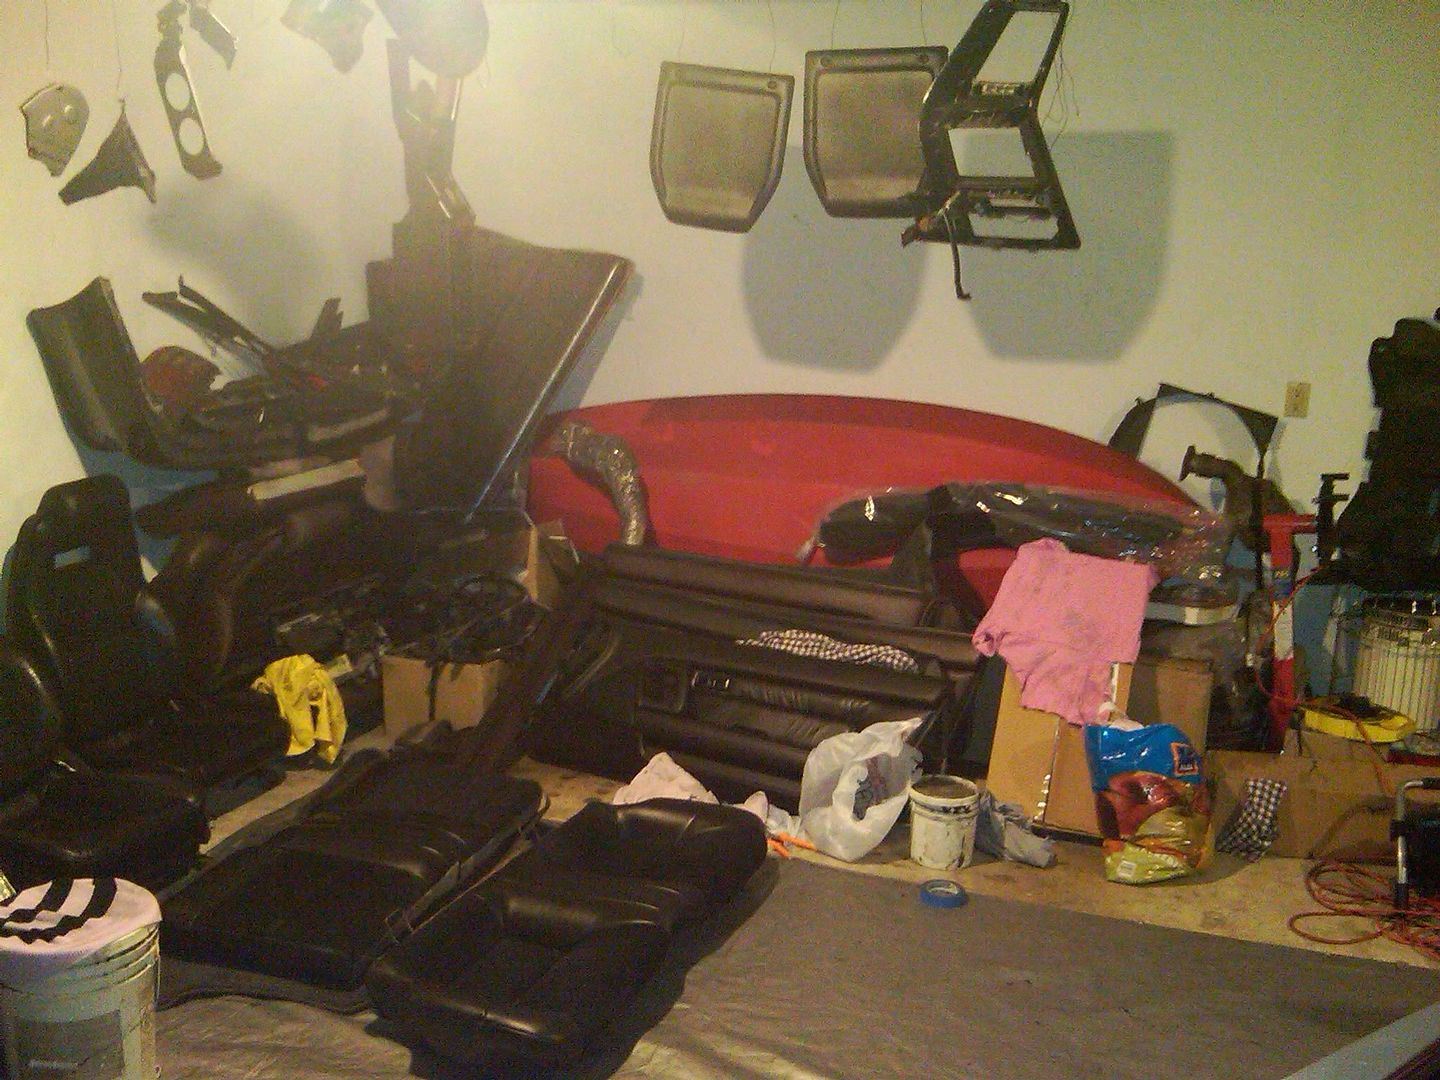
You'll find that it doesn't take long for your workplace to become extremely cluttered with the pulling of the original interior. Take garbage out frequently and try not to paint in the same room that finished parts are stored or they will become covered in paint dust. If you must paint in the same area where panels are being stored, be sure to cover or wrap them. I found I wasted more time looking for tools or clean rags in my cluttered environment than actual productivity.
2) Prep, prep; then prep again.
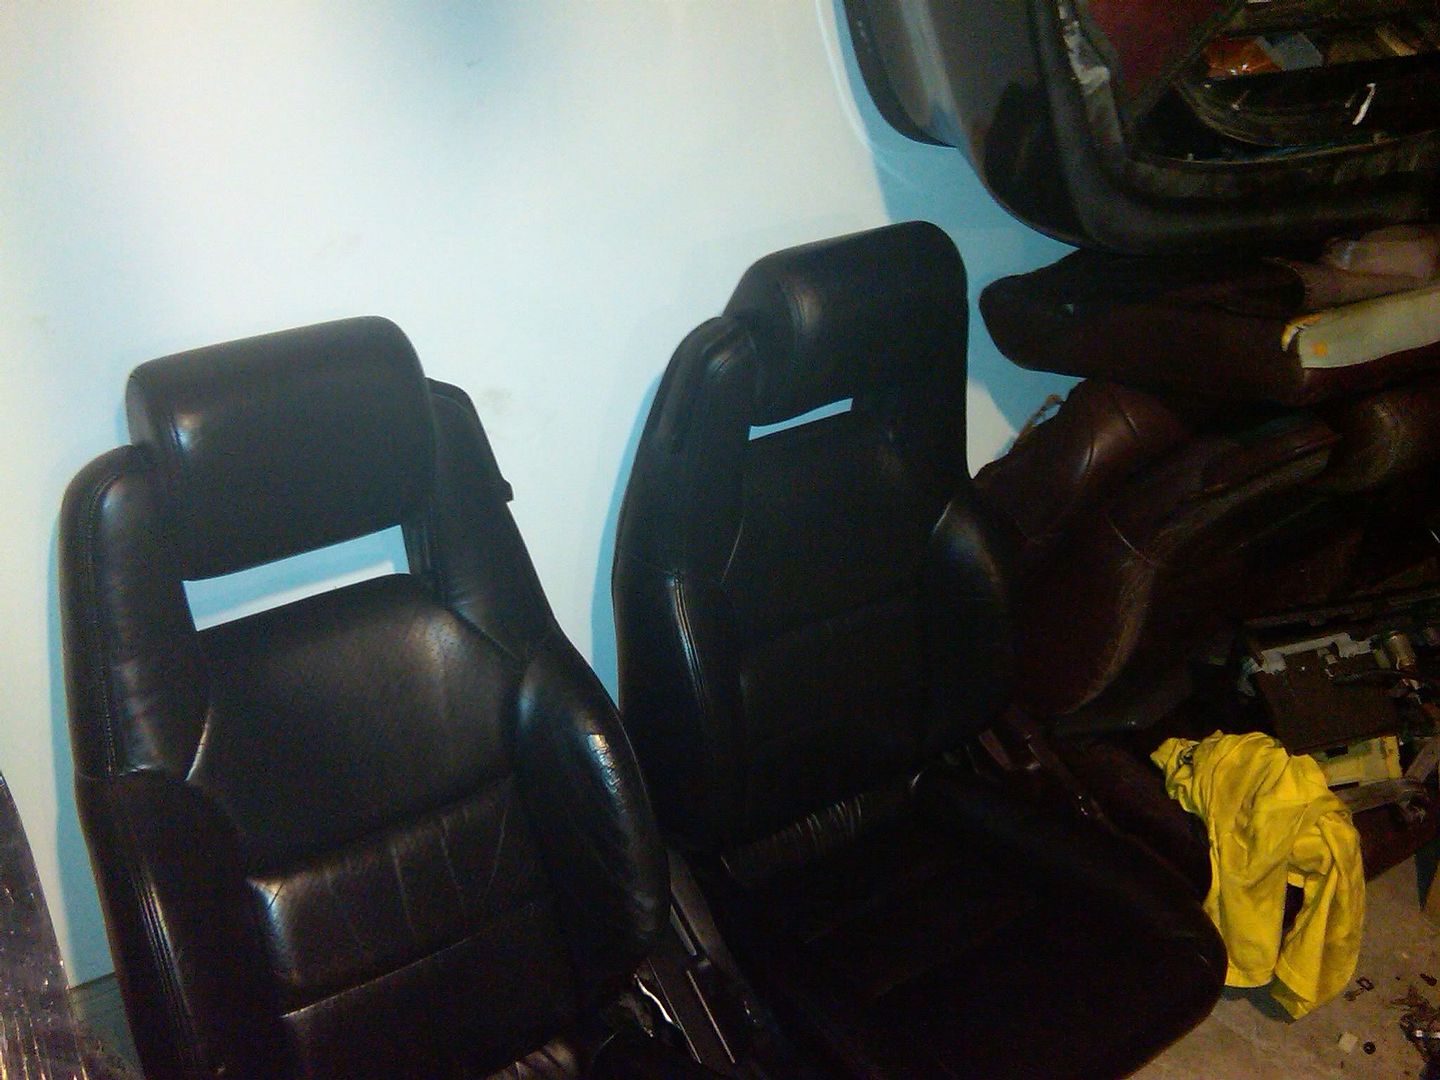
Remember, if the paint chips or cracks down the road then you'll be pulling that panel and prepping and painting it all over again. Not such a big deal with some of the side panels, but things like the dash you only want to pull once. Scrub vinyl with scotch pads and comet. Rinse and rub with 91% alcohol or acetone. If you don't get to paint it the same day, then rub with alcohol again before paint. Do a very light 1st coat (light second doesn't hurt either). Follow up with a heavy 3rd coat to prevent a sandpaper feeling finish. For plastics, do the same; however, I've recently started taking 800 grit sandpaper to the panels before alcohol and experienced improved adhering results.
3) Have adequate lighting when applying paint
If painting in the garage, take the panels out into the sunlight to check for inadequate coverage. I wish I knew this at first since panels that appeared to be completely coated when viewed under my garage lights turned out to to need a few more coats. What appeared black in the garage still showed the original color in the sun. Bright LED lights also help show where paint is needed as well.
4) Give yourself time
You'll find that if you work in the garage for 6 hours straight you'll accomplish much more than if you work 2 hours a day for three days. Much of the time is spent waiting in between coats. Go ahead and clean and prep things on rainy or humid days so you can go straight to painting (after another alcohol rub-down) on nice days.
5) Make sure you have adequate supplies
Seems simple enough, yet nothing sucks worse then laying out all of your prepped panels on a nice day and finding that you don't have enough paint. Specialty paints such as Automagic are sold through resellers that are usually closed on the weekends. If you're painting on a Saturday, running out of paint can really screw you. Especially if you only get a couple of coats down. Applying heavier coats down the road on already cured paint will cause it to not adhere quite as well. I always make sure I purchased 2 more cans then I thought I needed (still was never enough :biglaugh

There's plenty more, but these are the biggies.
