my 89 7mgte build up thread!

crazysupra2JZ

New Member
Nov 16, 2006
740
0
0
Georgia
nice man....looking at the engine all cleaned up and looking new gets me excited.... can't wait till i have money again to rebuild my 7M
i love putting engines together
 

mk3forme

New Member
Apr 5, 2005
1,022
0
0
Lexington KY
hottscennessey said:
Nice! I'm loving your oiling system
Thanks Hotts I appreciate you gracing us with your presence. That oiling system took way too long to put together. But I wanted it just the way I wanted it. I just got too picky and everything. I welded up another bracket for my filters so I can copy this system on my NA soon to be Turbo car. And no Im not using the crank I bought from you in this motor:naughty:

Crazysupe im tired of looking at this thing. I want to see it in my car running. And you are absolutely correct. There is much money involved in this ordeal. Good luck to your future motor build.
 

mk3forme

New Member
Apr 5, 2005
1,022
0
0
Lexington KY
well I made reservations for Chicago yesterday so the pressure is on!! There is a chance I might have to work that weekend so I might not be able to go anyway. But im thinking like I wont have to work and I have to get this thing done now!! I ordered my oil pressure adaptor here http://www.egauges.com/vdo_acce.asp?Subgroup=BSP_OTOD&Manf=All
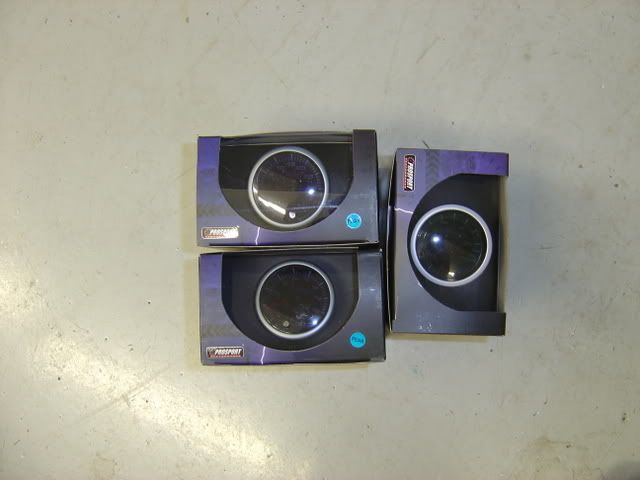
I ordered my gauges here http://www.prosportgauges.com/green.php
and I ordered by lotek triple pod here http://www.gaugepods.com/toyota.html
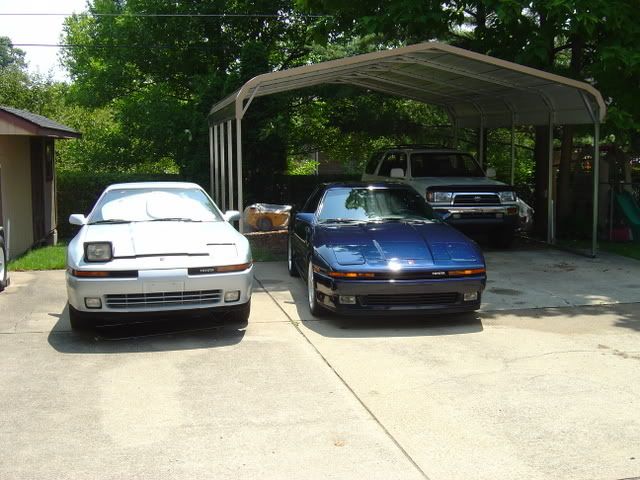
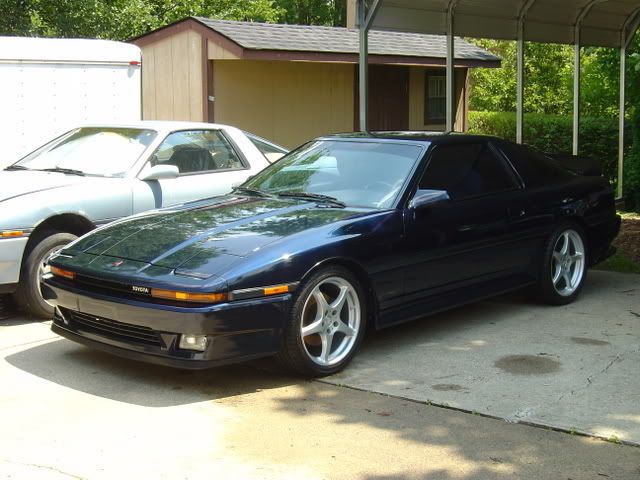
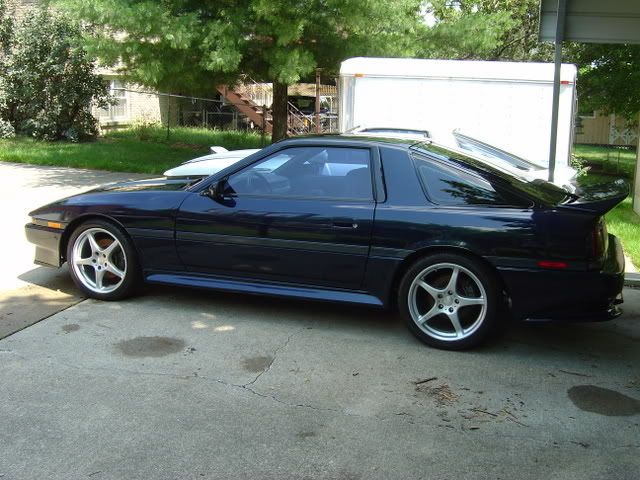
all ordered today. Im in the process of getting my TPS tweaked and trying to do anything I can do while im waiting on my vavle bucket shims. I snapped some pics of my 87 after I washed it yesterday for all you loyal followers to enjoy.:naughty:
p682586_1.jpg

p682586_2.jpg

p682586_3.jpg

p682586_4.jpg
 
Last edited:

mk3forme

New Member
Apr 5, 2005
1,022
0
0
Lexington KY
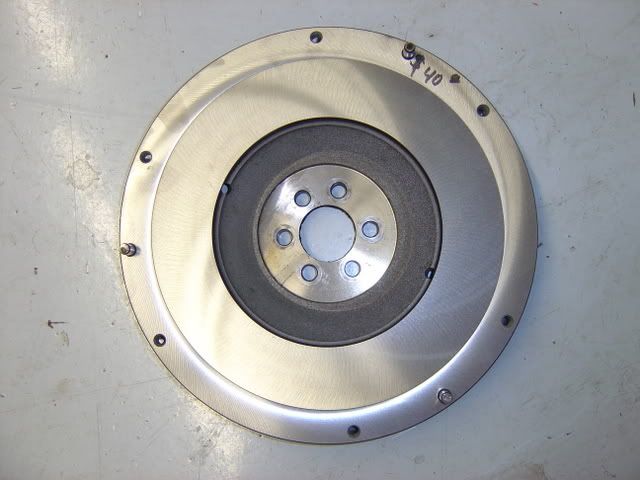
picked up my resurfaced flywheel today. I was impressed with the way it looks. Definitely true about not having one turned on a brake lathe. I compared this one, which was ground on a flywheel grinder, to the one turned on the lathe. The lathe didnt get rid of the hot spots and skipped over them without cutting them just like I have read about. You can feel the high spots. This one is all good. I took a pic before I degreased and cleaned it up as I assumed that it wouldnt look as good after the fact. And I was right. It started rusting over immediately. Still looks good but not like the pic your seeing.
p684894_1.jpg
 

mk3forme

New Member
Apr 5, 2005
1,022
0
0
Lexington KY
LMAO. You like tormenting me dont you?:3d_frown: Dont think I didnt think about that for a split second. Im 99% sure that I sealed all the appropriate plugs. Its that 1% that gets ya everytime. Where was your leak leaking out of anyway. I cant tell for sure or remember either, but it appears that the gasket completely surrounds that plug. If it does then where would it leak from?

I decided to repaint some parts that were chipping pretty bad. These are all parts that I didnt prime before painting. So I bead blasted yesterday, primed last night and painted today. I have been trying to run down placement for all those damn vacuum lines under the intake and all the metal tubes that route them. I popped open my ECU to check for leaking caps. Cleaned up the tranny shifter base to get it ready to go. Just trying to do any and everything to keep moving forward. My tracking number for my shims tell me they will be here today. Then I can really start building this thing.
 

JustAnotherVictim

Supramania Contributor
Sorry :biglaugh:
You see the brown lines? Not poopy stains in this case.:D
The line against the block is about where the oil started bubbling out. I had to take off the p/s bracket to see because I thought it was from the oil pan at first. So it would be from that area since there's not supposed to be any pressure there.
 
Last edited:

mk3forme

New Member
Apr 5, 2005
1,022
0
0
Lexington KY
hmmm interesting. Good to know for sure!! Im getting ready to call your buddies at Marlins and get my a shifter bushing. Just ordered a new 02 sensor as well.
 

mk3forme

New Member
Apr 5, 2005
1,022
0
0
Lexington KY
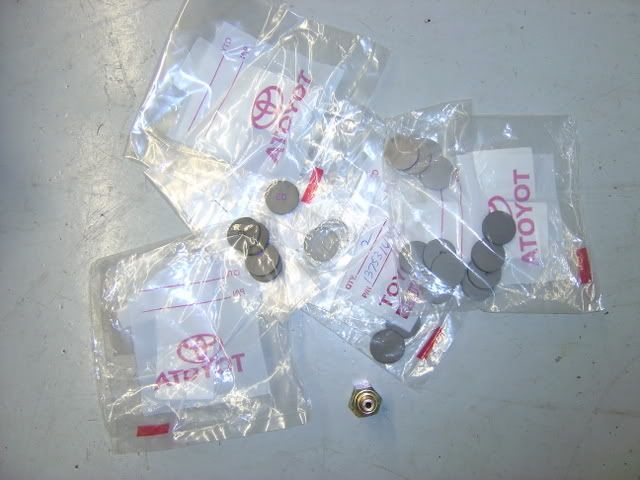
an update with pics of today. I got 4 packages today. Wow!! Heres some parts I recieved
p687976_1.jpg

shims and oil pressure sender adaptor
p687976_2.jpg

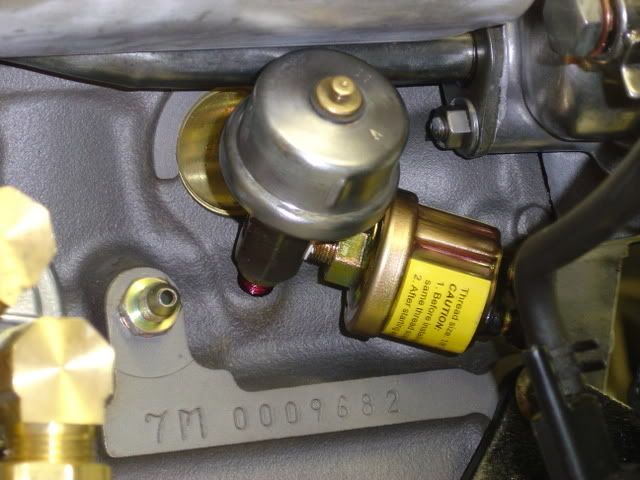
new and stock oil pressure sender installed with adaptor
p687976_3.jpg


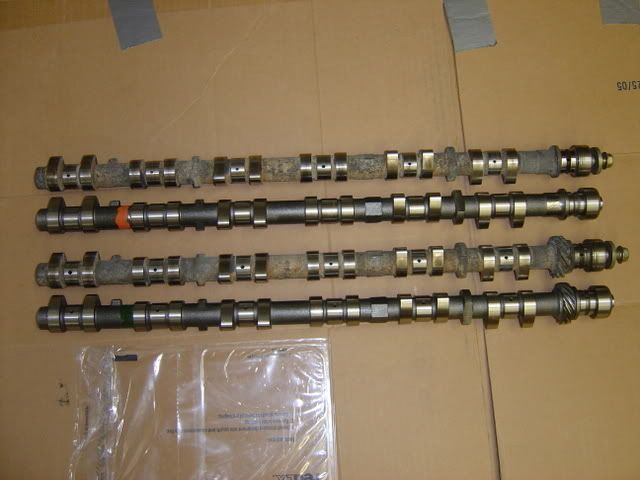
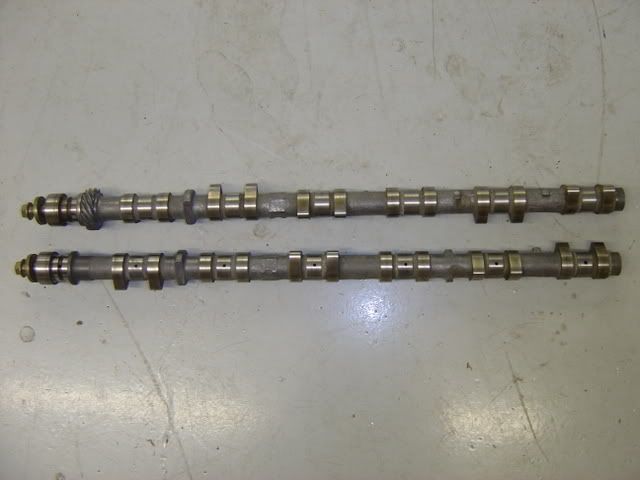
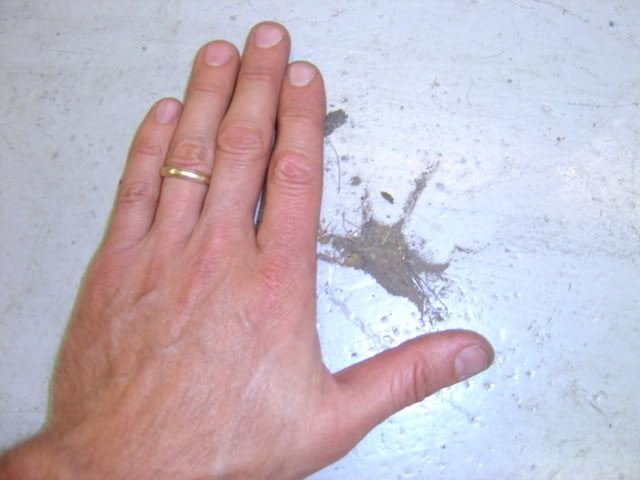
I cleaned up my stock cams so I wouldnt feel so bad about using them. And it worked. I feel better about using them now.
before
p687976_4.jpg

after
p687976_5.jpg

the crap that came off and DIDNT end up in my head
p687976_6.jpg


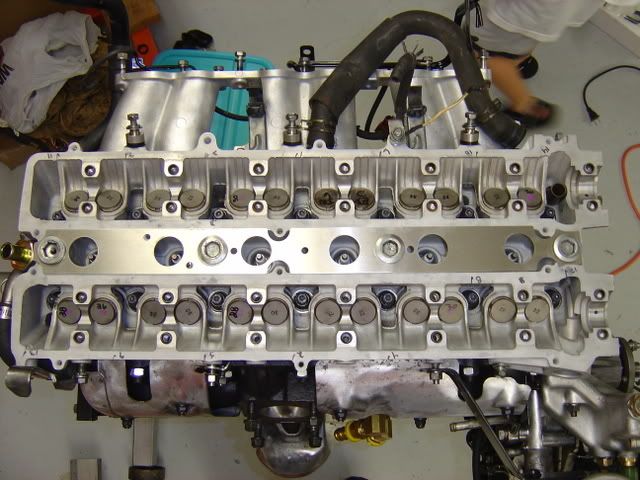
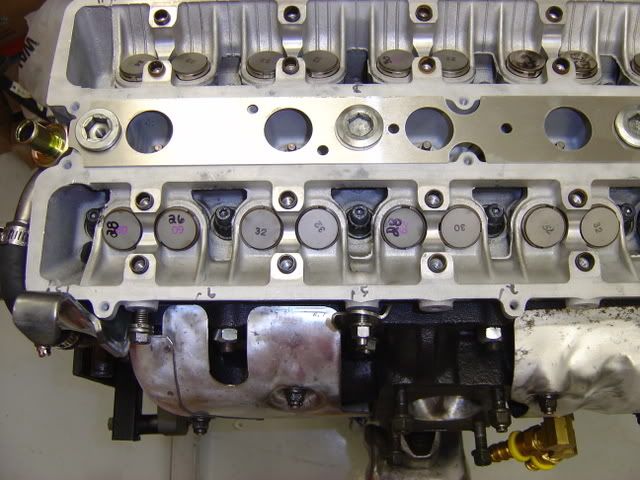
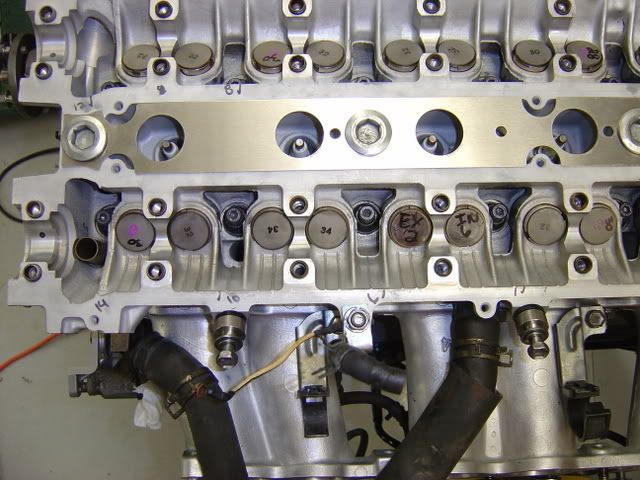
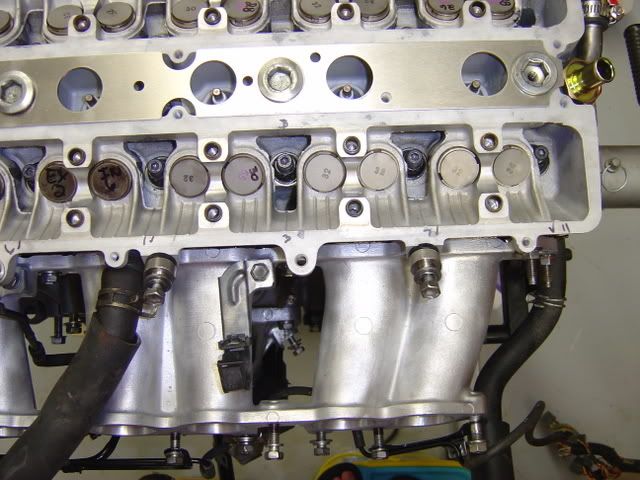
I installed my shims as well. Some of my clearances are still off so Im going to have to get some more shims. GRRRRR
p687976_7.jpg

p687976_8.jpg

p687976_9.jpg

p687976_10.jpg

p687976_11.jpg

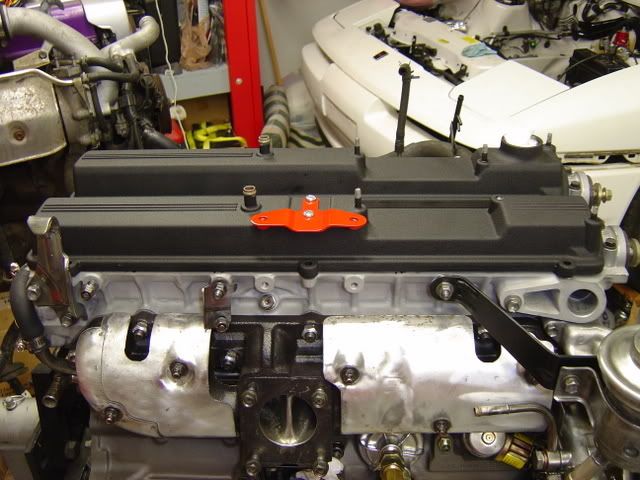
Heres a teaser with the covers on
p687976_12.jpg


I didnt realize that overstandard clearances are common on these heads as I read here. I will try to correct the problem as this article states. The problem here is that my shim will probably be wrong on the exhaust side now. Maybe not. They might just be a little on the low side of STD.
http://www.supramania.com/forums/showthread.php?t=34673
 
Last edited:

mk3forme

New Member
Apr 5, 2005
1,022
0
0
Lexington KY
well I took care of my cam cap clearances today. And as I thought, alot of my shim clearances are bad again. I will be able to move some around and actually use a couple of my stock ones. I still have to get 7 new ones, which means I wasted about $50 in shims. Thats not good considering how deep I am right now in this build. Luckily I was able to find what I needed locally today so I will try to button this thing up this weekend.
 

mk3forme

New Member
Apr 5, 2005
1,022
0
0
Lexington KY
Dude that was not even nice!:3d_frown: lol Yeah Im a wuss! I guess I need to prove to myself that im a competent engine builder before I experiment with a $500 set of cams.