my 89 7mgte build up thread!

mk3forme

New Member
Apr 5, 2005
1,022
0
0
Lexington KY
Yeah I work 2nd shift so I dont get up until 11 at the latest. Usually 10:30 though. I dont get much sleep through the week.

I just got home from picking up my valve covers. They look totally awesome. Exactly the way I wanted them to look. I will post pics later. Im thinking about trying to dress them up a bit by doing something with the lines the protrude from the surface. I would have to sand carefully the PC off of them and then I thought about polishing them. I would hate to screw these up but I think it would be icing on the cake!!!
 

mk3forme

New Member
Apr 5, 2005
1,022
0
0
Lexington KY
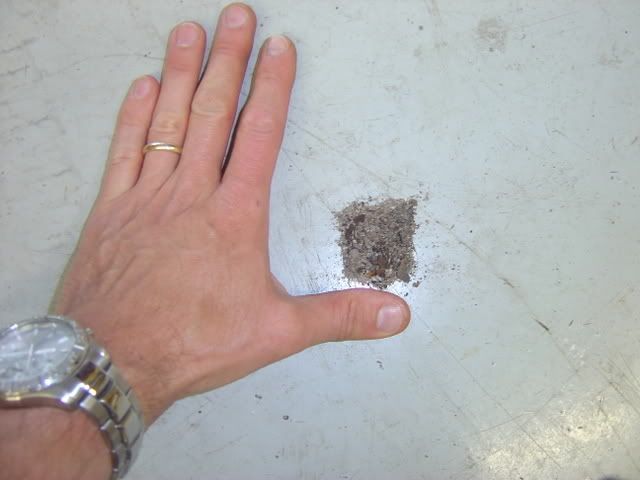
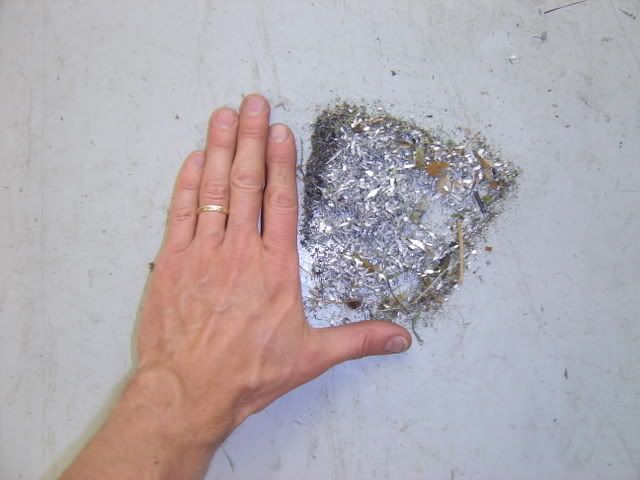
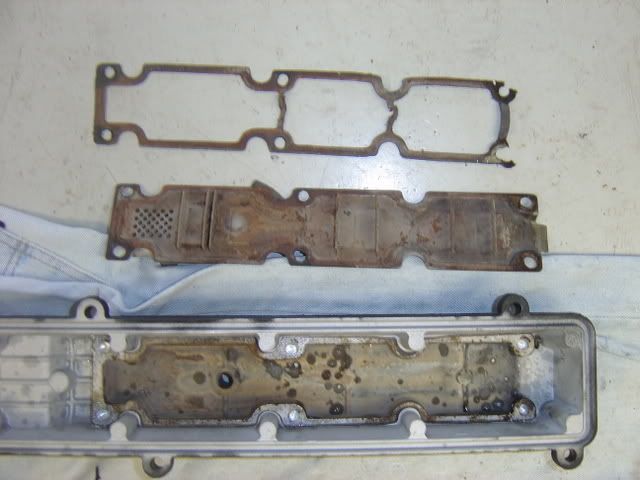
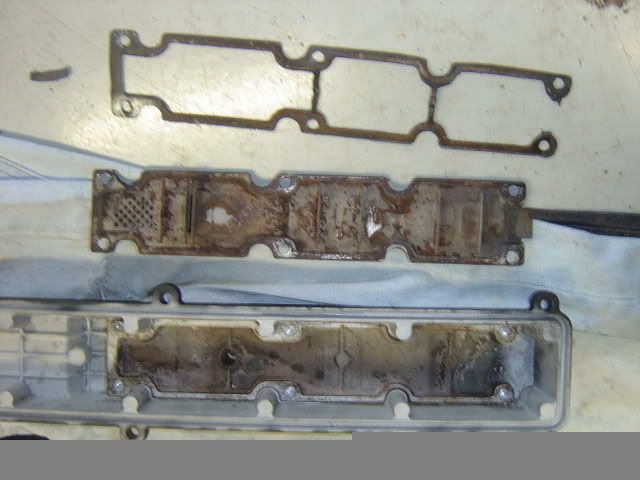
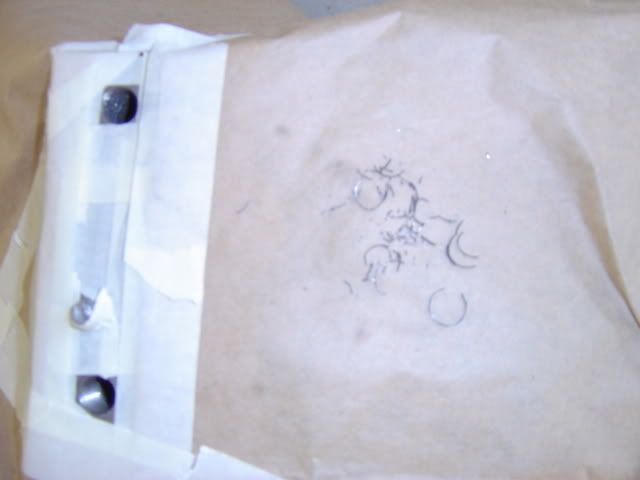
not much done today. It was mom's birthday so I wasnt at home much. I did however drill out the rivets that hold on the baffles on the underside of the valve covers. It was recommended by the powder coater but I knew I had to get under there somehow. I wish I would have taken them of B4 PC since I had to do it anyway. That way it would have been cleaned out totally b4 the coating. I just drilled them out as far as I could figure to go and will tap the holes to replace with screws not rivets. I will have to hunt for some short 8mm screws now. Heres a few pics. One of the pile of shavings from drilling out the rivets, one of the pile of media that would have ended up in the head if I wouldnt have done this, and 2 of the b4 cleaning of the baffles removed
p605806_1.jpg

p605806_2.jpg

p605806_3.jpg

p605806_4.jpg
 
Last edited:

mk3forme

New Member
Apr 5, 2005
1,022
0
0
Lexington KY
Ok pics added.

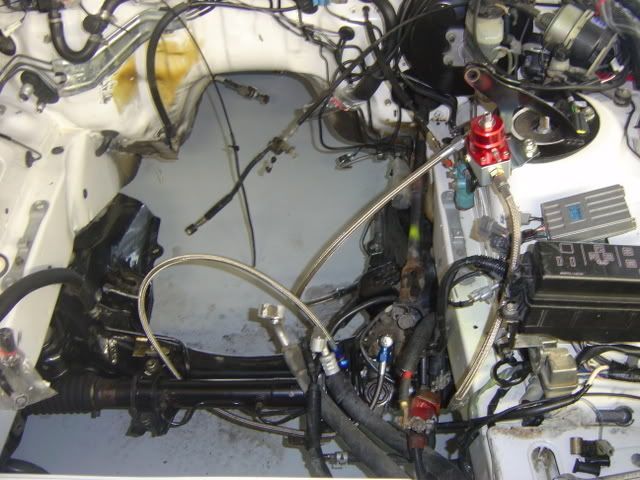
Well I got a little done today. I tied up some loose ends basically. Reattached some things I took loose in the engine bay when I cleaned it up. Cruise control & master fuse box. I attached my new Driftmotion clutch line and AFPR. Didnt completely install either but put them in. I also routed my new driftmotion PS line. I would highly recommend doing this if your choose to with the motor out. It doesn seem like it would be very easy lying on your back with the motor in. Hardest part being routing the old line out in between the steering rack and the sub frame. There was one spot that was big enough to get the big ends out and thats all.
p606509_1.jpg


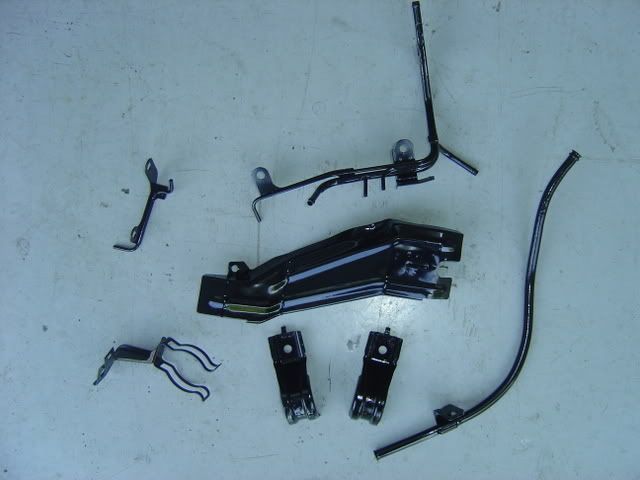
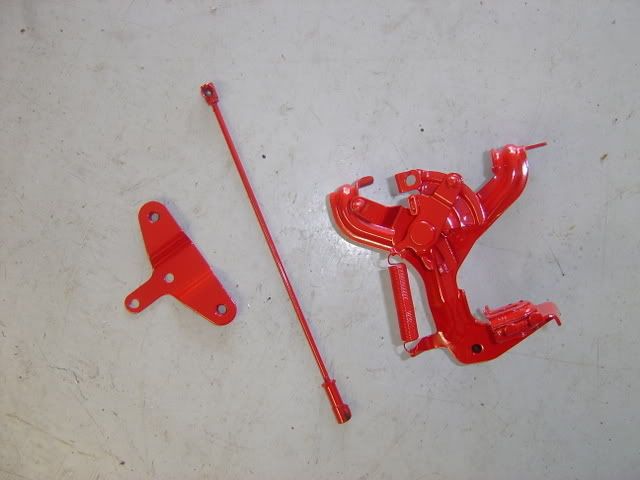
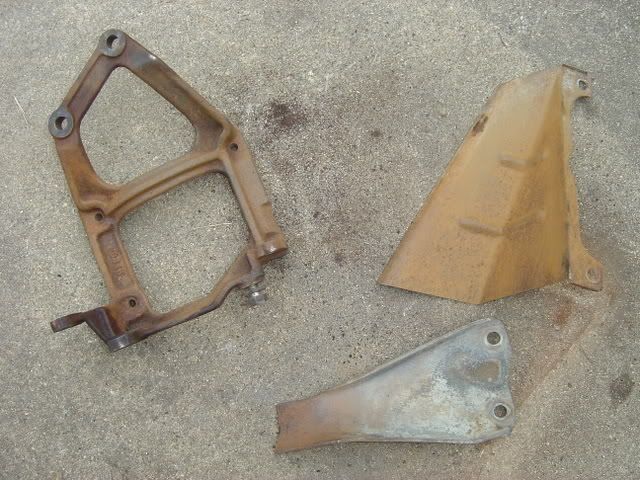
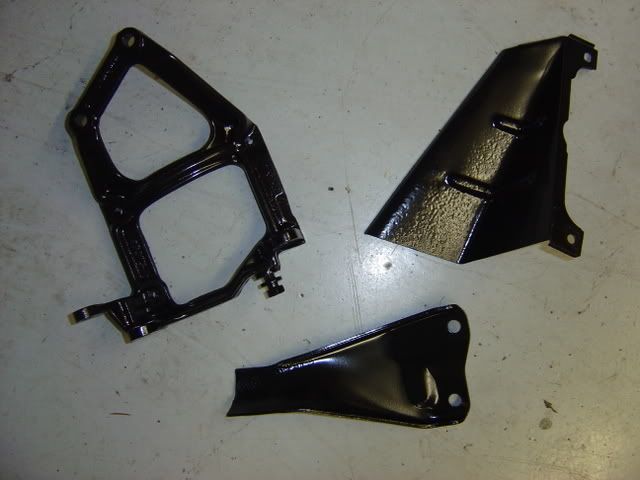
I also blasted and painted some parts.
p606509_2.jpg

p606509_3.jpg
 
Last edited:

mk3forme

New Member
Apr 5, 2005
1,022
0
0
Lexington KY
TurboFreak88 said:
one question.... why not just put IMG tags around your images?
Sucks clicking on every one of them.

Great Build!!!!
Tell me how freak. I'll be glad to make things easier for all of you.
ok I think I figured it out. Sorry guys
 

mk3forme

New Member
Apr 5, 2005
1,022
0
0
Lexington KY
Major set back today guys. I was rechecking the torques on head bolts as I got a deeper socket that I felt more comfortable with using. One of the back bolt holes in the block stripped out!:3d_frown: Man Im so pissed. I dont recommend retapping these holes before installing the studs like I did. My machinist also said just chase them with a stock head bolt. Im really glad I only did two and stopped. I had to take the thing back apart! I have some professionals working on a solution for me. My machnist recommended a helicoil kit which was my first thought, but im not sure of the torque rating on those. He said he has seen them hold up in some unlikely situations. Im waiting on a second and third opinion. I was planning on checking my cam clearances today and now this. Oh this sucks!!!
 

mk3forme

New Member
Apr 5, 2005
1,022
0
0
Lexington KY
not good indeed. IJ recommends stacking 2-3 helicoils to it will be the length of the stud and wont load up the block. Im still concerned about the load and if it will hold. If he sais it will then it will. My main concern though is drilling holes straight. This is going to be critical as alignment of the head and gasket it critical. Im not sure im up to this! I get sick just thinking about it.
 

mk3forme

New Member
Apr 5, 2005
1,022
0
0
Lexington KY
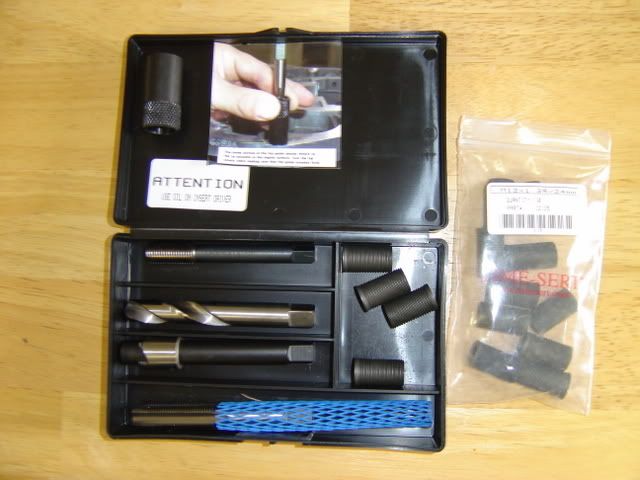
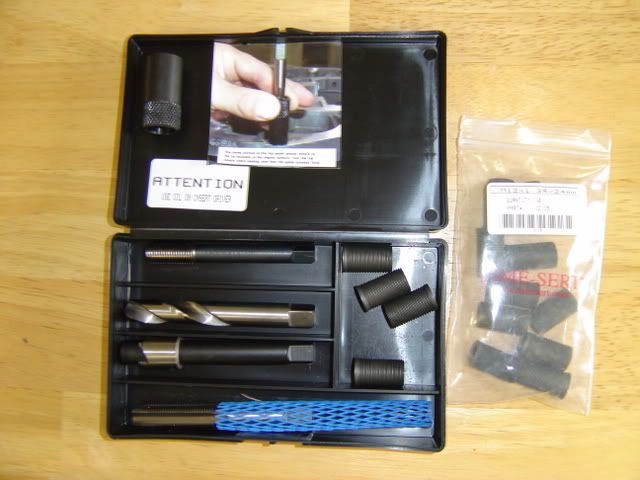
well I repaired the threads this weekend after a little trouble. I have a couple others issues to get through now though. The studs appear straight but are not perfect, so I will have to increase the hole size a little on the head. The studs rub on the hole a bit when putting them in. I wanted to work on routing my oil cooler yesterday but spent all afternoon with this thread issue. I think they will be good but wont know until I put the head down and torque it. Heres some pics of the kit and the actual thread sert
p621687_1.jpg

p621687_2.jpg


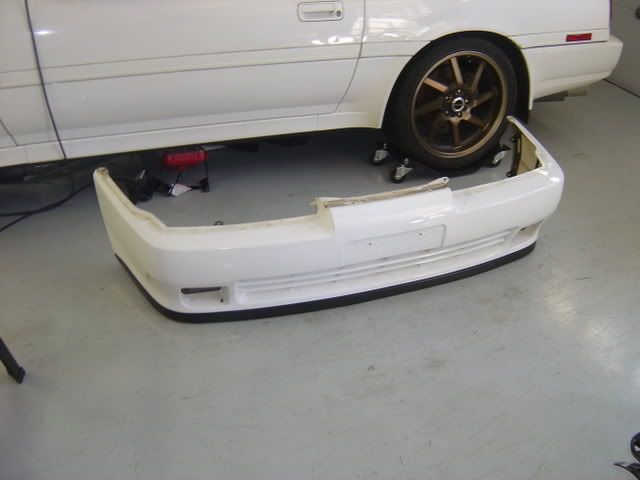
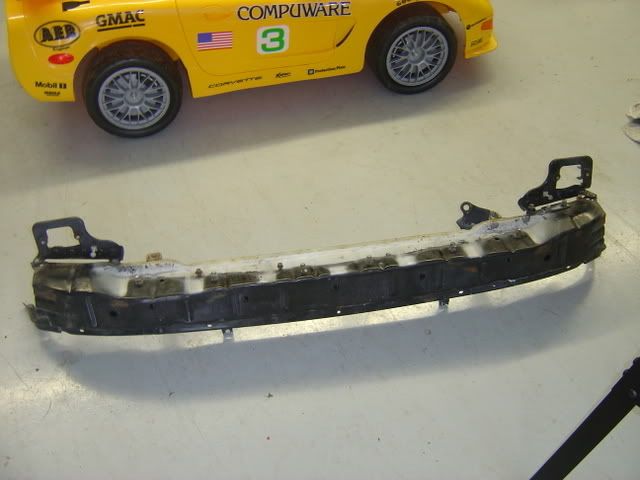
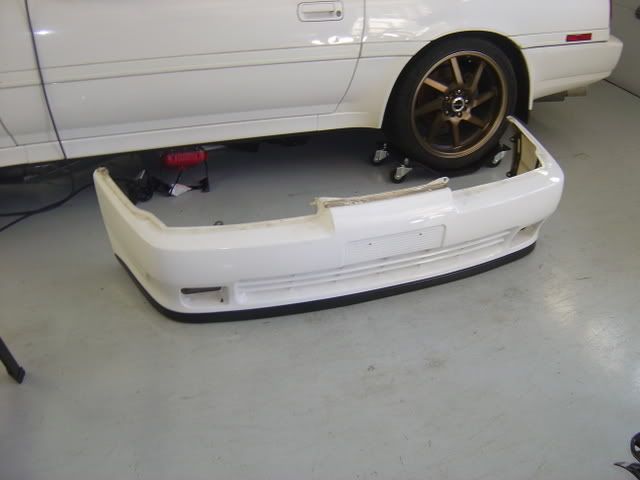
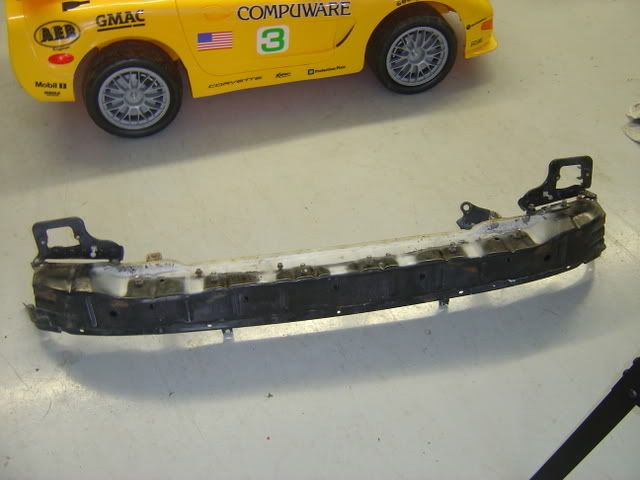
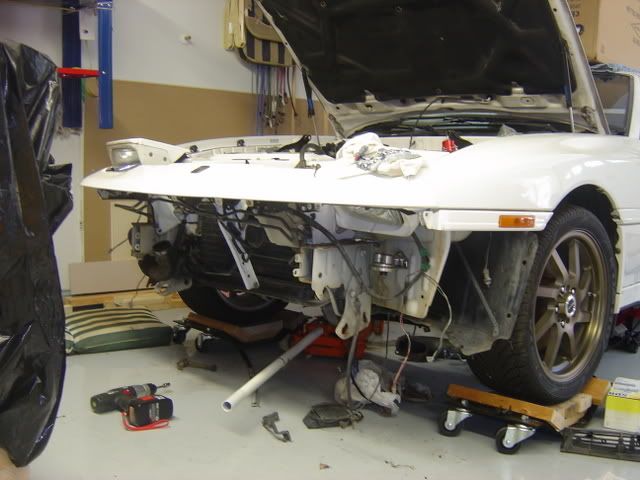
Last weekend I tore the front bumper off and started trying to route my oil cooler. Then I spent last week trying to find fittings as I refuse to pay 25-30 bucks per fitting. Yeah it would look trick but I need like 6 90 degrees and im not going to have over $200 in just fittings. I found a hydraulic supply that has about anything you can think of. It will take putting more than one fitting together but still half the cost of the russell or aeroquip fittings. I plan on putting the remote filter under the passenger side fender as you can see in the pic, then the thermostat is probably going to zip tie to the old oil cooler bracket and the the cooler will install in between the intercooler and condensor. I wanted to put the oil cooler in front of the intercooler and would have made things alot easier, but I dont want the warm air of the oil cooler blowing through the intercooler. Plus when I get a new intercooler it will be too noticable as it will be aluminum and not black like the factory intercooler and oil cooler This custom stuff sucks!
p621687_3.jpg

p621687_4.jpg

p621687_5.jpg
 
Last edited:

suprahooked

Built 7M
Jun 20, 2006
1,160
0
36
pa
:x: :x: :x: :x: :x:
mk3forme said:
well I repaired the threads this weekend after a little trouble. I have a couple others issues to get through now though. The studs appear straight but are not perfect, so I will have to increase the hole size a little on the head. The studs rub on the hole a bit when putting them in. I wanted to work on routing my oil cooler yesterday but spent all afternoon with this thread issue. I think they will be good but wont know until I put the head down and torque it. Heres some pics of the kit and the actual thread sert
p623911_1.jpg

p623911_2.jpg


Last weekend I tore the front bumper off and started trying to route my oil cooler. Then I spent last week trying to find fittings as I refuse to pay 25-30 bucks per fitting. Yeah it would look trick but I need like 6 90 degrees and im not going to have over $200 in just fittings. I found a hydraulic supply that has about anything you can think of. It will take putting more than one fitting together but still half the cost of the russell or aeroquip fittings. I plan on putting the remote filter under the passenger side fender as you can see in the pic, then the thermostat is probably going to zip tie to the old oil cooler bracket and the the cooler will install in between the intercooler and condensor. I wanted to put the oil cooler in front of the intercooler and would have made things alot easier, but I dont want the warm air of the oil cooler blowing through the intercooler. Plus when I get a new intercooler it will be too noticable as it will be aluminum and not black like the factory intercooler and oil cooler This custom stuff sucks!
p623911_3.jpg

p623911_4.jpg

p623911_5.jpg
Looking good Allen i hope for the best for the stud.:x:
 

mk3forme

New Member
Apr 5, 2005
1,022
0
0
Lexington KY
Thanks John. I didnt get anything done yesterday but Im going to try to get do what I need to get the head back on the block. We'll see how it goes
 

mk3forme

New Member
Apr 5, 2005
1,022
0
0
Lexington KY
well got alot done today. The head is back on and torqued down, with no other issues. Man this has been a stressful ordeal. But I always try to look at the brighter side of things, after I get all pissed off of course! If this would have happened after the motor installed under boost. I would have been totally pissed. So this was a blessing in disguise. My advice for the day is this. Dont chase the head stud threads in the block with a tap. Use an old head bolt. I definitely think this was a contributing factor to what happened.

Today after the head was on and torqued, I started putting this thing back together. And also as far as torqueing, although ARP doesnt include it in their instructions with the studs, use 5 passes and retorque at least 3 times before the final torque. Read this http://www.arp-bolts.com/Tech/TechInstall.html

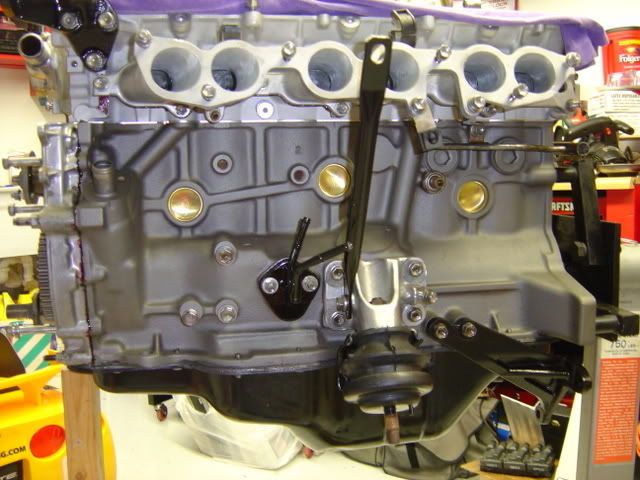
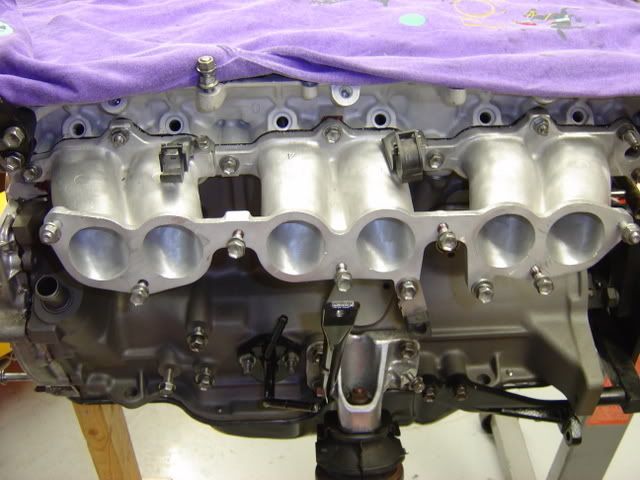
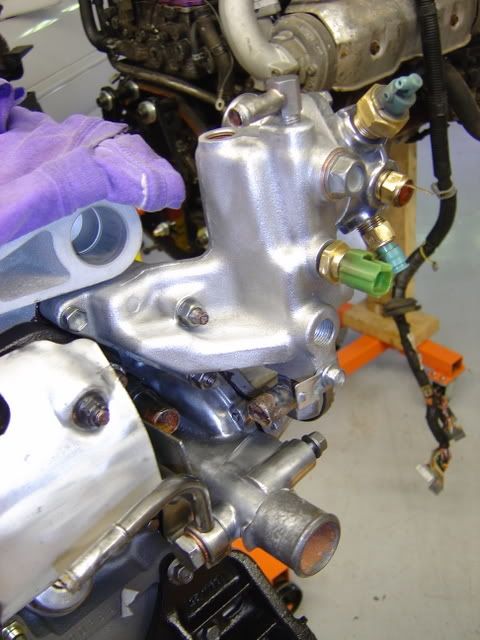
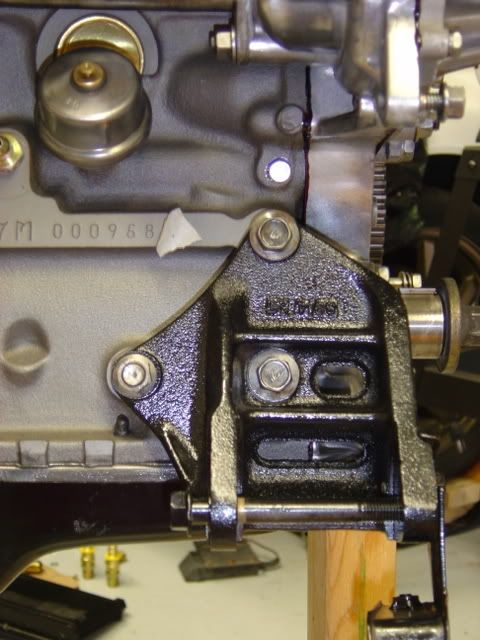
Assembly is so much more gratifying. I dont remember how things go back since its been since last october or so since I disassembled, but still more gratifying. I bascially got alot of external stuff on like motor mounts tranny supports, lower runners of the intake, water neck housing, stuff like that. I will post pics soon.

Also does anyone know what this thing is behind the driver side motor mount is? Looks like some kinda round brace attaching to the block and down to the subframe. I didnt even know it was suppose to be there as it wasnt on the car I pulled this motor out of, but I saw it on my other 89 when I was checking for parts placements today.
 

suprahooked

Built 7M
Jun 20, 2006
1,160
0
36
pa
Allen, round brace? Is it the straight bar that is flattened on both ends or does it look like a shock?
Keep working at it your getting closer to being done.:icon_razz
 

mk3forme

New Member
Apr 5, 2005
1,022
0
0
Lexington KY
It looks like a shock. yeah I know. Im plugging away. Im still so far away though. I need to post some pics. Im waiting on my cams too so I can only do so much right now.
 

mk3forme

New Member
Apr 5, 2005
1,022
0
0
Lexington KY
Ok I have been doing what I can the last couple of weekends. Cleaning up parts and all. I swear, everytime I think everything is cleaned up and ready for install I find something else. Heres some before and after I did last weekend
p635693_1.jpg

p635693_2.jpg


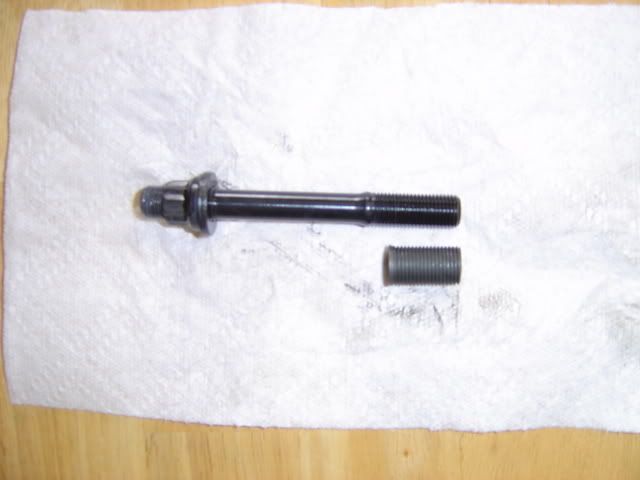
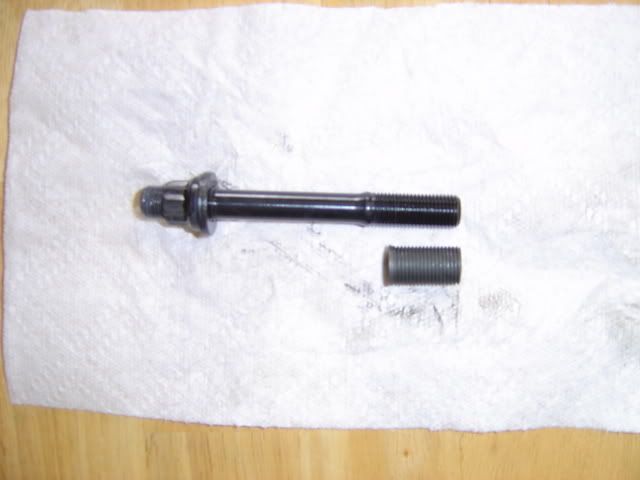
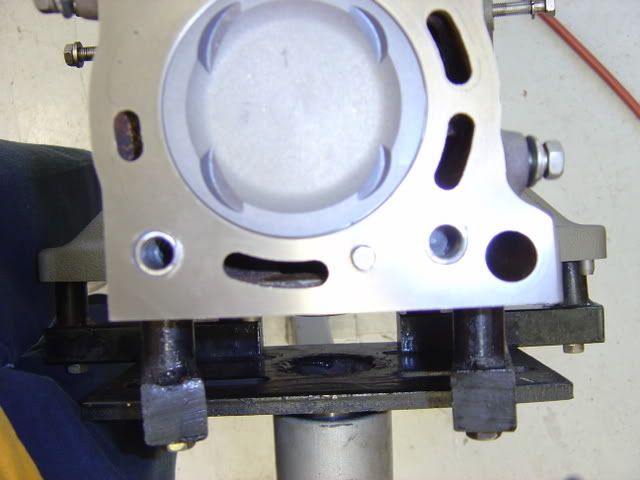
As I stated a couple of posts up. I got the head back on and all the crap that went along with that. I had to redo the threads with thread serts. You can see the old threads that I pulled out of the two back holes before drilling. This is why I had to redo them
p635693_3.jpg

p635693_4.jpg


I also buttoned up the valve covers last weekend. I ran a bead of black RTV around the ledge and fastened down with bolts. If you remember I had to remove these plates to removed the blast media from when I had the covers powdercoated.
p635693_5.jpg

p635693_6.jpg

p635693_7.jpg


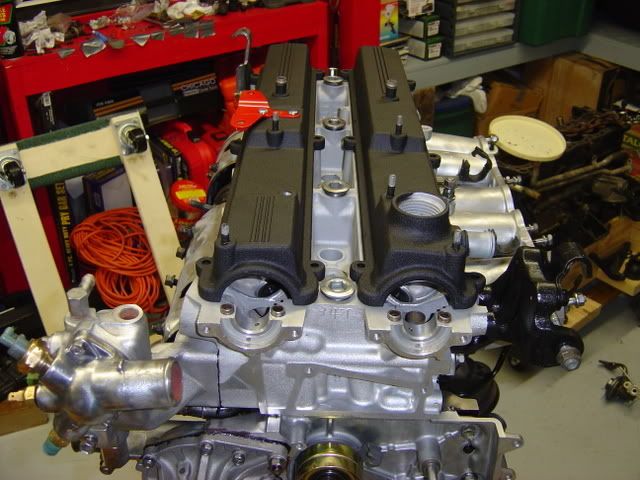
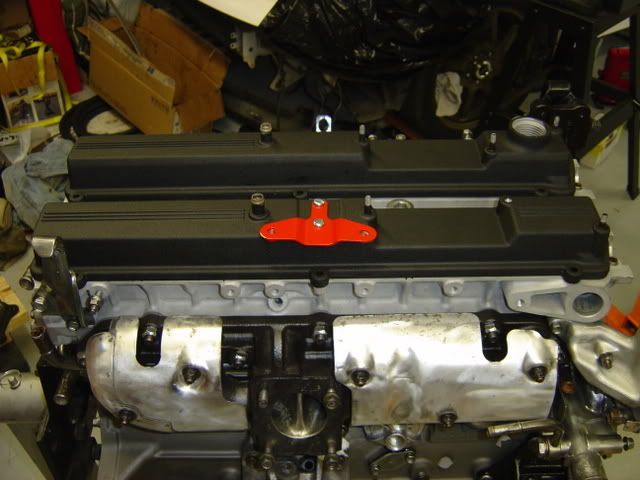
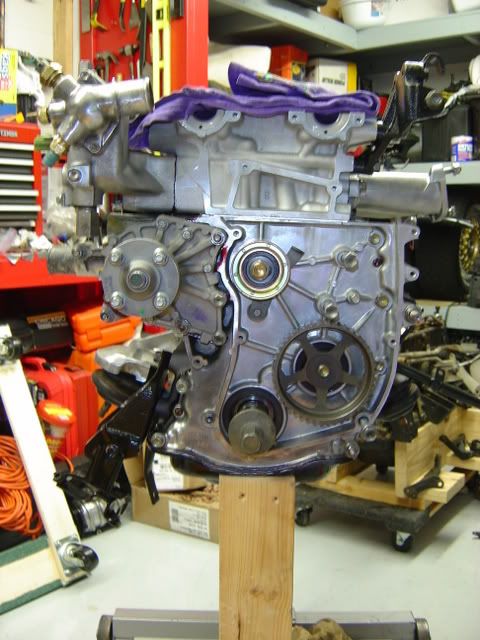
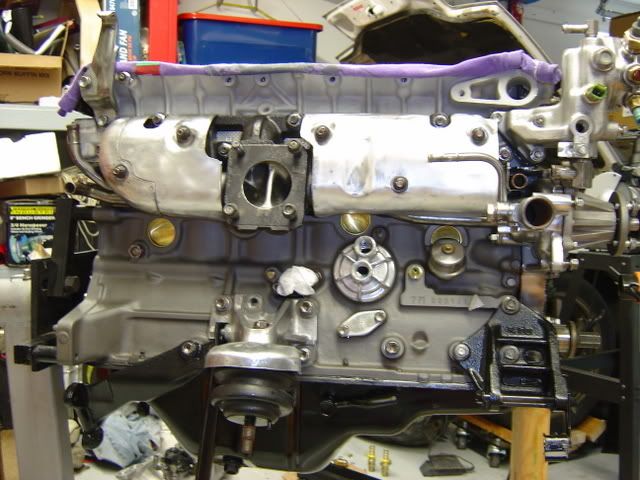
Heres some pics of the head on for the second time and some the parts I have put on thus far
p635693_8.jpg

p635693_9.jpg

p635693_10.jpg

p635693_11.jpg

p635693_12.jpg

p635693_13.jpg

p635693_14.jpg


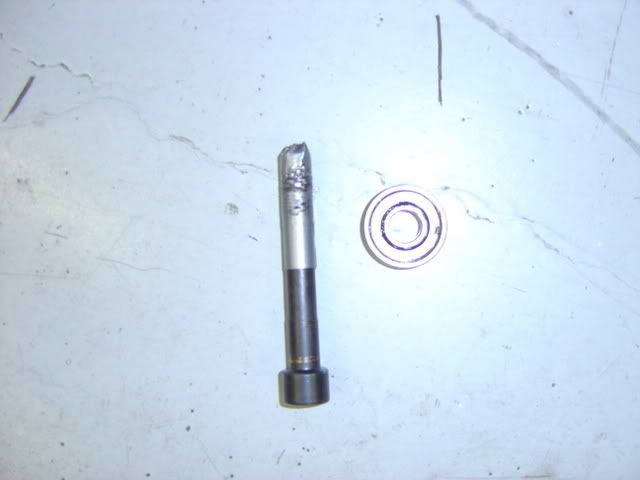
And today I replaced my pilot bearing. I had to buy a engine hoist and have had it for a couple of months now, but had yet to assemble it. So I had to do that so I could take the motor off of the stand to work on it. As far as the pilot bearing goes. I have read to use either grease or wet toilet paper to pack in the hole and hit with a dowel rod to force it out. I chose the wet toilet paper as I thougth, it being a solid, would work better under pressure. Well it didnt work and I ended up having to dig it all out. I then tried the grease and it worked beautiful. For those of you that dont want to spend half an afternoon shopping for a dowel to use, and that will fit, do what I did. I used an old head bolt with 1 revolution of duct tape around it. The bolt fit a little loose and I wanted it tighter so it would keep the grease in better. It worked and I didnt have to buy anything extra. Plus waste time looking for something as well
p635693_15.jpg

p635693_16.jpg
 
Last edited:

mk3forme

New Member
Apr 5, 2005
1,022
0
0
Lexington KY
Oh yeah and Im waiting on cams! LOL They are suppose to be shipped this week. Oh and they were suppose to be shipped last week too. I payed on the 5/25 just like I was suppose to! geeeesh.