Project Git 'er done!: Stages 1, 2…now 3.

supraguy@aol

Well-Known Member
Dec 30, 2005
4,238
39
48
Atlanta
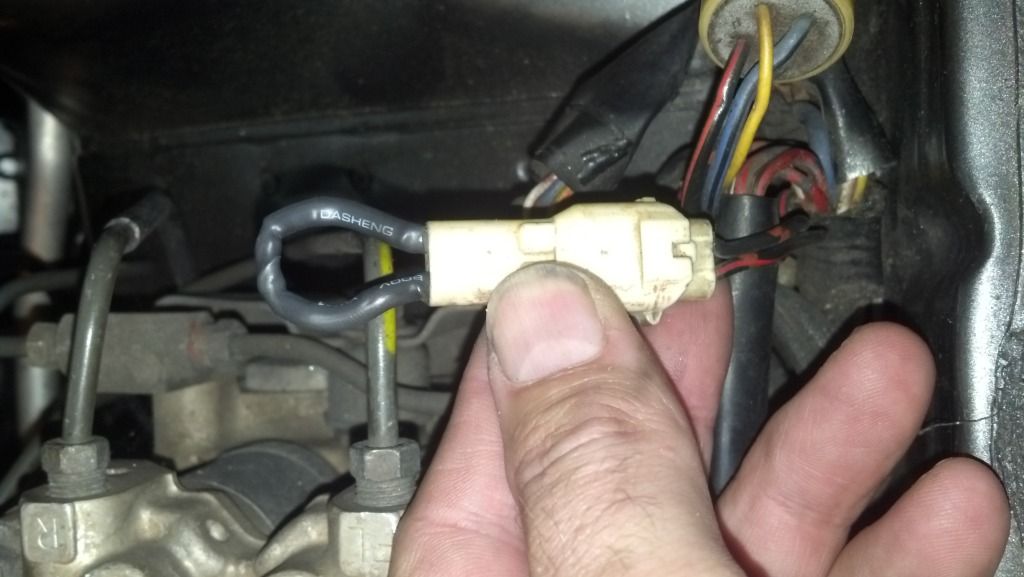
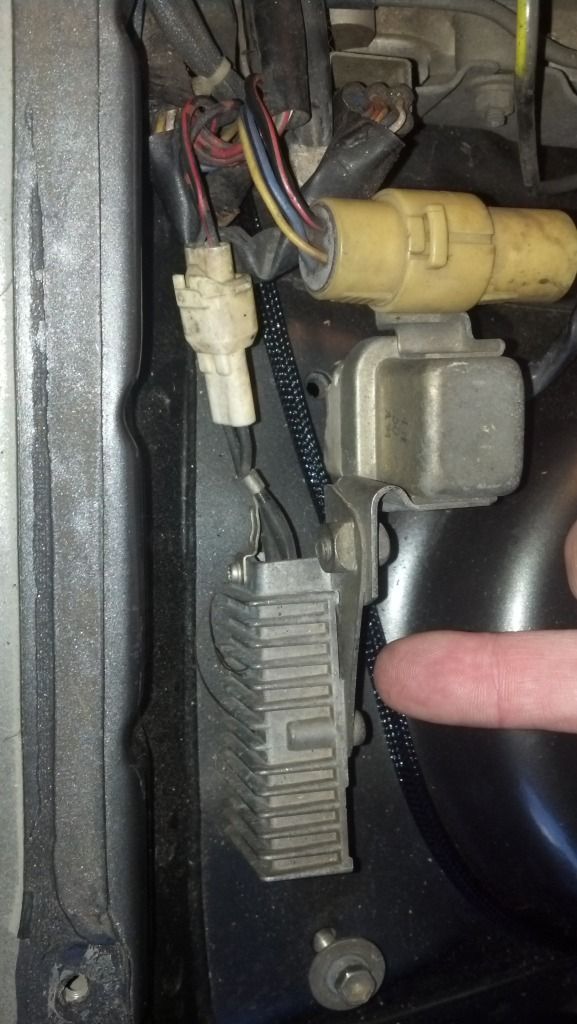
So...I started playing with the fuel resistor bypass mod, and I just wanted to make sure I was doing the right thing:

Here's the offending part, with the body harness connection that we need to bridge, right?

p1964813_1.jpg


So, I did this:

p1964813_2.jpg


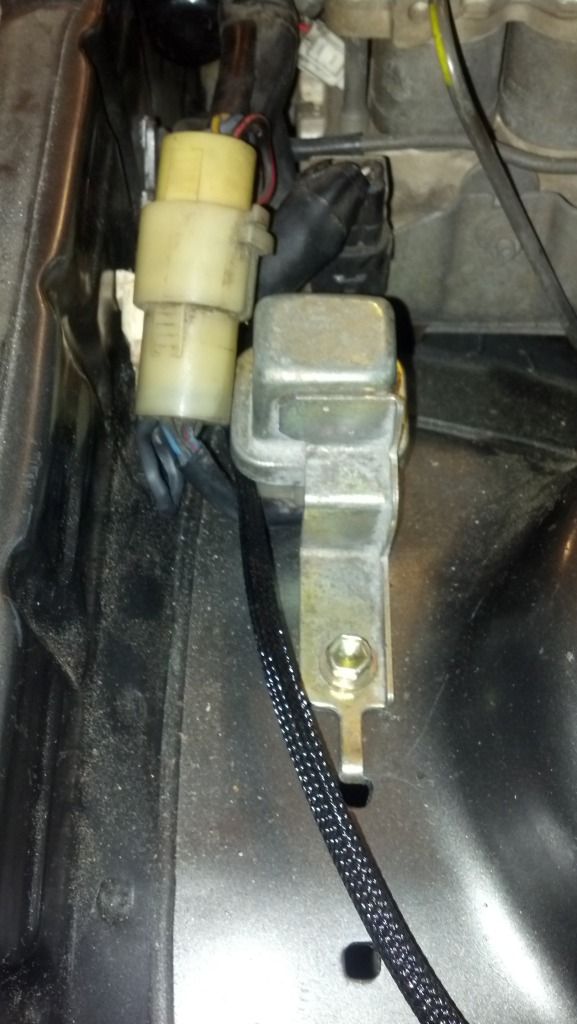
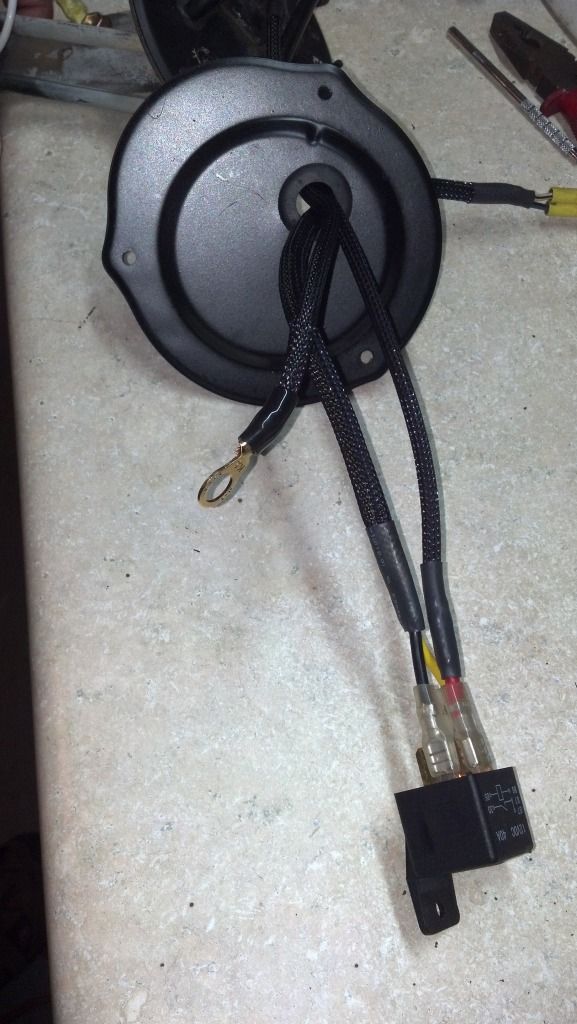
And replaced the relay assembly with something cleaner:

p1964813_3.jpg


Does that all look right?
If so, next stop is the fuel tank.
 

supraguy@aol

Well-Known Member
Dec 30, 2005
4,238
39
48
Atlanta
I had read that some people were removing the relay entirely.
Didn't know about that for sure. But with the resistor's body plug effectively bridged as I have it, I should get constant 12 volt to the pump, yes?
 

CyFi6

Aliens.
Oct 11, 2007
2,972
0
36
Phoenix
www.google.com
Yeah the way you have it will work fine too, just leave the relay in there. If you want to pull the relay you need to jump the blue/black wire to the black/red wire.
 

supraguy@aol

Well-Known Member
Dec 30, 2005
4,238
39
48
Atlanta
So today, I did indeed get into the fuel tank.
Dropped it out, and started dealing with the fuel pump upgrade.

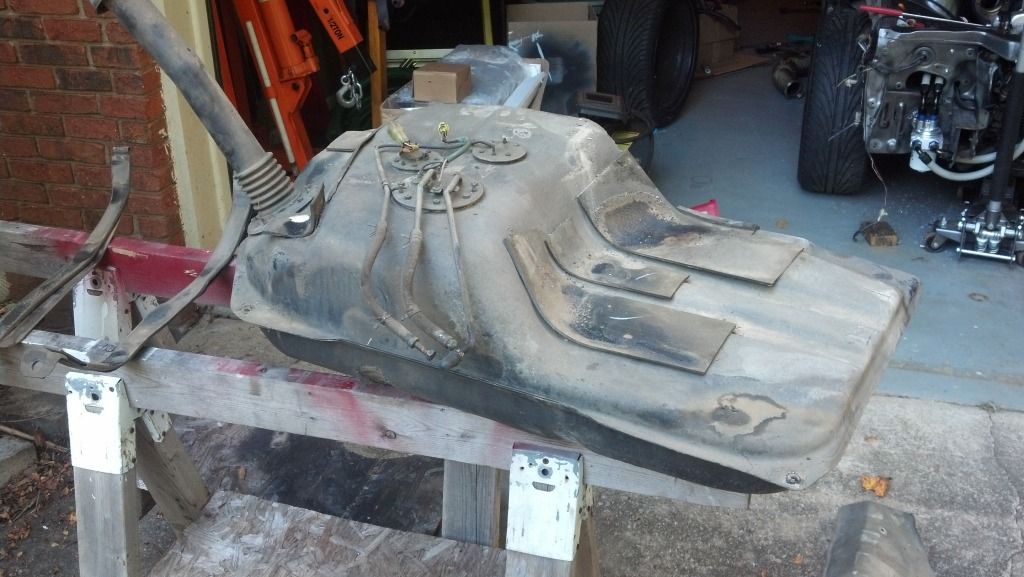
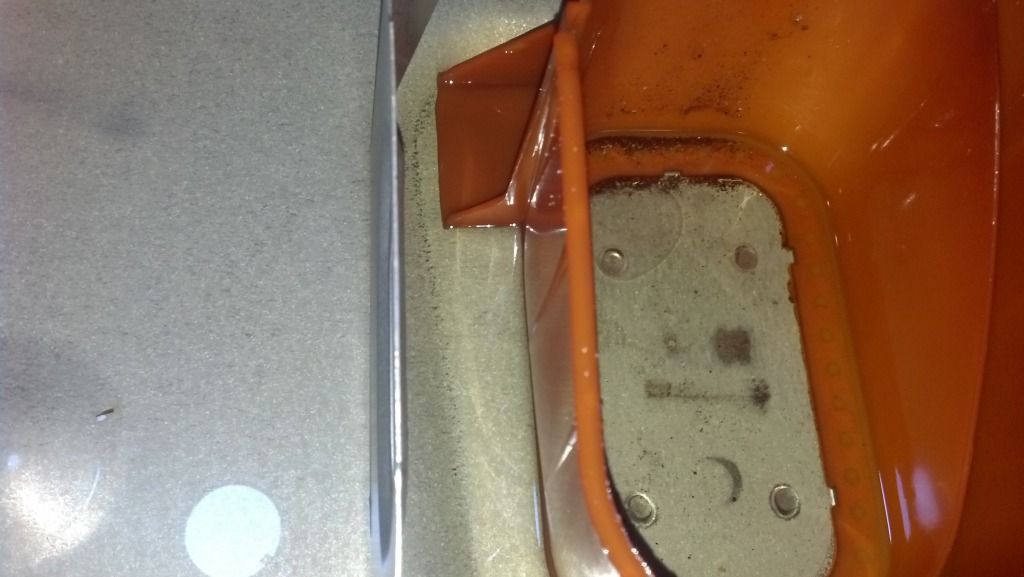
Dirty tank:

p1964999_1.jpg


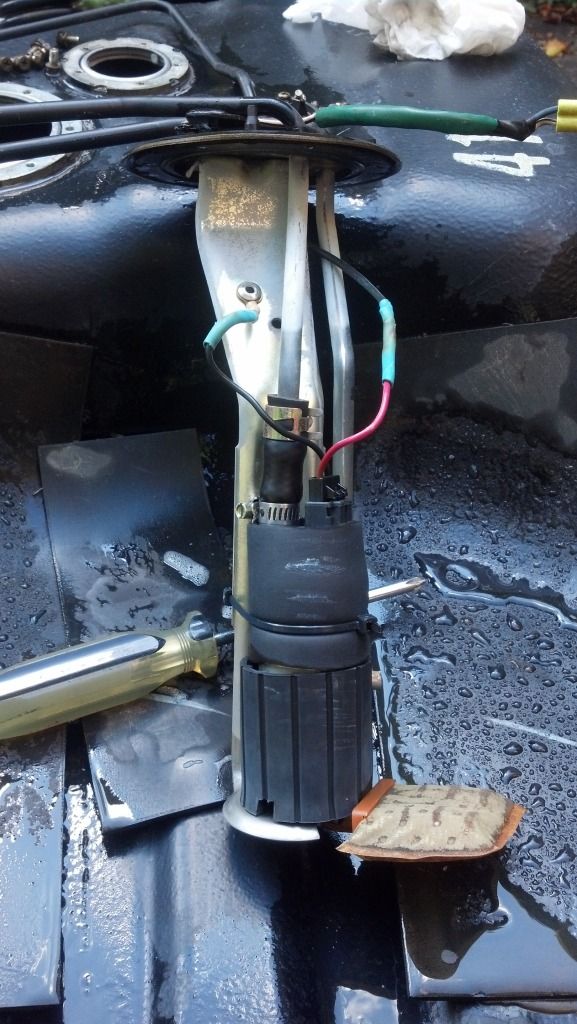
The pump hanger with the Walbro pump I installed about 8 yrs ago:


p1964999_2.jpg


Inside looks pretty good to me:

p1964999_3.jpg


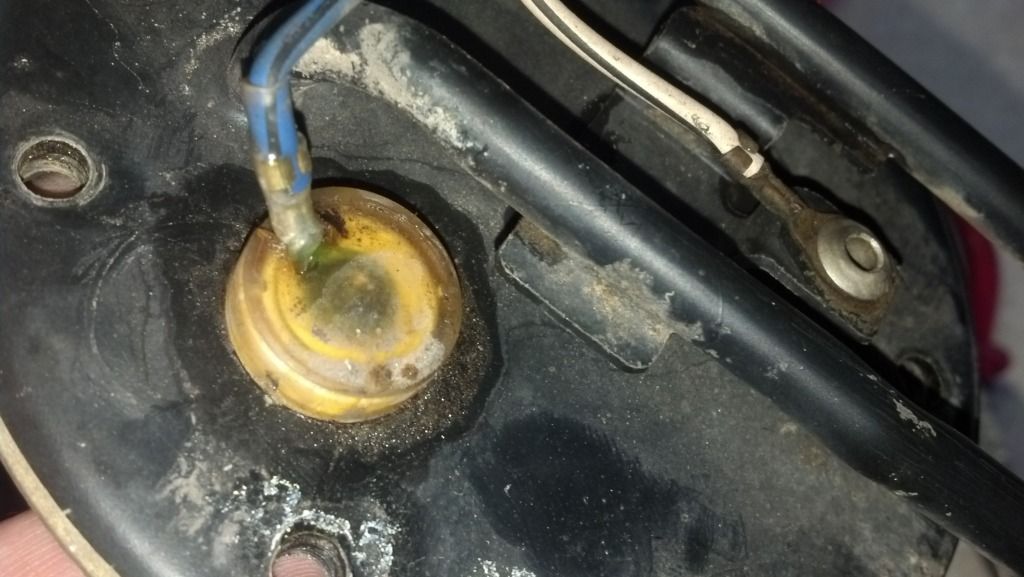
Since I read that the Aeromotive Stealth pumps don't like to work through small, old wiring, I wanted to do a full wiring upgrade.
With that in mind, I drilled out the rivet connections holding the factory wiring in place at the in-tank ground, in-tank power, and external ground and power connections.


p1964999_4.jpg


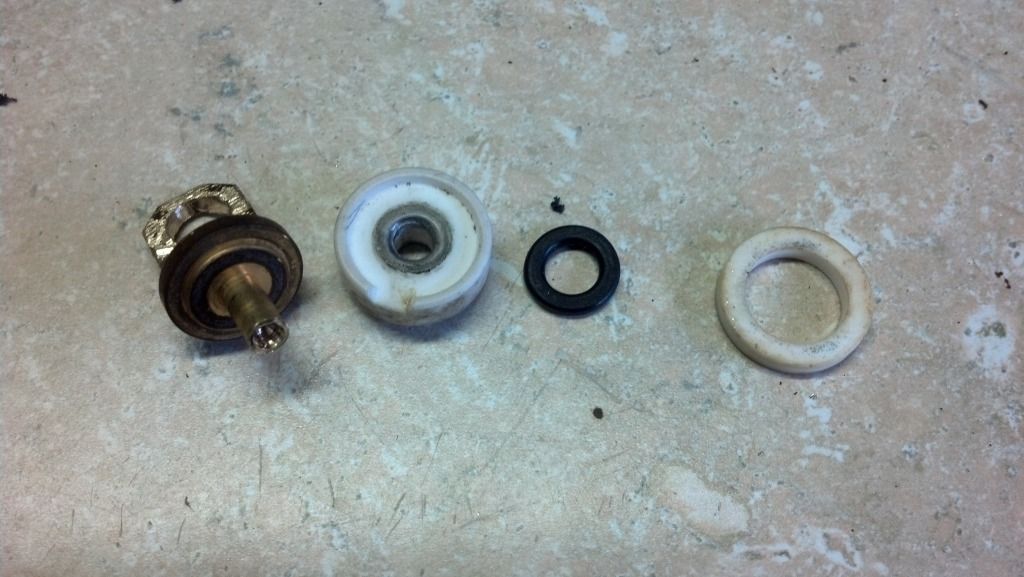
The oem power line through the cap is a neat arrangement of two discs of what I believe are porcelain or ceramic material, with an o-ring between them to keep it airtight, with a brass terminal on the inside:

p1964999_5.jpg


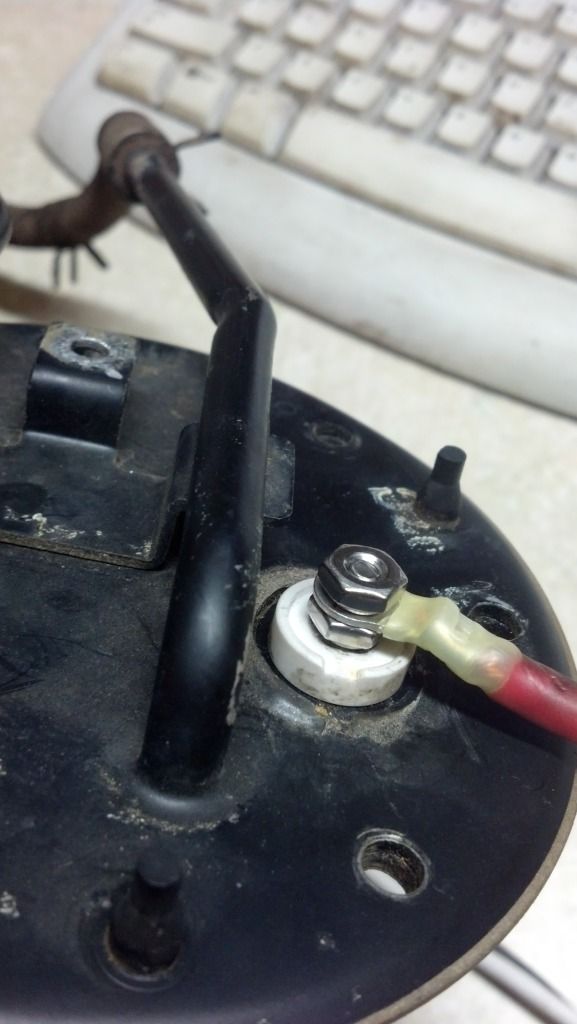
After drilling it out, I found that a #8 fastener would fit through the original hole, so I bought some stainless pieces.


p1964999_6.jpg


Also, after reading a bit about I.J. suggesting teflon-coated wire for in the tank(as well as seeing that the Aeromotive wire was also Tefzal), I decided to use it. Problem was, the stuff that came on the Aeromotive plug wasn't very big, and I didn't see the point of using 10 gauge wire outside the tank, if it was going to have to narrow down to ~16 gauge inside the tank. The other problem was finding some. Then I realized- this is aircraft-rated wire. I work with aircraft mechanics. So, I just rolled up to work, and took my pick of the wire I wanted, since they had every gauge conceivable. I just had to de-pin the spade connectors from the plug, and re-crimp the larger wire in. Problem solved.
Aeromotive wire vs. my new wire:

p1964999_7.jpg


Then I drilled out the original groundpoint rivet hole, and used an m6 fastener:

p1964999_8.jpg


The ground outside the tank on the top of the cap is now also m6.
I've already tested all the connections, and made sure that there's absolutely no continuity of the power terminal to ground.
Next, I just have to finish up a bit more of the external wiring to the new relay, and the fuel mod is done. It'll be a little while till I can reinstall the tank, however; I've found that I have rust holes through the spare tire well floor in three different places, so I'll have to do some cutting and welding first.
 
Last edited:

supraguy@aol

Well-Known Member
Dec 30, 2005
4,238
39
48
Atlanta
PS- I found out that my Walbro wasn't actually a Walbro.
Apparently, I fell for a fake Walbro on Ebay. Regardless, it ran like a champ!
 

supraguy@aol

Well-Known Member
Dec 30, 2005
4,238
39
48
Atlanta
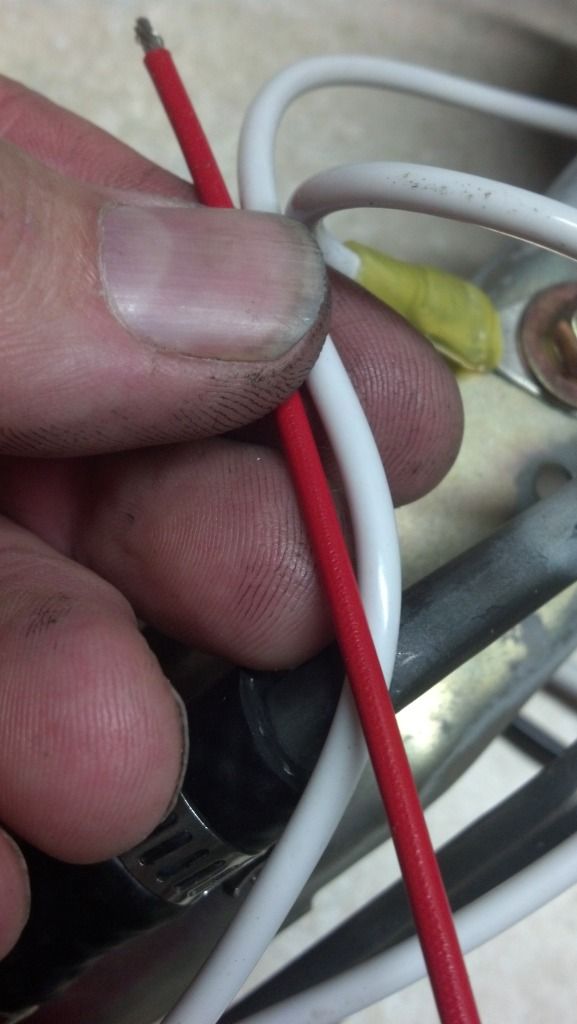
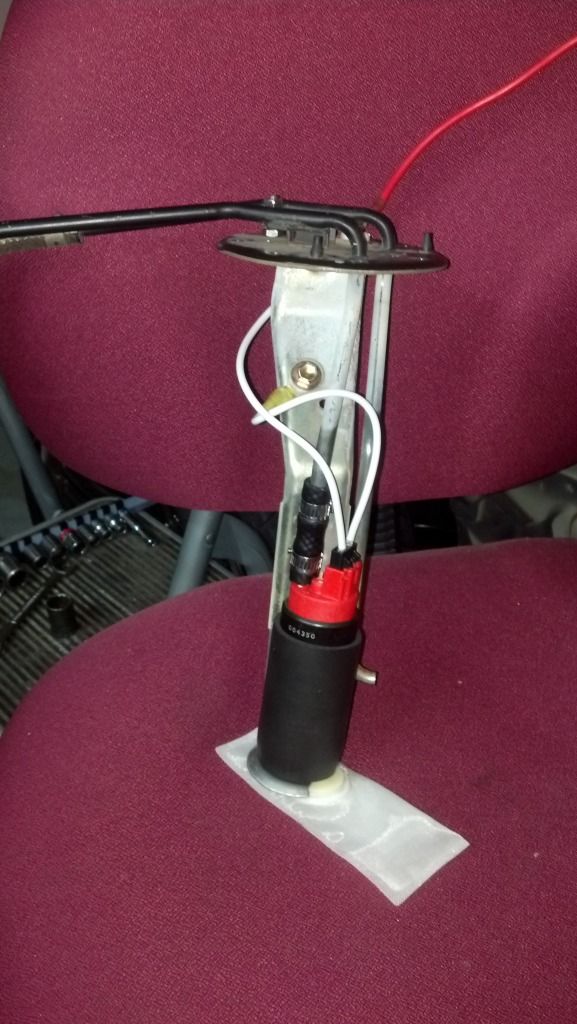
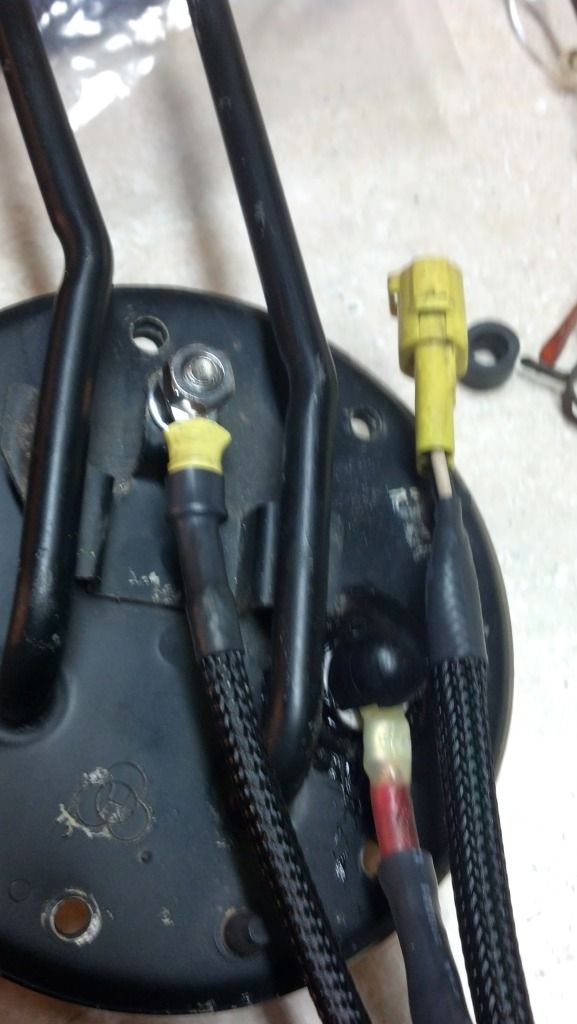
So tonight, I just did a little bit of wiring work.
Here, you can see the two finalized connections to the pump itself. Also, you can see how the original plug has been wired up as the trigger input to the relay:

p1965125_1.jpg


I put a grommet through the original fuel door, where all four wires will pass through:

p1965125_2.jpg


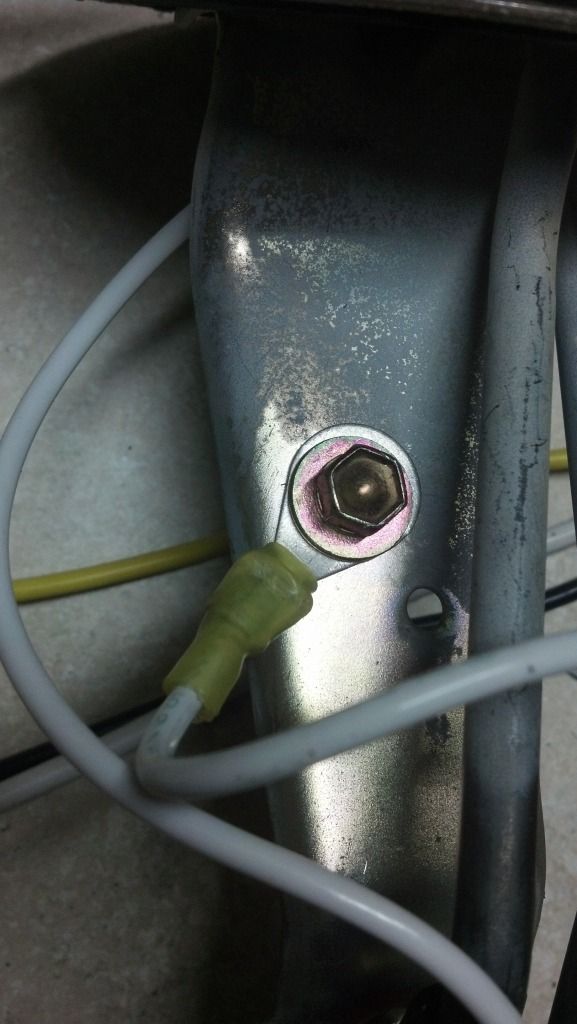
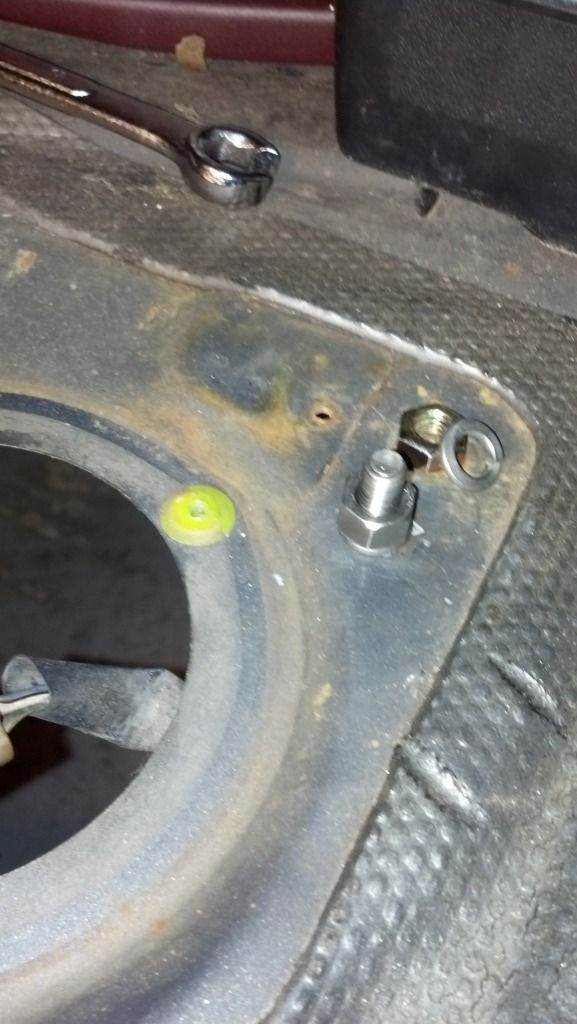
And this is a stainless bolt that I secured through the sheet metal, for the pump's ground point:

p1965125_3.jpg


Next, I will reinstall the pump assembly, and push the tank to the corner of the garage. Then it's time to begin cutting out the spare tire well.
Not looking forward to that repair.
 

supraguy@aol

Well-Known Member
Dec 30, 2005
4,238
39
48
Atlanta
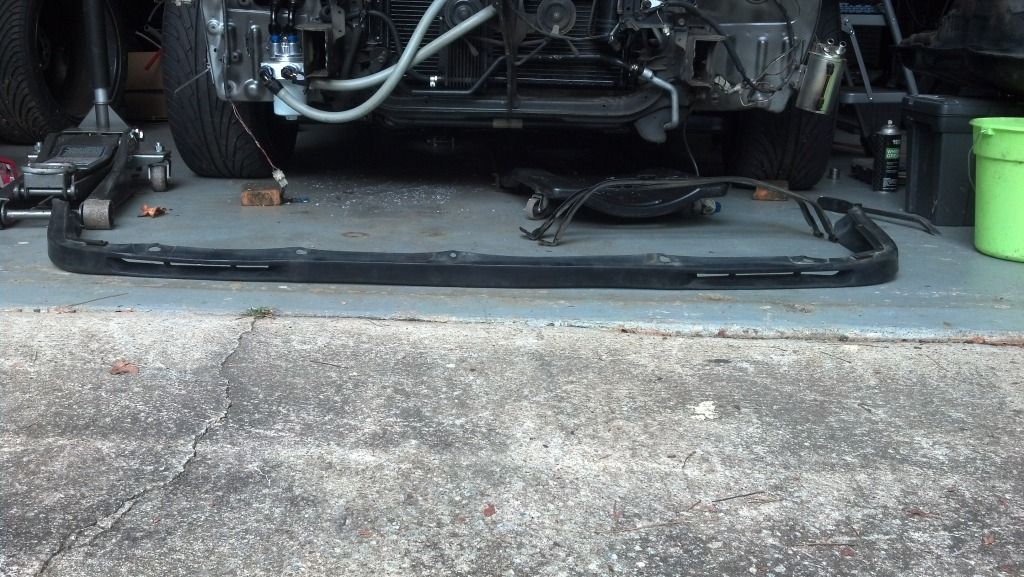
Received my JZA70 front lip today, looks to be in pretty good shape.
I thought it was coming from the Middle East, but it actually shipped from just north of Tokyo.
Relieved that I actually got it, and it was in good condition, as the Ebay seller had zero sales feedback at the time that I bought it.
:)

p1965193_1.jpg
 
Last edited:

supraguy@aol

Well-Known Member
Dec 30, 2005
4,238
39
48
Atlanta
Yeah, no cuts or gouges in the plastic, and only one tab that's broken.
And even that is just a break in the mounting hole, not a missing or torn tab. If I'm able to find the ducts that attach to it later on, great, but I'm not too worried about that.
 

supraguy@aol

Well-Known Member
Dec 30, 2005
4,238
39
48
Atlanta
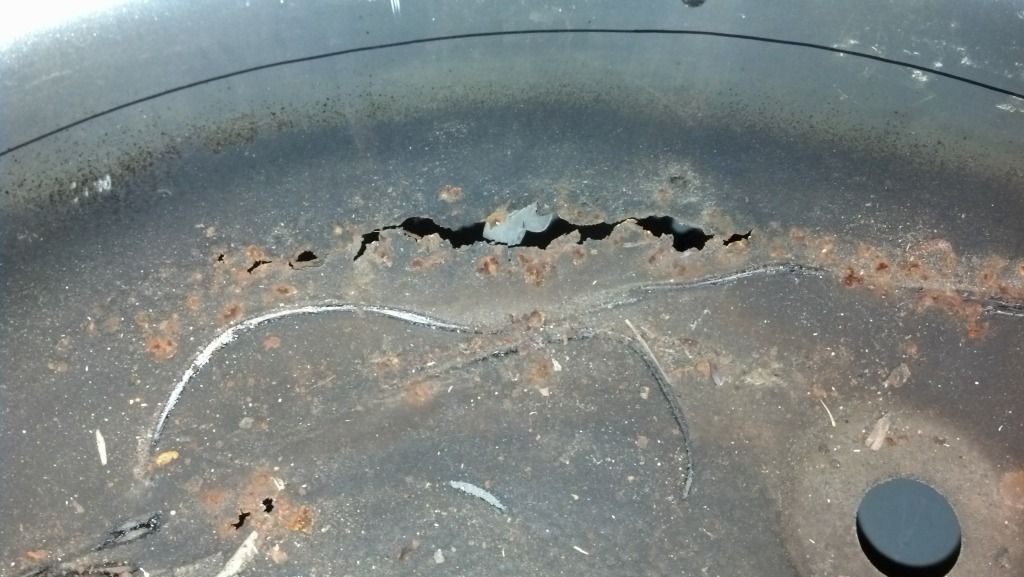
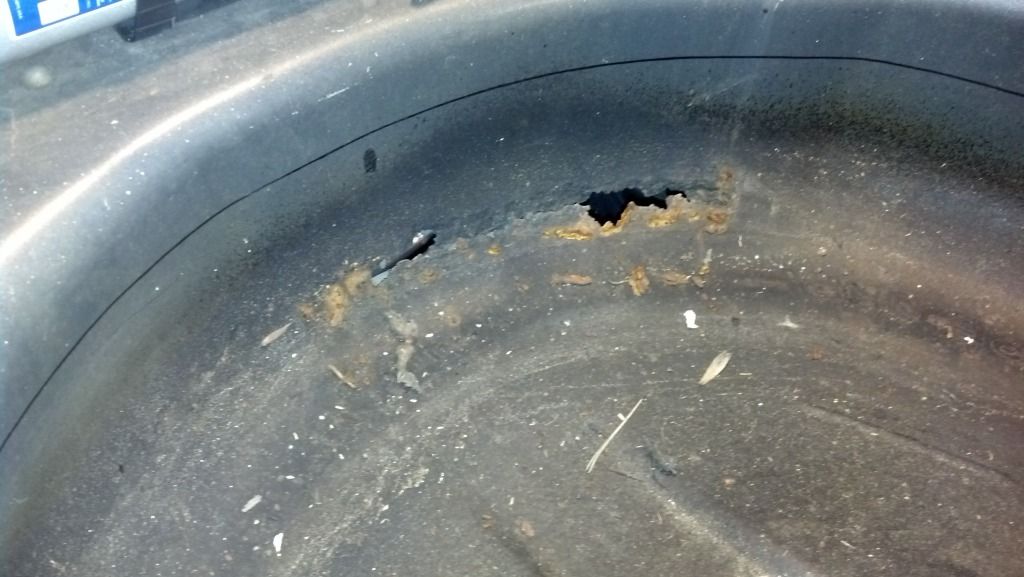
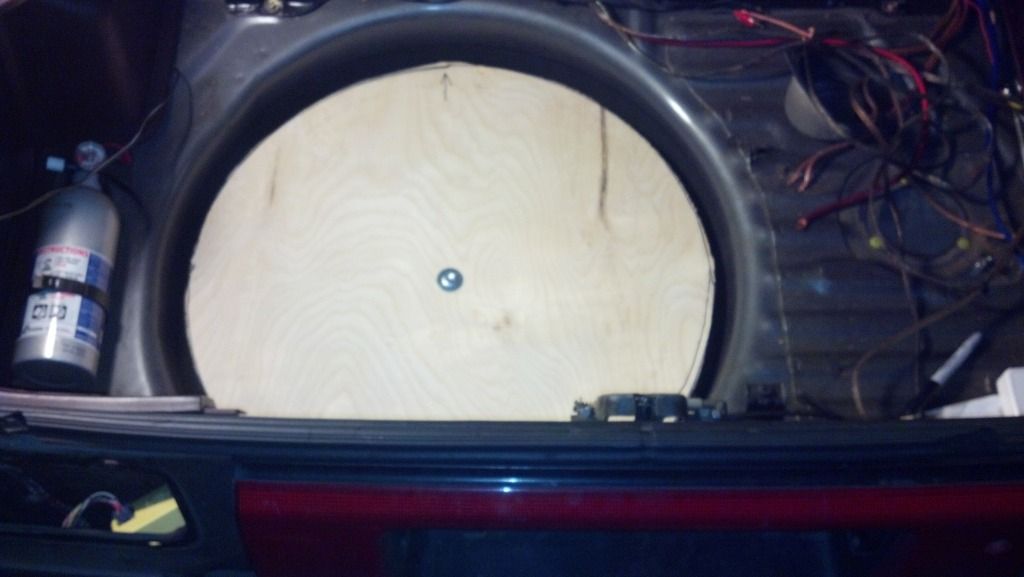
A quick pick of the rust in the tire well. I have to find a donor car in the area that i can get this from.
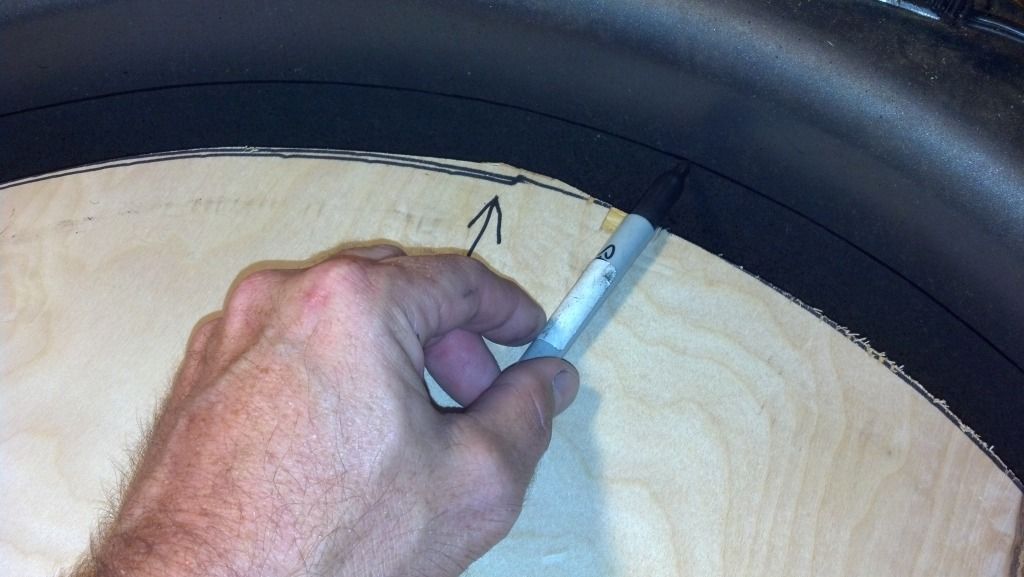
I cut a piece of plywood into a circle, and mounted it to the hold-down for the spare, and marked off the cut line.
This way, i can do the same thing to the donor car, and end up with exactly the right depth on the new piece to weld in.
I hope. :)

p1965667_1.jpg


p1965667_2.jpg


p1965667_3.jpg

p1965667_4.jpg
 

supraguy@aol

Well-Known Member
Dec 30, 2005
4,238
39
48
Atlanta
We'll have to see.
I'm thinking about going up to Gainesville and cutting one out from the teal '92 that i got the front bumper from.
Apparently, it's still there, a year later.