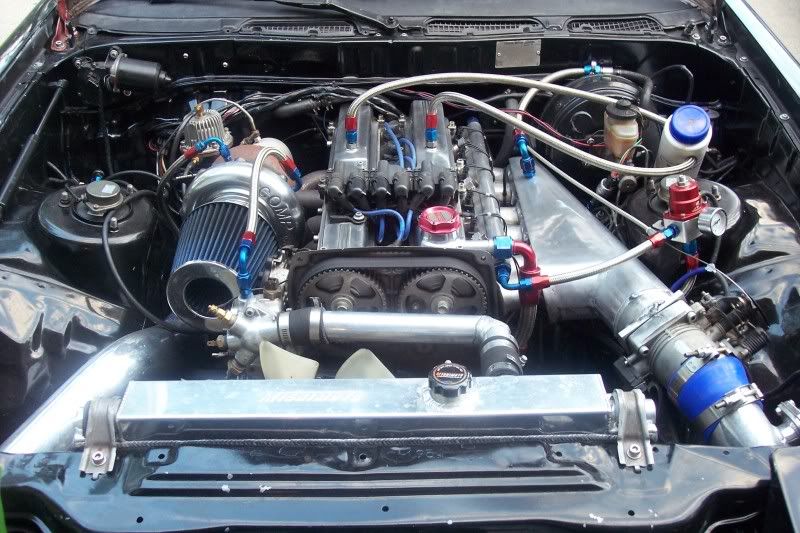
northwestsupra's 500hp build

northwestsupra

New Member
Sep 19, 2006
1,166
0
0
Washington, Marysville
honestabe;1605241 said:
LOL at the slurpee straws. I like your bracket, it looks pretty good Looks like your beast is coming along good Trevor.

i was in 7/11 and i saw them and im like dude those would make perfect spacers, and they were like $1 each and all anodized colors lol, so i was stuck between blue and red, they also had yellow, and orange. but they looked big enough to stick the 1/4 stud through so i just bought 2 of them and gave it a try, and go figure its kinda nice looking lol. if you look closely you can still see the words slurpee and the warning label saying its not for children.

---------- Post added at 02:38 PM ---------- Previous post was at 02:35 PM ----------

and if anyone has information on how to pull the pins out of the coolant temp sensor plug that would be helpfull i cant seem to get get the wires out.
 

northwestsupra

New Member
Sep 19, 2006
1,166
0
0
Washington, Marysville
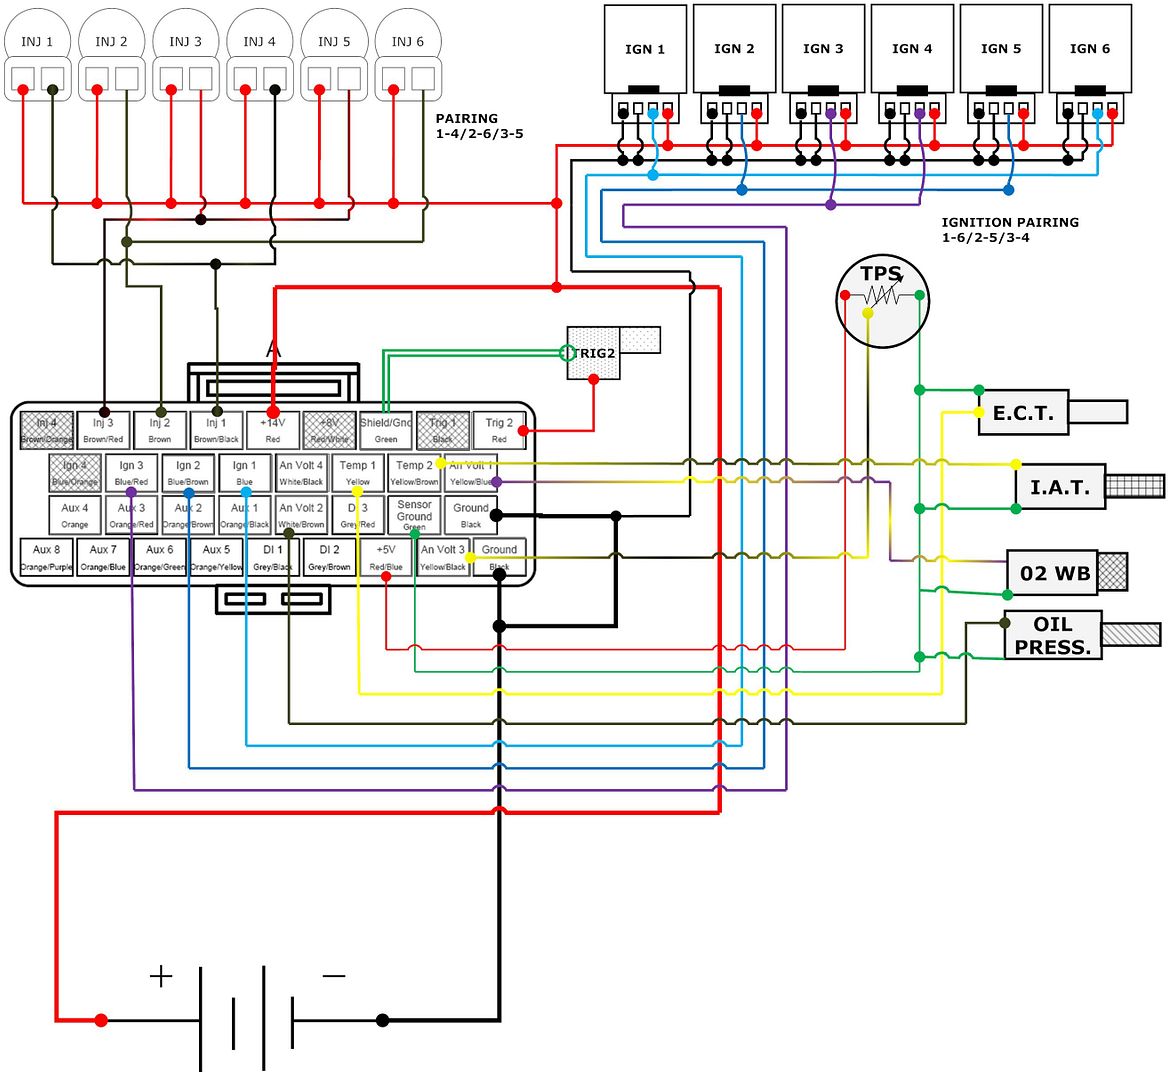
here is a wiring diagram i did for my engine harness

p1607254_1.jpg


used a software called smart draw 2010 :) used the same one in college very good software
 

northwestsupra

New Member
Sep 19, 2006
1,166
0
0
Washington, Marysville
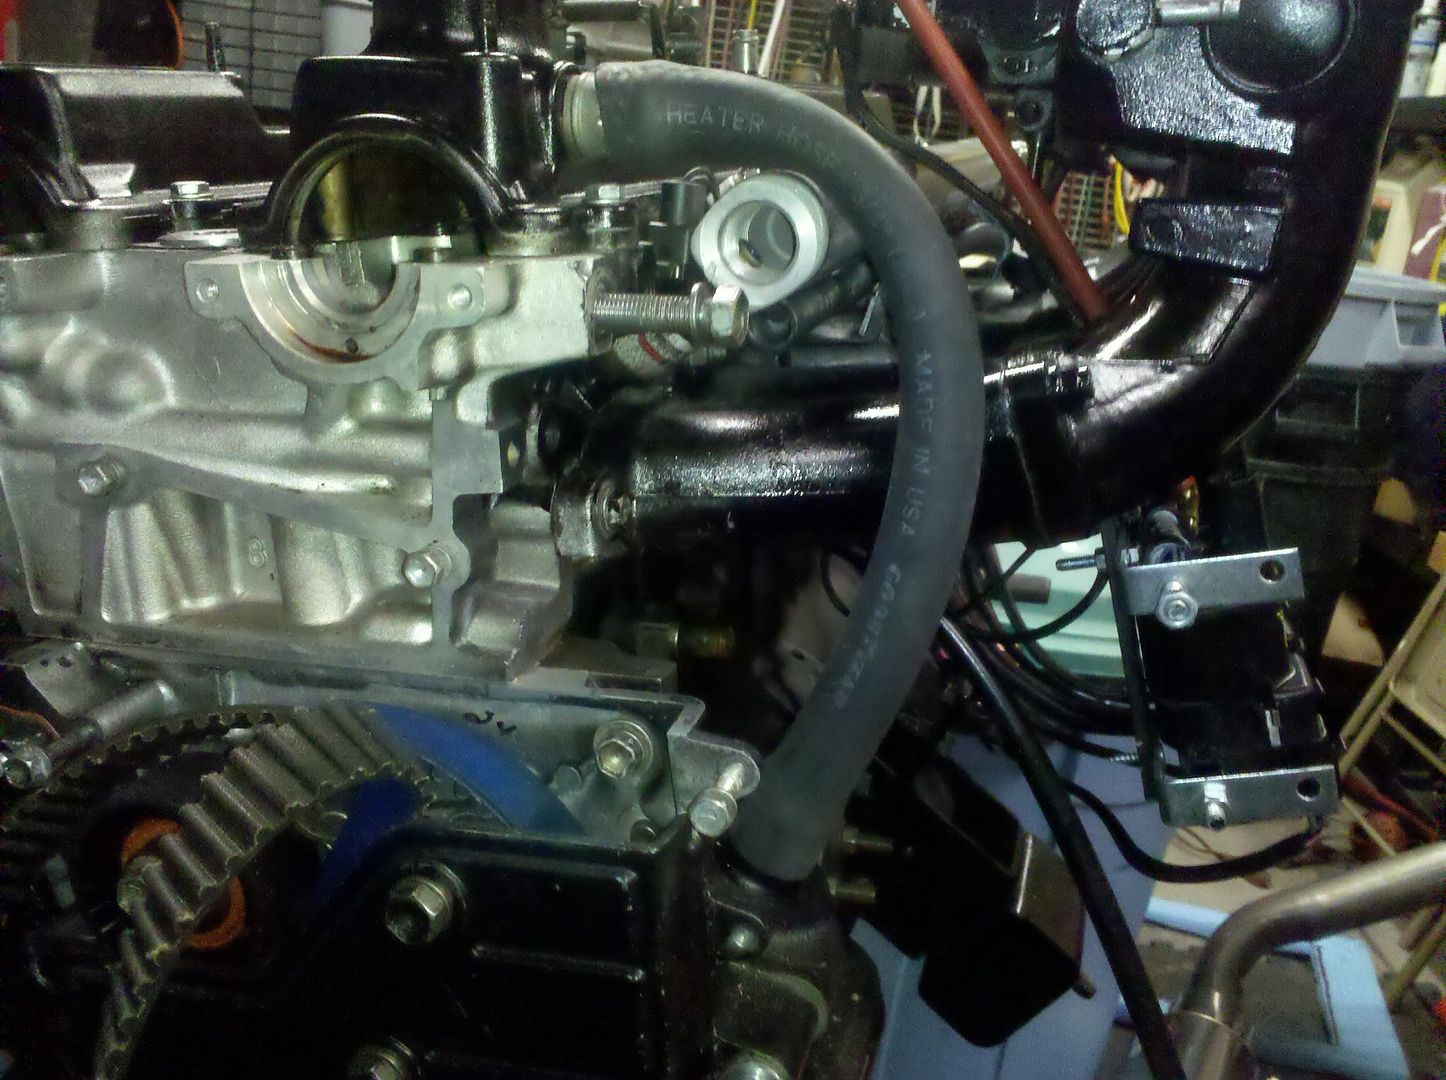
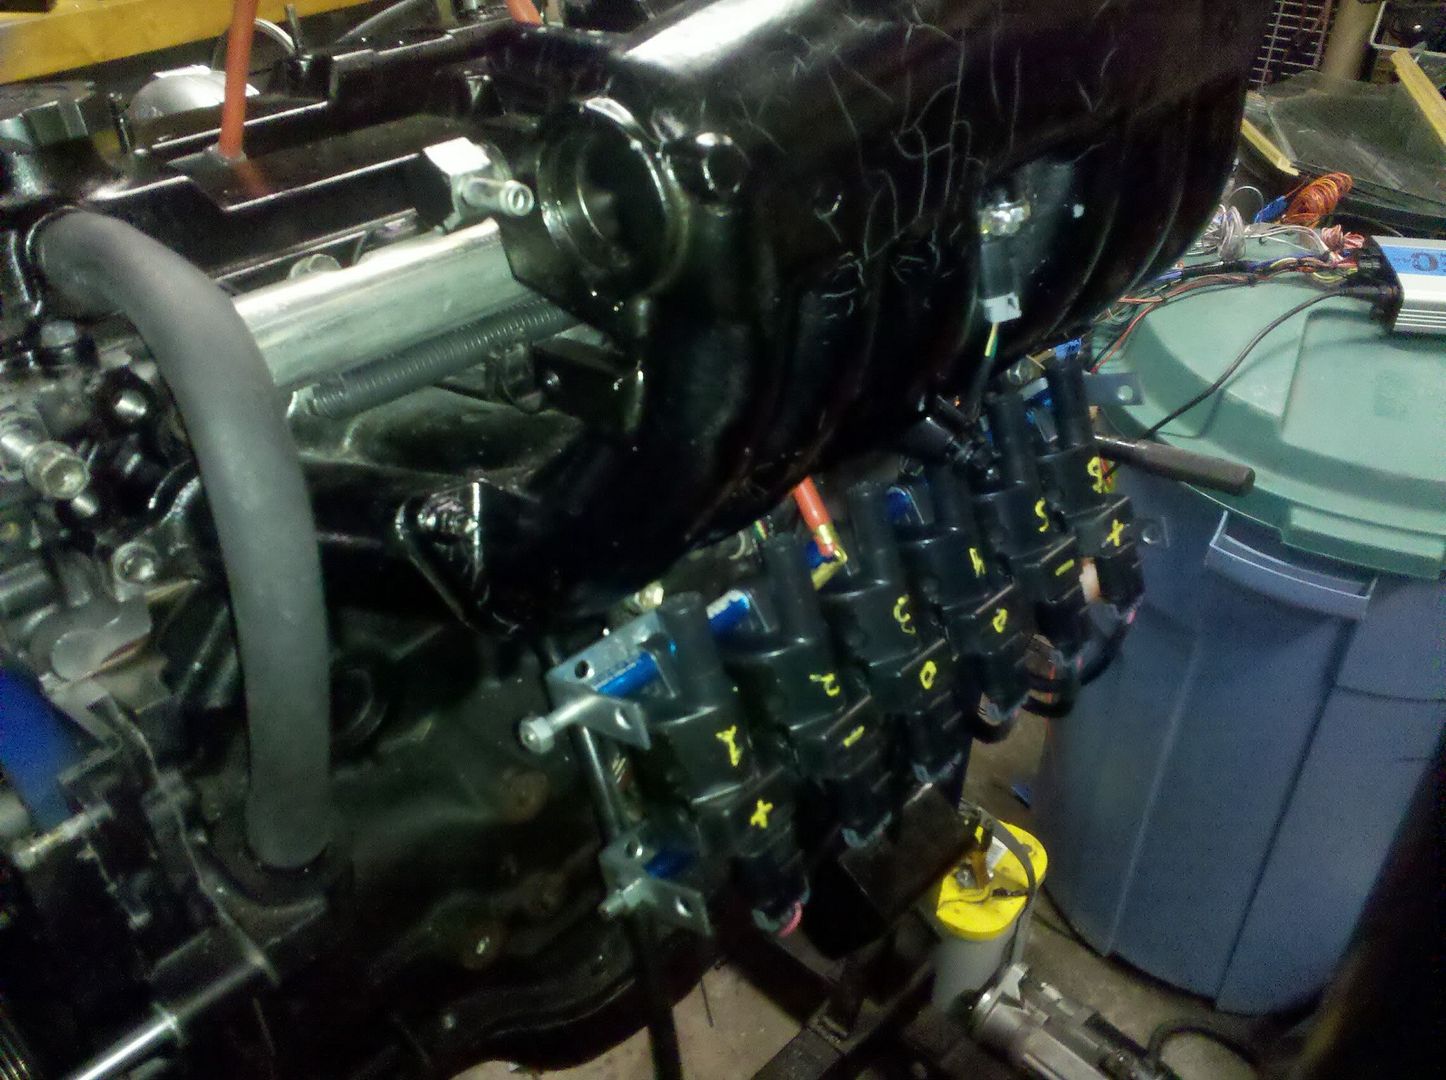
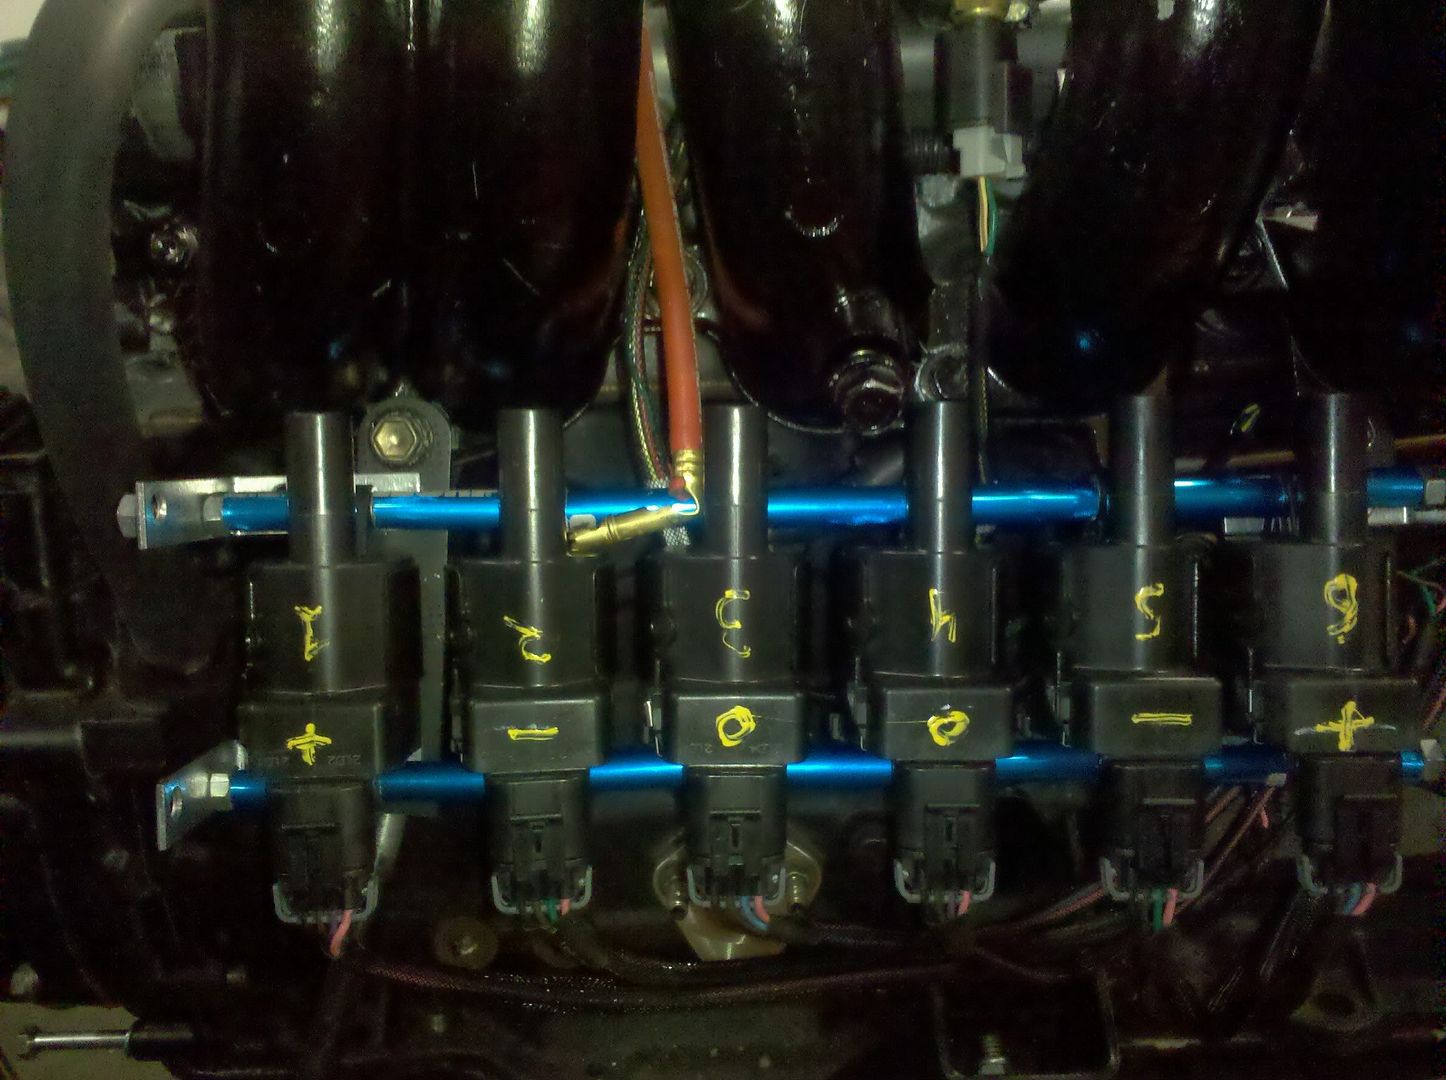
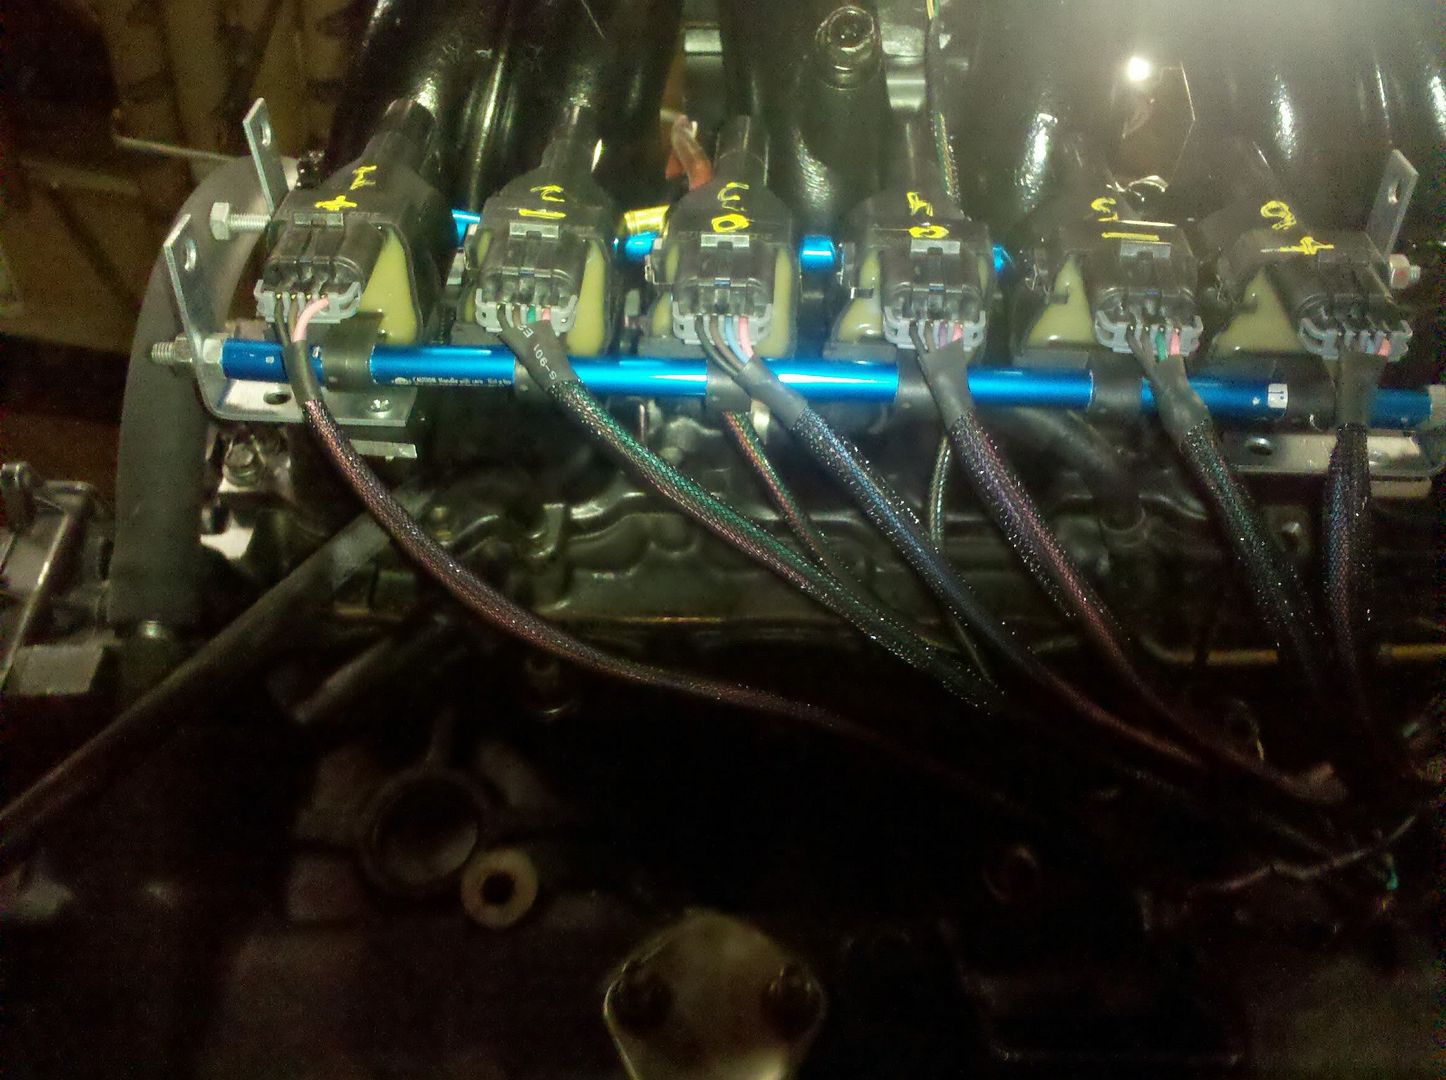
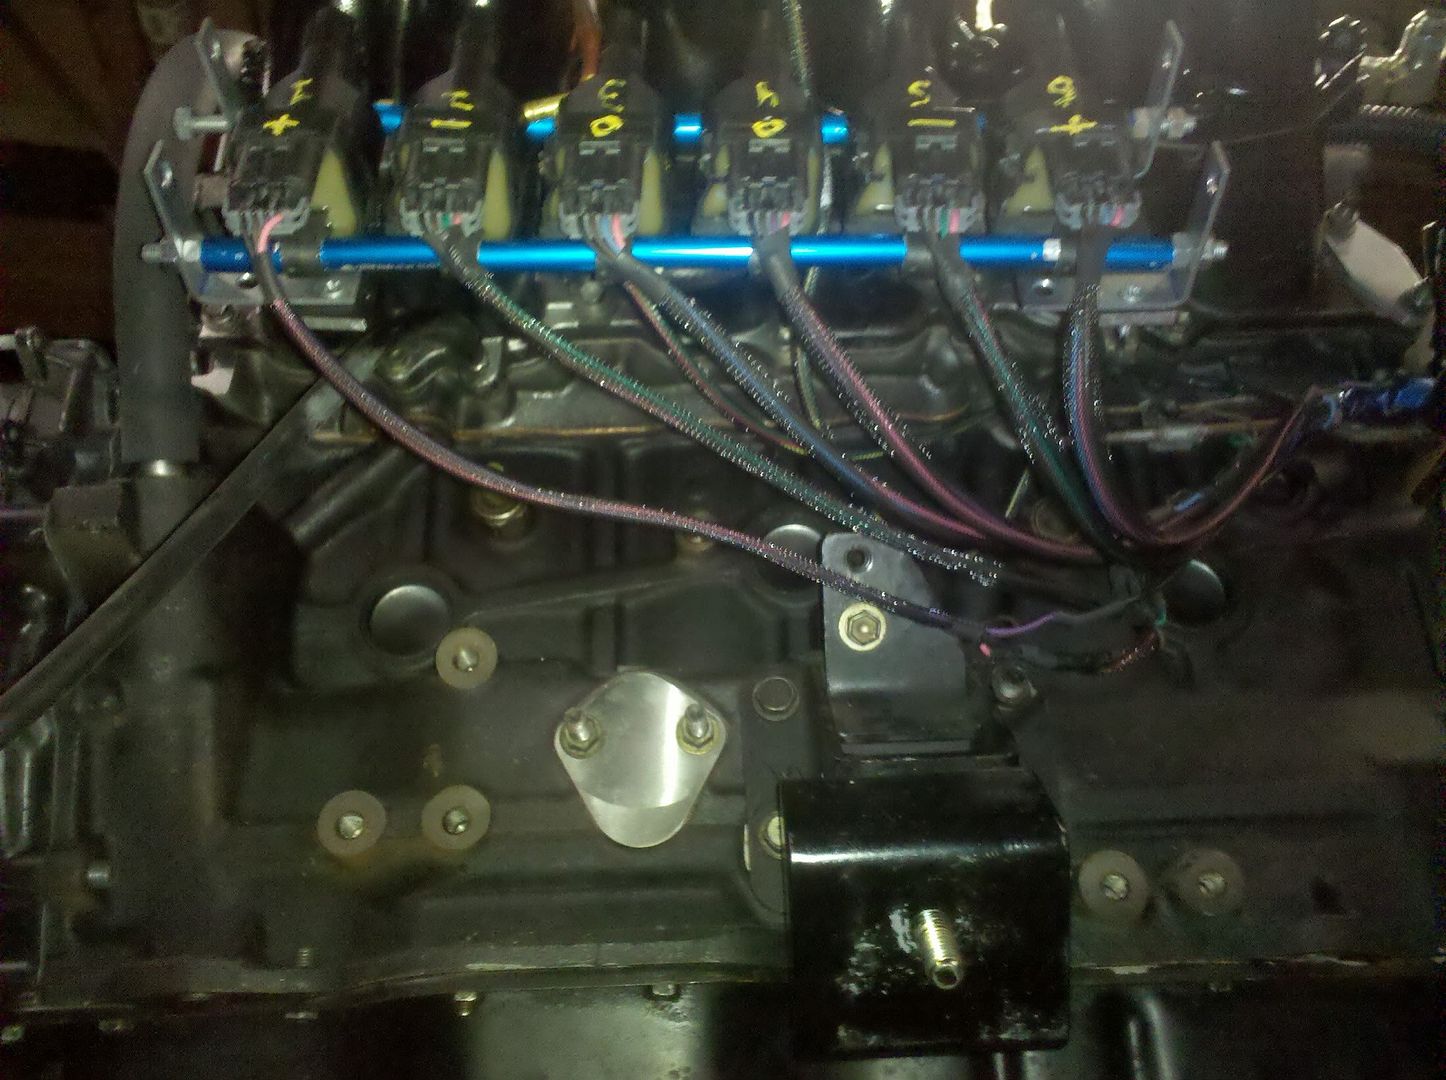
ok so i did more work today, i was able to find a way to mount the coils under the intake like ian suggested. was pretty easy, hopefully they wont hit the shock tower, wont really know untill engine is in. but i have to wait to get a picture of that because my phone is kinda dead, so mean while i need some help figuring out what some things are and if they will be needed anymore lol,
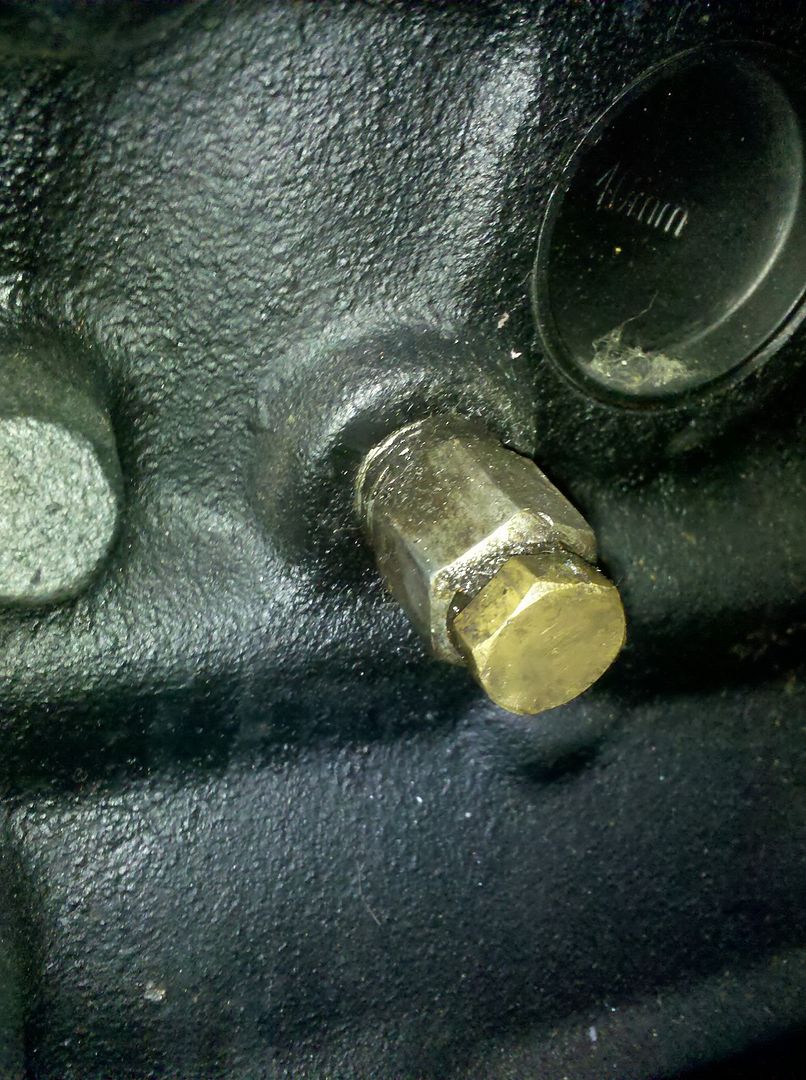
picture 1... located on passenger side of engine rear next to the transmission plate. what is it?? looks like a banjo fitting would normally go onto it.
p1609057_1.jpg

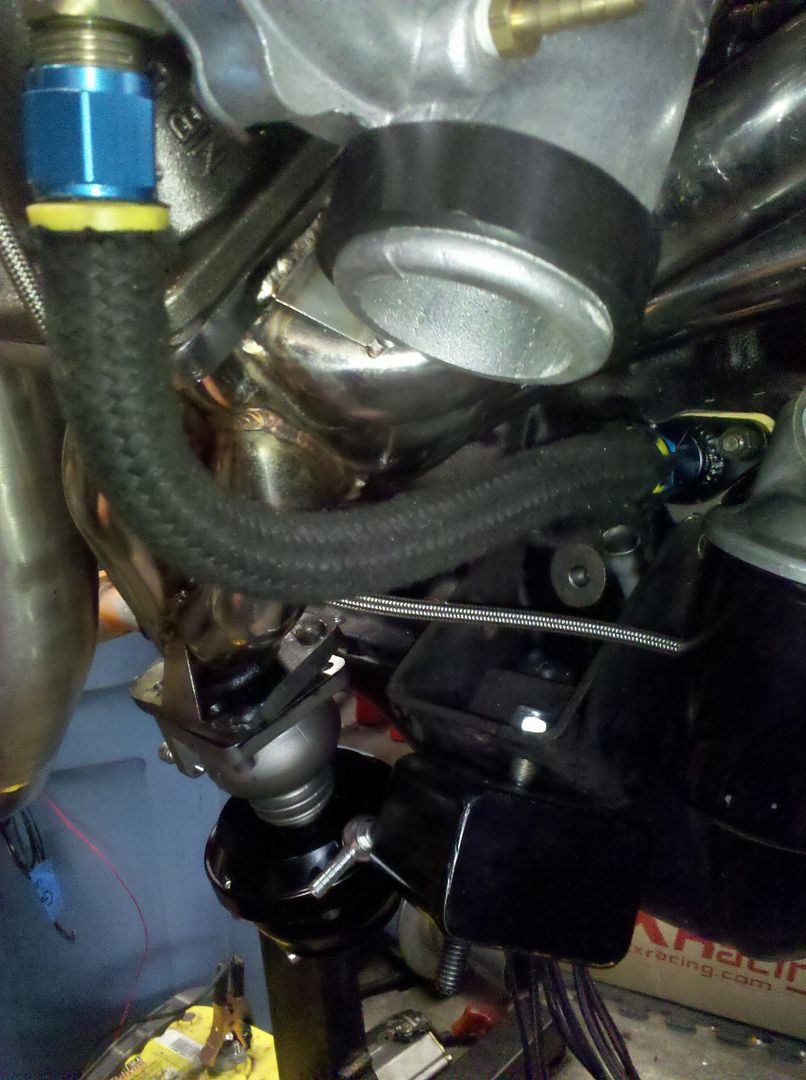
pic 2, do you think the oil return will be fine like this?
p1609057_2.jpg

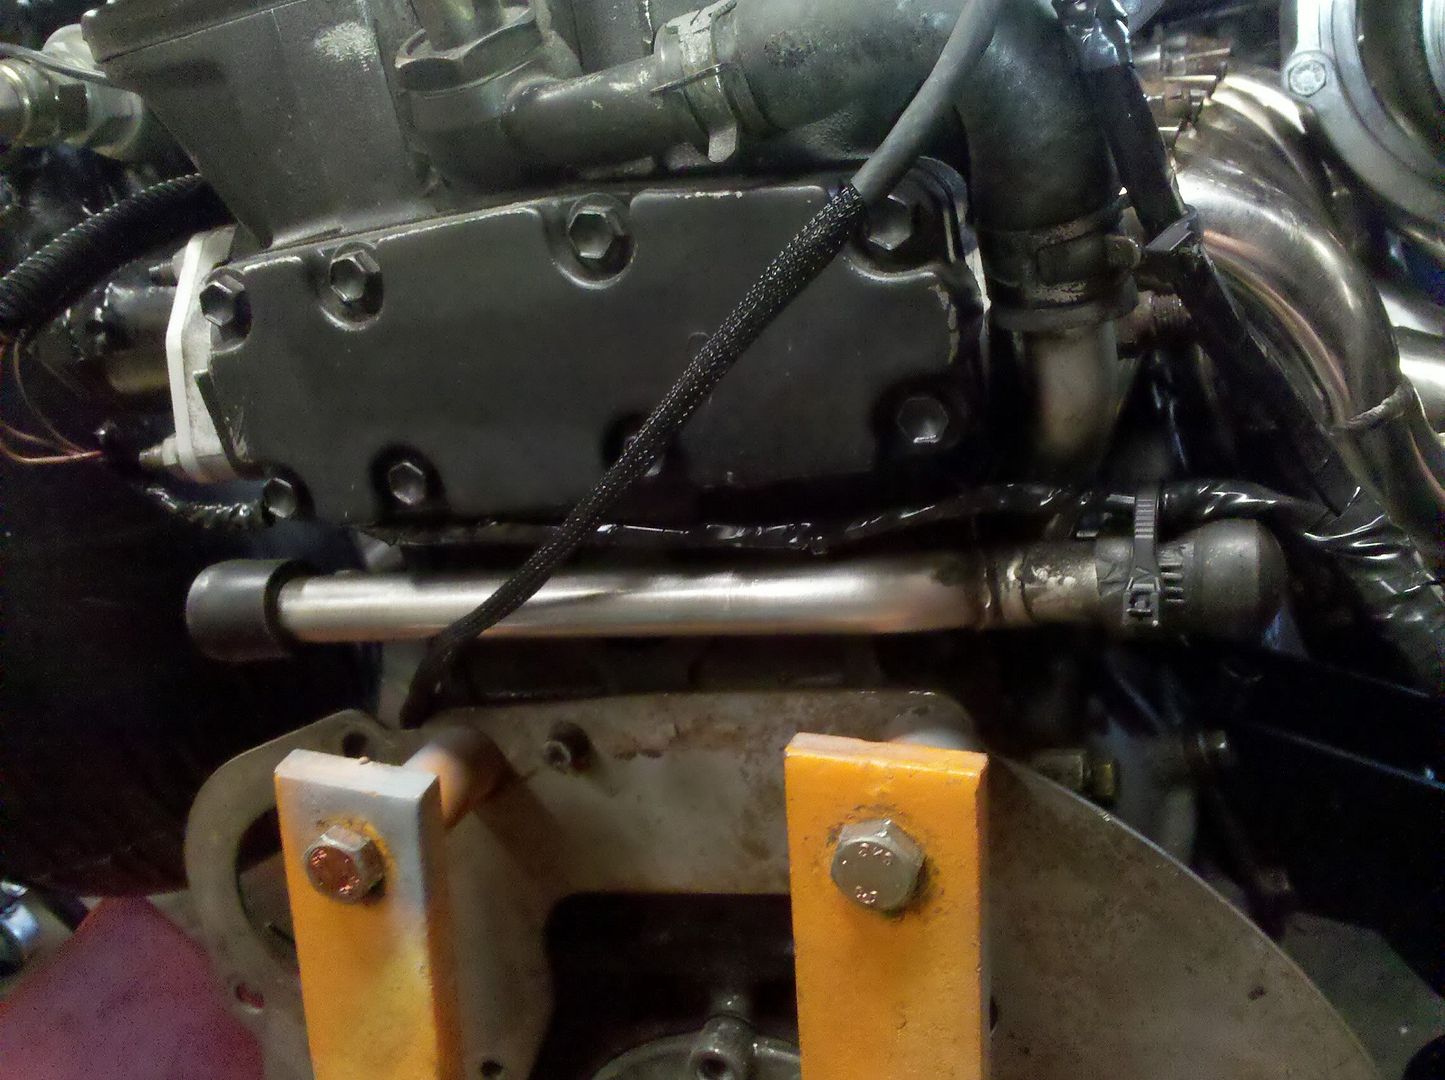
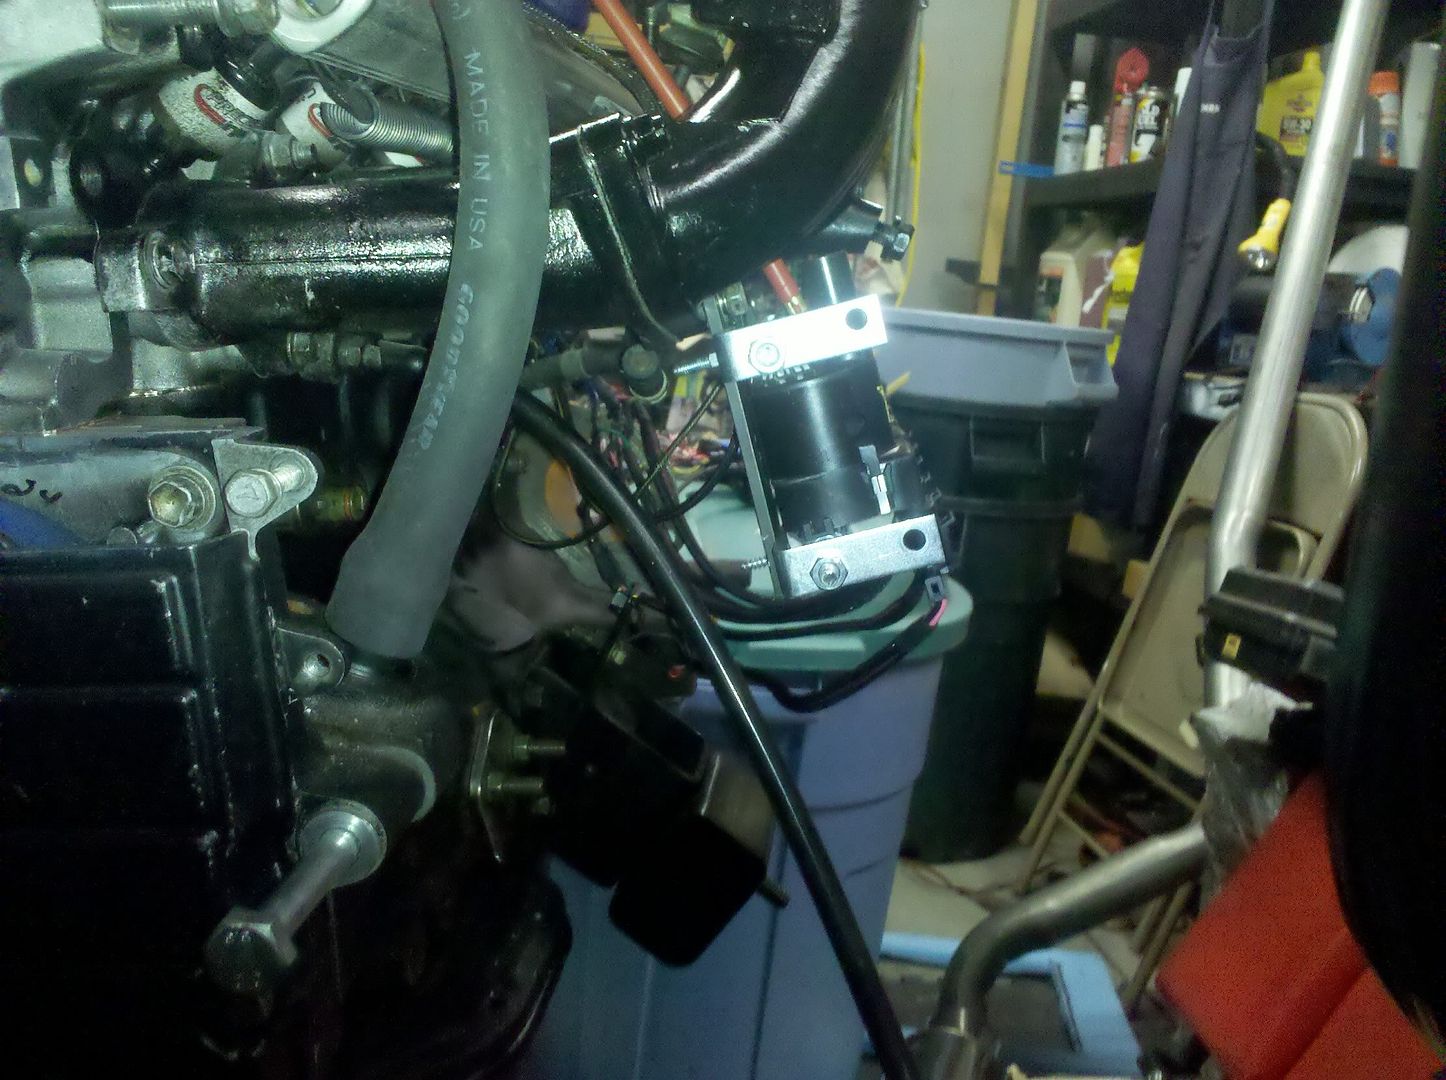
pic 3, the engine harness running under the EGR back plate. to much heat?? no problems if there is i have enough i can run above the firewall. and also the metal coolant line.. idk if im even using anything that its attached to anymore lol, so im thinking that is coming off also. but please correct me if im wrong.
p1609057_3.jpg

pic 4, what can i do about the retarded hose going from the valve cover to the block?? is there a way i can make that like a SS type line? like a slip over 90 degree sweep to idk a -12 or somthing lol or will i have to rip that thing outta the block and valve cover and make idk tap it or somthing.
p1609057_4.jpg

kinda like this
p1609057_5.jpg
 
Last edited:

northwestsupra

New Member
Sep 19, 2006
1,166
0
0
Washington, Marysville
update

p1615232_1.jpg

p1615232_2.jpg

p1615232_3.jpg

p1615232_4.jpg


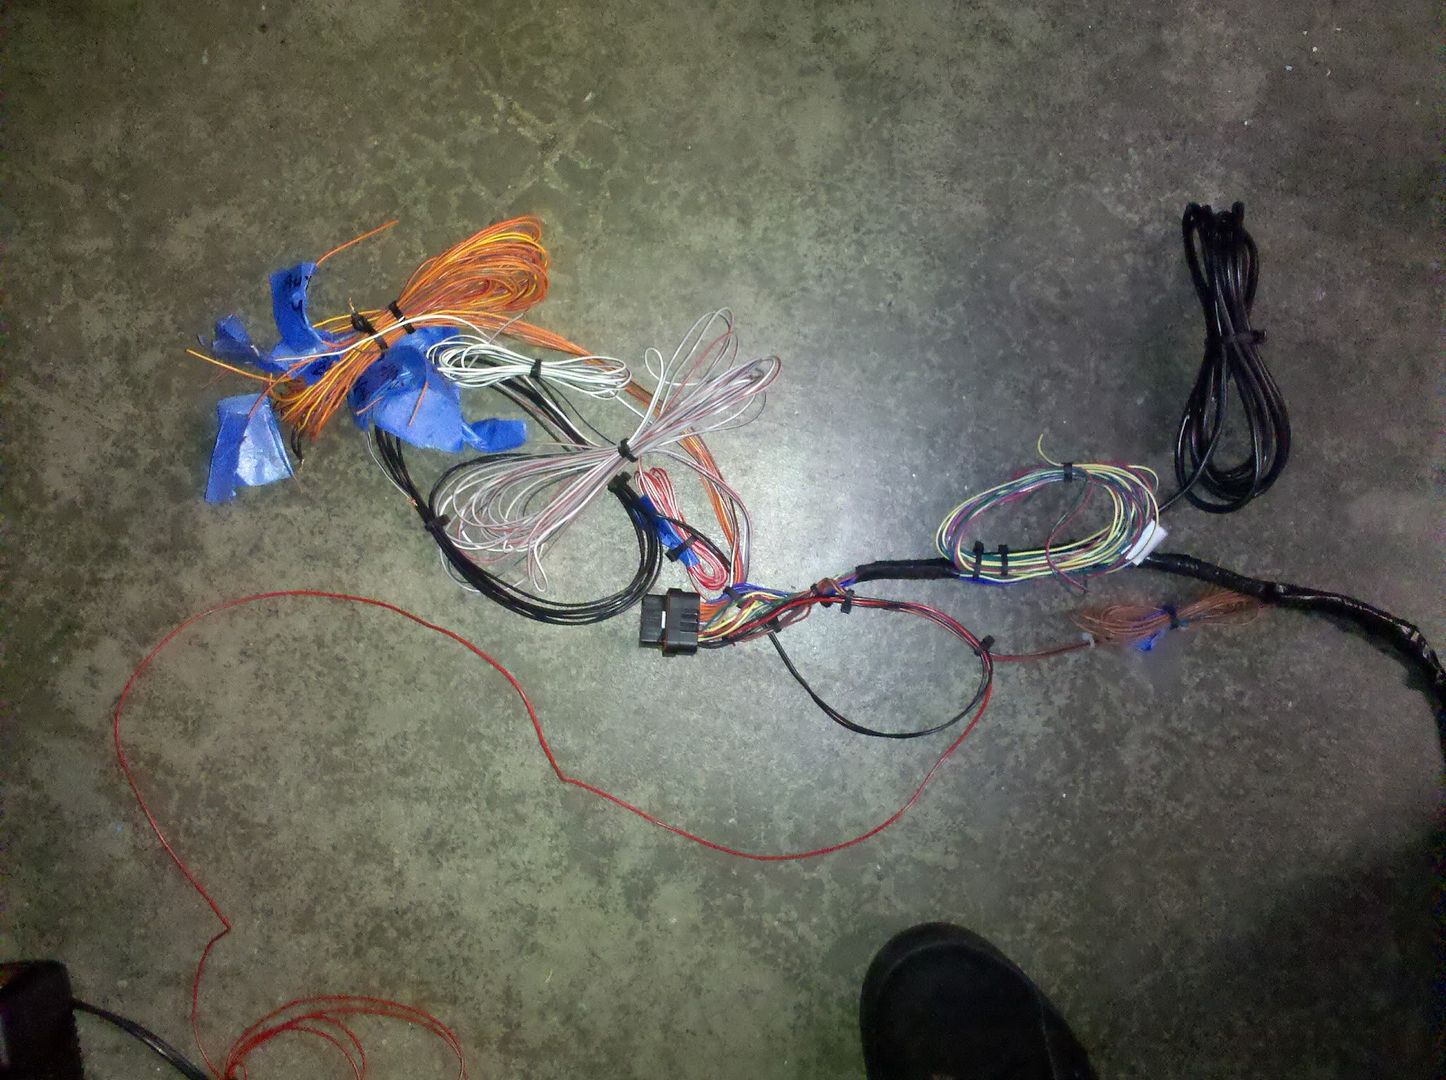
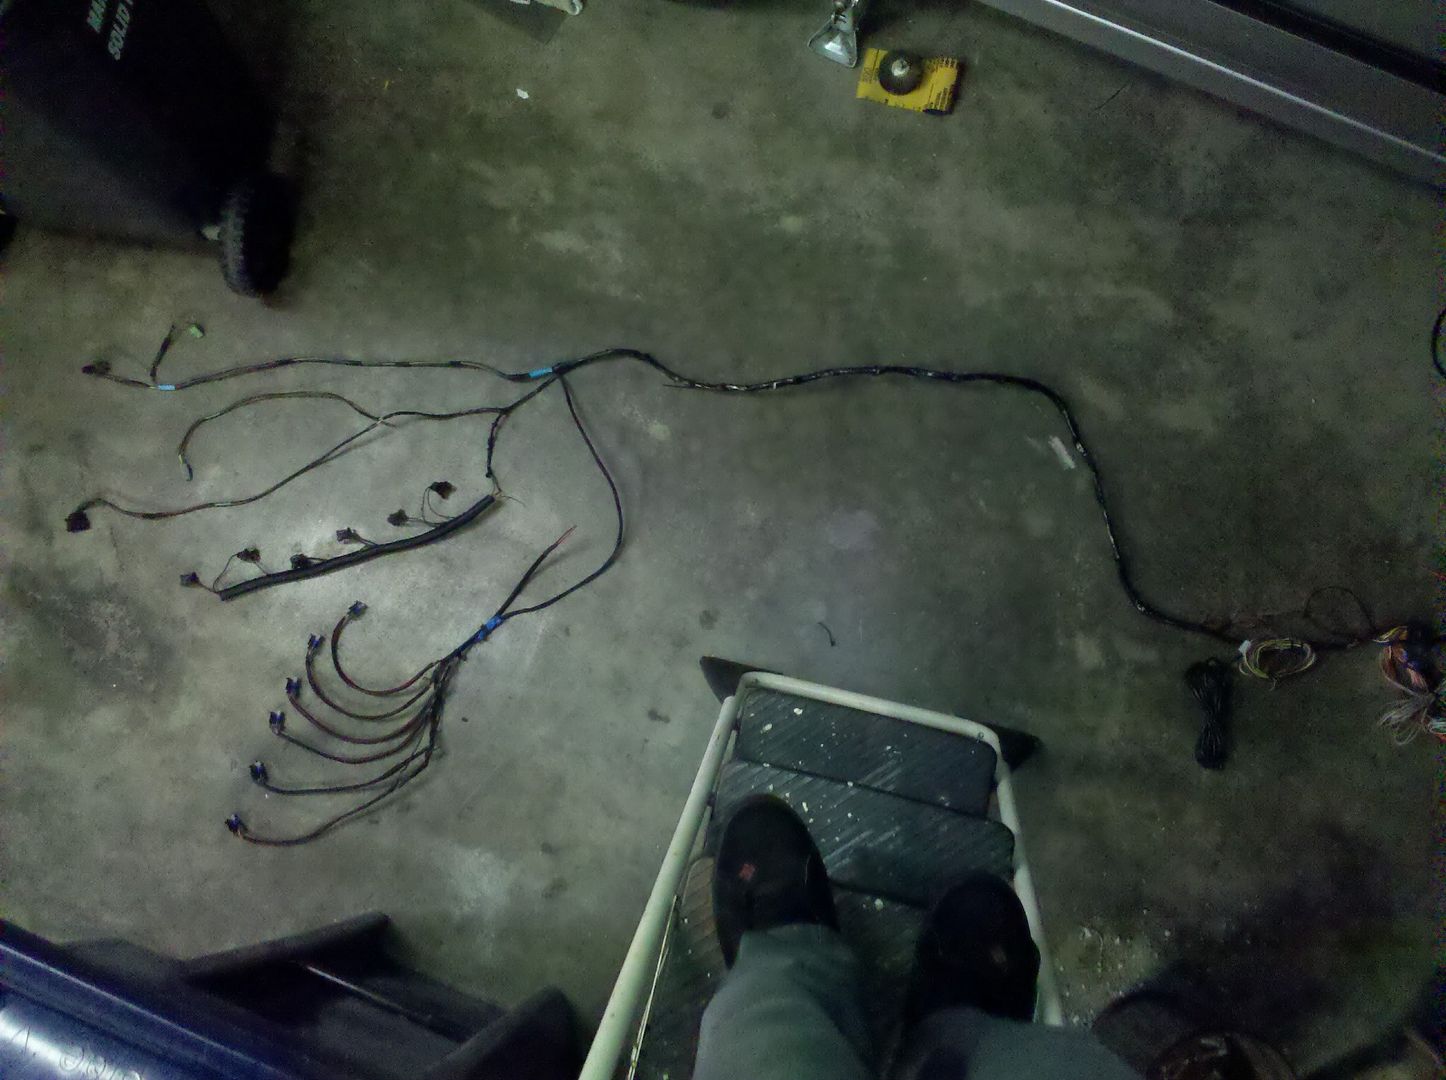
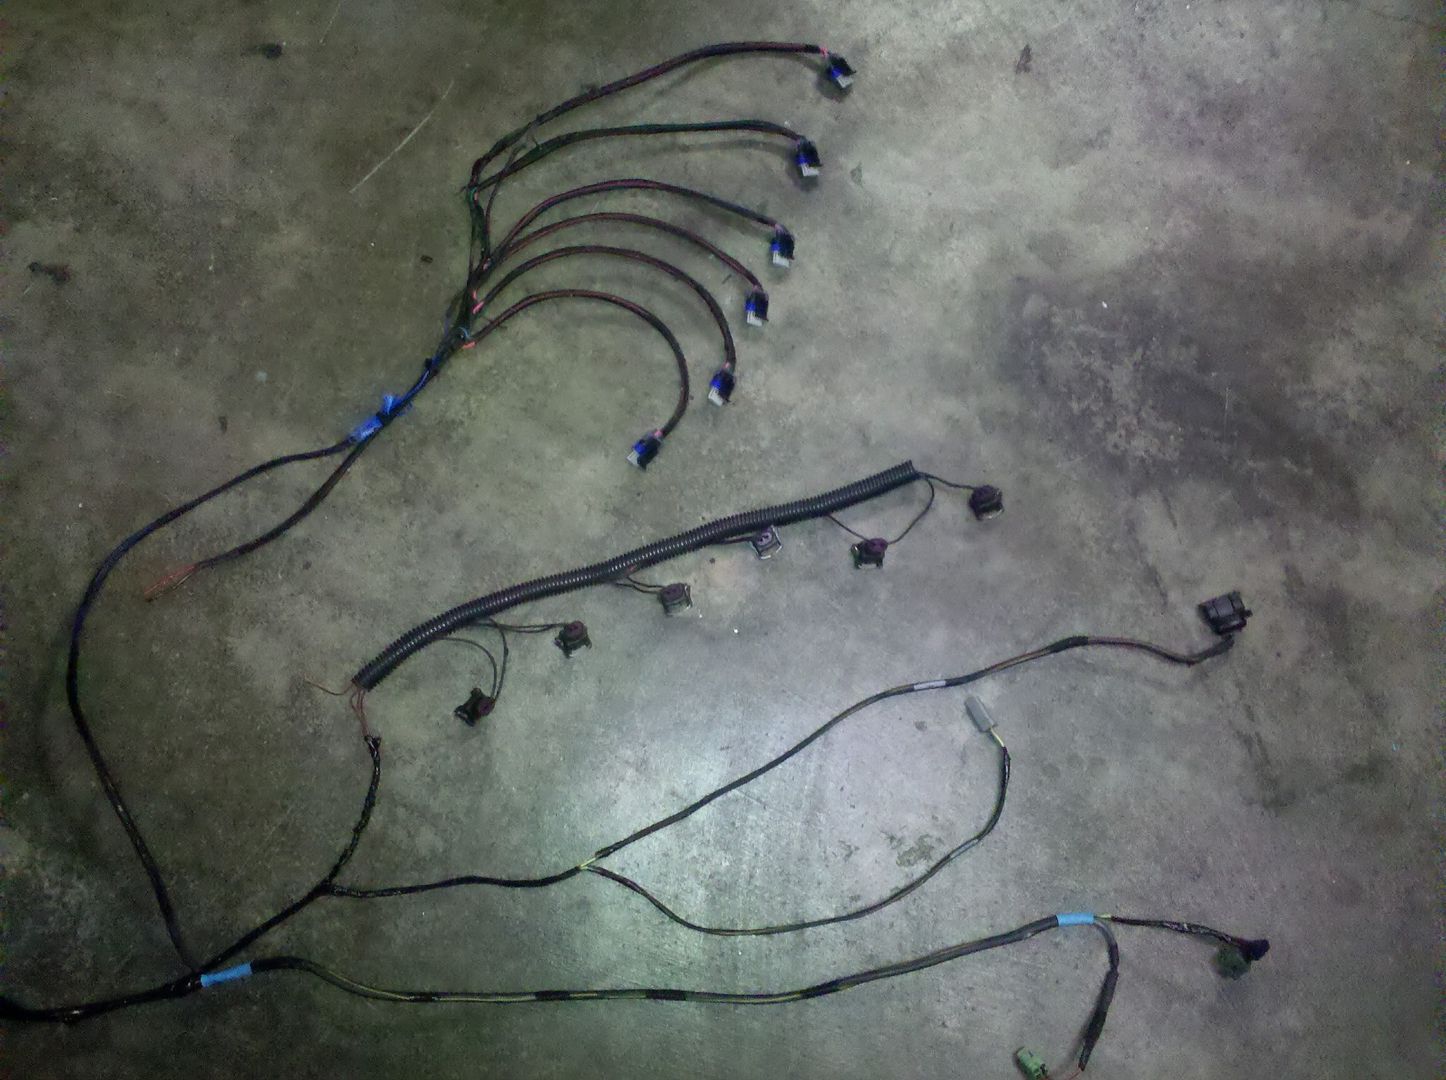
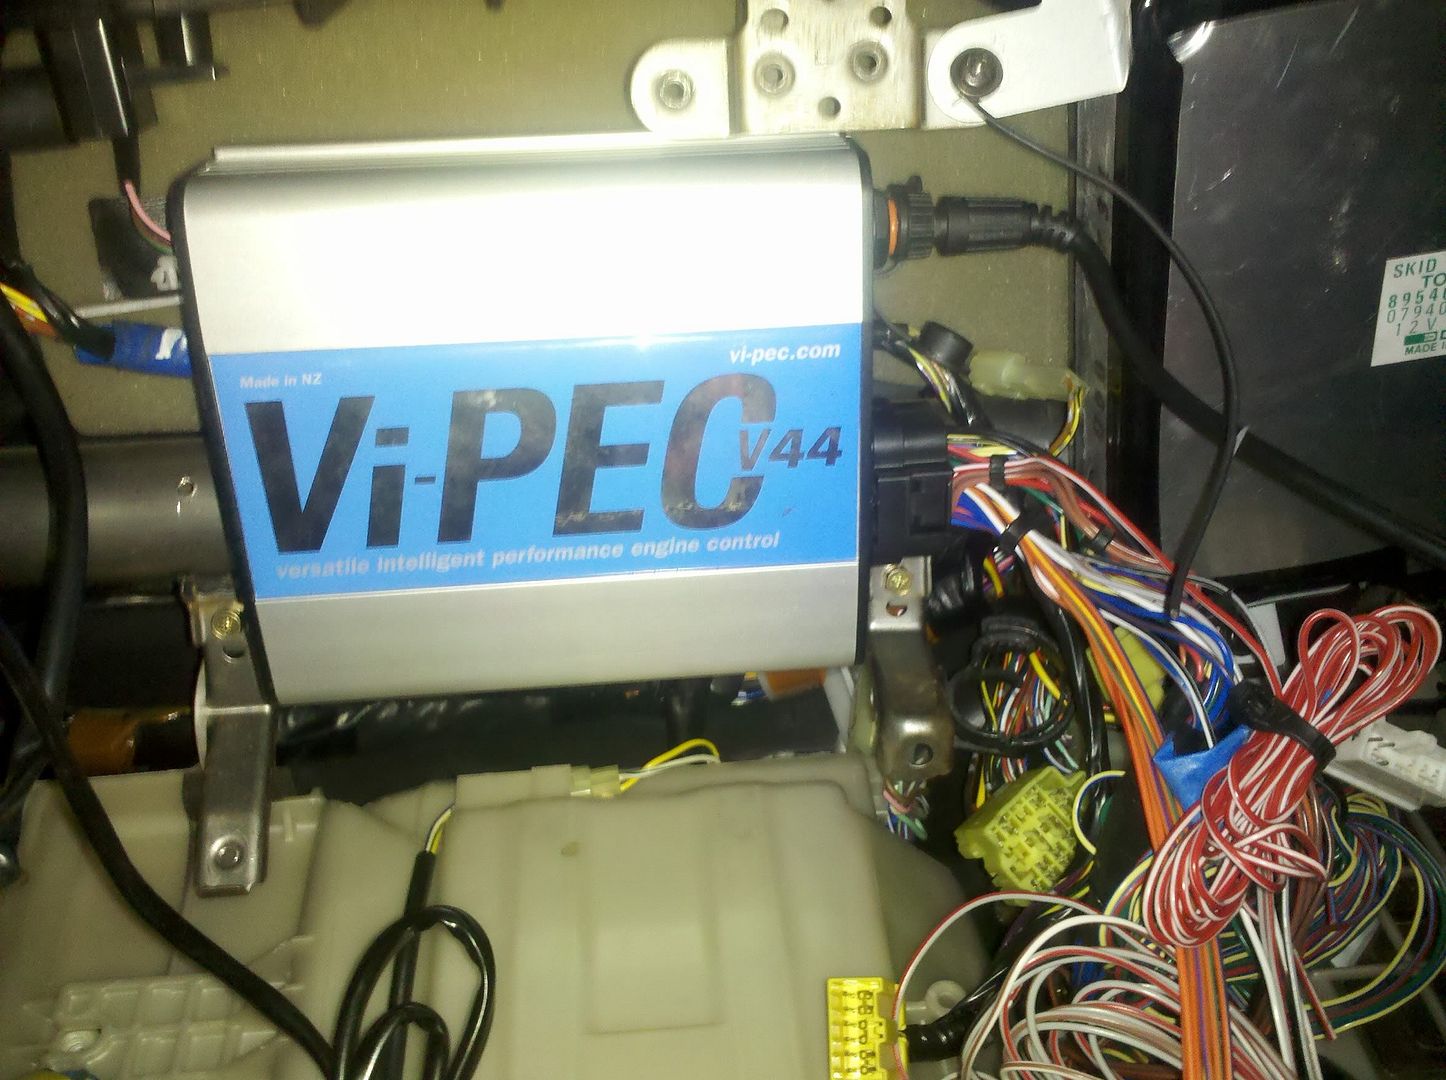
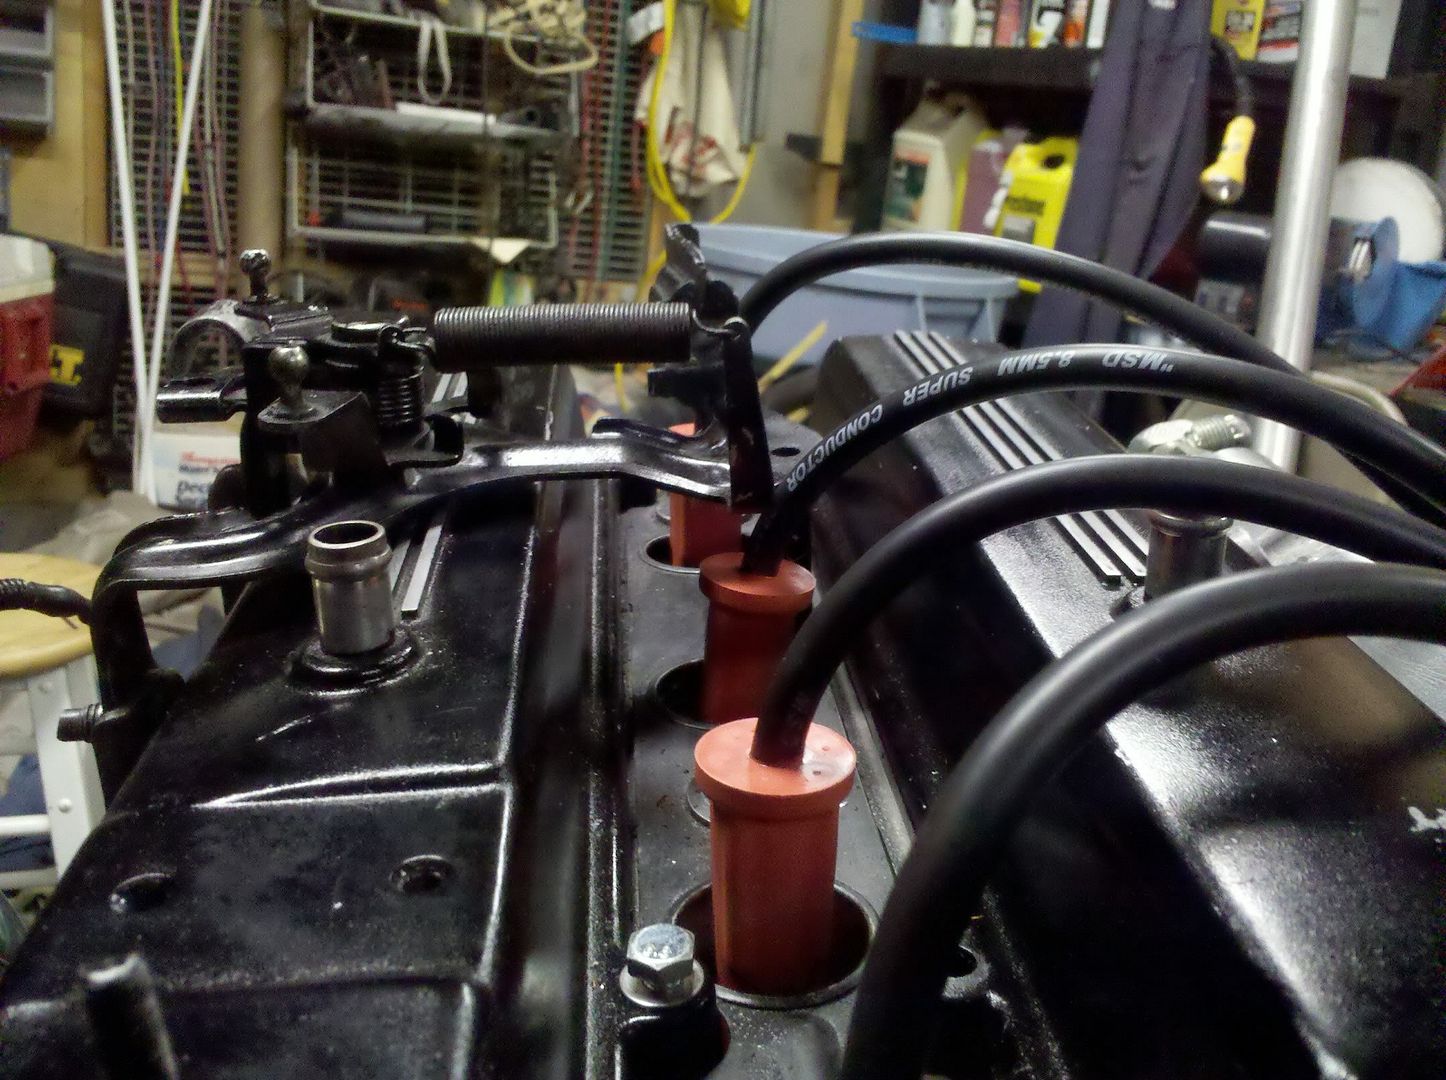
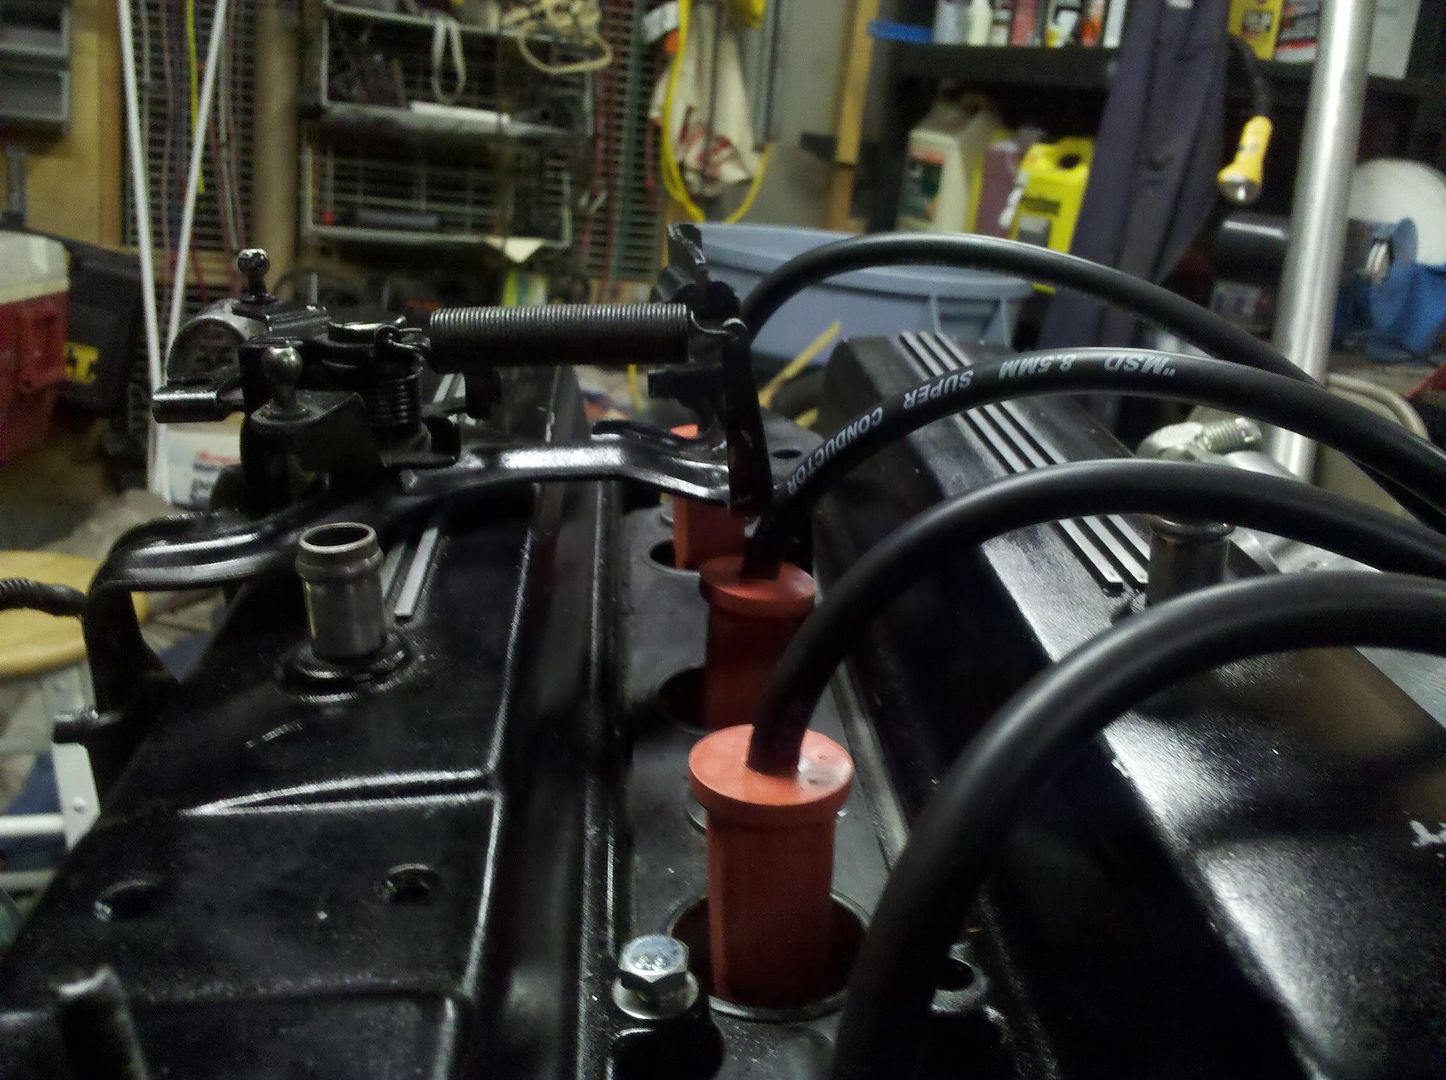
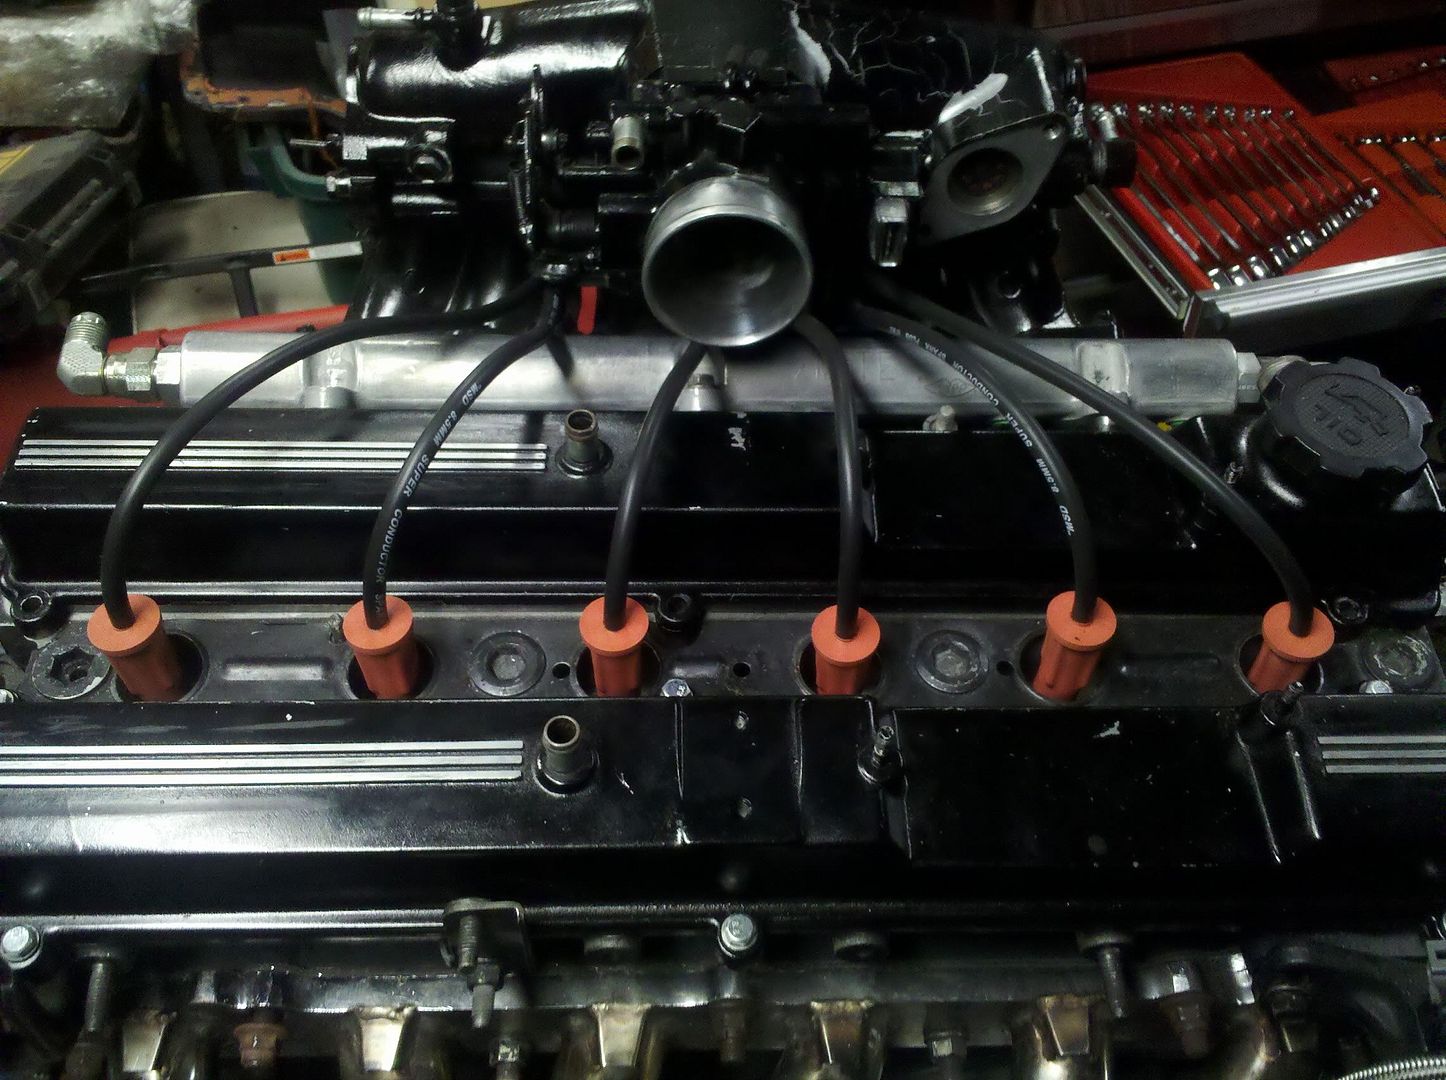
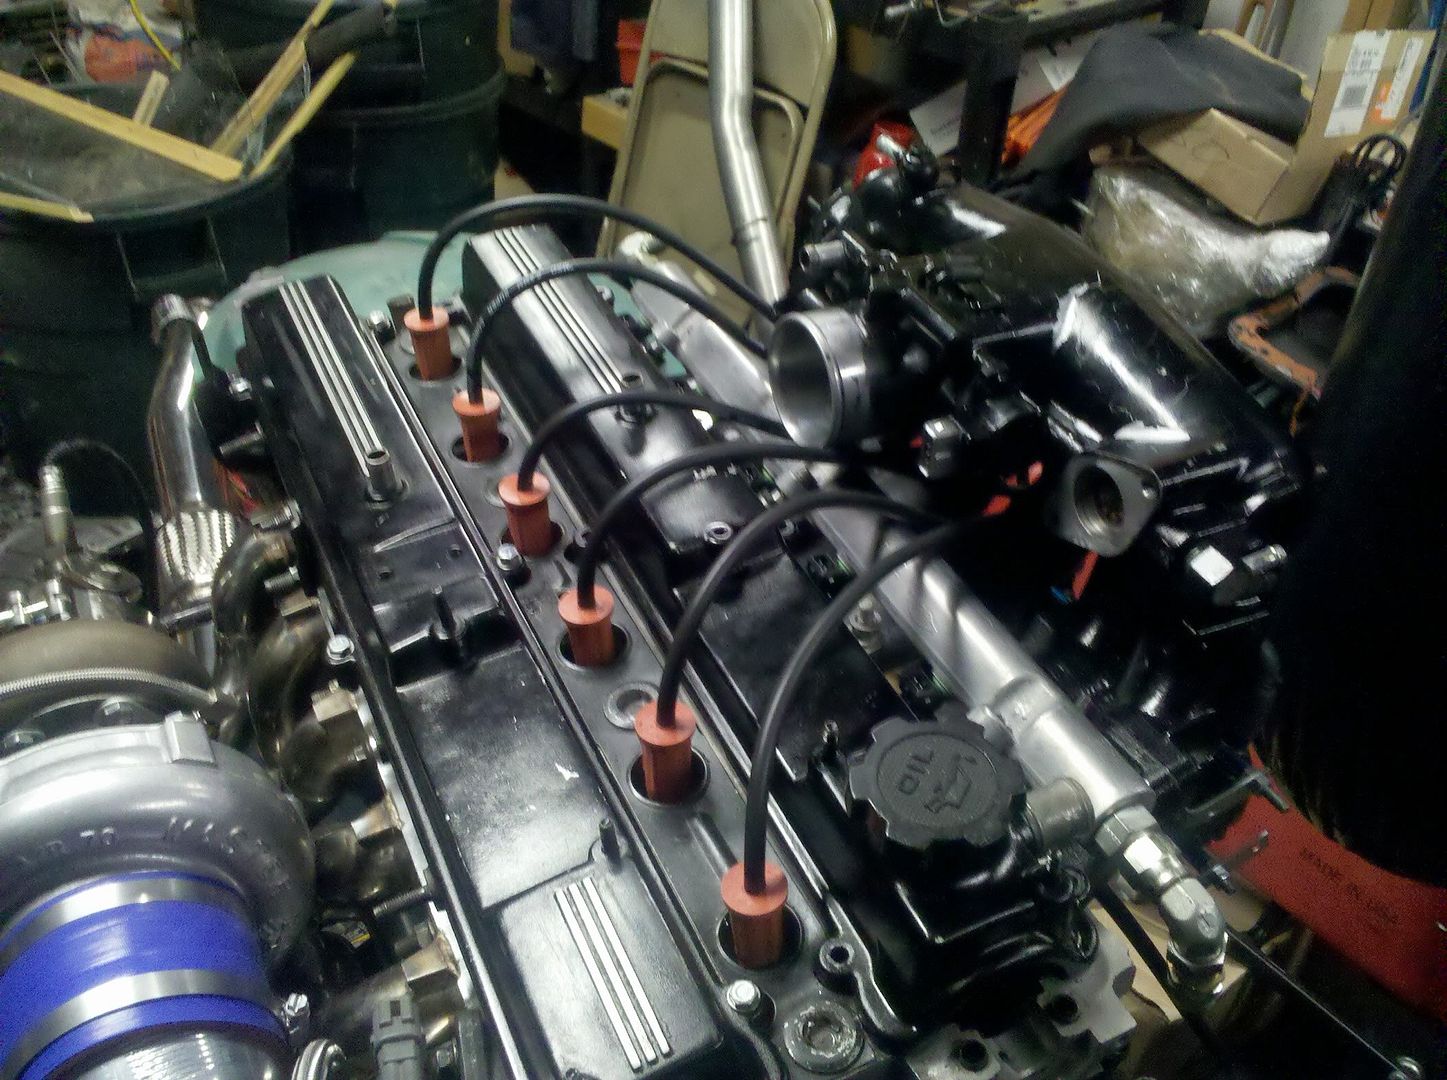
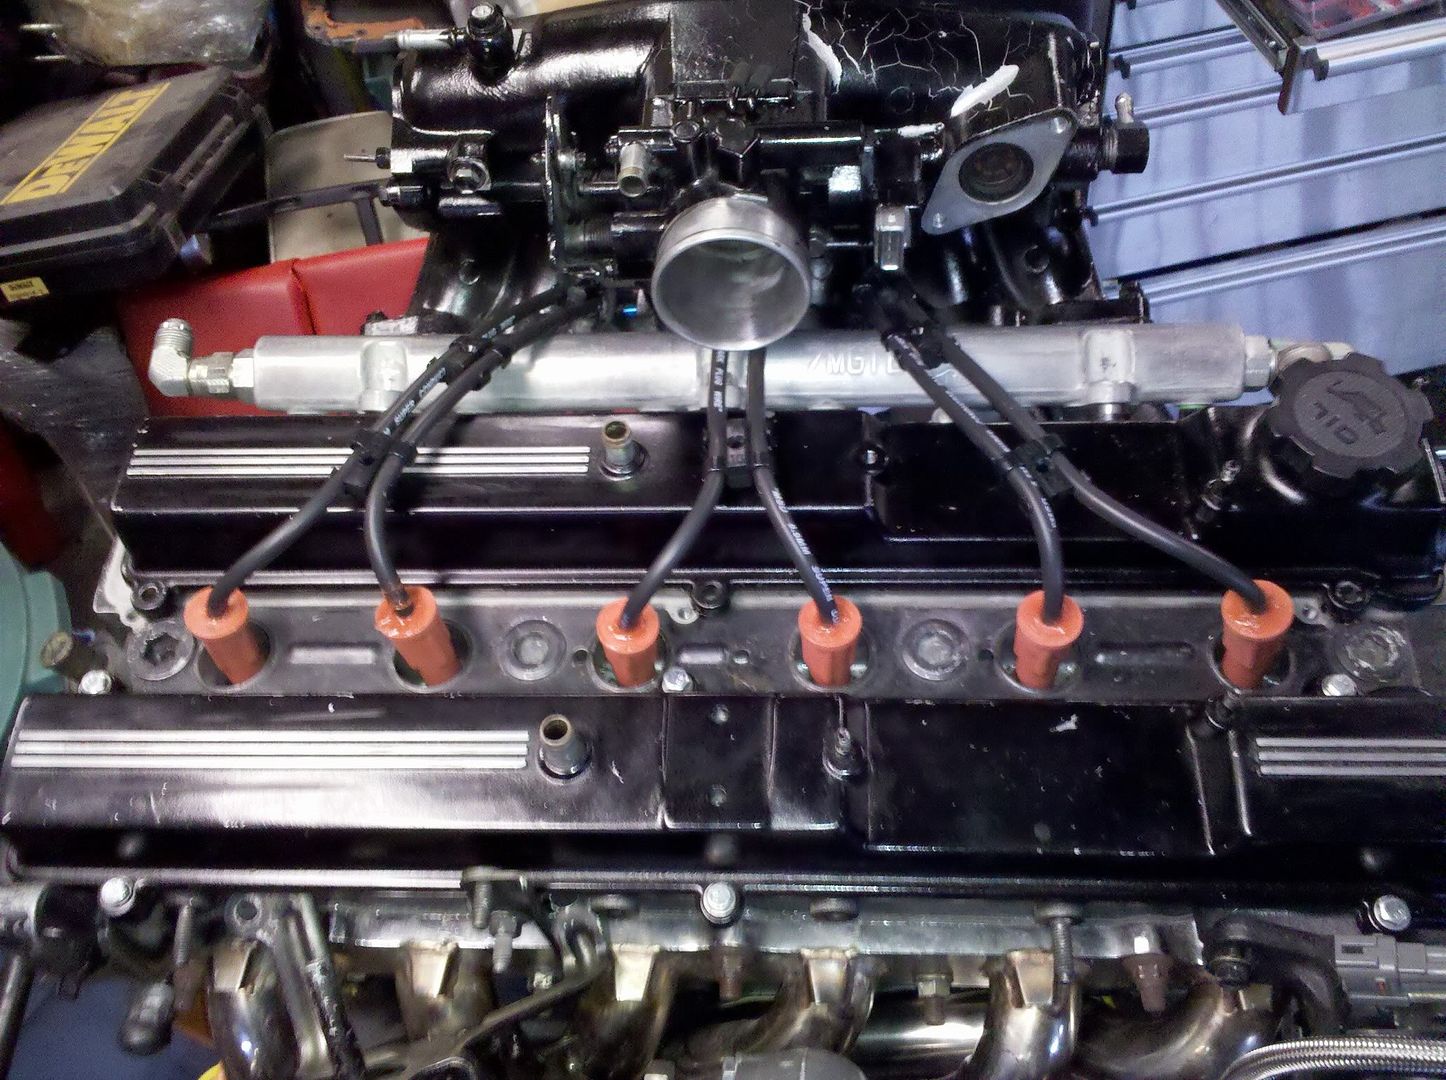
all of the wires toward the main plug is my AUX in/out and digitals. But my glove box closes and im happy :) also ordered my stuff to make me my custom 8.5mm MSD spark plug wires for the LSX coils.
also kinda working on the interior of the car to wire up the AEM AFR gauge and my HKS Boost controller. have to fix my oil return line for the turbo, think ill just use a 45 degree fitting or just get a 90 degree sweep so that way its not just 2 45 degree fittings. also probably put some header wrap on the pipes near the oil return "have a little left from my camaro :p"

---------- Post added at 05:11 AM ---------- Previous post was at 05:09 AM ----------

also gotta pull out all of the old yellow plugs you can see in the last picture
 

northwestsupra

New Member
Sep 19, 2006
1,166
0
0
Washington, Marysville
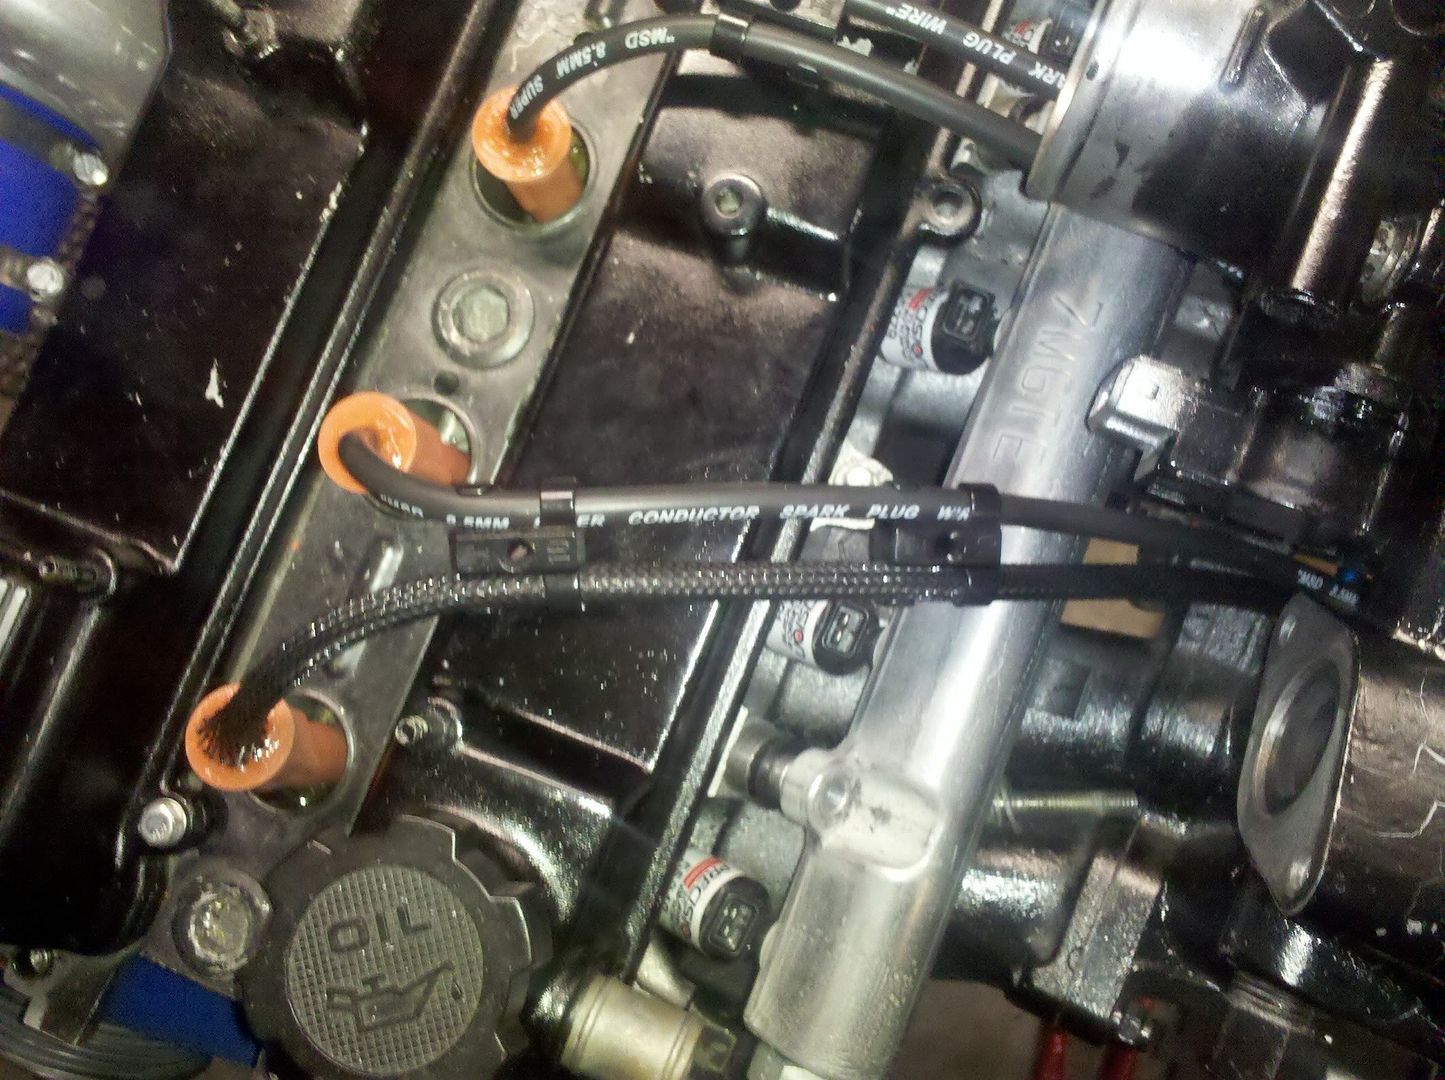
tada, wires are made :) fit great, ordered some MSD 2 wire seperators with some heat guard crap idk what that is but it was only 1 dollar more :p pictures. btw spark plug crimpers made life super easy. all wires come in at a round up of 25-30 ohms. had to order the coil ends also, didnt notice that it was just a quanity of 2 per order, so 2 more are on the way with the separators.

PICTURES!
p1616143_1.jpg

p1616143_2.jpg

p1616143_3.jpg

p1616143_4.jpg


all of the plugs are very tight and kinda hard to clip onto the spark plugs and same with the coil ends. "or at least the 2 that i have on there now :p" i also put some High temp Orange permatex on the plug ends so the wires dont move when plugging them on and plus it will seal it even more than it already is "which was already sufficient"
 

northwestsupra

New Member
Sep 19, 2006
1,166
0
0
Washington, Marysville
actually got quite a bit finished today. this is my list of things I got acomplished

Finished fitting all the LS2 coil terminals and boots
Wired up:
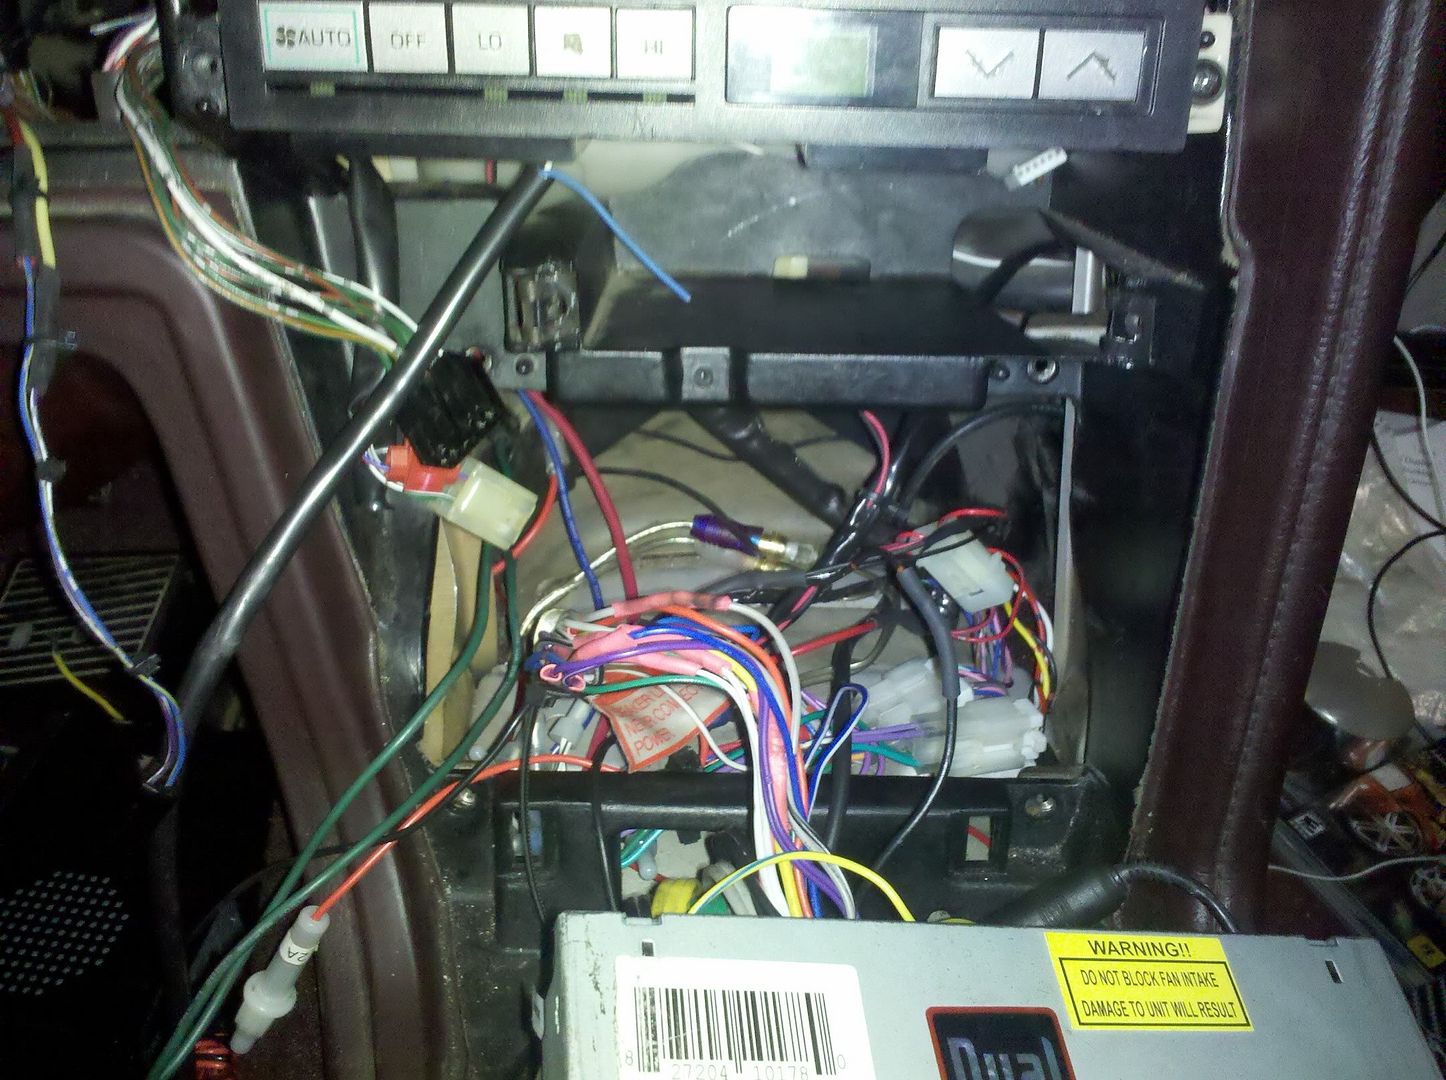
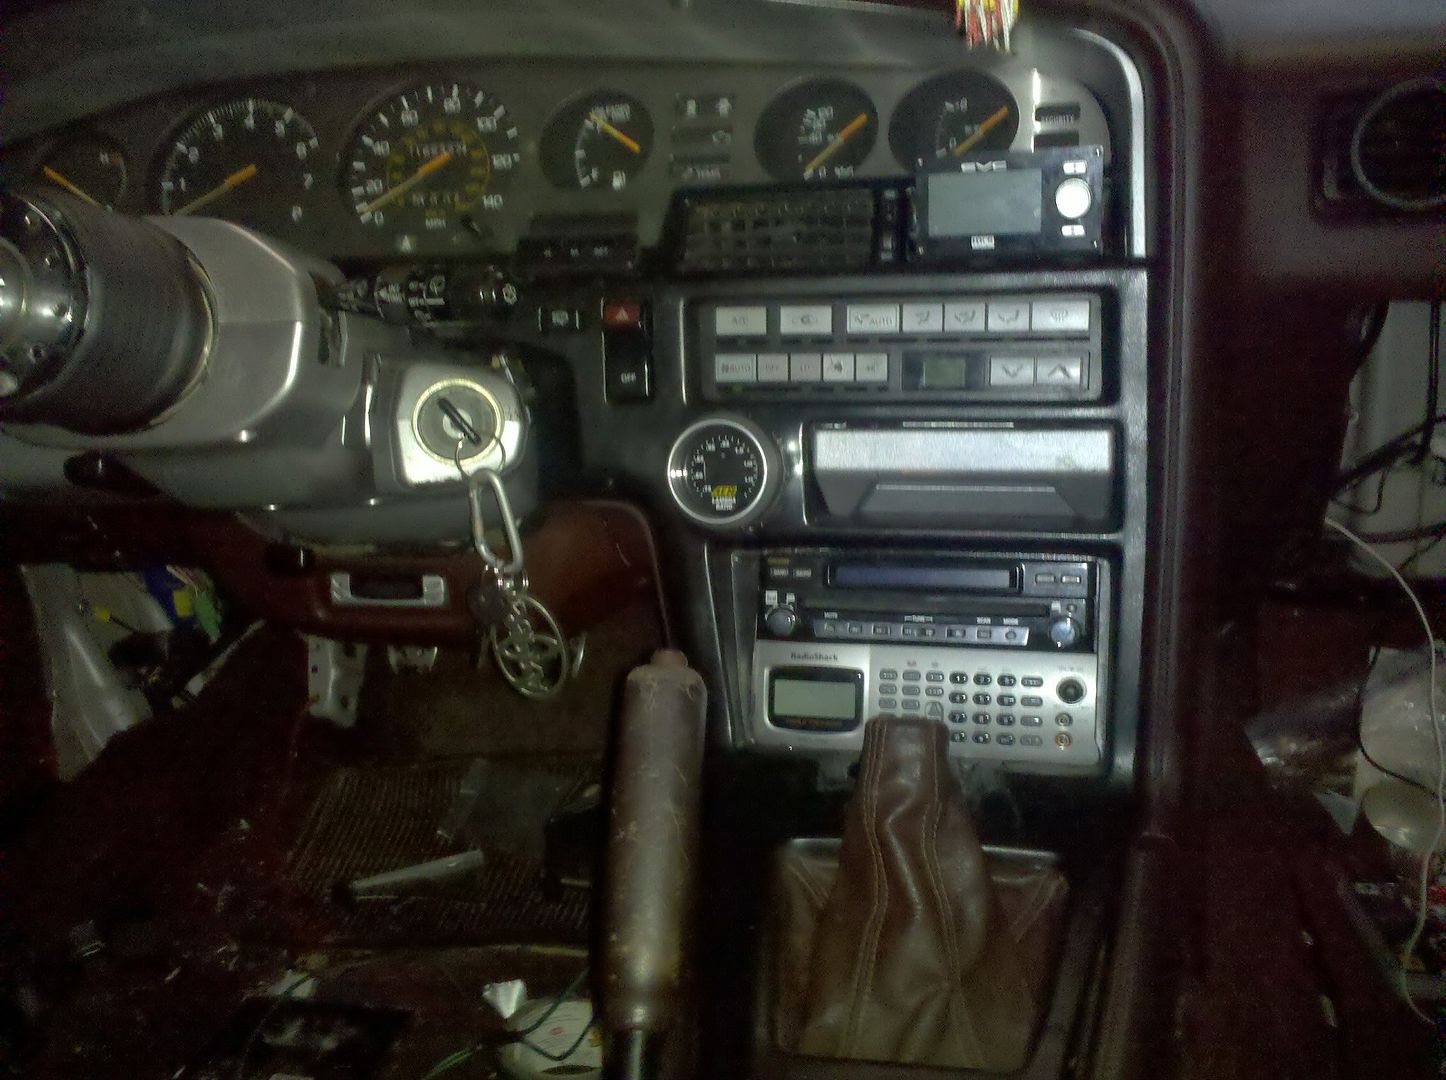
AEM UEGO AFR gauge
HKS EVC 5
HKS Turbo Timer
Police Scanner
Touch Screen DVD player

now its 5am and im gonna pass out lol ill post some pictures tomorrow.
 

northwestsupra

New Member
Sep 19, 2006
1,166
0
0
Washington, Marysville
p1622739_1.jpg

p1622739_2.jpg

p1622739_3.jpg

p1622739_4.jpg

p1622739_5.jpg

p1622739_6.jpg

p1622739_7.jpg

p1622739_8.jpg

p1622739_9.jpg


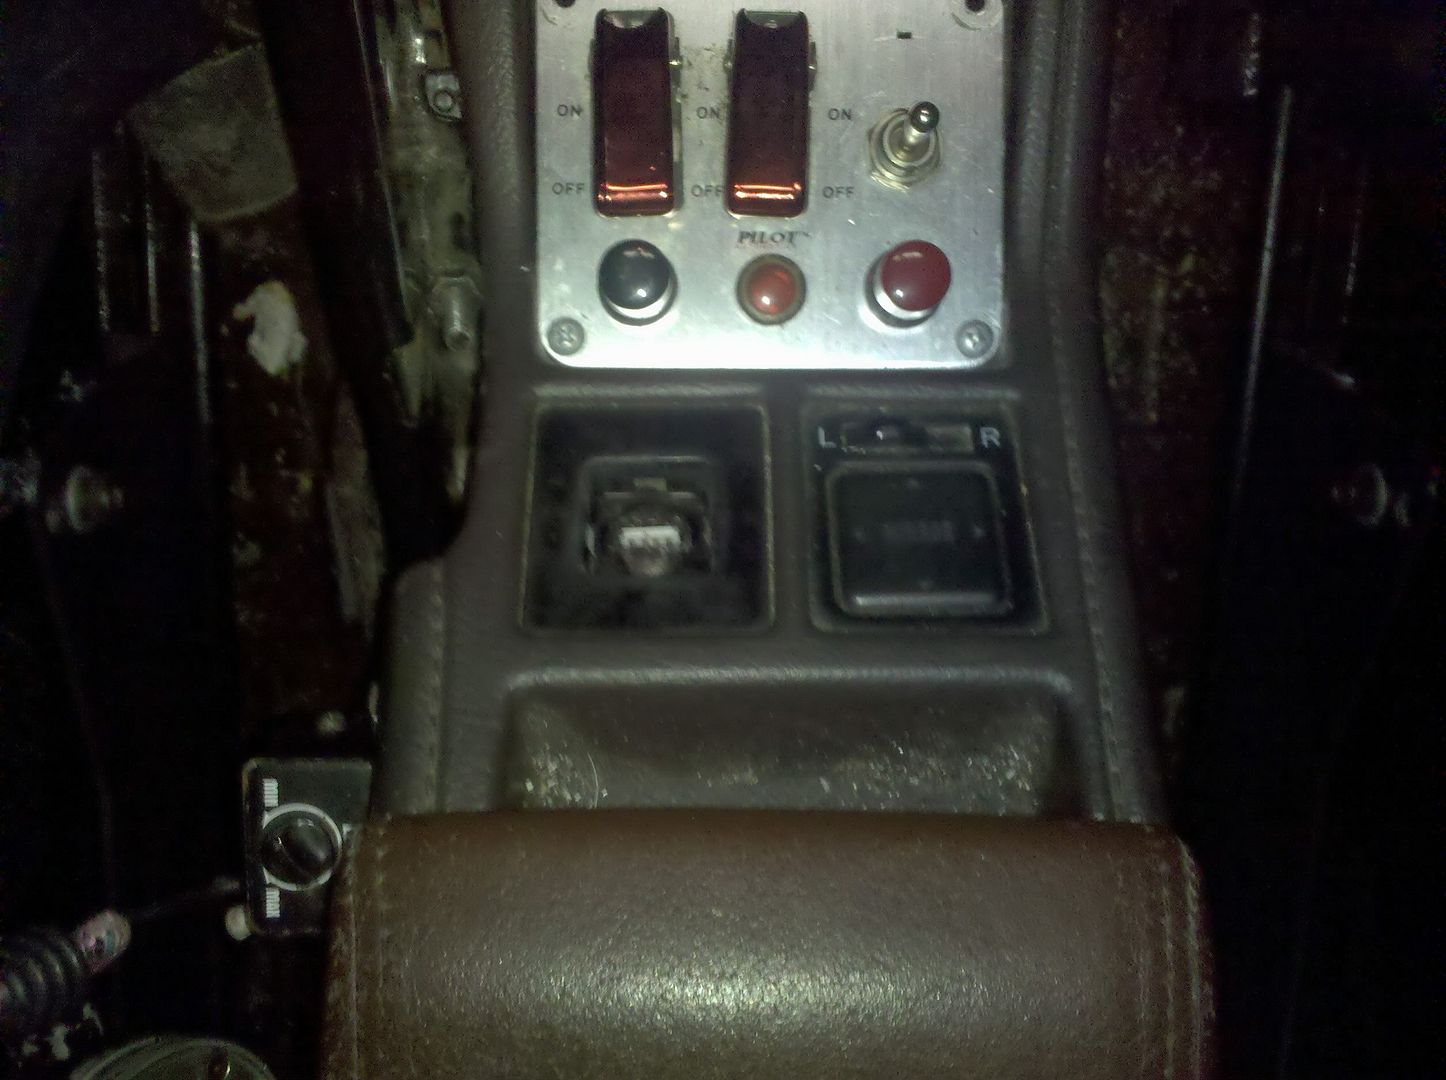
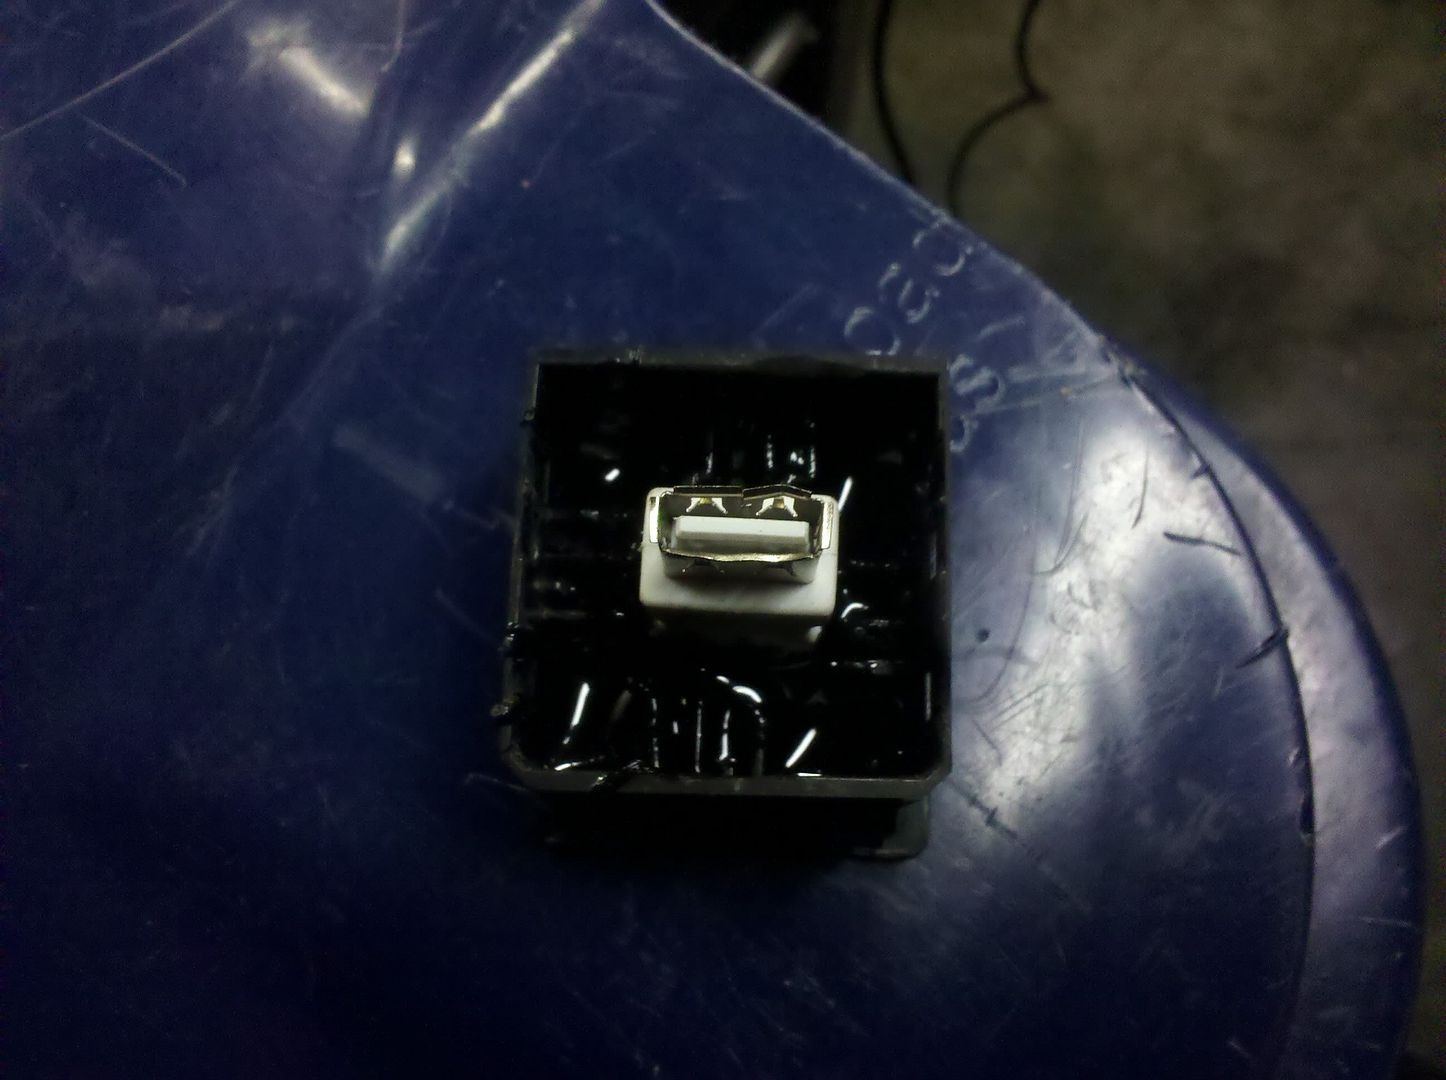
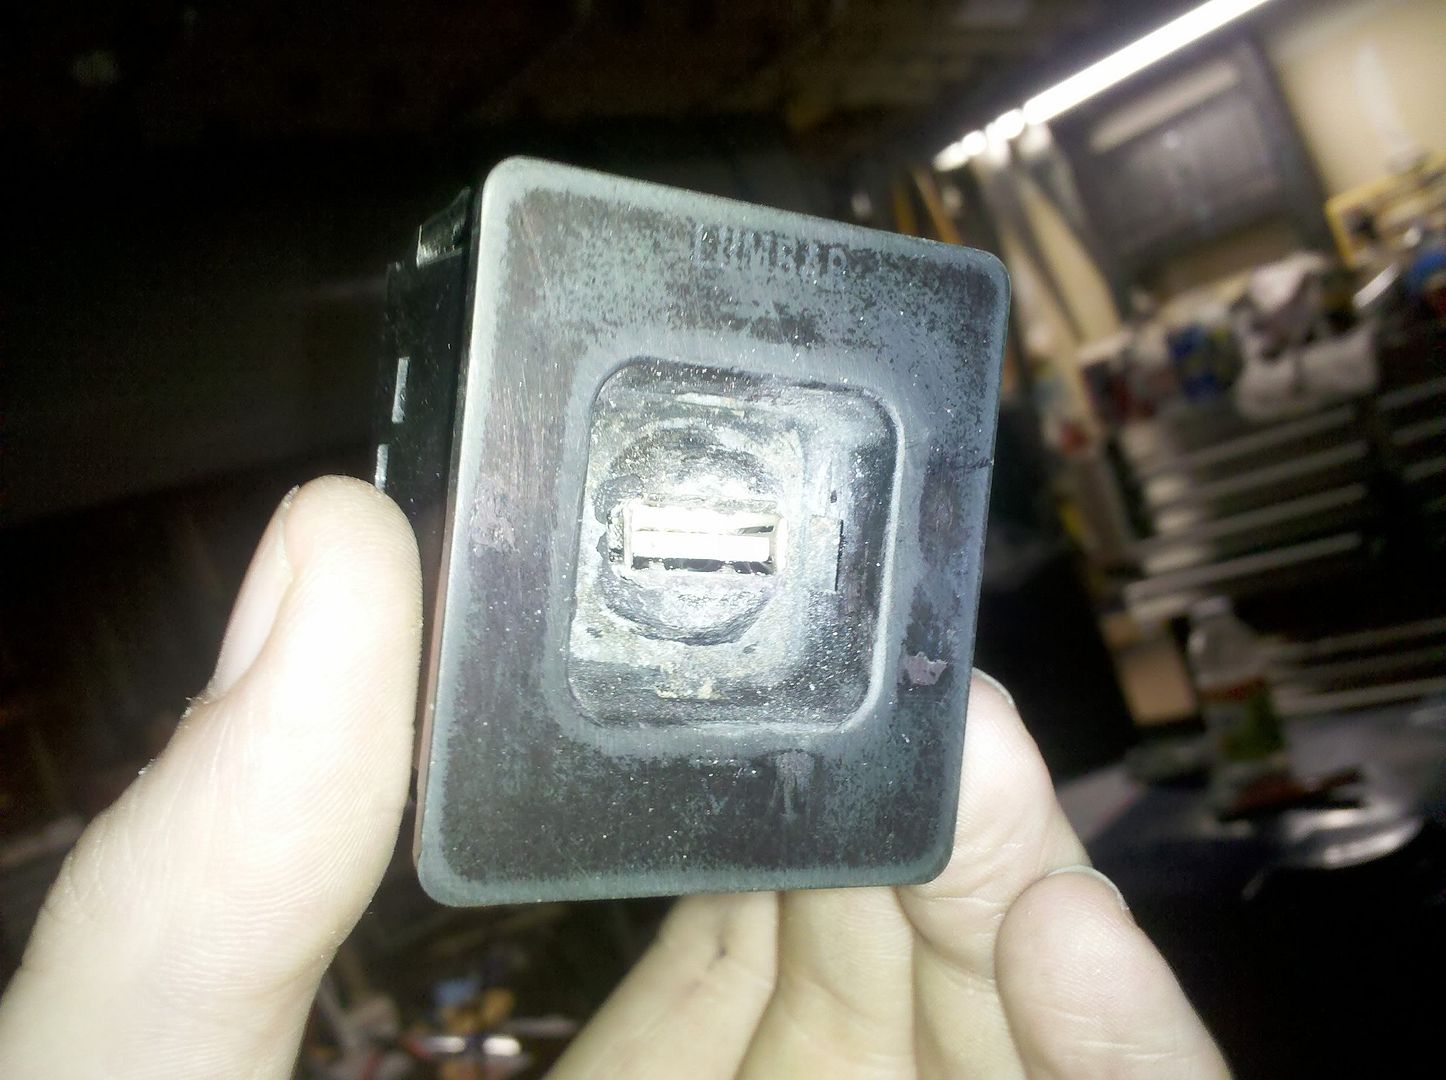
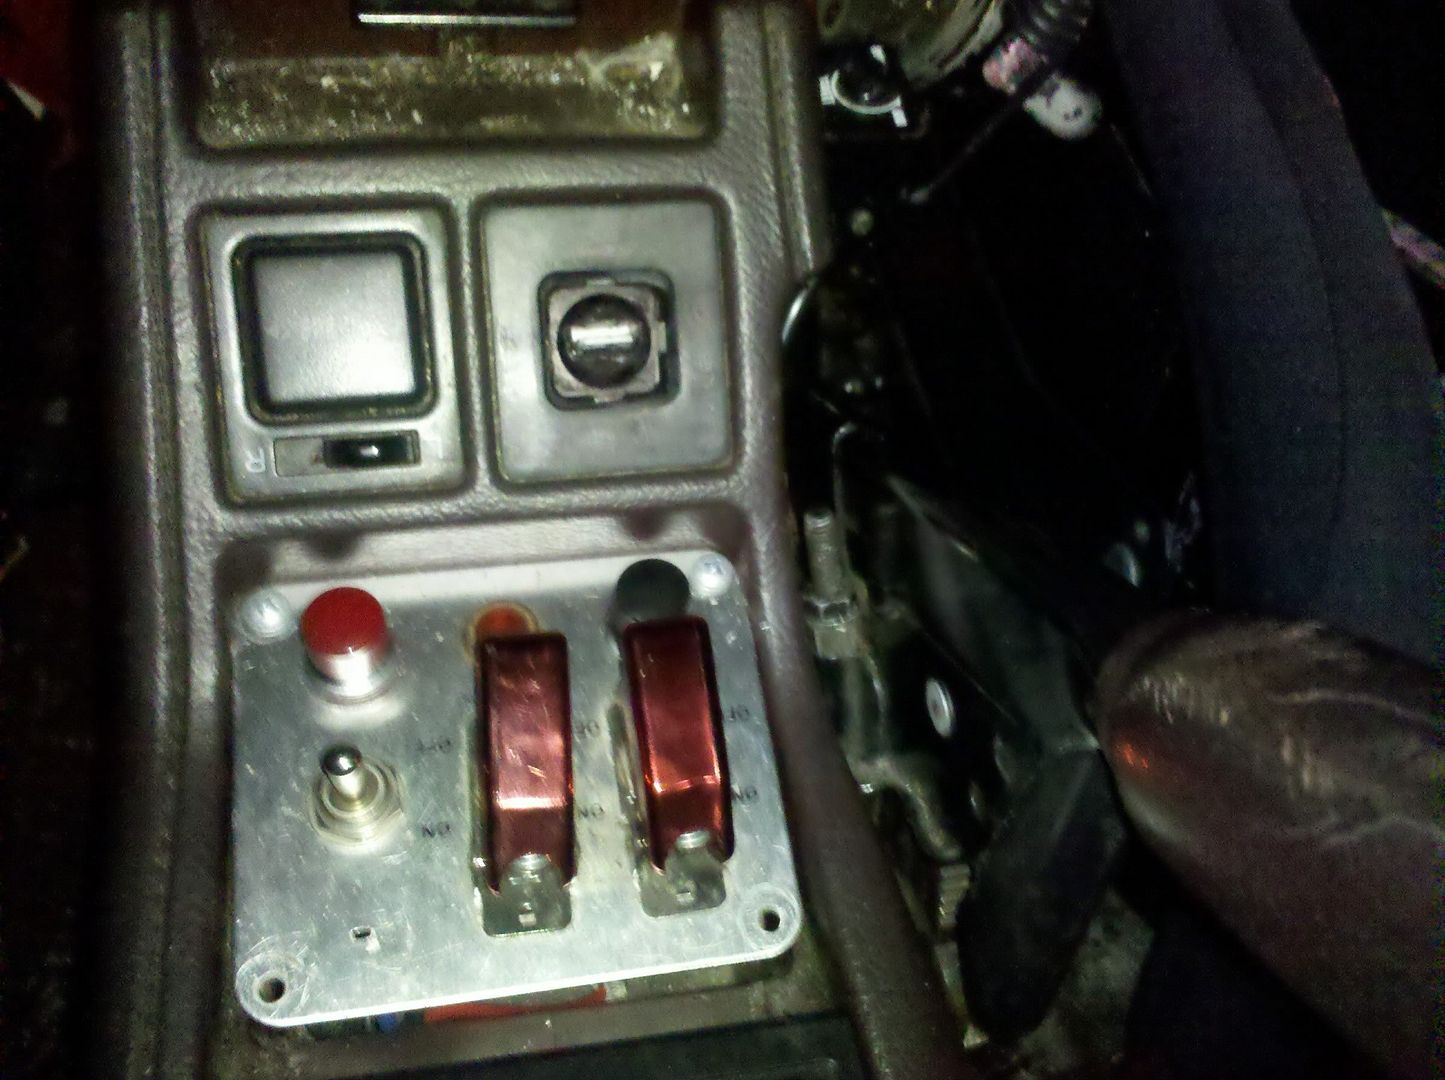
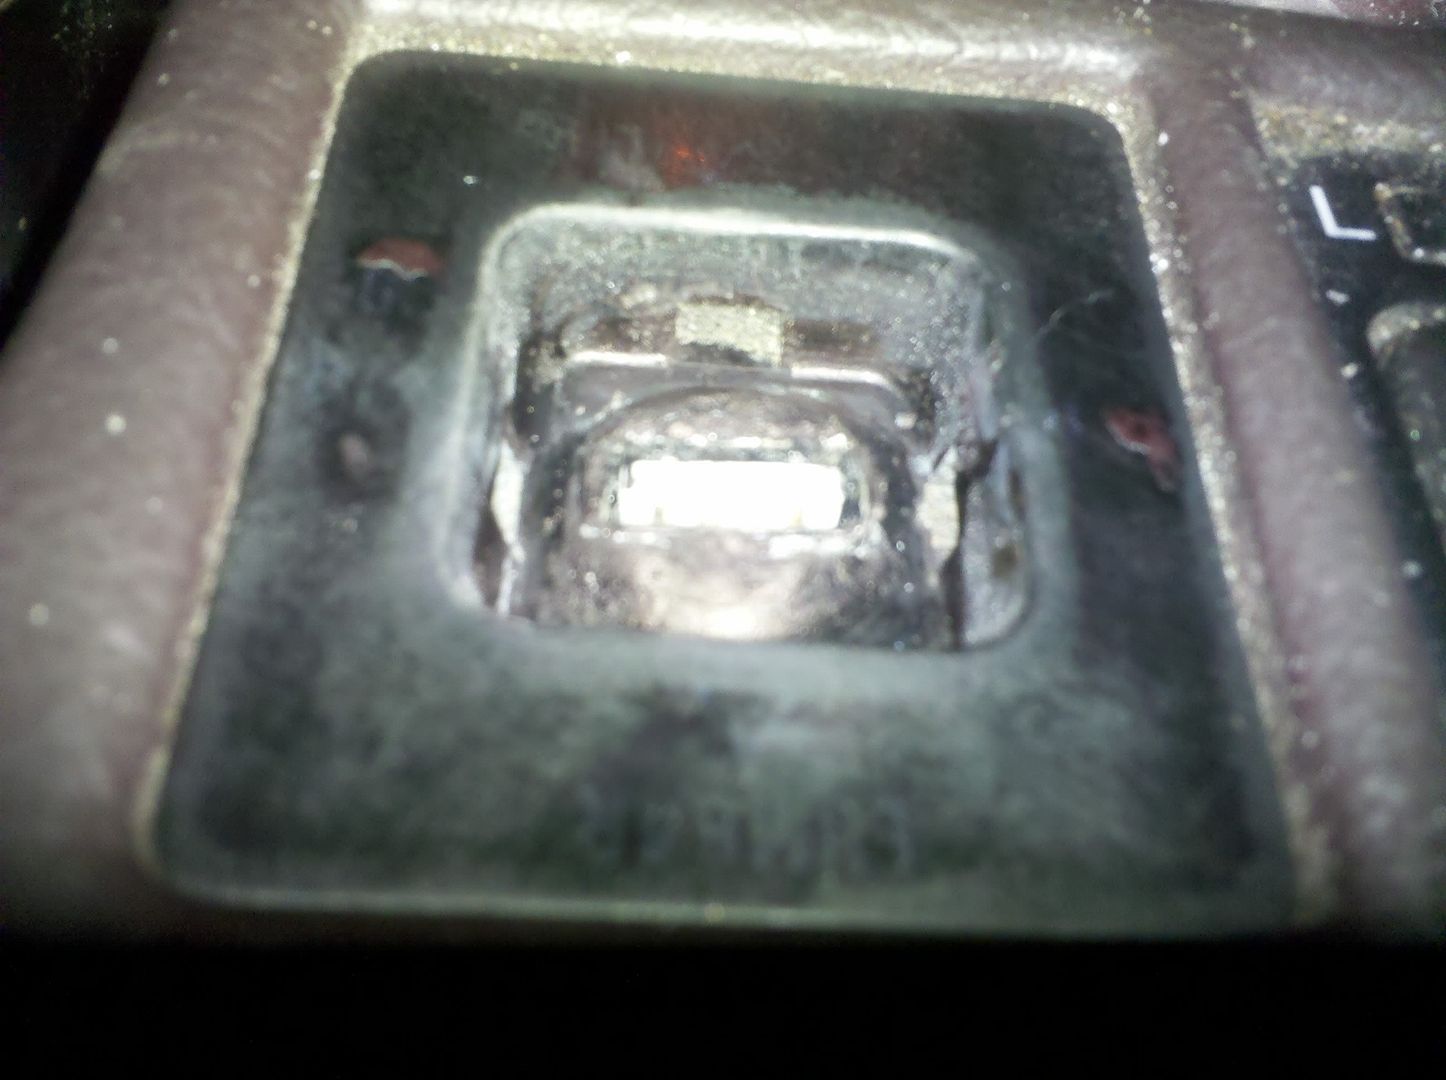
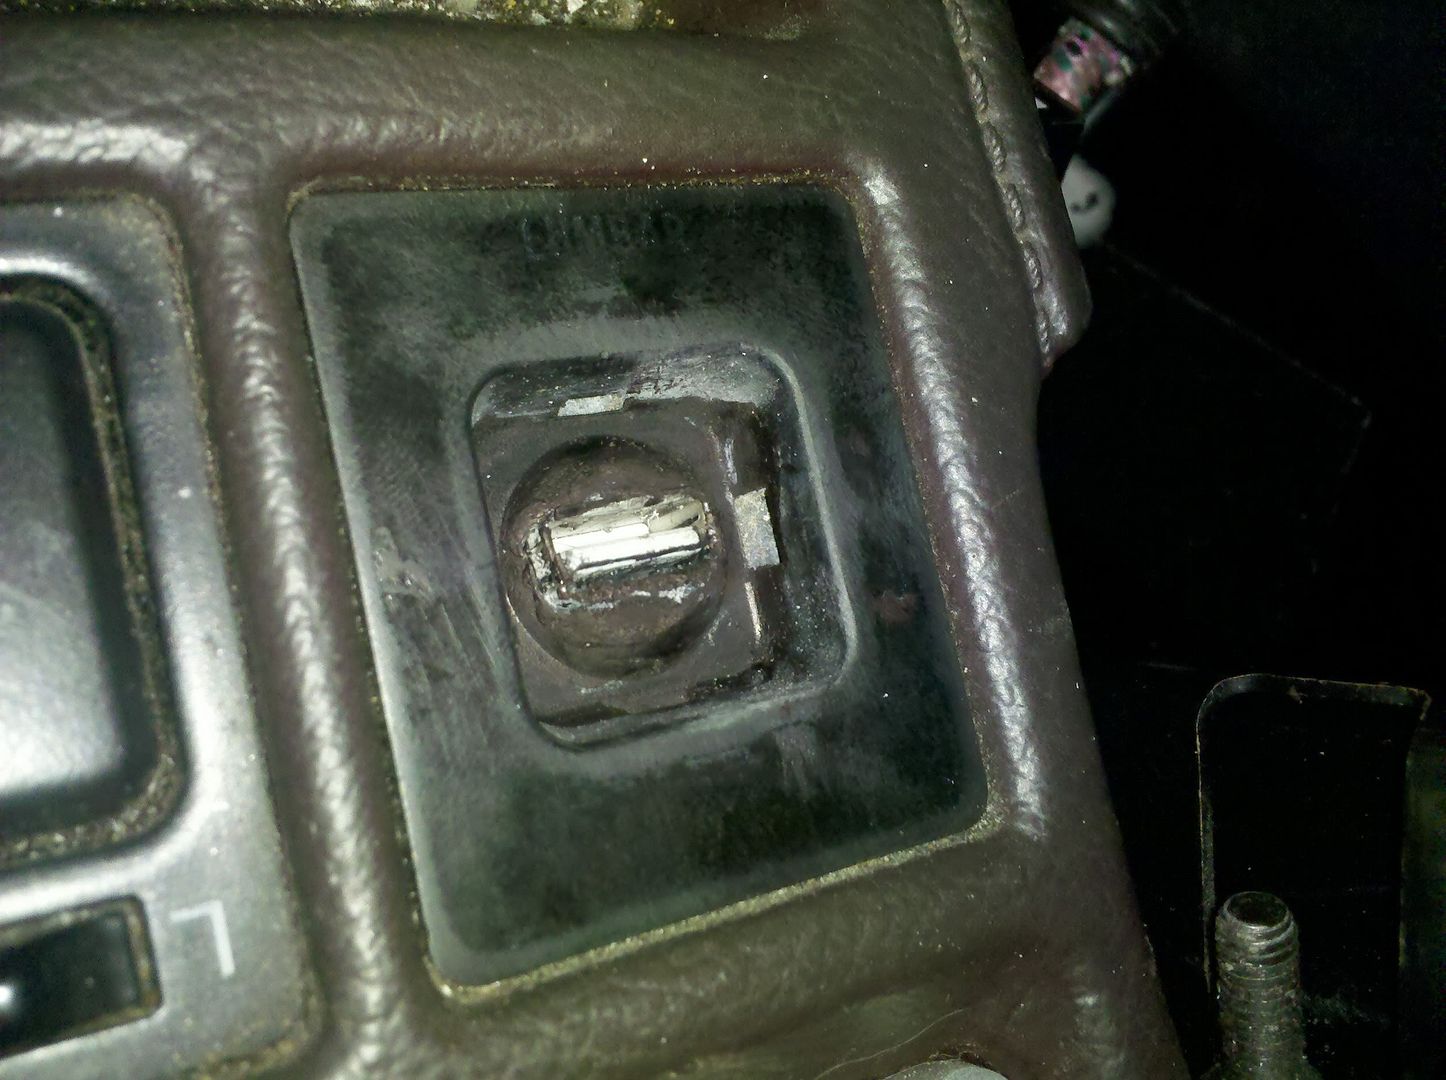
ok so everything in all these pictures. First set of pictures show a female to female USB adapter i bought for my standalone, then i mounted this into the original lumbar support switch :p i need to sand and paint it still but overall it came out good, the pictures really dont do it any justice right now expecially because it was so hard to get a clear picture of the thing.. all it took was a dremel, and some ABS plastic cement.

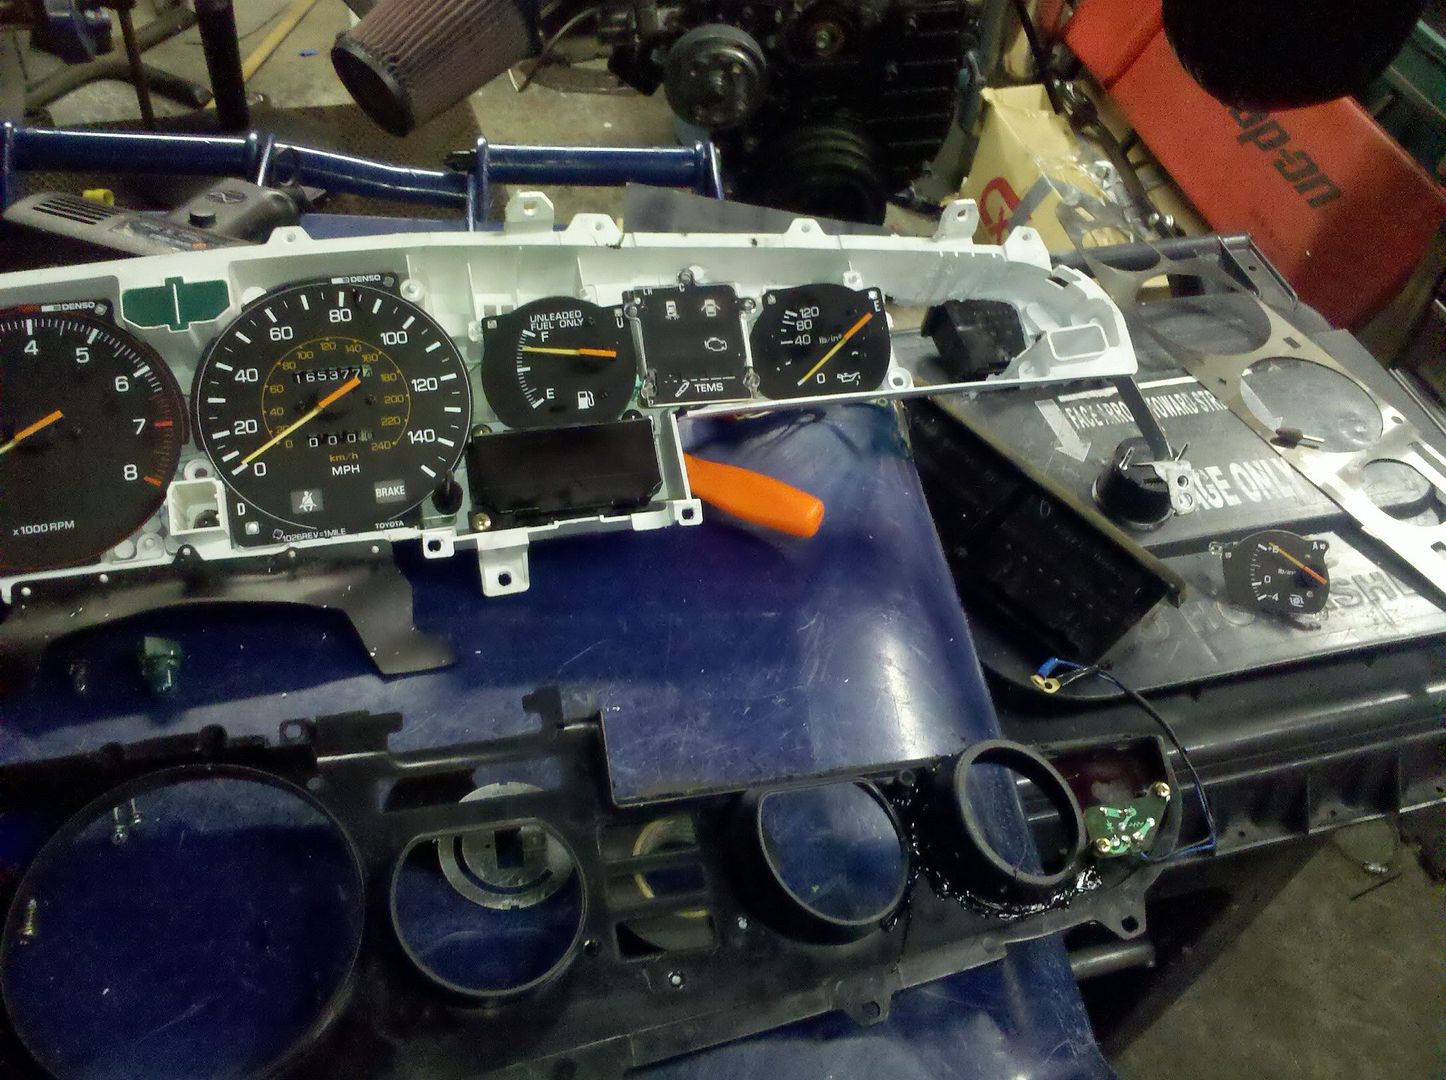
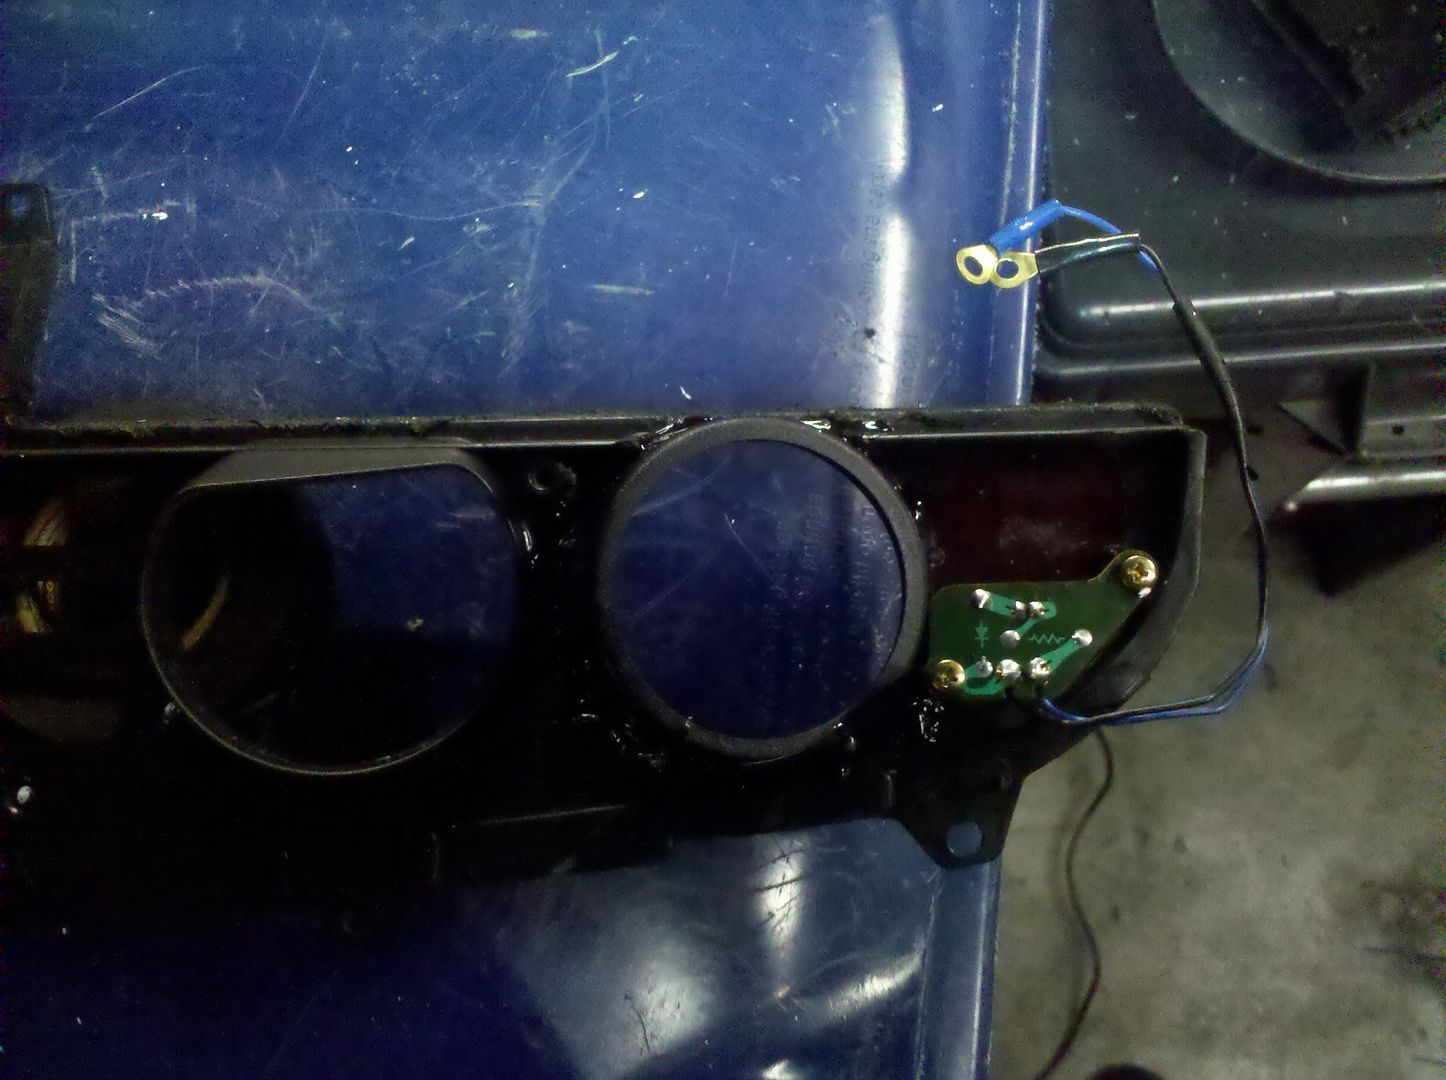
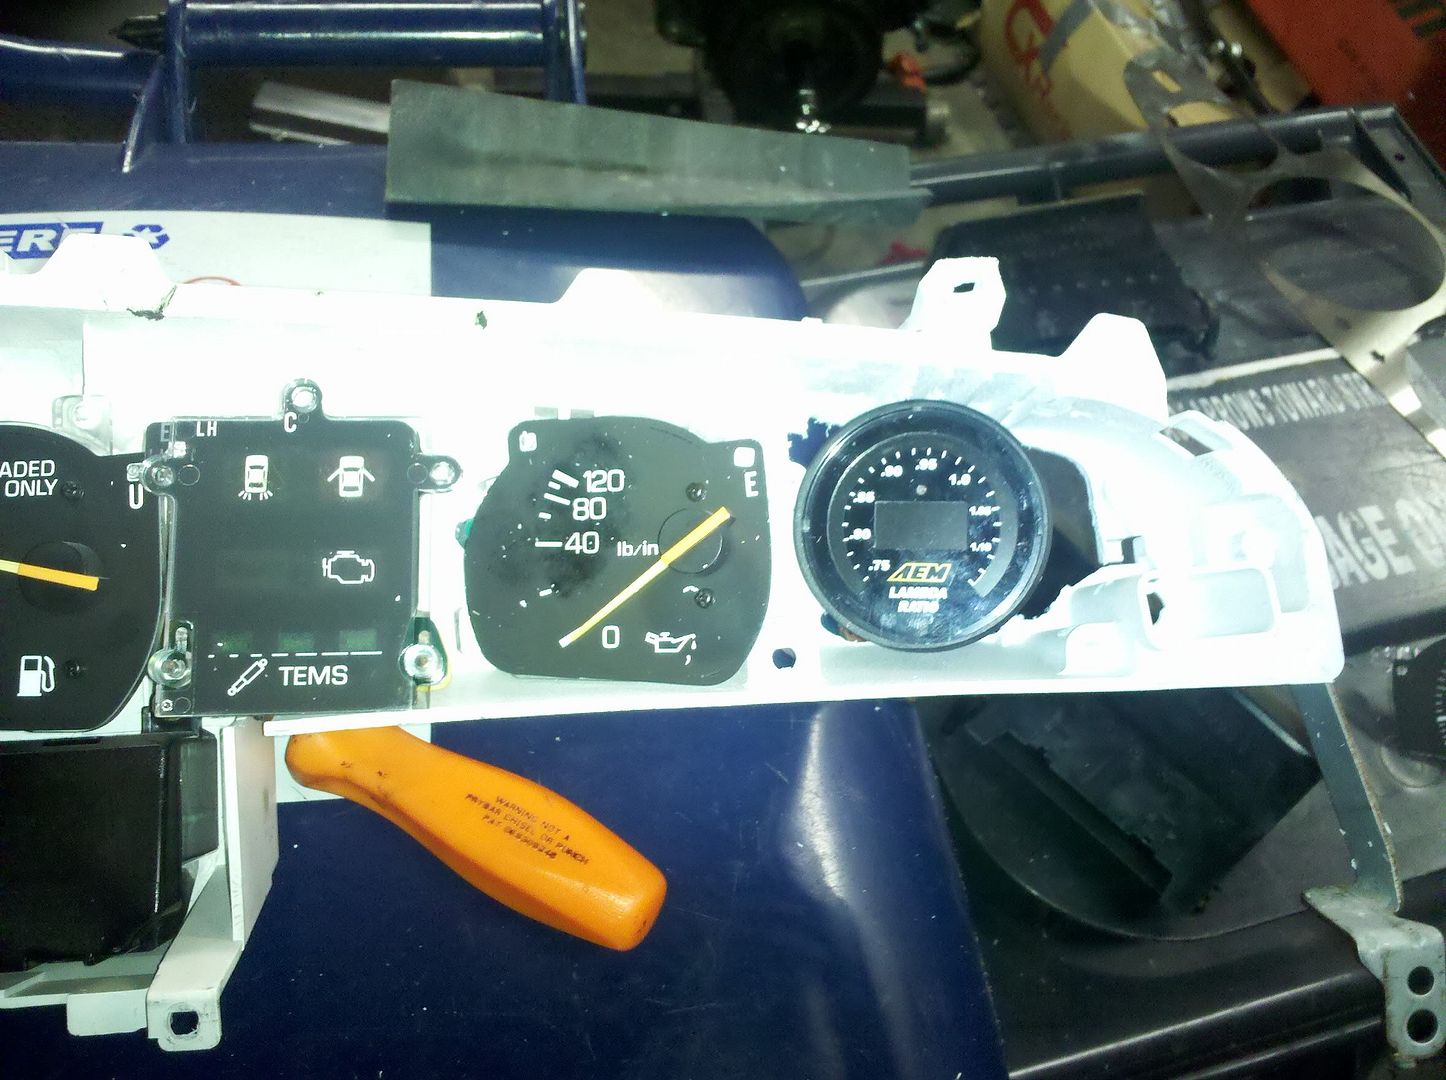
the second set as you can probably figure out is the new location of the AFR gauge. moved it due to the touch screen dvd player screen hitting the gauge. I remember honestabe :adam: doing this with his true boost so i figured ill do the same :p i think i did a little more extreme than most people did though, cut out the whole stock gauge pod then put in a new one that came with some of my older gauges just so happen to be perfect. Then fit it in place taped around the parts that were going to need to be filled a little, and again used the black ABS plastic cement. then opened the back of the panel up to fit the extra long gauge :) ill get some final pictures tomorrow after the cement has dried.