Good job man. Get some engine harness loom and strip the old one and put some new loom on there. It really changed the engine bay. I did it for mine and looks really good. You can see it in my build thread.
CajunKenny's Build Thread
- Thread starter CajunKenny
- Start date
You are using an out of date browser. It may not display this or other websites correctly.
You should upgrade or use an alternative browser.
You should upgrade or use an alternative browser.
Yeah, that's on my list of things to do. I'm going to at least get those white ty-wraps off of there and put some black ones on. Those white ones stick out like a sore thumb!
Ok everyone...I went for a short drive and put ~40 miles on her. Only 460 more before I can poor on the coals! Everything went very well except for two things.
1. At initial take-off, there is a clunking/banging/rattle noise. I suspect that it's the exhaust hitting the transmission mount. It may require one more spacer.
2. There was a 350z that wanted to get spanked; but, I couldn't.
All in all...things are great! So far anyway...
Congrats on getting the car back together man, been following your build, but held back on posting lol.
Something about that bay I really like, haven't quite figured it out yet. :thumbup:
Get some videos!
Something about that bay I really like, haven't quite figured it out yet. :thumbup:
Get some videos!
Thank you sir! Those pics turned out kind of weird. It was overcast when I took them.
Vids are on the way! I almost did a camcorder one today. Maybe tomorrow...
I can't wait to use my GoPro!
---------- Post added at 09:07 PM ---------- Previous post was at 08:58 PM ----------
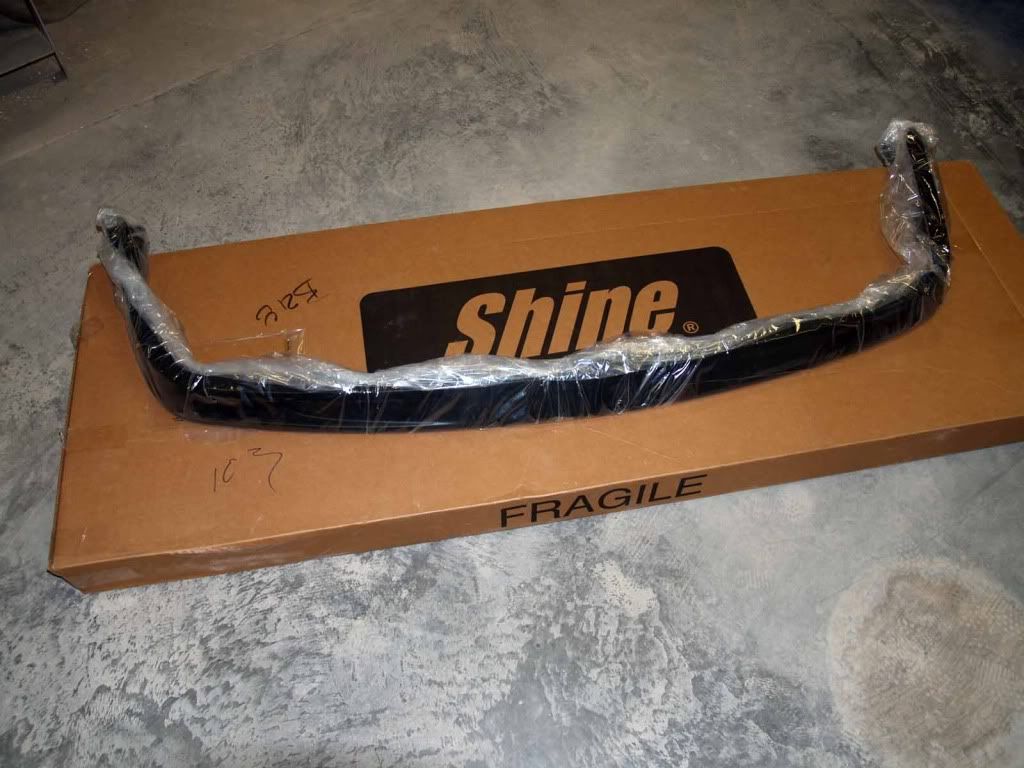
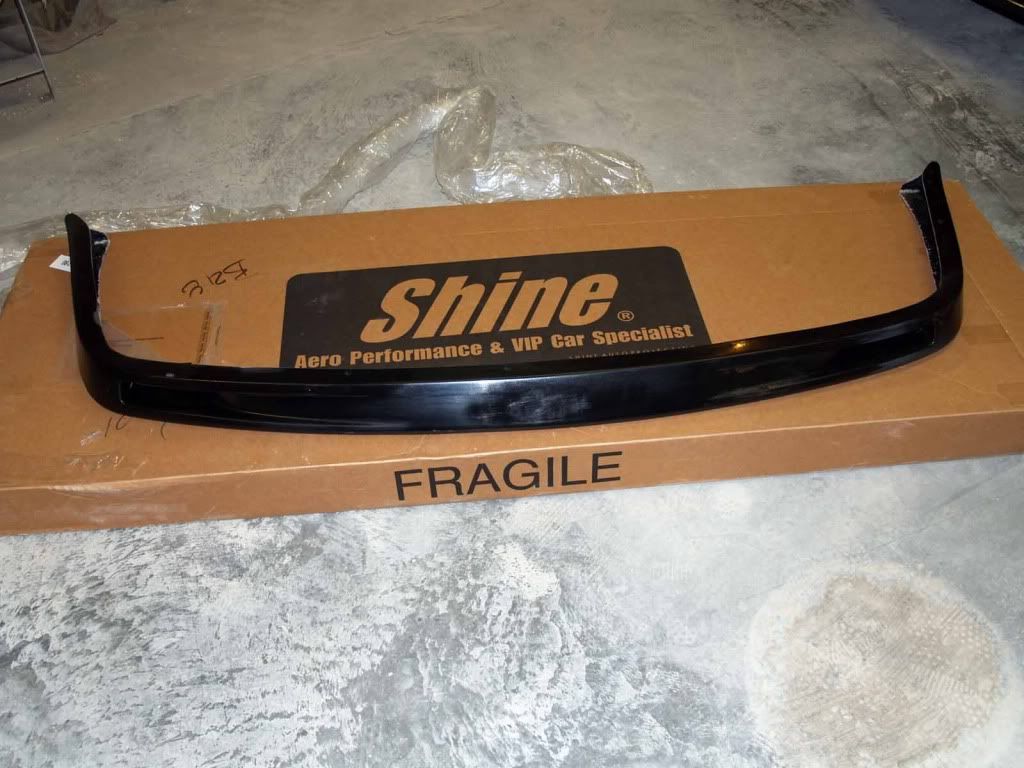
Well, I decided to unbox my Shine goodie. This will be the next thing to go on the car. Except for the hood of course...


Last edited:
Wow Ken. The bay looks great. Just the right amount of black and silver that makes a great combination. Love it!! :aigo: So I guess in a week or so timeframe you'll be looking for a certain 350?!  Get some vids up man! Wanna see/hear the beast in action! Again, awesome build and I wanted to thank you for posting so many pics/details. They are a great reference.
Ron
Ron
Thanks a lot Ron! It was a lot of work; but, worth it in the end. Yeah, I was almost wishing I would've left all of the blue accents out and just stayed with black and silver. Maybe next time! 
You're welcome! I'm glad it was a help! Thanks for sticking around and watching all of this. It's sort of an inspiration to know that folks are watching!
Now, I'm hoping to see some more progress on a certain Black Mk3's thread. I'm not saying names; but, it rhymes with Don. :biglaugh:
You're welcome! I'm glad it was a help! Thanks for sticking around and watching all of this. It's sort of an inspiration to know that folks are watching!
Now, I'm hoping to see some more progress on a certain Black Mk3's thread. I'm not saying names; but, it rhymes with Don. :biglaugh:
Last edited:
Supra28;1539012 said:Congrats on getting the car back together man, been following your build, but held back on posting lol.
Something about that bay I really like, haven't quite figured it out yet. :thumbup:
Same as him haha
I think what sets it off so nicely is how its blacked out (alternator etc.) but then you have the nice shiny aluminum piping and such. That engine bay is inspiring.
Thanks for the compliments! It's funny you mentioned the alternator. Out of this whole build......that's my favorite accomplishment! 
I barely notice the blue. Trust me. It looks great!
No problem sticking around. It's been very educating. I'll tell that guy to hurry up! :evil2:.
As for my build, well not much of an update. I've been working hard cleaning the layers of crud & grease of that engine. I did order some POR-15 engine enamel. It should be here in a couple days, so that is some inspiration to get all the cleaning done by then. Some other boring stuff, but I don't want to clutter your thread!
---------- Post added at 02:03 AM ---------- Previous post was at 02:01 AM ----------
Meant to ask you Ken, do you have to mask the alternator before spraying it? Or can you just shoot away?
No problem sticking around. It's been very educating. I'll tell that guy to hurry up! :evil2:.
As for my build, well not much of an update. I've been working hard cleaning the layers of crud & grease of that engine. I did order some POR-15 engine enamel. It should be here in a couple days, so that is some inspiration to get all the cleaning done by then. Some other boring stuff, but I don't want to clutter your thread!
---------- Post added at 02:03 AM ---------- Previous post was at 02:01 AM ----------
CajunKenny;1539081 said:Thanks for the compliments! It's funny you mentioned the alternator. Out of this whole build......that's my favorite accomplishment!
Meant to ask you Ken, do you have to mask the alternator before spraying it? Or can you just shoot away?
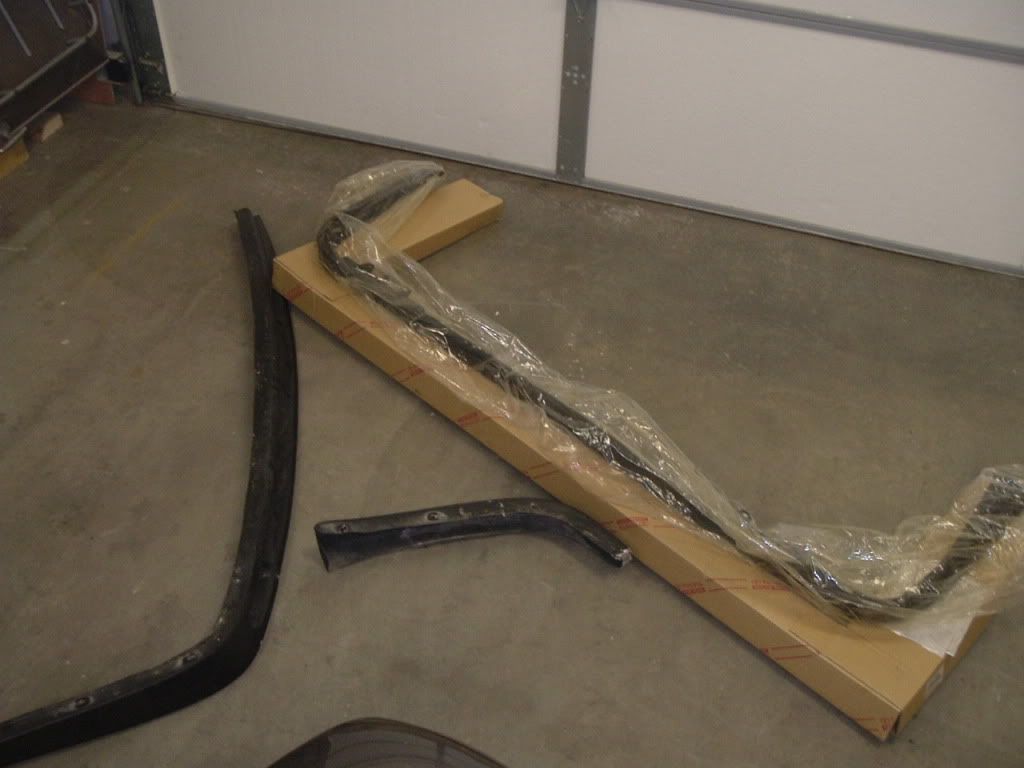
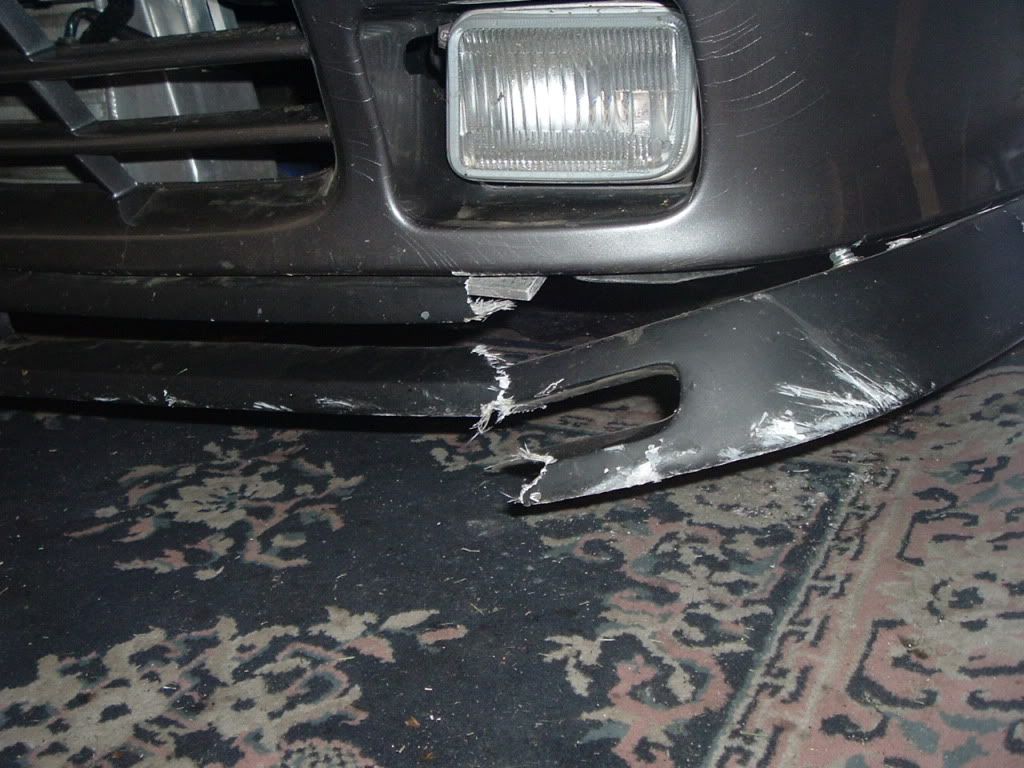
Careful with that lip I had the exact same one and well let just say the ending or it wasn't good. :cry: Being around 2 1/2" tall she hangs low and tends to hit everything. Keep your eyes out for pot holes, and drive slow in & out of gas stations along with driveways.


CajunKenny;1538911 said:Yeah, it was a pain; but, I got it fixed and didn't need to use any RTV!
Ok, well she backed out of the garage and made it for a short cruise. And she did this ALL under her own power! :biglaugh:
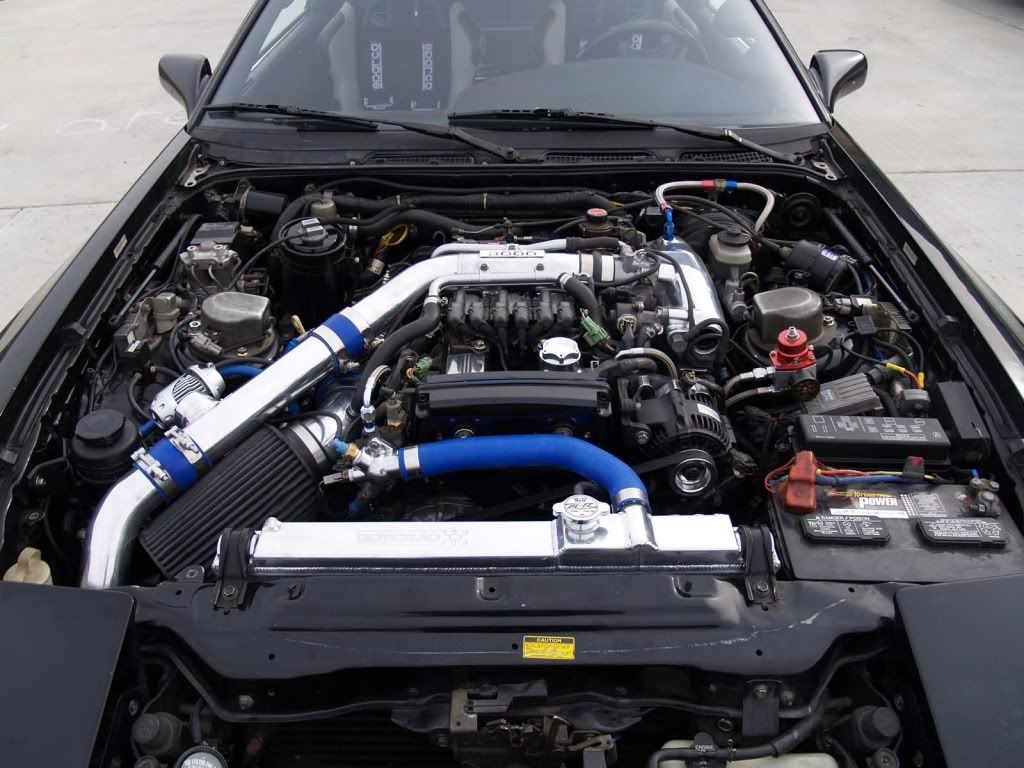
Here's a shot of her all buttoned up.
And a little bit tighter view of the Intake and IC Pipe...
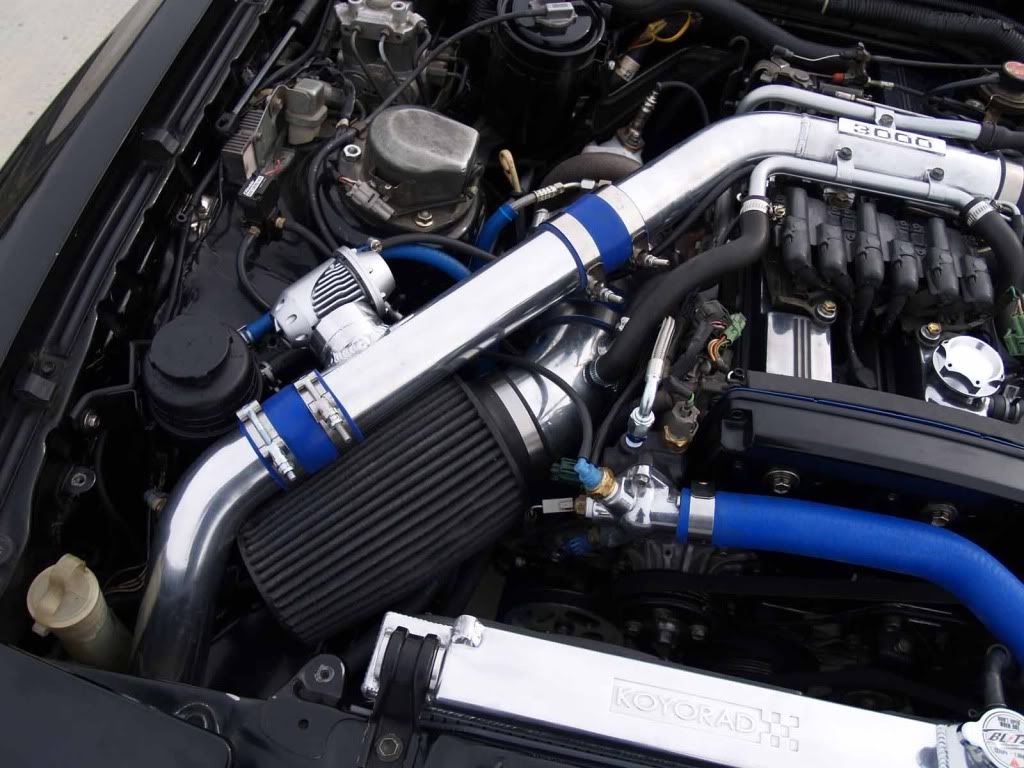
Thought I'd pull up those shots for a second look! Nice and clean... like the contrasty shots, too!
On that T-housing... I've had recurrent issues with blowing the ring gasket (usually Felpro's) when the T-stat's sharp edge cuts the rubber from the pressure. I've started "smoothing" the T-stat perimeter (sharp stamped edge) and popping out the "tit" to allow SOME flow all the time. I wonder if having "sanded" the housing face smooth took some material off mine and made it a tight squish on the gasket?
Anyway... nice to see you are almost a DAILY DRIVER status! WOOT!
-crisp
SupraRon;1539082 said:Meant to ask you Ken, do you have to mask the alternator before spraying it? Or can you just shoot away?
I guess I should've taken pics of this process... What I did was split the case and shoved/worked index cards in between the case and the windings. I think business cards would work better. I then covered everything else with paper towels and masking tape. Then painted it. The last thing I did, was polished the rear cover on the alternator. That part was REALLY easy. I sanded it with 1500 grit, then again with 2000 grit, then hit it with polish. Polishing that part only took around 10 minutes to do.
92nsx;1539176 said:Careful with that lip I had the exact same one and well let just say the ending or it wasn't good. :cry: Being around 2 1/2" tall she hangs low and tends to hit everything. Keep your eyes out for pot holes, and drive slow in & out of gas stations along with driveways.
Thanks for the 'Heads-Up'! I can see with the car being lowered and then adding the lip, it just makes the car a street sweeper! Honestly...it's a little scary!
crisp;1539209 said:Thought I'd pull up those shots for a second look! Nice and clean... like the contrasty shots, too!
On that T-housing... I've had recurrent issues with blowing the ring gasket (usually Felpro's) when the T-stat's sharp edge cuts the rubber from the pressure. I've started "smoothing" the T-stat perimeter (sharp stamped edge) and popping out the "tit" to allow SOME flow all the time. I wonder if having "sanded" the housing face smooth took some material off mine and made it a tight squish on the gasket?
Anyway... nice to see you are almost a DAILY DRIVER status! WOOT!
-crisp
Thanks Crisp! Those pictures are not photoshop'd at all. Interesting what a little overcast will do to a pic.
I replaced the FelPro T-State Gasket with a Genuine Toyota one that I forgot I had. Earlier in the build, I did exactly as you mentioned. Sanded the sharp edges off and the face to increase the "squeeze". I even went as far as to polish the inner lip that the T-Stat sits in. She's holding good now!
DD status...Here I come!
carter;1539242 said:Congrats man,
Love the engine bay man
Thanks carter! Now...more road time!
CajunKenny;1539343 said:I guess I should've taken pics of this process... What I did was split the case and shoved/worked index cards in between the case and the windings. I think business cards would work better. I then covered everything else with paper towels and masking tape. Then painted it. The last thing I did, was polished the rear cover on the alternator. That part was REALLY easy. I sanded it with 1500 grit, then again with 2000 grit, then hit it with polish. Polishing that part only took around 10 minutes to do.
Good to know Ken. Thanks for that. I may try this method one day. Not this time around though.
Beautiful work and well thought out vision made reality, its been a treat to read your build thread!
vIetDrIfTeR;1540295 said:nice niceee
thedave925;1540467 said:Beautiful work and well thought out vision made reality, its been a treat to read your build thread!
Thank you gentlemen!
How come you kept the EGR? I would of removed it and used the japanese ECU. You are using a MAFT pro, so you could have tuned it to where you would have lean issues. The EGR to me just is an eye sore. I know I might get flammed for this but why not remove it if you have the option to tune the car to compensate for it.
The polishing work looks good though. So you sanded it smooth with 1500 grit and then 2000 grit and then hit it with polish? Was it wet sanded? What polish did you use?
Where did you get your seats? Sparco or are is the harness just a Sparco one?
The polishing work looks good though. So you sanded it smooth with 1500 grit and then 2000 grit and then hit it with polish? Was it wet sanded? What polish did you use?
Where did you get your seats? Sparco or are is the harness just a Sparco one?
It has been shown that the egr reduces temps in cylinder no 6, which is the hottest running cylinder and most prone to issues. While I agree with you it is an eye sore, I put up with it to reduce temps any day. (For the record I have a jdm ECU on the shelf just so I have the option)
Looking good ken! I feel a tunning party comming up. What clutch did you go with? HD or EX pressure plate and FF or 6 puck disk?------to lazy to search while Im in class
- i do the same with thermostats, its one of the areas I am anal about, I had one from napa stick closed out of the box so nothing but oem for me.
