ok. The clunking from the diff is gone. Swapped diffs and it went away. have to add some friction modifier later. the diff has chatter. The lower bolt for the power steering pump was comming out so i tightened that back up with my impact gun. Discovered that the driver side outter tie rod is bad and has to be replaced. Also managed to fix the fuel pump problem. Fixed the jumper wire and since i lost the relay that i was using fo the fuel pump i swapped it out for a motorcraft relay that tone of the drivability techs had laying around.
Unleashing The Beast... (56K Beware!)
- Thread starter MA70witBoost
- Start date
You are using an out of date browser. It may not display this or other websites correctly.
You should upgrade or use an alternative browser.
You should upgrade or use an alternative browser.
Ok... Been lacking an update for a while. the rod knock has gotten worse. i've parked the car and its also developed a crank but no start issue. im not worried about that... i have to save up money for parts befor i can take it into work to tear down the bottom end and see what size piston rings i need and check if the connecting rods are still good.
Is your car parked in your garage? If it is, just take your time and work on it piece by piece. An hour a day or two hours if you can would help a lot. Don't take any shortcuts with important parts, if it looks bad, replace it. Trust me, I know how it is to work hard on a car and have things go wrong.
I have my car at my Dad's shop. Sure it sounds nice, but we have to put customers first since it is them who keeps us open. I am hoping to get it done before Summer comes and maybe for the Philadelphia May 30th meet. I know I can't make it for Texas. LOL!
How are the shims on the car? Measure them in room temperature. If you are in your garage, get a nice spot, about 70F. If you do it in cold weather, it will be bad because the metal will shrink.
The shims are bad because I do it on my engine and I never torque the cams down and when I checked the clearances after torquing the cam caps, they were all tight. I had to regrind the shims. I was precise on getting the measurements correct and grinded the shims on our shops grinder so much that the motor went on it. Now you have to give the grinder a turn and then turn it on before it spins by itself. LOL!
Last edited:
IBoughtASupra;1532527 said:Is your car parked in your garage? If it is, just take your time and work on it piece by piece. An hour a day or two hours if you can would help a lot. Don't take any shortcuts with important parts, if it looks bad, replace it. Trust me, I know how it is to work hard on a car and have things go wrong.
I have my car at my Dad's shop. Sure it sounds nice, but we have to put customers first since it is them who keeps us open. I am hoping to get it done before Summer comes and maybe for the Philadelphia May 30th meet. I know I can't make it for Texas. LOL!
How are the shims on the car? Measure them in room temperature. If you are in your garage, get a nice spot, about 70F. If you do it in cold weather, it will be bad because the metal will shrink.
The shims are bad because I do it on my engine and I never torque the cams down and when I checked the clearances after torquing the cam caps, they were all tight. I had to regrind the shims. I was precise on getting the measurements correct and grinded the shims on our shops grinder so much that the motor went on it. Now you have to give the grinder a turn and then turn it on before it spins by itself. LOL!
Well the head work has been already done. Got the final values jotted down in post #278. All that really has to be done is the bottom end work. The car is at home parked in the driveway. No garage. Im actually saving up money for parts to take the car to work and rebuild the bottom end over there.
Ok, got the disassembly started. have pictures but will post later. been reading up on some printed threads. trying to make sure i do this right this time. here they are incase anyone is interested in reading:
Specific 7M Rebuilding Tips
7M Assembly Tips
Specific 7M Rebuilding Tips
7M Assembly Tips
ok, placed the order for a full gasket set from ebay. kinda glad that i never finished reassembling the other short block or tore this motor apart till now. After rebreading the 7M Assembly Tips thread, i've noticed i would have tad a ton of issues since i hadn't first looked around instead of building thinking it was just tighten bolts on things and assemble it. Oh well, ya live and ya learn.
Don't use the Ebay gasket kit set. Get the one from DriftMotion. You need need to make a gasket for the throttle since the one it comes with it wrong. You can modify the paper one it comes with as well.
Ok... Got the head off yesterday. My boy luis came over and helped me out a bit. We were talking at work (when he was picking me up) about the studs and i remembered that they are driven in w/ an allen driver. Picked up my set and got all the studs out wich allowed me to pull the head. Was having some trouble with this seeing as since all the studs were in the head still (befor) the head would bind on its way up. Now gotta see when i can get around to the cleanup phase and start taking measurements. Got pictures but haven't gotten around to posting anyone of them yet. will try to do so soon and merge w/ ppreviouse posts.
IJ.;1556405 said:Studs are only meant to be finger tight in the block.....
well they were all hand tight minus 3 that i had to lightly break loose w/ a 3/8th ratchet.
On another note, cleaned up the top of pistons 1 and 6 and they are stampped 050 on the top wich leads me to believe my cylinders are .50+. Unsure about this so gonna search a bit and see what i find.
IJ.;1556405 said:Studs are only meant to be finger tight in the block.....
I think he means that when you install the ARP studs, make sure they are only installed finger tight.
jmcboost;1557424 said:I think he means that when you install the ARP studs, make sure they are only installed finger tight.
oh, i thought his comment was in reference to the fact that i took hex drivers home to remove the studs. If they are finger tight, shouldn't need hex drivers, just your fingers...
ok. have 050+ pistons. Ian recommends i over bore the cylinders since i have 60k+ on the motor. Have to save up money now to send the motor to the machine shop. might be a bit befor i update this thread.
took a look at the top of the 7M blshort block thats sitting in the engine bay and the deck is starting to develope surface rust. I've been throwing idea's around and Im really concidering just dissassembling the short block, getting an unmodified short block to throw my parts into and rebuild. Haven't decided yet. Have a few things that i really have been neglecting that i really have to address and I got to sort a few things out befor being able to financially focus myself back on the Supra.
On another note, got myself a 93 Nissan 240SX as a daily. Will post pics later but this thread isn't about the 240, its about the supra...
On another note, got myself a 93 Nissan 240SX as a daily. Will post pics later but this thread isn't about the 240, its about the supra...
Ok... I think I have 0.20+ pistons. I was looking for 0.50 7MGTE Pistons and found a site selling NPR Rings for the 86-93 Supra. It specifically said:
This might now be less complicated than I thought. I thought that there where only 0.20+ and 0.40+ pistons and was wondering where to find 0.50 rings. This solves the file to fit issue. Still have to stop being lazy and pull the short block. The lawn was mowed the other day and lawn clippings blew up from the floor up into the engine bay and on top of the oil soaked short block. Cleaned off the grass blades (altho im sure it would have just burned up in the combustion chamber anyways) and put a bit more oil on the deck and pistons. also covered the short block with some shop rags and stuffed 4 out of the 6 cylinders with shop rags just to be on the safe side. I've decided to use the Supra as a track car so I have a few more things to buy.Note: Available in STD-Standard size, and 0.020=0.05mm oversize.
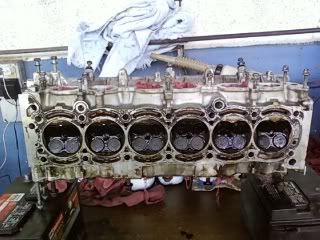
Ok, took off the intake and exhaust manifolds. Put all the hoses, manifolds (exhaust with ct26) in the supra and took the head to work today. Spent the day cleaning the head. Used some cross buffs to clean up the bottom part of the head. Going to disassemble tomorrow and begin porting the intake ports. Going to gasket match the ports to the intake manifold.
Before:
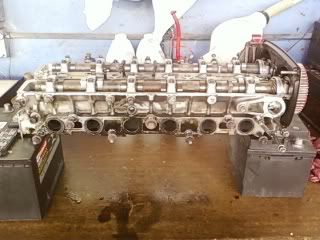
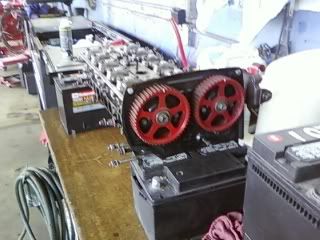
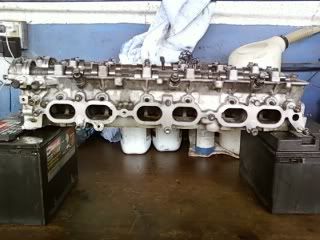
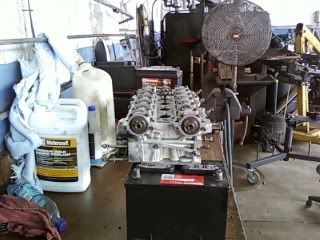
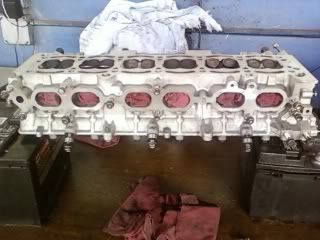
After:
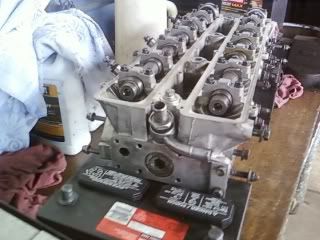
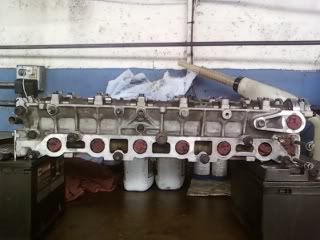
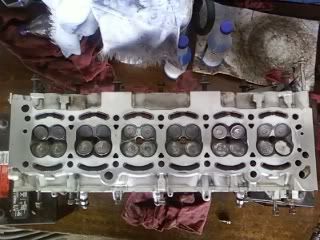
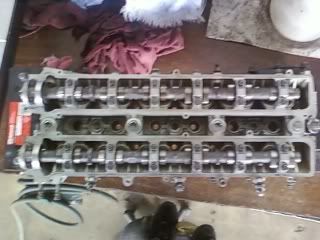
Before:


After:


Had really good results with mine keeping the stock shape just increasing the port size by around 1mm.
That + Ferrea 1mm os valves/big cams the head flows like a mad bastard
That + Ferrea 1mm os valves/big cams the head flows like a mad bastard
Heh, doing this from my iPod so you caught me just starting to upload pictures Ian. Yeah, I'm planning on going 1mm larger for the valves but was planning on using stock cams for now.
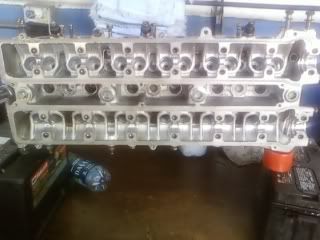
Ok, got quiet a bit done today. Removed the cams, retainers, springs, valve spring seat, and valve stem seals. Used my die grinder and maybe two cross buffs to clean the combustion area and valve seats.
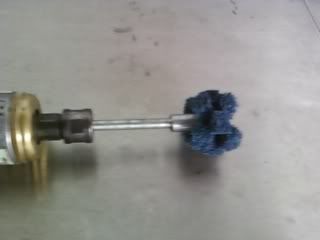
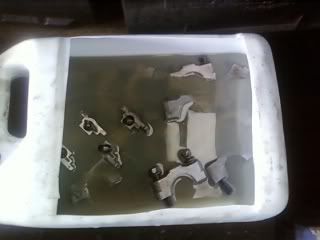
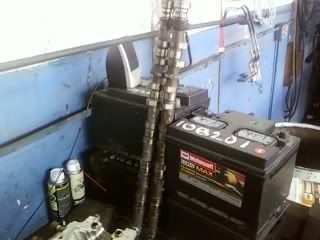
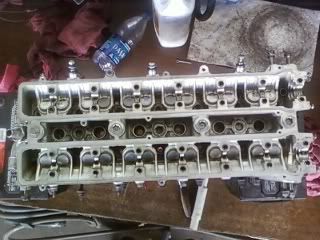
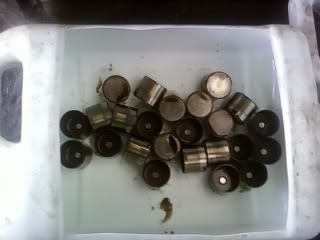
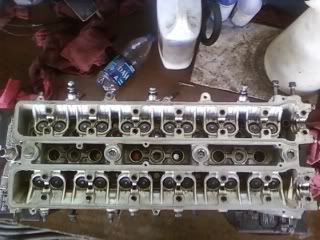
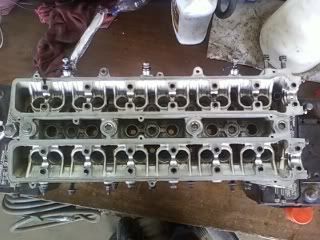
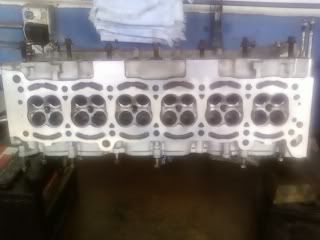
Used a ton of air intake cleaner followed by some brake parts cleaner to clean the whole head from any oils.
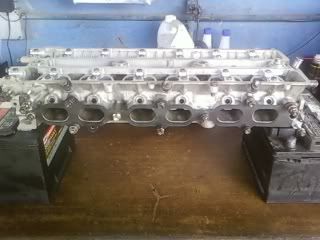
Got some shims or nuts and placed them between the intake manifold bolts and the old intake manifold gasket. Tightened everything down so the gasket would not move then used a sharpie to mark off the areas that needed to be removed.
Before:
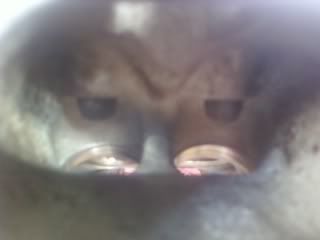
After:
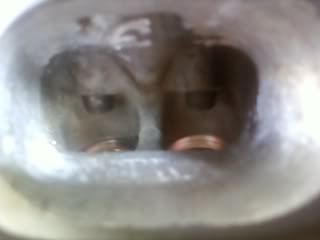

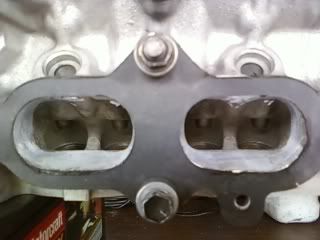
Have to remove a little bit more material from a few of the cylinders to have them to my liking.


Used a ton of air intake cleaner followed by some brake parts cleaner to clean the whole head from any oils.

Got some shims or nuts and placed them between the intake manifold bolts and the old intake manifold gasket. Tightened everything down so the gasket would not move then used a sharpie to mark off the areas that needed to be removed.

Before:

After:


Have to remove a little bit more material from a few of the cylinders to have them to my liking.
wow wish I had the patience you did, nice build. Goodluck on the bottom end rebuild, you'll be making huge HP numbers after. Anything you'll throw at that 7m afterwards it'll take.
