The "Hurry Up and Wait" build

thedave925

Since 9/16/05
Nov 9, 2005
626
0
0
East Bay, Cali
Been a helluva ride last 3-4 weeks
Highlights:
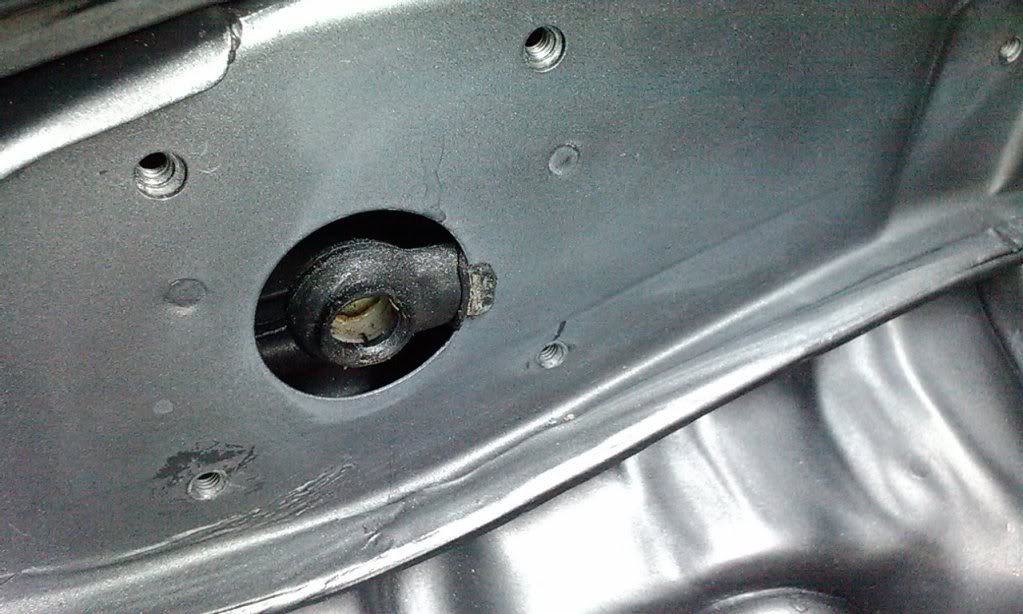
-Wiper motor and brake lines reinstalled
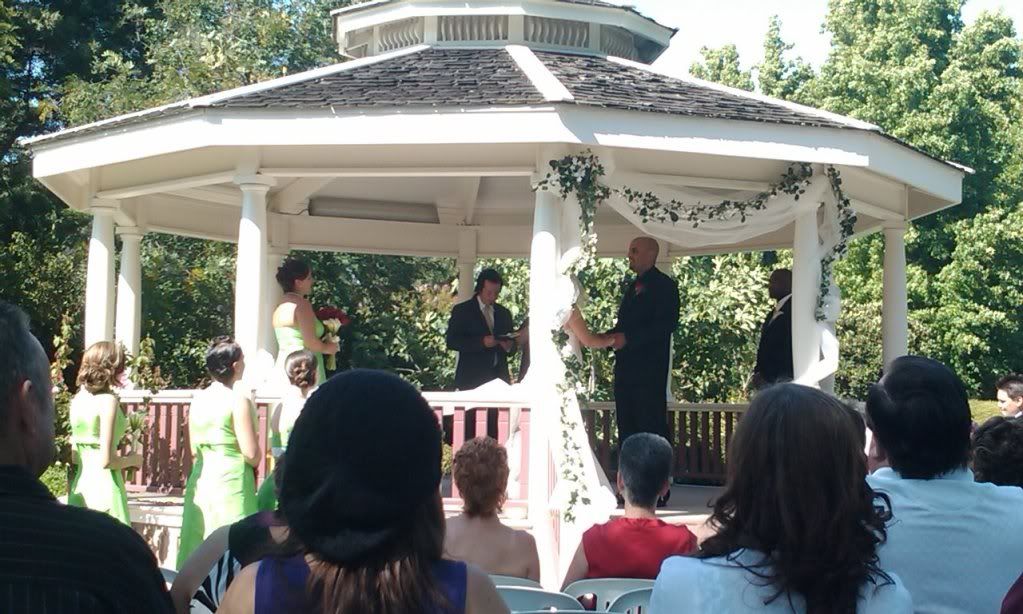
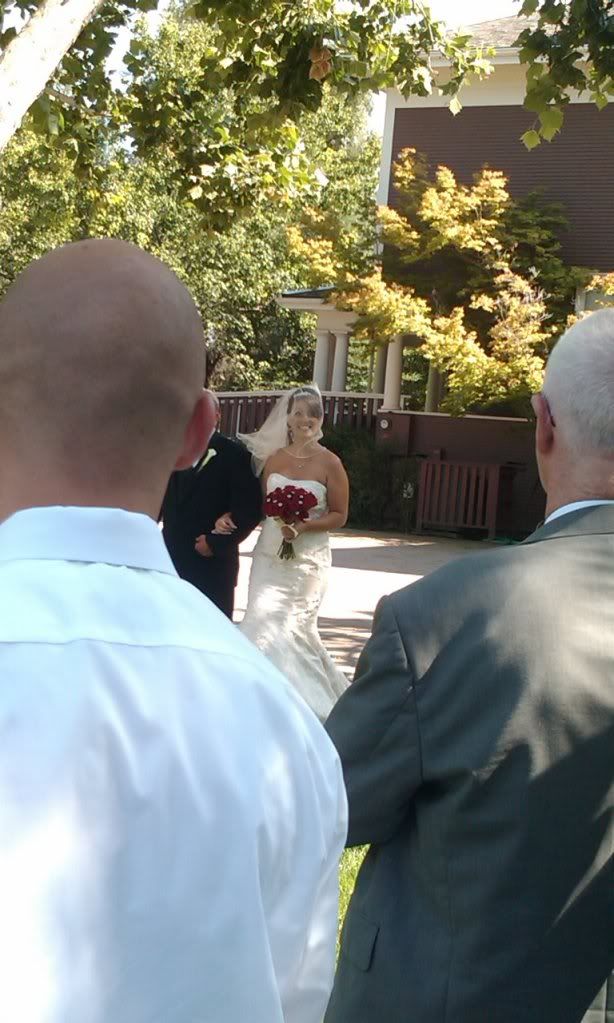
-Went to a wedding
-Helping my gf with her business; struck a deal to ride horses with her (she's a trainer), and she wants me to walk her through building an engine (my spare 7m). Says if i don't finish in 2 months on my build she's gonna do it for me :D
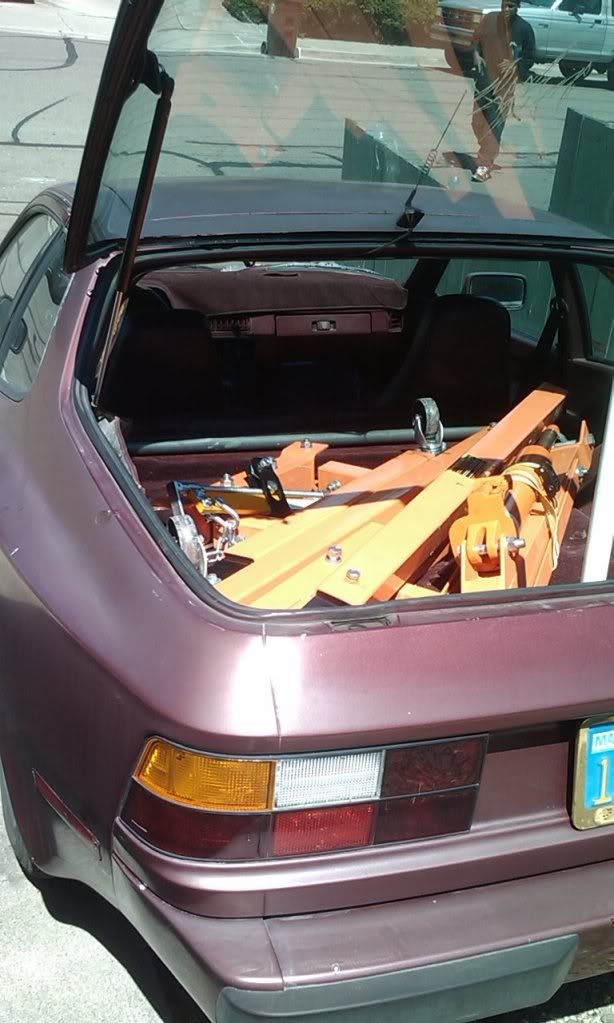
-Helped suprastroker88, he started a build thread recently http://www.supramania.com/forums/showthread.php?127911-My-First-Build
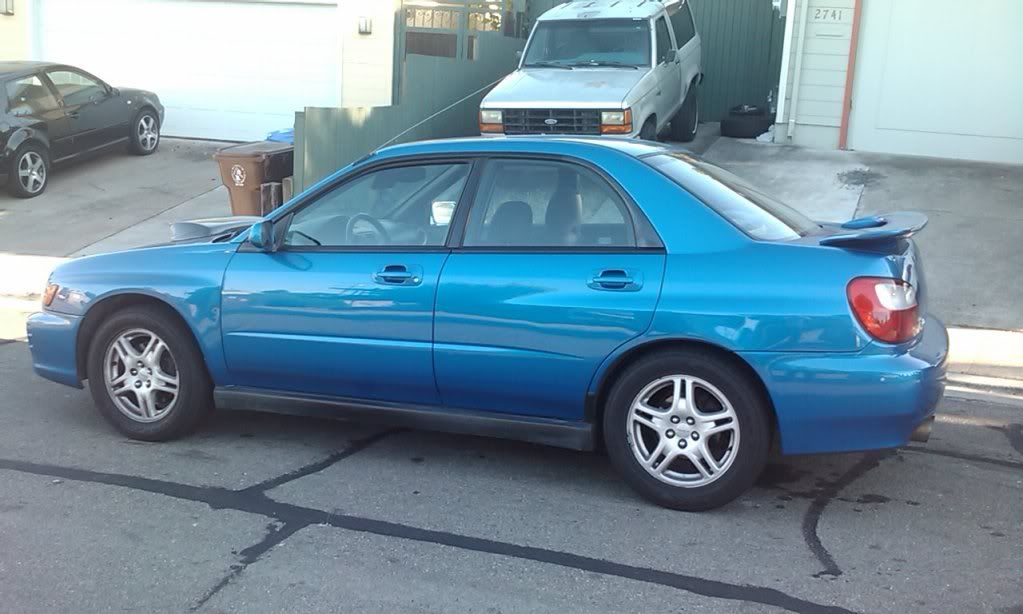
-Drove a 2004 WRX, mildly modded with tuned 20g to ~12-16 psi
-Went for a hike
-Babysat a kid for my really good friends mom; mom had to take her daughter (kid's mother) on errands, i was near and said 'why not' :)
-Visited the machine shop
-Chilled with friends I hadn't seen in like 3 months (it goes fast)
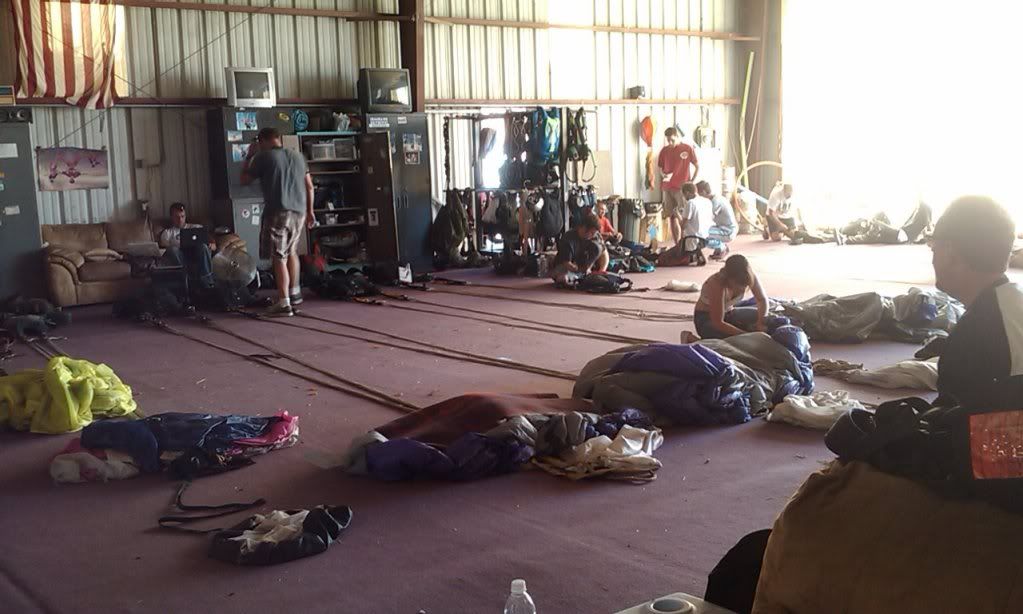
-Witnessed a skydive; gf's client's husband setup a blind surprise bday trip, so we went and it was fun :] finished up having dinner at the Texas Roadhouse steak restaurant in Tracy
-And my gf went to hawaii for her sister's wedding, so i get to tool on the car for an week after work, uninterrupted (I like getting disrupted by her :p)

Bummer of the week:
The transmission on my work van has a small rattle on heavy accel leaving from a full stop, going forward only and noticeable in 1st and 2nd, i'm thinking on the output shaft.
Maybe a ring broke or something. i don't have 2500 for that to get rebuilt right now.

Pics:
Wiper motor removal is easiest popping the ball out of the joint on the wiper rod just behind the firewall.
The rod has a convenient catch to help with the reinstall; this is the way to do it without worry of reseting the arm on the motor itself
p1605617_1.jpg


Wedding:
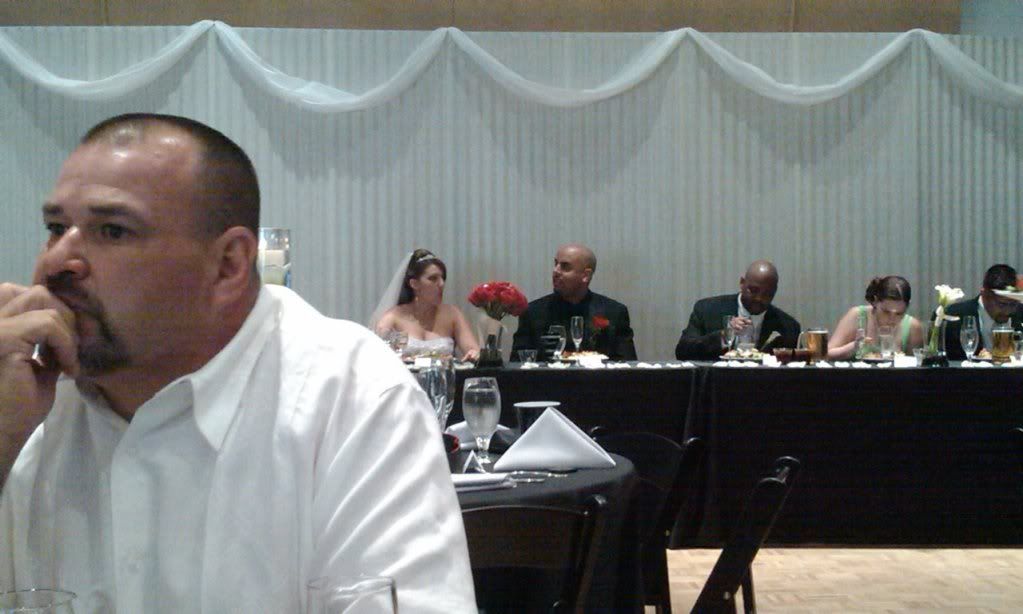
The bride is very pretty and kissed me on the cheek when i congratulated her at the banquet :icon_razz
p1605617_2.jpg

p1605617_3.jpg

p1605617_4.jpg


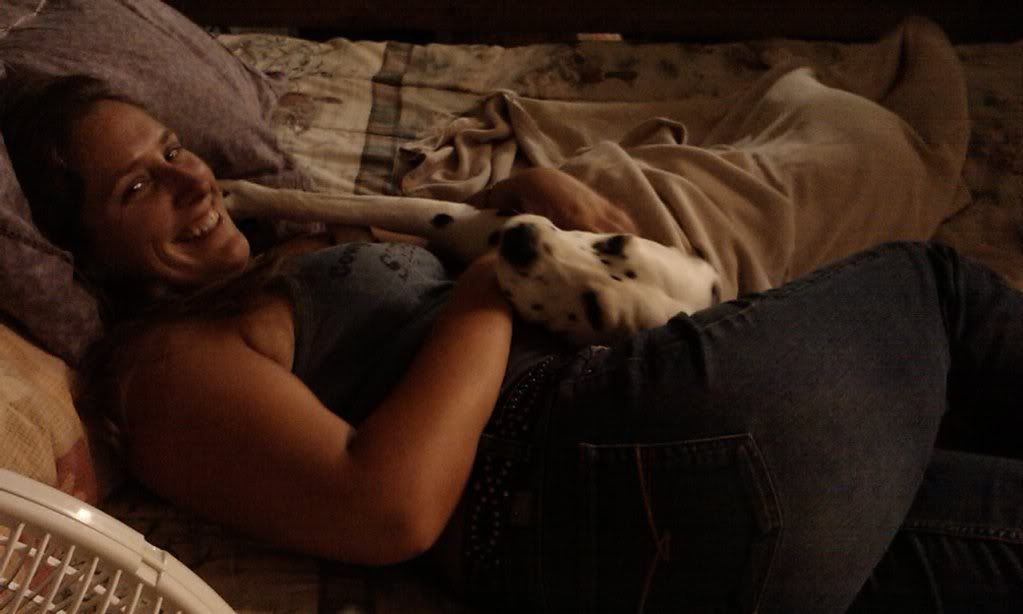
Gf:
p1605617_5.jpg


Helping suprastroker88 by bringing tools and engine hoist:
p1605617_6.jpg


suprastroker88's buddy came through late in the day, handed me the keys with the explanation that my being a car guy is good enough :eek:
p1605617_7.jpg


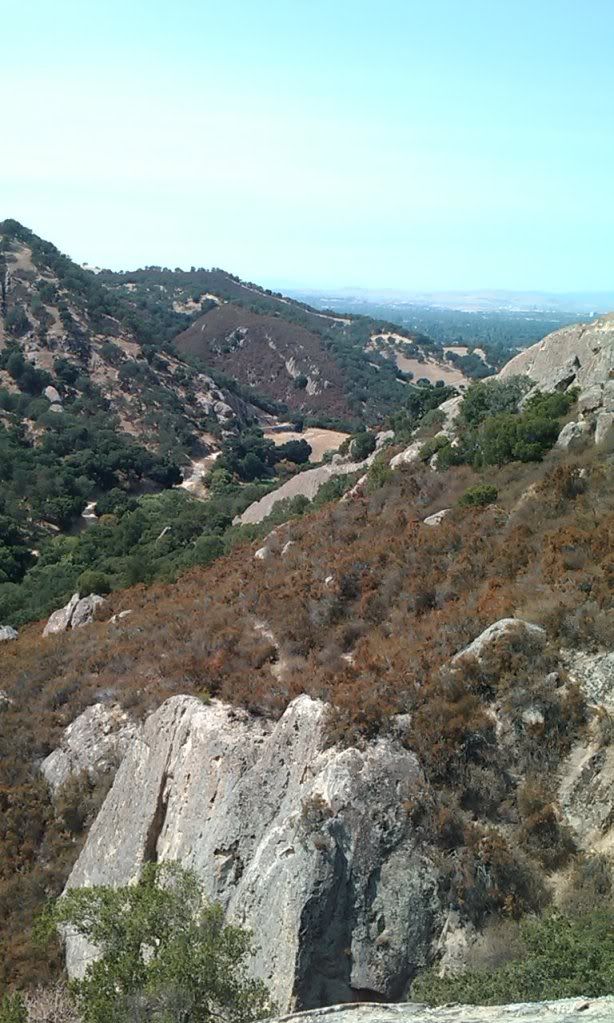
Hiking at Castle Rock, next to Mt. Diablo, Concord, California
A view over Concord, past Pittsburg and to Martinez and Vallejo beyond
p1605617_8.jpg


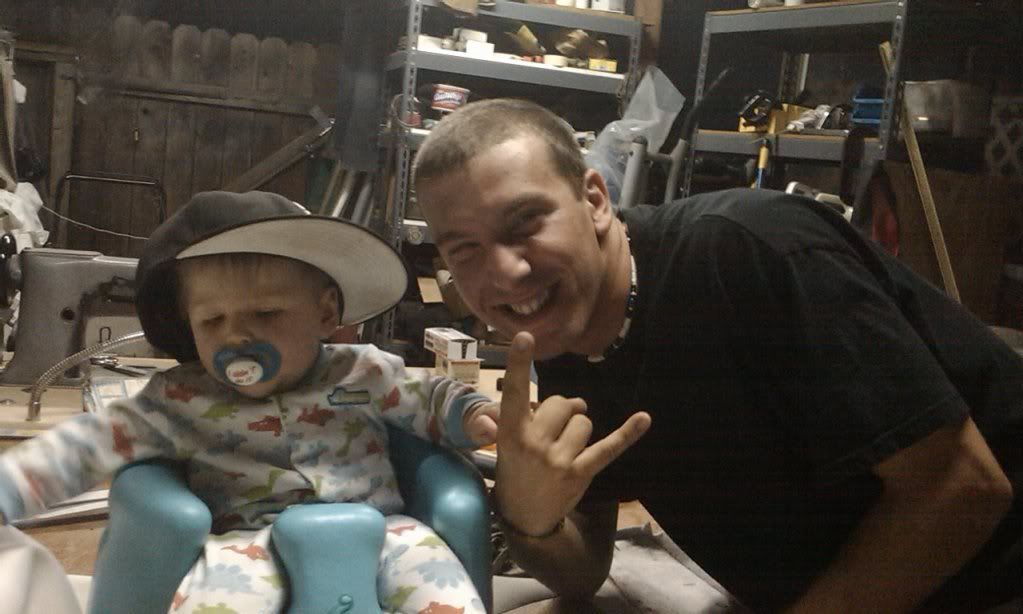
Babysitting, baby's momma's brother is a cool dude, my best friend for 14+ years
He was doing upholstery out back and the kid likes music, and now hats too :)
p1605617_9.jpg


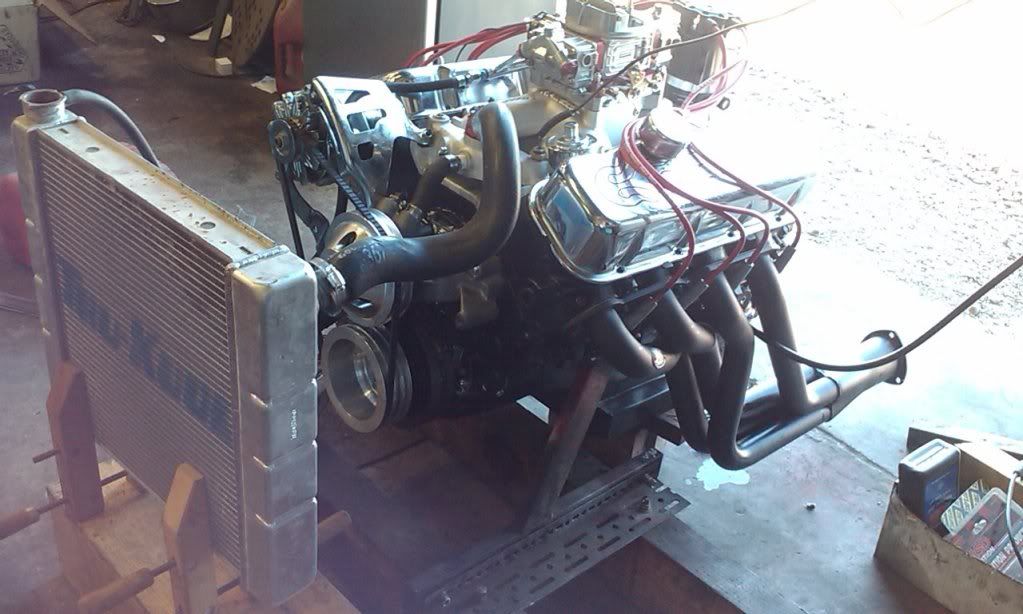
Machine shop stops always yield smiles:
454 tested before dropped off. Open headers out the back and a snappy throttle is GREAT!
p1605617_10.jpg


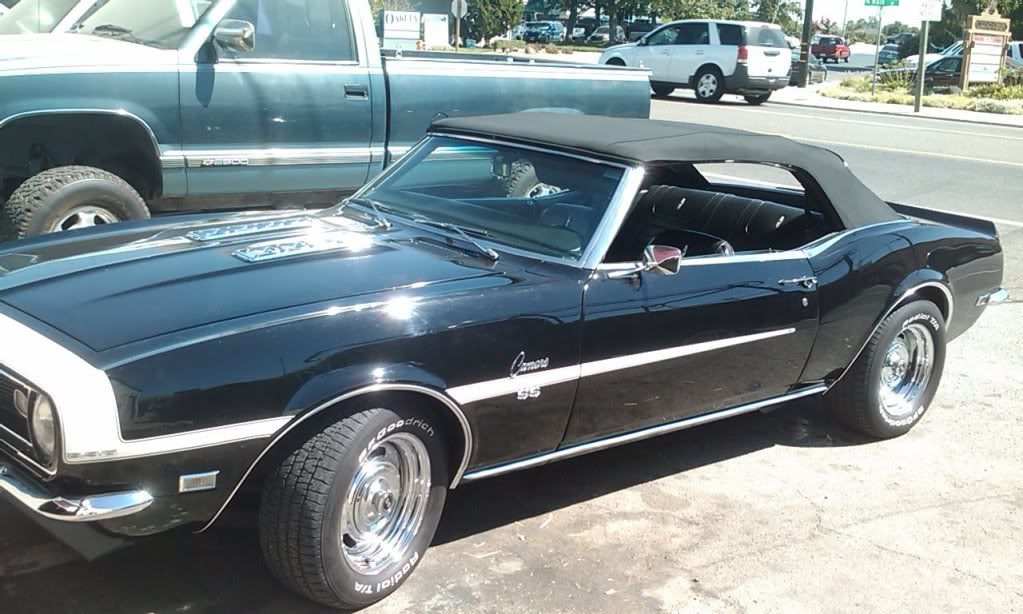
Another gem I hadn't seen there before
p1605617_11.jpg


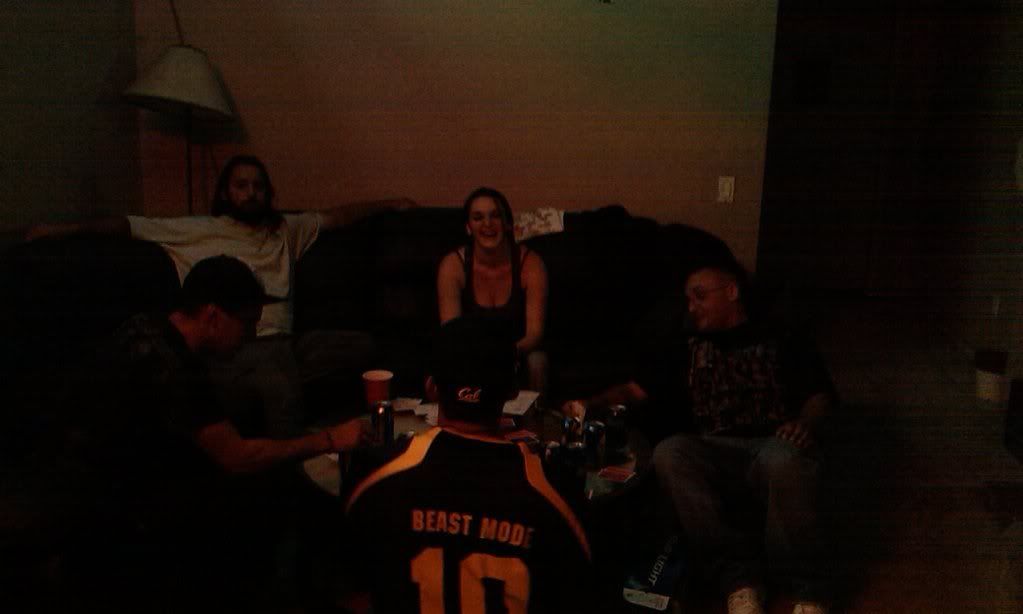
Friends playing Kings cup. Yes, the jersy says 'Beast Mode', the dude is 225 and holds me in highest regards for keeping up with him @ gym.
The chick laughing is the baby's mama, dude to the right is father, left is my best friend, guy in white a really good friend i've known 6+ years.
I didn't get home til 5 cuz Denny's is open and we had extra beer when we got back lol
p1605617_12.jpg


Skydive:
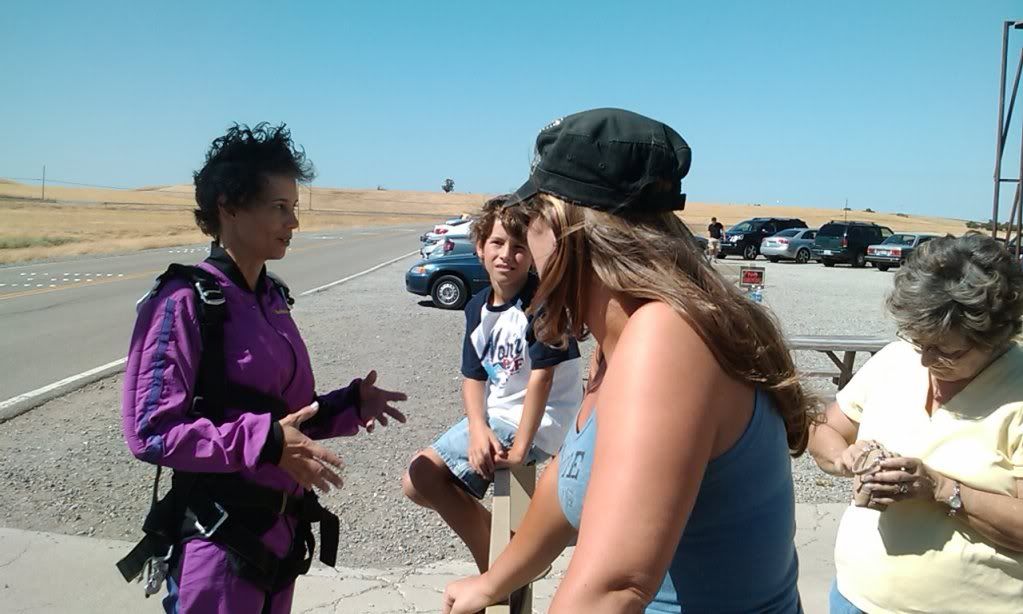
My phone didn't get any of the in-air divers, or formations...
Purple jumpsuit lady, it was her Bday. Her son is on the fence, my gf is wearing her hat, and the mother in law of the Bday skydiving girl
p1605617_13.jpg


Roll up them 'chutes
p1605617_14.jpg


Texas Roadhouse:
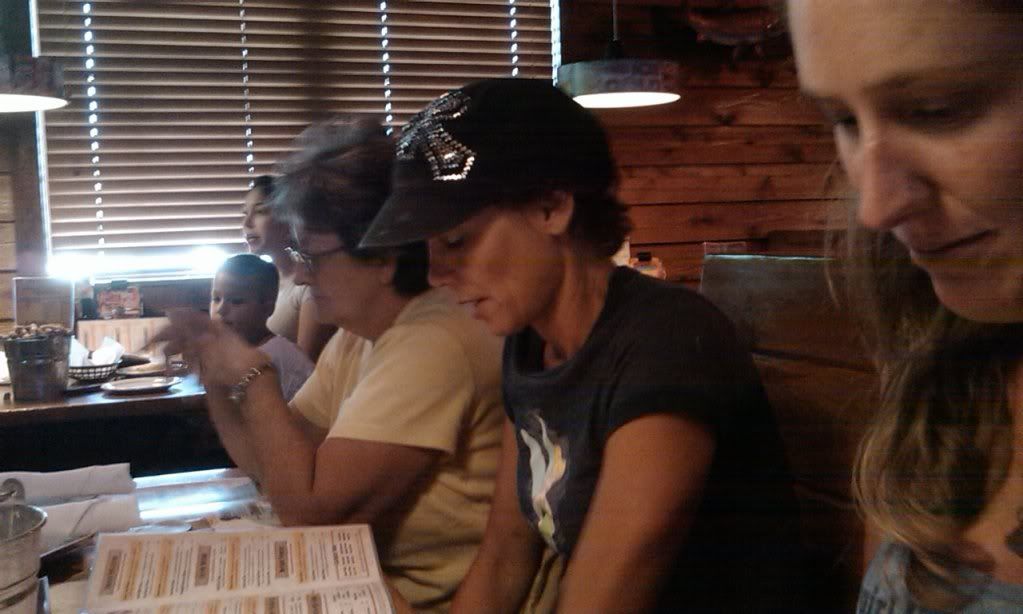
Bday girl in center, my gf to the right and close, bday girl's mother in law on left.
Its an inside joke between my gf and bday girl that they are Gfs; the husband sat across the table and my gf exclaimed she was lucky to be between both her lovers :D
p1605617_15.jpg


Outside Texas Roadhouse:
p1605617_16.jpg

p1605617_17.jpg

p1605617_18.jpg

p1605617_19.jpg

p1605617_20.jpg

p1605617_21.jpg

p1605617_22.jpg


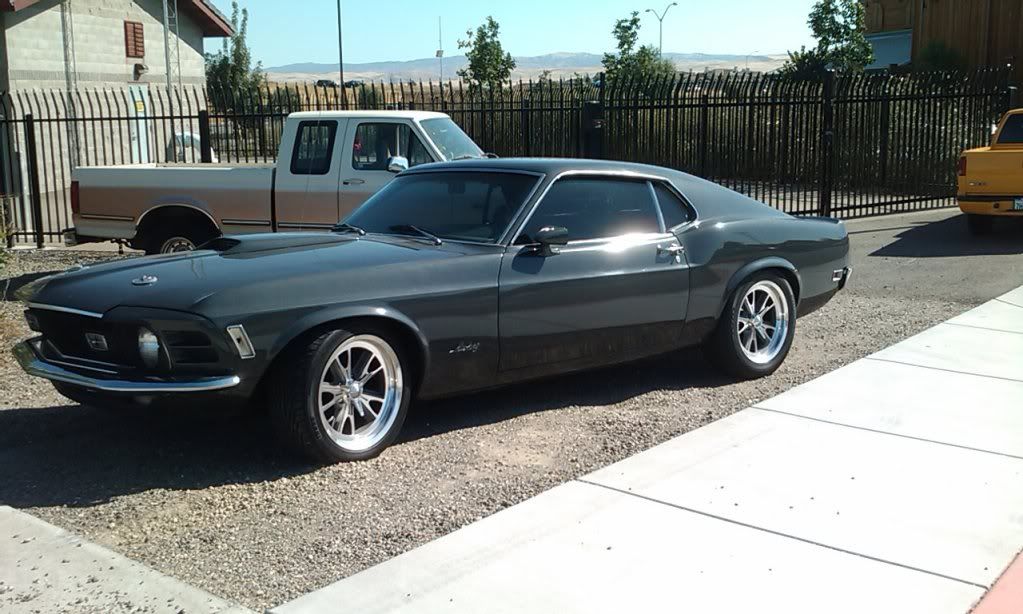
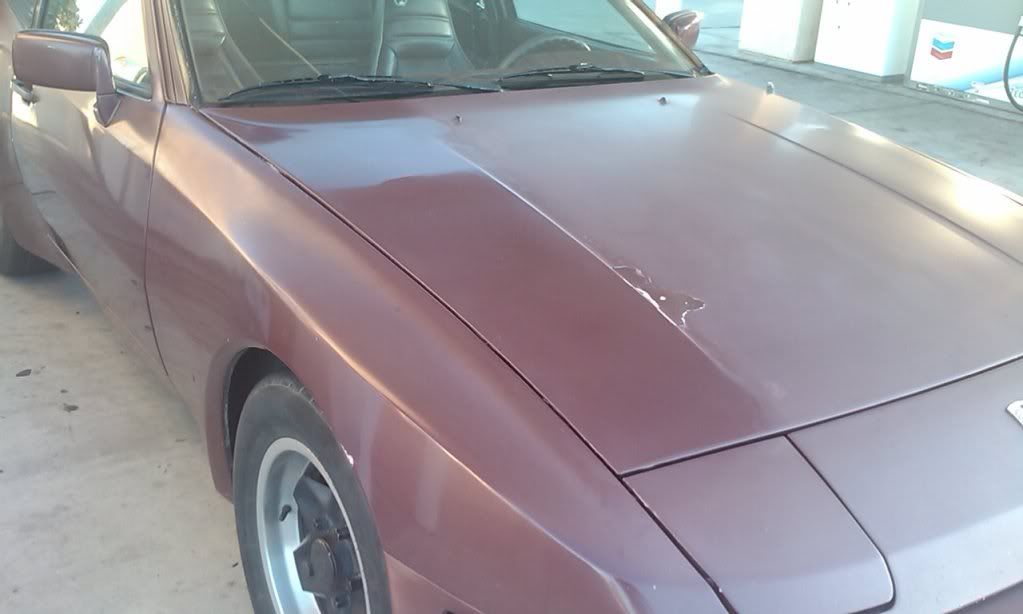
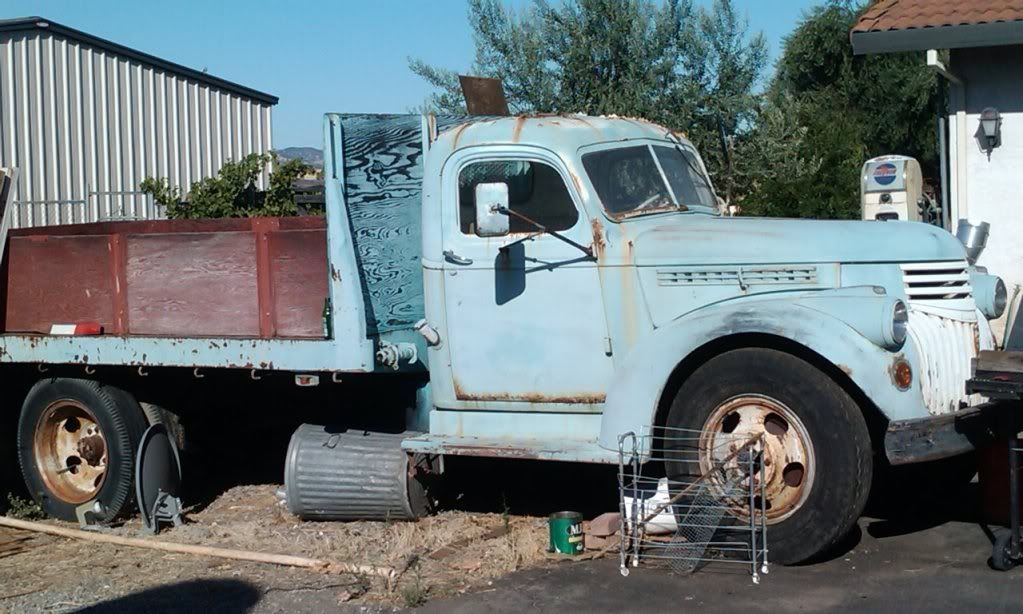
I love fast cars, but I like the old too
p1605617_23.jpg


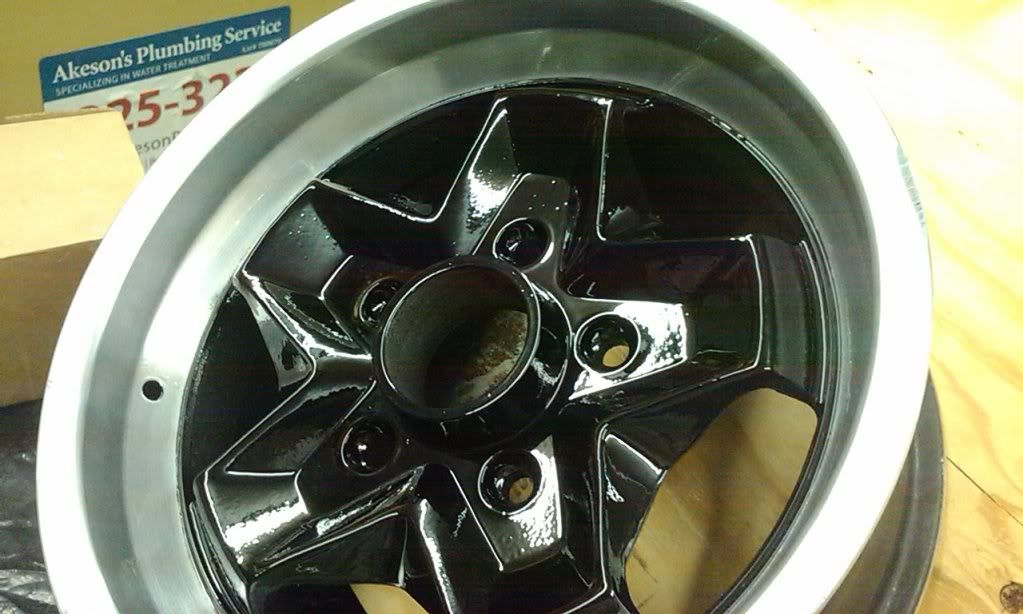
And I've been hired to paint rims for a friend
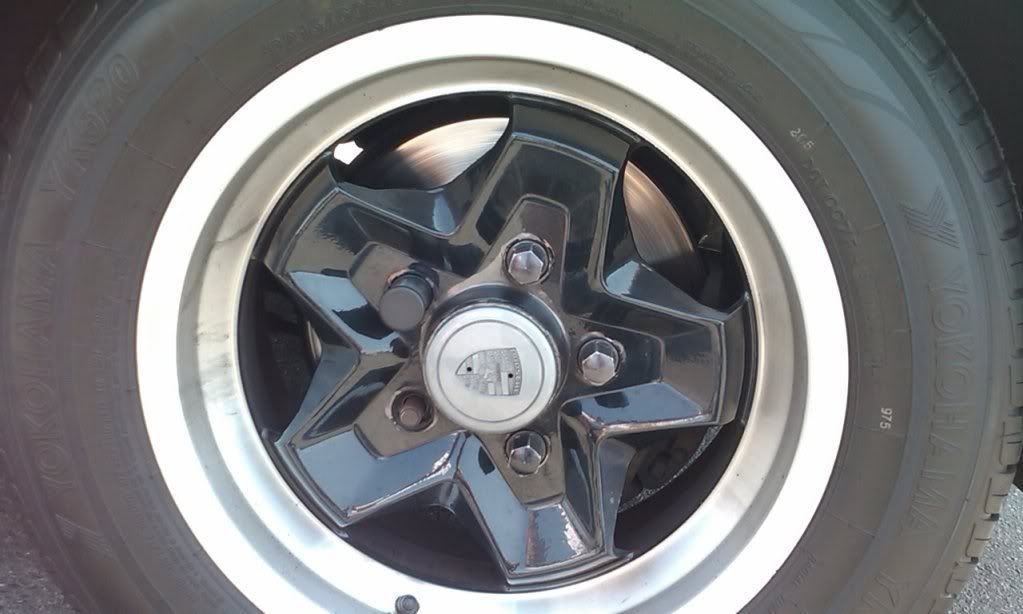
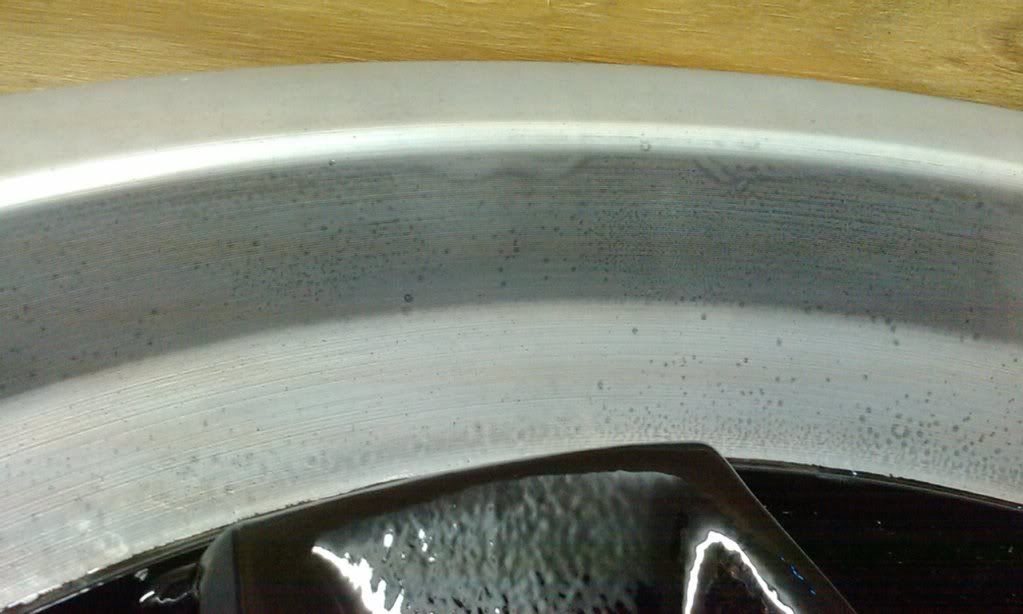
944 rim, paint stripped needing a polish to remove the oxidation on the machined lip
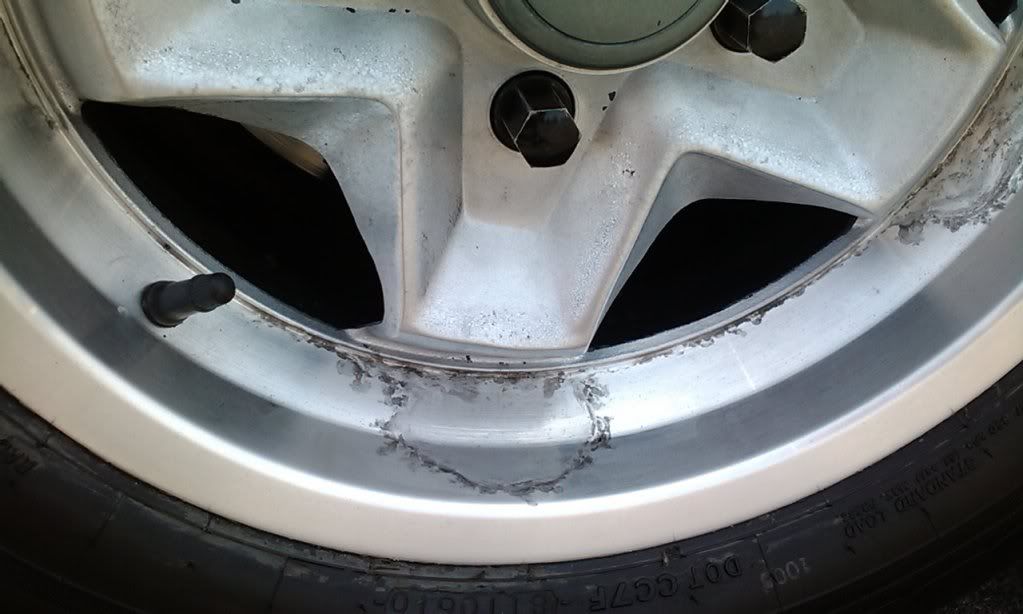
p1605617_24.jpg


What its supposed to look like:
p1605617_25.jpg


So I will turn over some money by painting rims before tooling on the supra.
I'm off to sort the collection in my garage to facilitate work, can't do anything with it so clustered
 

suprastroker88

Supra Tuner
Jul 16, 2008
453
0
0
Bay Area, CA
Let me know if you need help on your car bro. Id love to see it up and running real soon since mine wont be :cry: Oh and Brennan's WRX is a 2003 with a 20g pushing 17psi, 3in full downpipe, and divorced downpipe. Pretty quick lil car for what it is huh? :naughty:

Your build looks great. Keep it goin
 

thedave925

Since 9/16/05
Nov 9, 2005
626
0
0
East Bay, Cali
I like plumbing cuz customers always have neat stuff to gawk at, makes a great conv piece too :)
p1609368_1.jpg


Started buffing the porsche for that glamorous metallic maroon to come back to life.
Buffer died and i discovered i get better faster results by hand using a couple rags and meguir's diamond cut 2.0
p1609368_2.jpg


She just got back from hawaii for her sister's wedding, I tried to sneek a shot but she turned in time lol
p1609368_3.jpg


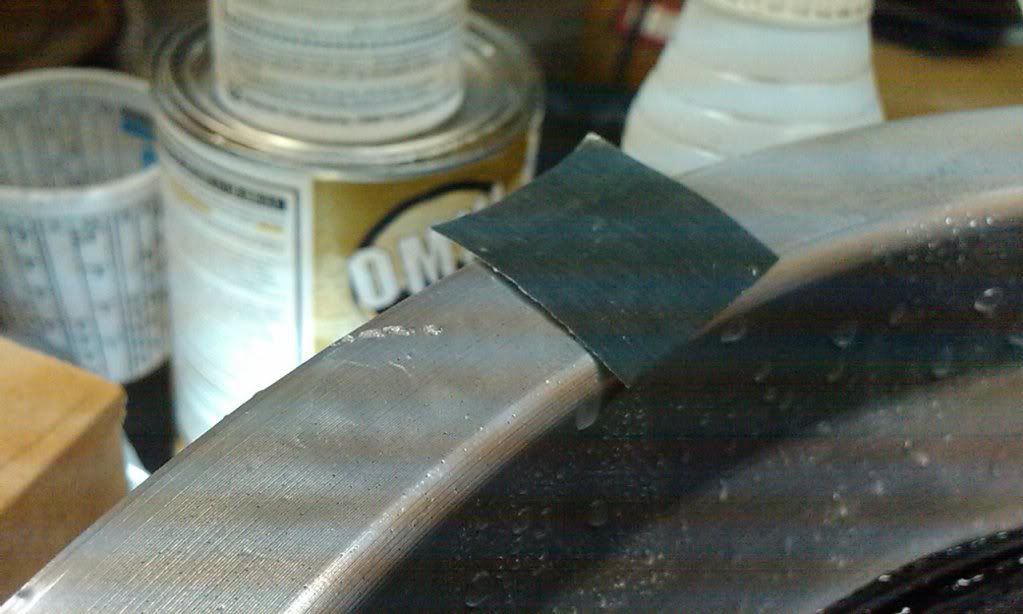
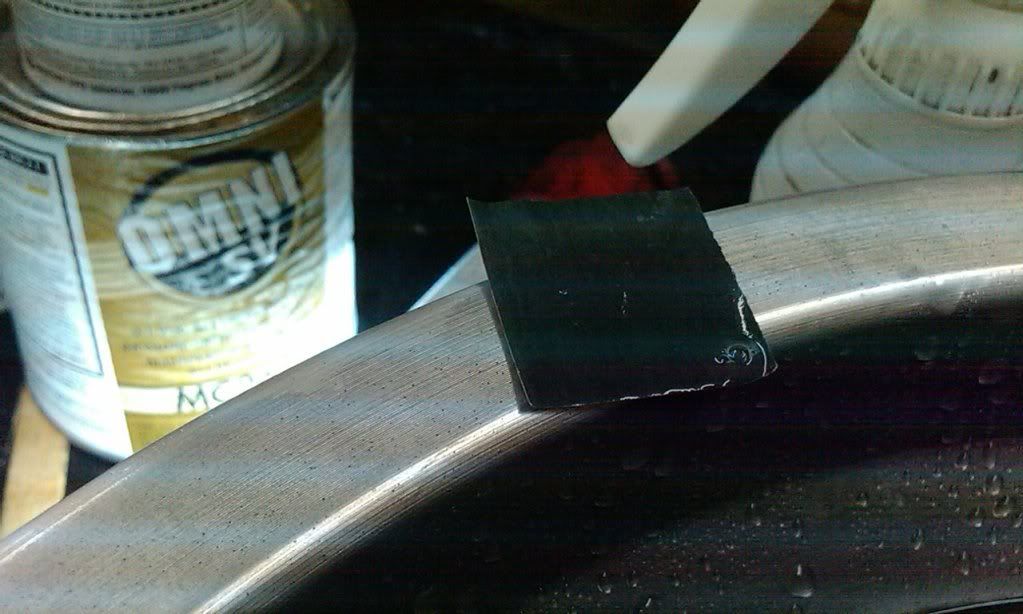
Process of refinishing a rim
It was fully stripped when i got it, I washed it again in hot soapy water, dried with lint free rag.
I painted it and it was so so, had some debris on the color so i wet sanded that before clearing.
With out good lighting, its hard to clear, I got some runs
p1609368_4.jpg

p1609368_5.jpg


I wet everything down in the garage and cleared and got a couple fish-eyes in the clear, wet sanded that.
You can see the flat ness of the clear from wet sanding. Also is the imperfect surface that clear can be too
p1609368_6.jpg


Washed again, wet the floor and knocked down the fallout dust with a spray bottle driven with compressed air,
and cleared again. I still have some fish eyes, but its really really good compared to the nasty first pic
p1609368_7.jpg


Someone photo shop their desires onto this :D
p1609368_8.jpg


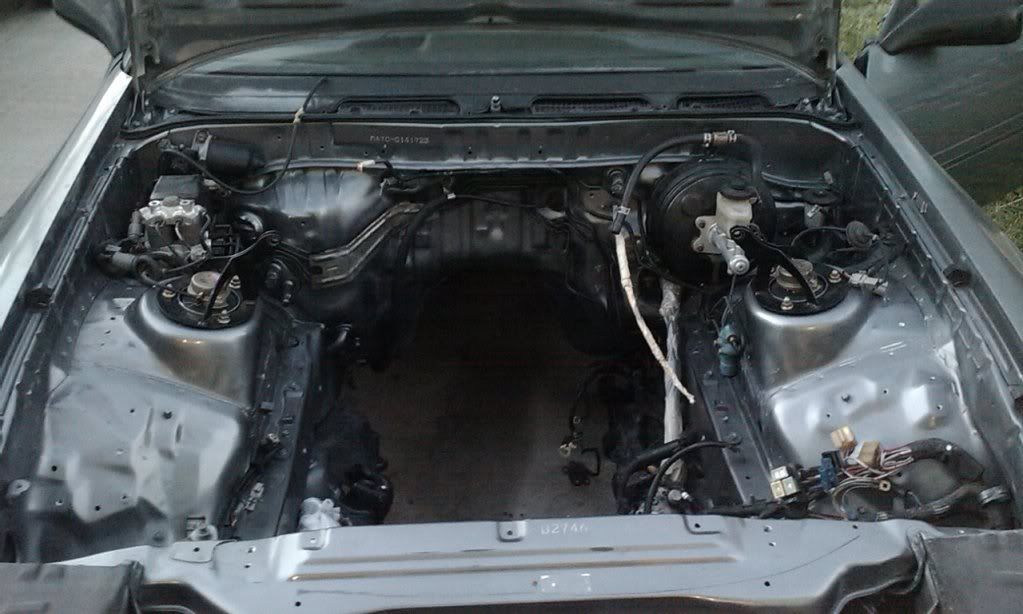
After many weeks of laggin, I finally made some progress after work today, the wiring harness mostly in place
p1609368_9.jpg


My girlfriend said i have 3 weeks til she starts doing the supra for me, she's been counting LOLz

Oh funny story, I own the 944 from above, since 07. Let a friend use it for a couple years to get him off crotch rockets (reckless). I told him if he takes care of it, its his.
Well it became more of a mechanic's special, and runs fine but just so, many characteristics to it.
Anyways, I took it back finally, and have been using it in place of my supra.
The other day i go to take off on an errand, from a stop light onto a busy road. Barely launch forward and the exhaust falls off.
Not just a hanger broke, but from the cat back, like that car was running away from parts of itself, PLOP!! in the middle of the intersection, how embarrassing lol
Shoulda seen the look on the old man's face behind me, with his glasses magnifying HUGE eyes of surprise :D

Then, I had to look at a side job couple hours away, 6am early in the morning. I was going over a long grade to enter a tunnel that foggy morning, doing about 70.
The tunnels are 2 lanes wide so the 4 lane highway narrowed. I dropped to 4th to get around a car and as i layed into the throttle again the car got REAL loud as the cat popped off.

Yeah, my friend didn't get any penetration when he welded the exhaust for the porsche, so that was the last straw of its lease.
I put my foot down and said "I'm making this a normal car again, end of story" :/ Now i have another project car, that runs :)

Monday I ordered a better header and 3" header back exhaust.

So now I'm balancing between full time work, side jobs, girlfriend and family time, keeping the porsche driveable, and getting the supra done, and fitting working out somewhere in the weekly time table.

Can't wait to have the supra done though, that is my true avenue to opening up my future in having reliable transportation thats is all mine, lets me find a different job, go to school, have that vacation time i've been turning down the last 3 years, and BOOST!!!
Brennan's STI pulled well even with 3 people... got boost?? :)
 

dubsupra209

CENCAL SUPRAS
Mar 6, 2009
1,810
0
36
35
Merced, CA
hey wats up bro..man you missed the meet get that beast running so we can go on some cruises..now that its getting colder my car runs way faster lol...
 

thedave925

Since 9/16/05
Nov 9, 2005
626
0
0
East Bay, Cali
Last night I began tearing into the build again to go over the unsure/undone details.

I had a suspicion the machine shop got lazy and didn't take the last .005" off the deck to account for the thicker than composite (1.37mm) HKS Stopper (2mm) headgasket.

They did deck the block a tad more, YAY!

Up front at the timing plate, there needs to be a blob of FIPG at the 2 block to plate intersection points.

The machine shop expressed concern about the pistons standing proud .015" before the most recent block shave. OEM is .02", so the additional .005" removed corrected the thicker gasket + lower than OEM piston protrusion at the same time.


Here you can see the difference at the ring lands of the Stopper gasket with its 86mm bore to the cylinder bored for 84mm pistons.

After considering the piston to wall clearance, there isn't a lot of "shelf" on the deck.
Thanks again BigAaron for your insistence to stick with this gasket!

I added the Canton 90* filter adapter (part # CAN-22595) in place of the previous permacool unit.
Turns out that its so bulky that down is the only real direction to face it.

I noticed the OEM n/a oil stud adapter wasn't quite a full 1/2" when i removed it, so it got drilled larger too. No pic though.
One thing to note about the Canton adapter's large banjo bolt, it only has two holes in its shank to pass oil through.
An old 2-stroke trick is to mark the direction the opening faces and match it with the opening of the spark plug so the electrode isn't in the way.
Same thing here, but to match up the banjo openings with that in the adapter to minimize oil restriction. That the purpose of the white marks

I finished up the night popping off the oil pan.

Today's plans are
-remove the front timing plate
-set the block deck down on some wood to remove the rear seal retainer
-plastigauge the rod and main bearings
-remove the crank and inspect/clean the oil passages
-install *Toyota* freeze plugs with a sealant that doesn't stay putty soft (another machinist shortfall :nono:)
-reassemble the build using Toyota gaskets at critical spots (EGR, exhaust). One should stick with OEM gaskets for dependability in the long run.

ToDos are:
-clearance the lipp elbow for wastegate flapper (I got a die grinder last month :icon_surp )
-Pretty much slip the long block into the ebay, since the bay's 90% dressed and waiting

I know I'm way picky about this build, its just the way I am.

Other fluff to fill in the busy week:

New exhaust system for the 944, headers back.
3" system, Borla xr-1 muffler, pretty juiced to hear what it sounds like.


New 3" vs OEM size


I multitask, prep and painting the new exhaust while working Supra stuff:


I had a horse lesson cuz I'm way beginner and my gf is a trainer :)
She makes sure the horses stay in shape, from have muscle tone to maintaining flexibility:


One horse was being "reined in" and reared up walking backwards into the gate of the round pen which then broke.
A repair thus ensued:


The 944 has a bad case of oxidation on its cheapo single stage paint some previous owner had done.
Its hard to take pride in something let go like that, so i started cutting the oxidation away with some meguire's diamond cut 2.0
The RO buffer wasn't yielding results so i busted ass and, by hand, made the hood and roof shiny:

You can see the tree and clouds above!


At the end of the day, everything get stowed away from dust and for safety purposes.
 
Last edited:

thedave925

Since 9/16/05
Nov 9, 2005
626
0
0
East Bay, Cali
You may have noticed i've learned about pic thumbnails; some day i will edit my previous pics to make loading this thread easier.

First, the car that I've been abusing the last month or so:


I've had a blast saving gas driving this one hard, though I've put in some cash between new header back exhaust, and new starter/brake master/slave master and line replacements.
That cash was for painting the supra, which now gets to wait more.

I did take this week off from work in these slow times to tool on the supra. Here are some pics of that:

I did pull the crank out to clear out the oil passages. Left the allens in the counterweights alone due to their being staked in place.


Checking out the bearings for #2 piston since its the one that was RKd


Freeze plugs changed to TOYOTA ones, not some brass no name. Even did the concave one behind the upper timing cover

Also seen is the Canton filter adapter facing down.
The white line is to index the large banjo bolt head (tho there is a small 'A' pointing towards an opening on the face of the bolt) so that I can maximize flow through the machined adapter and banjo.
Notice also, Permatex #1a (hard-setting) sealant was used on the freeze plugs as well as a good staking for each.
My shop uses 'Joe Gibbs' brand for a lot of things, but a soft setting sealant on my plugs isn't my desire

A sign of haste:

Not entirely pleased but I need my car...

As per Sumeet's (Zumtizzle) suggestion, I 'shimmed' the oil pick up about 5mm deeper into the pan with 3 washers.


The end of last night:


The end of today:


A late start today puts off a few things for later.

Tomorrow will be installing the air conditioning runs and condenser,remounting the accumulator, lining the long block with its harness, and installing the assembly.

Git'r Done!
 

thedave925

Since 9/16/05
Nov 9, 2005
626
0
0
East Bay, Cali
Extra notes:
ACL bearings, 6m crank, appears the shop got a different crank than have mine sent out for machining since the bearings say STD. Plastigauge at the mains and connecting rods revealed looser than .025 mm but tighter than .038, so the shop probably did do .030.
Thrust was damn minimal. It was after ten minutes fooling with it that I decided that the crank not moving (NOT 1 iota) that thrust movement was indeed nothing worth measuring with the feeler gauge set I have lol I'm sure I could have slid the slimmest 2 or 3 in there individually, but still...
 

thedave925

Since 9/16/05
Nov 9, 2005
626
0
0
East Bay, Cali
Today's update, before I resume into the night and vacate to the GF's house:

Yesterday was the A/C system. I've had this car since 05 and never really enjoyed the A/C, so i made a point of replacing all the o-rings with the green ones (lube them so they don't pinch with purpose made lube, or silicone at least)
Changed the dryer, straightened condenser fins, completed the system and set the hooked up compressor aside in the vacant space where the battery used to go (relocated to right rear years ago).

Then I went over the long block assembly to eliminate any amount of work I'd have to do in the bay after I dropped it.
-mount starter. My car never had the top starter bolt and nut installed, making changes easy, and have never had trouble with engagement either. Ring gear is really healthy, and I've got spare flywheels ;)
-mount modified harness (some fresher plugs, Shaeff's Knock-Sensor patch kit, modified back up light sensor lead with 2 prong trailer connector for easier tranny removal in future)
-mounted accessories
-Made SURE timing was perfect, from Absolute TDC to CPS exactly where it should be by installing with cover off. Still took 4 tries lol
-"Installed" large oil cooler, PS cooler, thermostat assembly. Really its so big I have to work to slide it into place, ensure nothing will rub wrong, done. Still need to fab lines to block, and for accusump run.

Had to stop early last night because suddenly my greasy-armed self was requested to fine dining with another couple, and I had 10 minutes to clean up :)
So today I picked up right where I left off.

Got a late start today. Took ~2 hrs by myself to get the long block into place.
2 hang ups- 1) The load leveler has a lever arm too long and I had to cut it for the angle, the chain was in the way.
2) Took about 20 minutes and 3 tries re-settling the block to fit both mounts which didn't want to go simultaneously.

From there, locating the right bolts for the tranny mount to chassis plate took about 10 minutes. Note to self, BAG AND LABEL next time...

Pics:

Pick up the back end to aid in sliding the tranny into its home. A load leveler is worth the money here


Engine in place. Hood latch installed for ease of mind.


Currently:


To Do Today:
-I've still got some connectors to fit and a bit of wiring to do for the alarm sensors
-Fit fuel banjo to low mount fitting, stop dripping my old fuel!
-Extend rubber fuel return line to by pass J-tube (already been drilled)
-Install Chevy fuel pump block off plate at the J-tube location YAY!
-Check fit of Accusump (2qt), mount if possible

Into the Future:
-reseal heater core,
-intermediate wiper wire lead located and reconnected
-extend leads for aftermarket gauges
-Finalize interior
-add fluids, prime turbo
-Break in

I still feel a week out at least from road worthiness.
One foot in front of the other, into the future I go, a Supra nearly done

-Dave
 

thedave925

Since 9/16/05
Nov 9, 2005
626
0
0
East Bay, Cali
last night i slipped the accusump into place after negotiating the wire harness and raising the front mount 1/4 inch.

today i finished up the oil system. had to make a compromise with the last bits: -8 stuff after the accusump epc solenoid setup; i miscalculated my aeroquip parts.

the belts, Oem fan and pwr rad went in.

power steering is in.

had to change a plug by the battery area: 89 and 90 harnesses are minutely different lol

more info + pics tomorrow, phone updates are hard to do

-dave
 

thedave925

Since 9/16/05
Nov 9, 2005
626
0
0
East Bay, Cali
Thanks supraguy for dropping in.

Again, I welcome constructive criticism, such as the IC piping with tons of clamps looks shoddy and will be fixed in time.

And question about details if I miss something.

Pics:

I mounted the IC.
The green box to the upper right of the IC is the Accusump EPC solenoid assembly.


I ran the accusump line through the space remaining in the body for one of the AC runs next to the radiator. A valve is in line to isolate the accusump for break in, and easier removal in the future.


Another shot of how tight this is. Exactly between the alternator bracket and AC compressor pressure fittings, 1/8" gap at each. The rear of the accusump is resting against the oem brake bias thing mounted to the shock tower.
Remember, I measured the place for the brackets while the motor was out of the car. I had to raise the front for a total of 3/4" above the rail. As it is there's no way to have it mounted before dropping the engine in.
A 3 qt accusump would fit if one didn't have the ac condenser installed and slipped it in through the rad support, and having the front of the unit end up much closer to the rad. Beyond that, a different location is required.


A shot of the steering system installed, radiator and fan (the shroud starts out mounted to the rad, fan and clutch sitting inside, slide rad onto mounts and then slide fan onto water pump), and the oil filter adapter just in sight.

^ I slotted the fan shroud couple years ago after the amazing fan suction ate the old shroud

And yesterday I depinned a connector from my old engine harness to put on the new(er) '90 one, which took about 30 minutes there.
I had to repair the alternator round plug as well, trimming the line back and reinstalling its disconnects back on healthy wiring. Trying to undo the oem disconnects (thats what they are once slipped out of the connector) proved a no go and I didnt have any female disconnects that happily modified to stay in the connector like oem. Needless to say, I clipped away and soldered and reassembled it all a frustrating 1.5hrs later lol

I've still got a huge list of unlisted ToDos (mostly wiring), but its getting better.

-Dave
 

thedave925

Since 9/16/05
Nov 9, 2005
626
0
0
East Bay, Cali
Thanks for dropping in SURUKO, it really is a lot of fun having a dream come to fruition!!
Suprastroker88 came out a couple hours to help, you should see it now that the 3000 pipe is on top, it really is a center piece lol

Today was attacking some of the wiring.
First thing was feeding the engine harness through the firewall, and everyone knows how difficult the rubber grommet can be when re fitting it.

Some of the clamps off the IC had to be rotated since they were hitting the bumper; adding the larger oil cooler and assembly caused the IC to hang out more.

My battery has been relocated a couple years. I spent time redoing the wiring up to the alternator, cleaning it up and adding a 120 amp audio ANL fuse. The battery has its own circuit breaker at its end, 140 amp.

I finished the bay harness connections to the driver kick panel area, a whole lot of fun. Thank goodness the seat unbolts or I'd be swearing like a drunk sailor short on money at a titty bar.

My big hurdle today was reestablishing enough connections to get the alarm up; its how i open my shaved door-handle goodness :D

And I told my GF that I wasn't happy until I got as far as I am tonight, so now I get to show up with a big smile and hopefully make up for making her wait, as I am Always late lol

With that, I am out, good night folks!
-Dave
 

Supraspeedu4u

GT42 On The Prowl
Sep 17, 2010
4
0
0
Glendale
Curious "thedave", what shop did you go with to get your boring, decking, and valve train done? They charged you 2,400 for the head and block correct? Otherwise that labor price seems hella steep. Ps where in Cali are you located. I like the work you've put into your car and it looks like it was done correct with excellent attention to detail.
 

thedave925

Since 9/16/05
Nov 9, 2005
626
0
0
East Bay, Cali
Suruko-
There will be more pics, I have an eyesore (part) that needs paint badly, then I'll have a 98% completed engine bay shot.
Some wire loom, modifying the extra bracket off the PS reservoir, replacing some vacuum hoses, not much more to the engine bay.

Supraspeed-
The deal with the shop was a rotating assembly (block and head sandwiched) for 2200, 1 yr labor warranty. The extra bit was for porting the head some, new valve seats, cut for OS valves, 3 angles done, hand lapped, new stems installed, shimming for new cams... I got a deal on head work.
Just decking the block is 75. Just decking the head is 100. Block decked, bored, hot tanked, painted, for 400, with freeze plugs, pistons and bearings installed too is 600.
Lets call them fair for this area. The SF bay area in general can be expensive.
I went to Lloyds Engineering, good ppl. I get flywheels resurfaced for $45, and I've personally turned my own rotors for free since I'm there a lot.
These prices aren't exact but a rough estimate, aside from the numbers for head and block resurfacing.

I hear the machine shop to go to locally (antioch brentwood oakley knightsen byron) for foreign and extreme high performance engines is Rebello Racing from Antioch.
That is based off the block guy at Lloyds using Rebello as an info base for charged engines... both owners have breakfast together every morning ;)

-Dave
 
Last edited:

thedave925

Since 9/16/05
Nov 9, 2005
626
0
0
East Bay, Cali
Yesterday and last night was radical, meaning lots of good, some bad, some scary.

Went to help Suprastroker88 with moving.
E250 has lots of space:

Complete drive train, engine stand, cherry picker, all his tools, my tool box, misc parts from his old car, studio speakers, clothes ETC

We met a dude for a car Suprastroker88 is licking his chops over, a couple hours away.
We took the porsche for good gas mileage.
I'm glad I went, Suprastroker88 really found a deal!!
Lots of parts, clean car, gonna be his next supra hopefully.
Dude lives down a Windy windy windy (very windy) mountain road.
We were following a motorcycle up hill, that didn't want to do faster than 45 in the straights, thats how tight this road was.
Fun driving the porsche all the way.
Until the return trip.
Sadly, a rear drive hub stripped out shortly after we left dude's house.
All was down hill coasting with no throttle/engine breaking for 20 min, doing what the tires would hold round corners lol
And we hit the high way managing somehow to limp the car along at 60mph for 1.5 hrs, praying the car would get up each hill on the hwy LOL
20 min from home came major hills, had to call a friend for a ride.
Got ride to my E250, grabbed a tow rope, retrieved porsche, ordeal over.
Porsche had weak tow hooks, so I wrapped around the subframe and engine mount lol Leaving ~4ft of slack between van and porsche.
Thats when I was scared lol Doin 40mph down hill, "tailgating" that close is nerve wracking.
Lots of focus, my one goal became making sure the rope didn't have slack, but wasn't tight. My eyes didn't leave that rope the 30min home, up hill or down, stopping or going, left or right turns.
My night ended at 130, dropped off Suprastroker88 at his house, got to my girls, cleaned up and asleep by 3.

Got up at 830, ate bfast, did dishes at her house, went to my supra, started some online research, did some supra work.

Morning pic:

Not much to do in the engine bay now.

Pulled dashed to search for 1 wire (wiper's intermediate speed wire), run wires for aftermarket gauges, and see why heater core leaks.


Age of heater core:

I made a thread on this couple years back... its a napa core, for around $75, and the flanges for the oem tubes were shit and had to be reformed for use. I thought this is why I had a leak.

This time areound I figured out that removing the heater core takes removing the AC box first. Undoing its low and high pressure lines in the ebay is required.
Last time, I left it and just pulled the heater core box out forcefully lol
Look at the gunk on the AC exchanger!!


This is the AC box and a pic of the expansion valves together. I got a TOYOTA one because the online pics of stuff from napa and kragen/oreilly's looked crappy.
There are 2 brass screws holding the valve together apparently.
My goal is to replace all 4 o-rings, and the valve.


And the heater core.
Its quality is SHIT, surprising from napa. Quality is WHY i picked napa... shoulda went OEM.
Bad core:

End tank:


So i went to Oreillys and ordered a core, due monday, because "lifetime warranty". We'll see. And this time I'm soldering the tubes to it instead of trusting o-rings and clips like oem...

Time to check out a side job for parts count and do it tomorrow, peace
-Dave
 

thedave925

Since 9/16/05
Nov 9, 2005
626
0
0
East Bay, Cali
Pics tomorrow.
Accomplished today:
2 hrs of job related work
painted the eyesore, tapped and installed (wastegate reference line comes off it for now, boost solenoid intermediate later)
ghetto rigged 4" turbo intake to use AFM for break in. had fun and fiddled longer to put filter in bumper area :D
received and fiddled with heater core, made it comply to its new home. details with pic tomorrow
removed and cleaned the ac core, have yet to pull Temp Xchange Valve apart for o-rings
manufactured new mirror glass for my work van, some kids broke my driver couple weeks back
 

thedave925

Since 9/16/05
Nov 9, 2005
626
0
0
East Bay, Cali
Motivational:


AC box. Temp sensor shoved in fins, drain at bottom left, hi/lo fittings sticking out

NOTICE, I taped the fittings to keep dust out of the heat exchanger.
A CLEAN ENVIRONMENT IS IMPORTANT FOR TROUBLE FREE OPERATION OF THE AC IN THE FUTURE

Flat head used to removed clips. 4 philips remain on the underside of the perimeter lip


5mm Allen, large break bar for easing torque into "breaking" the grip the allens have, oring kit, red loctite for reassembly. Silicone lube recommended to prevent pinched o-rings

The allens were tight, and things worked apart with ease after loosening


TXV number change, not sure why, maybe someone (Jeff Lange for instance) can tell me the age of the 6p10 unit (older is on left)


Green Neoprene O-ring Kit, ~$20 @ Napa

Seems to have enough for 2.5-3 a/c refit jobs

And for the heater core:

The old napa unit is manufactured by the same company as the O'reilly unit


I had decided to solder the o-ring joint this time around for my own ease of mind.

CLEAN your fittings or solder won't flow into your fittings.
Sand paper removes oxidation well.
Your not polishing it, just remove the oxidation, sand paper scratches are a good thing and help with adhesion of the solder.

Its hard to see to see the thin layer of flux applied to the surfaces.
Notice the heater core fitting, top of it has some extra flux I didn't smooth over with the flux brush.
Flux is necessary to remove oxidation that occurs as the surface heats up.
Not too much though, where ever it runs makes the path for solder to travel.
A layer like mildly buttering toast; its there but you can still see the pores/surface below.
When fitting joints together, do it with a slight twist to clock it into location facing the direction you need.
The twist prevents channeling the flux and leaving your metal surface bare (aka scoring). Bare metal doesn't bond when soldering (oxidation).

BEFORE you solder, check fitment.
Here, I find out the old core was shorter:


Check that everything fits well enough, mark fittings for direction/which way up.
Mock it up like its going to be fully installed, this it the time for adjustments.

Notice, the right clip clamp wasn't installed. I ended up beating down the fitting on the heater core to get the clip location lower into the clamp area.

Mocked up again, See that I had to spread the right clamp location in order for the tube to fit and thus have the core fully installed.
THIS is how I will solder it together.


VERY CAREFULLY I pull the core out of the box and solder it.
Heat the fittings and not the gap or solder itself.
Tighter clearances are easier to solder.


Larger gaps requires lots of patience, low intermittent heating, and lots of flux to keep the metal from over heating/wipe away the flux that burns


Wipe away remaining flux or it will turn green and in many years produce a whole. Flux is a weak acid.

INSPECT YOUR WORK.
Gaps and pin holes are not allowed.
If you have to go over them, do so.
Rough up the surface with a wire brush, apply flux, use very low heat to keep the work localized.
Just enough heat to get a blob of solder onto your surface, and sweep the torch back and forth on the joint to get your new ball of solder into place without running the rest of the previous solder.

I happened to notice a stress crack from when I had to bend the core fitting down for good fitment at the right clamp.
Brushed, fluxed, heated the metal and not the crack, applied solder at just enough heat for melting.


The finished job:


The soldering directions apply to most anything you can solder.
3 basic rules:
1) Clean
2) DRY, a drop of water will 'steal' heat very fast, water in copper pipe should be 6" away or it'll be forever before it gets hot, scorching your flux in the meantime.
3) Just enough heat. Too much will anneal your metal, too little won't do the job.

Unsweating joints is the same rules too, with a bit more heat.
Use pliers to help separate the work, with a rag hands to wipe away old solder while its still hot.

Okay, and last about the heater core, prevent pirate air flow going around the core with foam weatherstripping.
Don't cover the portion of the bottom end tank that sits on another sensor.

Yesterday was refitting the HVAC boxes, wrestling the firewall rubber grommets back into place, and staring at my wiring mess created by my amateur alarm install years back.

Today will be finishing up the wiring detail for gauge runs, extensions, and any other details that distract me.

Friday should be the day I finish details before fluids.
 

thedave925

Since 9/16/05
Nov 9, 2005
626
0
0
East Bay, Cali
Okay, the last few days have been full of work, running around helping others, and tearing apart everything I own looking for my alarm installation manual.
Its given me a chance to organize/discard all my paper work and consolidate most things supra related.

I did get a small side project done: restoring the windshield squirters. One snapped and the tee disappeared. Fixed and checked off the list.

The missing alarm manual was located at 7pm and I spent the next 2hrs verifying my hairball of wires between the current alarm, previous alarm, and a 90 TSRM. Those pullout sheets make locating items very fast.

Also tonight, I improved the factory alarm ground and reestablished the intermediate wiper power wire, hopefully I have more than off low and high this winter.

Tomorrow will be running the aftermarket gauge runs I keep talking about (oil pressure, boost, oil temp, egt, WB02) and in goes the dash.
There is still a number of small details to attend to
-finding a way to have cruise control again since the PO installed a MoMo steering wheel (car is 89, had wheel buttons)
-throttle linkages
-PCV runs
-driver headlight harness
-Bumper support bolts
-the inner fender splash guards
etc.

Tired, early to bed makes early to rise, and I want a lot of progress tomorrow!!