Sawbladz build. Lots of pics...possibly some progress.

Sawbladz

Supramania Contributor
Mar 14, 2006
1,727
0
0
Oshawa, ON, CA
Ya, I try to keep this thread up to date. I like to think there are some people following it and don't want to disappoint. lol

I am just waiting for a few of the bigger items to show up and then I will have some cooler pictures to look at.
 

Sawbladz

Supramania Contributor
Mar 14, 2006
1,727
0
0
Oshawa, ON, CA
Progress!

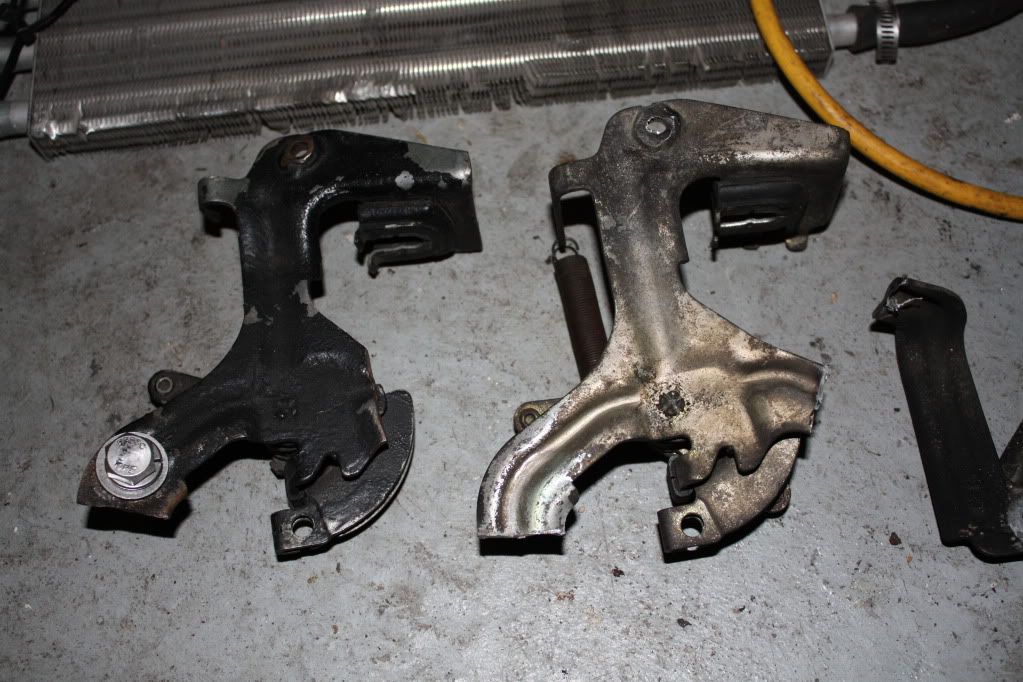
Got sick of homework so went into the garage and picked a project. My new engine setup came with a modified stock throttle linkage that did not have the cruise control provisions. So 20 minutes with a grinder and I have a replacement with all things necessary for cruise control. All I need is a big drill bit to put a mounting hole in it like the other one had. I might do that or think about it some more and mount it better. It worked like this for 3 years without issue though so kinda hard to argue with results.

p1439707_1.jpg

p1439707_2.jpg


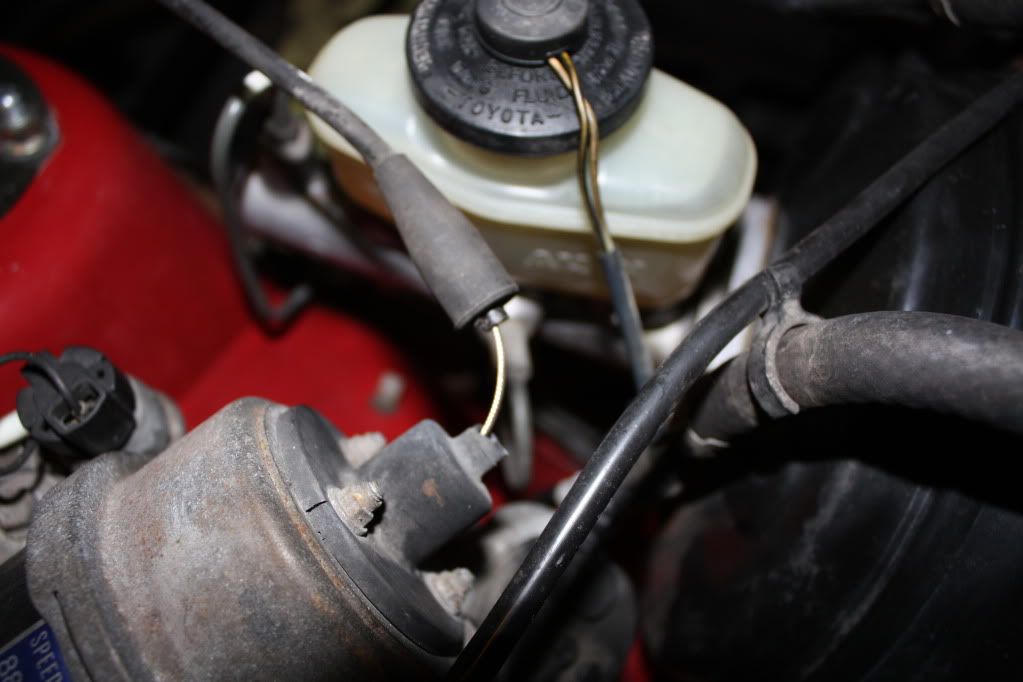
I managed to break this when I was moving stuff about in the engine bay. I'm usually quite careful when removing parts from the bay so this frustrates me a lot. So much pain in the ass to have cruise control. New steering wheel, mew throttle linkage, and now a new actuator. Will be worth it though.

p1439707_3.jpg


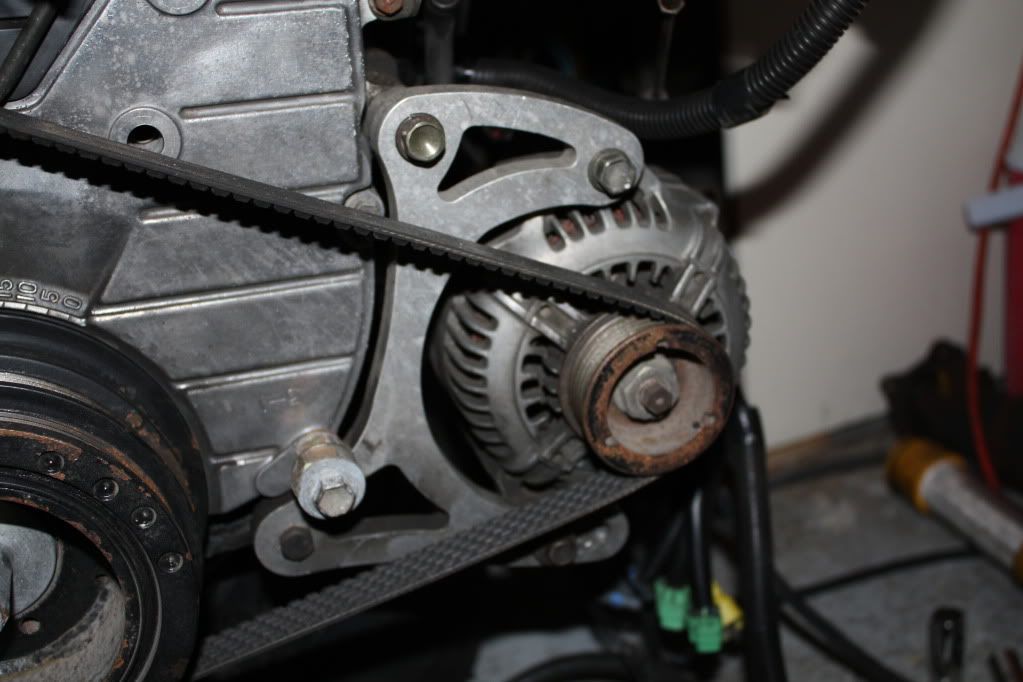
And this is my alternator relocation bracket that deletes any chance of AC. lol. Oh well, it hadn't worked in the last 4 years and I had no plans in fixing it any time soon. Doesn't matter anyways cause its snowy up here year round so our igloos don't melt. ;)

p1439707_4.jpg
 

Sawbladz

Supramania Contributor
Mar 14, 2006
1,727
0
0
Oshawa, ON, CA
Progress!

This time with pretty pictures. lol

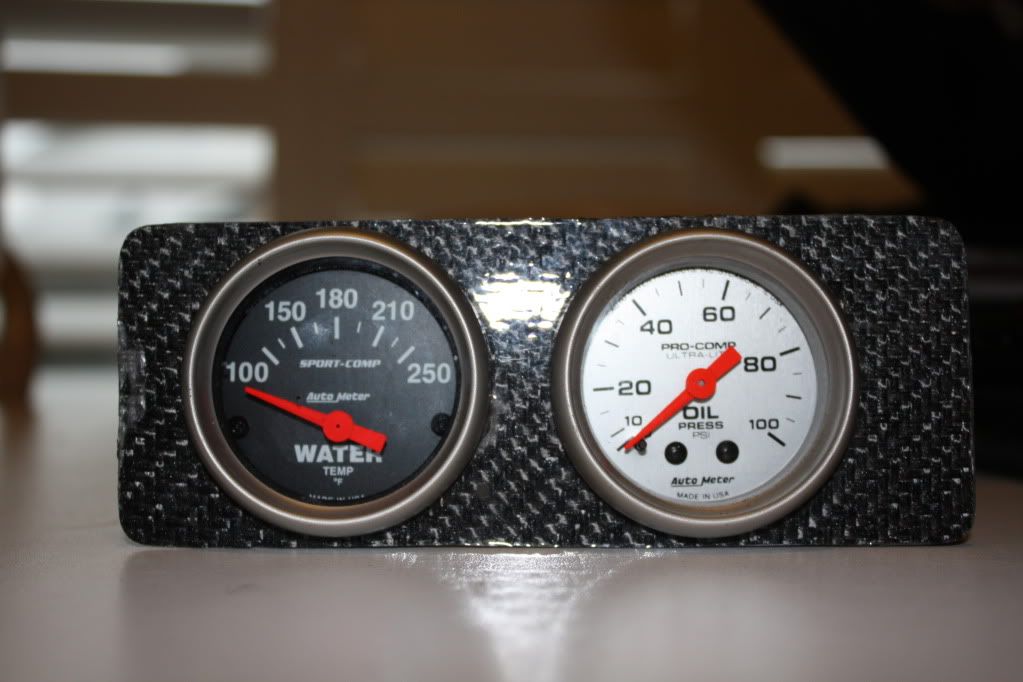
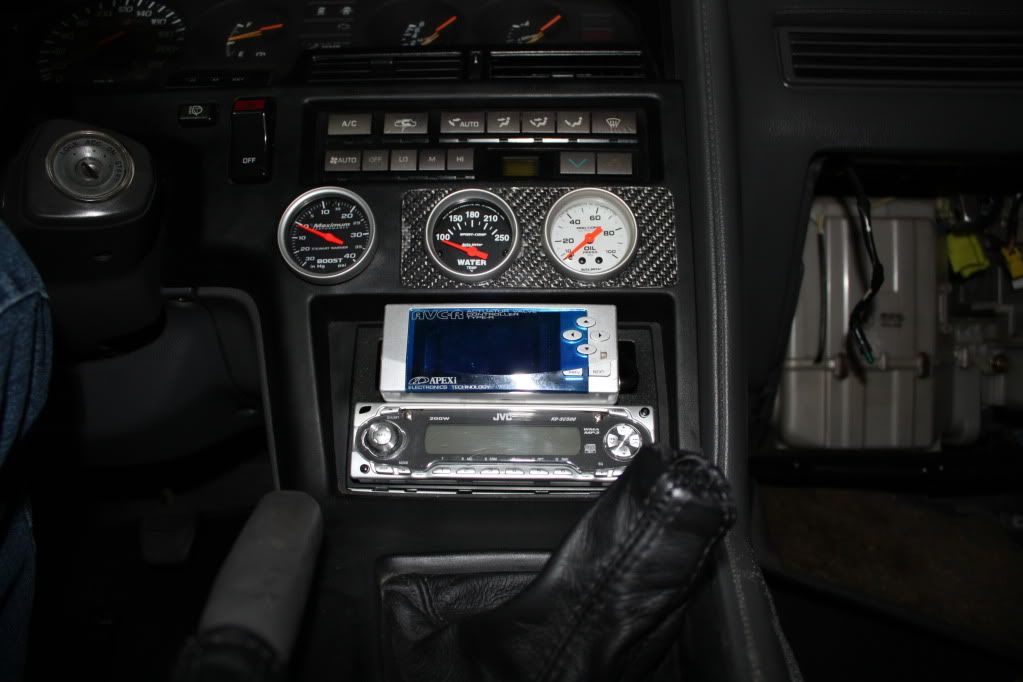
I spent about 2 hours last night thinking about gauge placement and how much I dislike how every single one of my gauges is different. Since I am not rich I have decided to use the ones I have instead of replacing them to make them match.

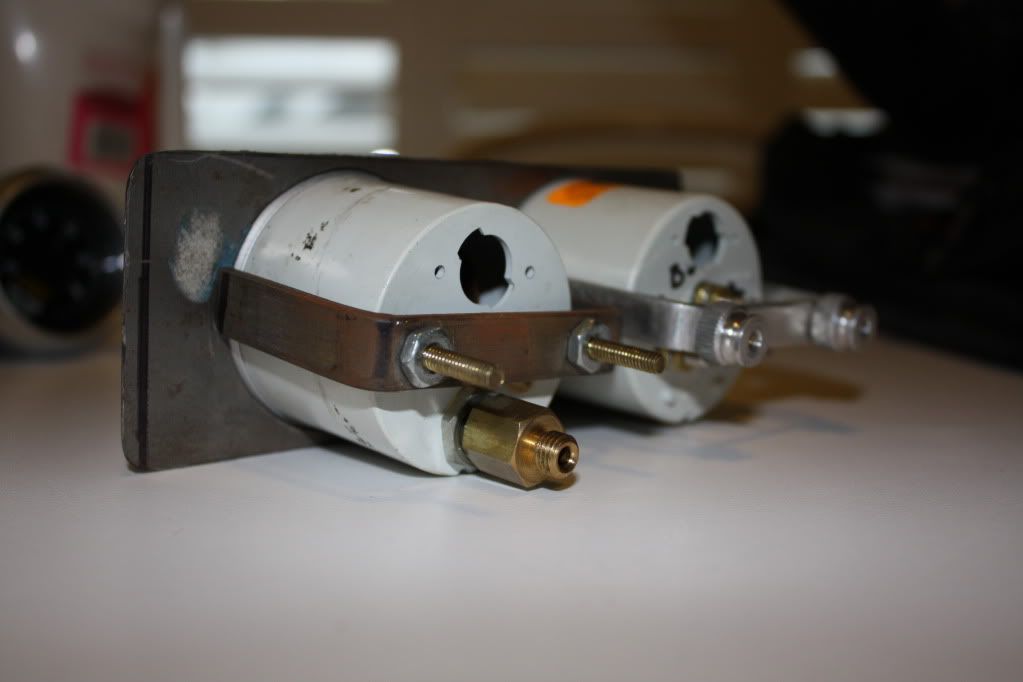
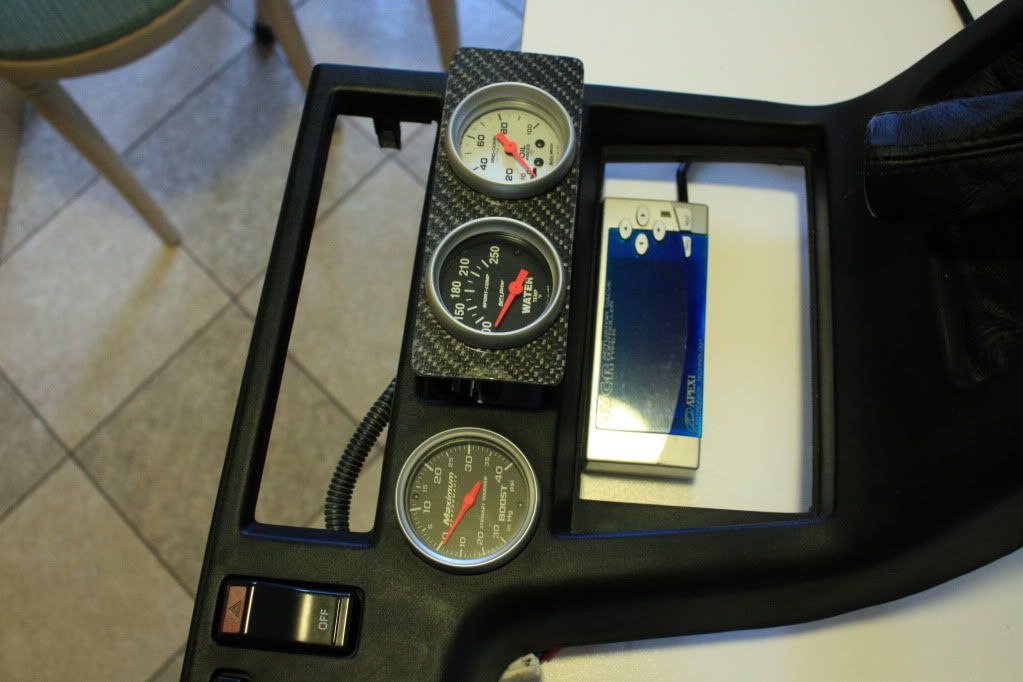
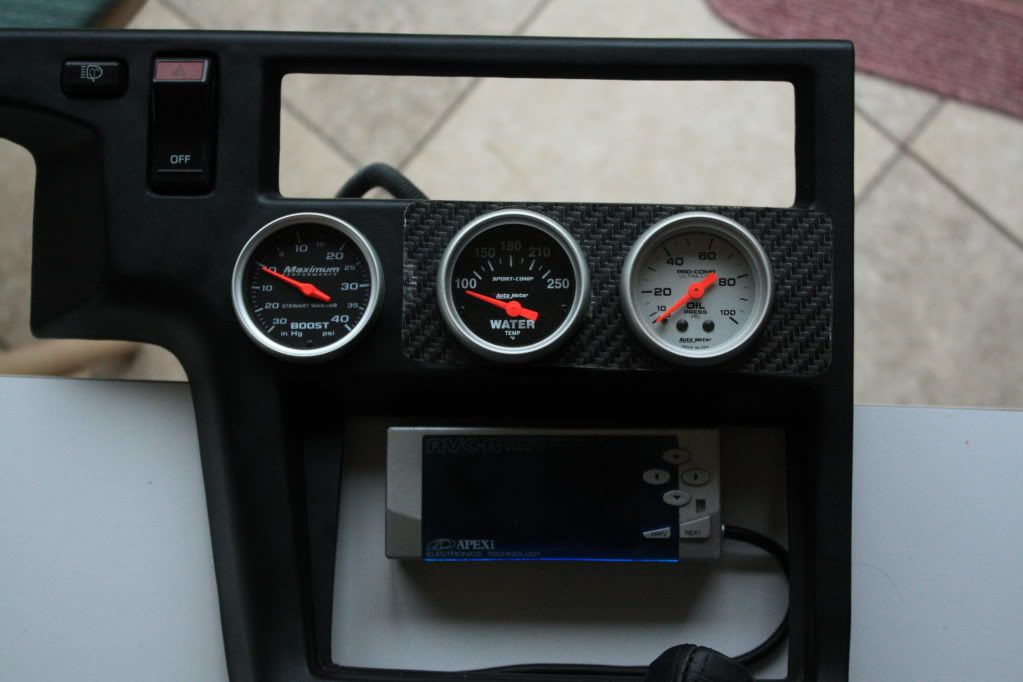
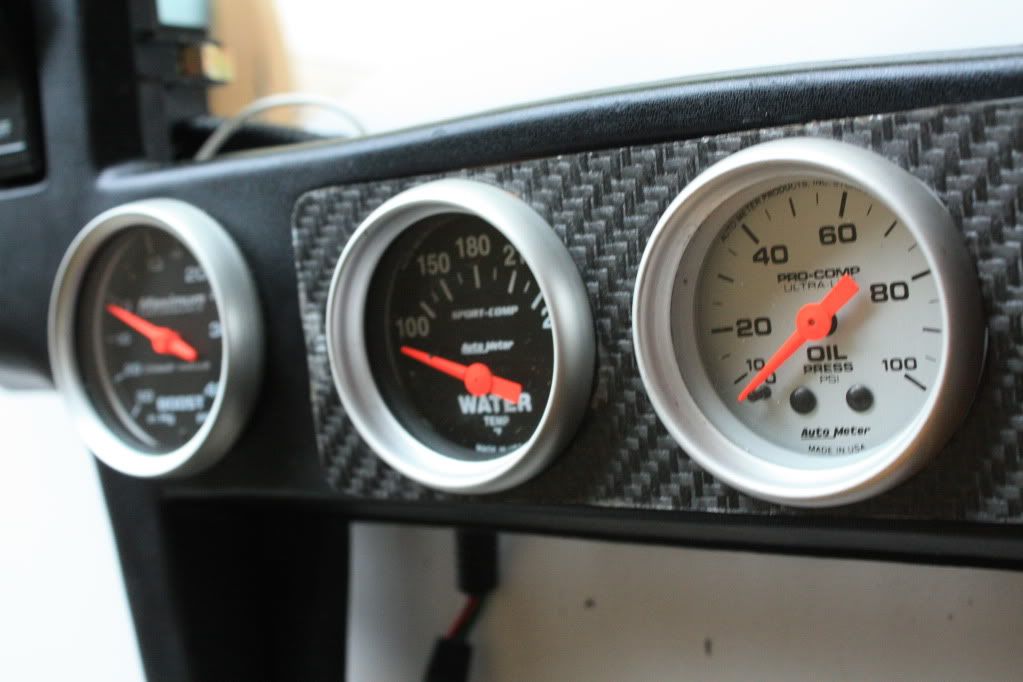
This is the bezel I made from stainless steel overlaid with carbon fiber. The sheet meal already had the carbon fiber on it...not my choice. Turned out ok. Now just need to cut the back out and secure the bezel in place. I wanted the gauges sunk into the pocket but the faces are too big. Even with the 52mm gauges. :( This will have to do.

Measured the opening and cut the panel to be ~5 mm bigger in every dimension.
p1440175_1.jpg

Steel backed.
p1440175_2.jpg

Mocked up seeing how it would look.
p1440175_3.jpg

p1440175_4.jpg

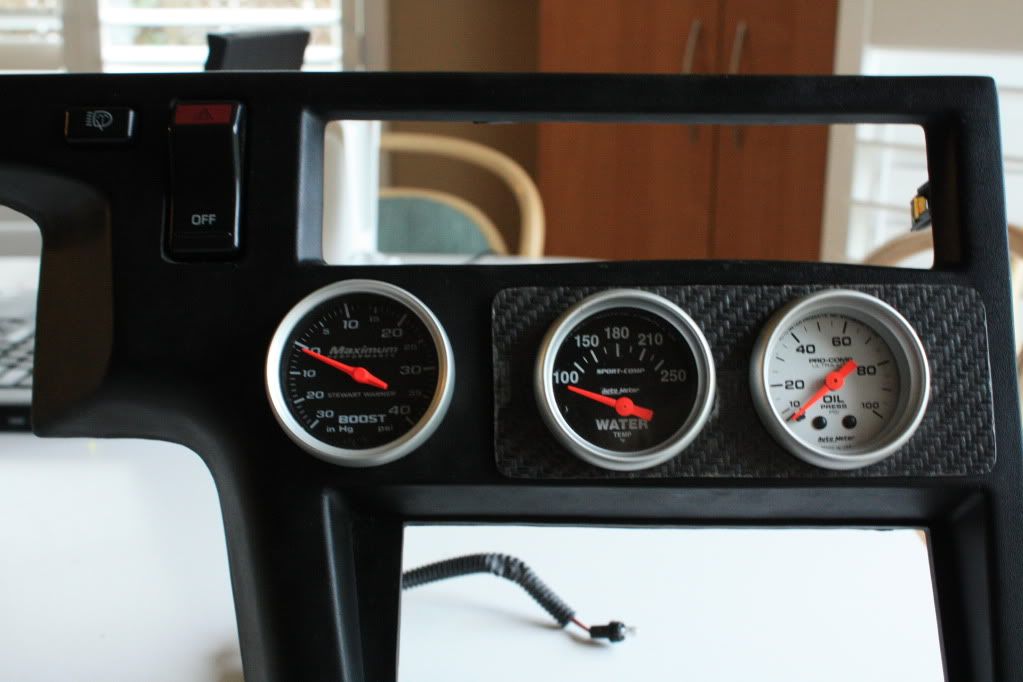
Almost finished. Just needed a trim to make them fit flush without distorting the stereo surround into the climate control space. I have since trimmed it and it fits perfectly.
p1440175_5.jpg

p1440175_6.jpg


Now all that's left is to mount the AEM wideband gauge and I'd like to add a pyrometer. When I do I think I will buy the pyrometer to match the oil pressure and move the water temp to the pillar pod with the wideband. Or I suck it up and buy a new oil pressure gauge so they all match. I have looked and can't find anywhere that you can buy just the gauge faces.

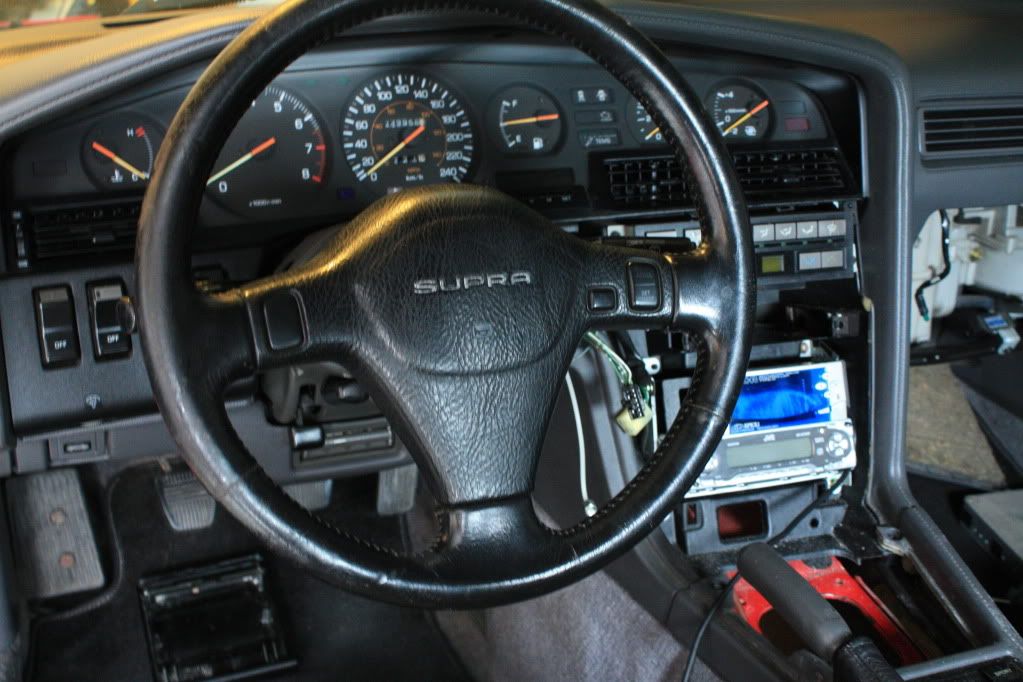
I also picked the spot for my boost controller. I wish it was the black one but this will work. This might also be the first time I have shown my new steering wheel. It fits the direction I want to take the car in. More classy, less teenager.
p1440175_7.jpg

p1440175_8.jpg
 
Last edited:

Sawbladz

Supramania Contributor
Mar 14, 2006
1,727
0
0
Oshawa, ON, CA
Progress!

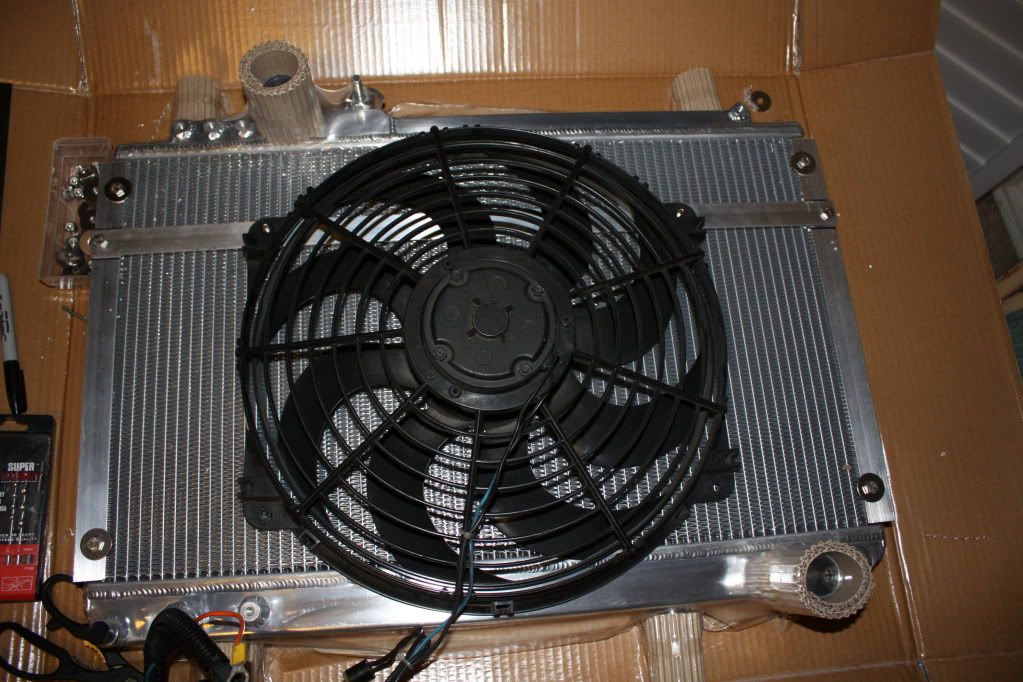
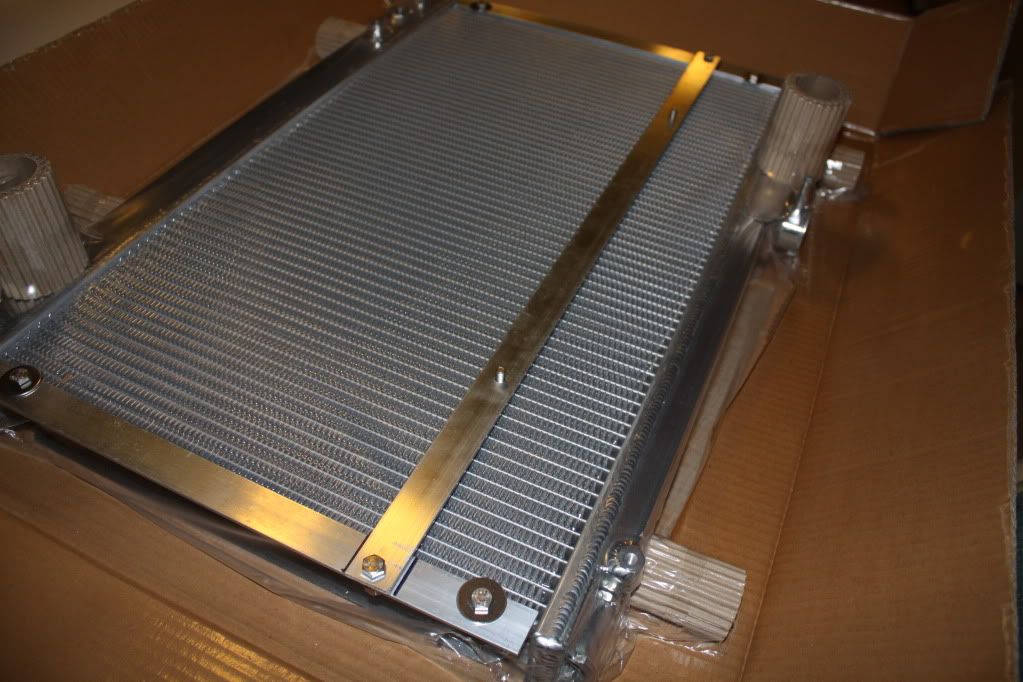
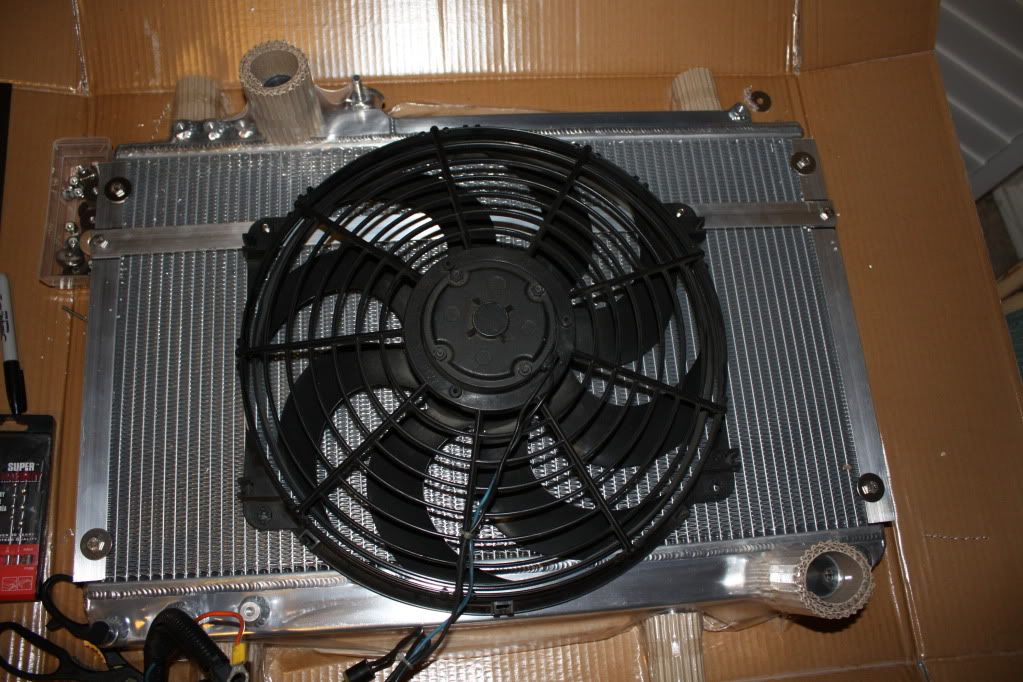
Got my fan mount almost complete. However, I think I may change the bar that attaches to the fan to stainless steel and weld the bolts on to make them studs. This would make it cleaner and then I could grind the backside flat so there is no chance of hurting the rad. So far I like the way it looks. Would be nicer if it were all welded up but I don't have a welder and have never welded aluminum. All stainless fasteners and nylock nuts.

p1440881_1.jpg

p1440881_2.jpg
 

MKIIISupraGuy

New Member
Sep 14, 2009
639
0
0
Lousy-ana
nice work man! Just my taste, but I would surround all three of those gauges with the carbon fiber treatment..instead of the 2. It would look more uniform imo.
 

Another MkIII

Member
Feb 22, 2009
697
0
16
Chicago
Sawbladz;1440881 said:
Progress!

Got my fan mount almost complete. However, I think I may change the bar that attaches to the fan to stainless steel and weld the bolts on to make them studs. This would make it cleaner and then I could grind the backside flat so there is no chance of hurting the rad. So far I like the way it looks. Would be nicer if it were all welded up but I don't have a welder and have never welded aluminum. All stainless fasteners and nylock nuts.

p1440933_1.jpg

p1440933_2.jpg
This is the only thing I do not like about your build. Personally, I would go with this because the shroud allows it to pull air across the rad more evenly, rather than across one spot, causing potential hot-spots, which can lead to cracking. I know its a lot of money, but its a good investment. I'm switching to that setup next year. Other than that, keep up the good work, can't wait til it runs.
-AM3
 

SupaMan

Want The Boooooossttttttt
Oct 12, 2006
1,101
0
0
Cape Coral,Florida
Its comin together very nicely!! can you take a picture of your dash like a/c down to the shifter? ive never thought of putting the pocket above the headunit does it cause any problems with the shifter?
 

Sawbladz

Supramania Contributor
Mar 14, 2006
1,727
0
0
Oshawa, ON, CA
Interesting. Never thought that not having a shroud would cause cracking in the rad. Could I not just make my own shroud out of a piece of stainless? I assume that I would have to stand the sheet off from the backside a bit. I could replace the side mount which are now flat bar and put in some small box tubing. This would give me 3/4 of an inch space between the rad and shoud/fan. Then I could connect them top and bottom to make a sort of box structure. I think this will work. Thanks for the feedback guys. That's why I have this thread.

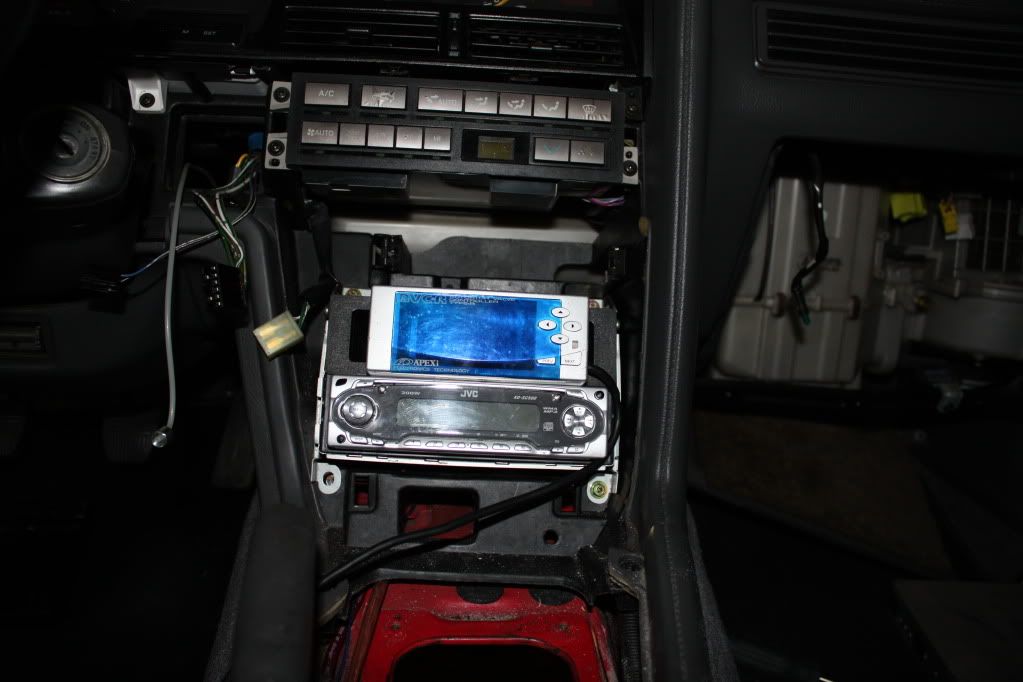
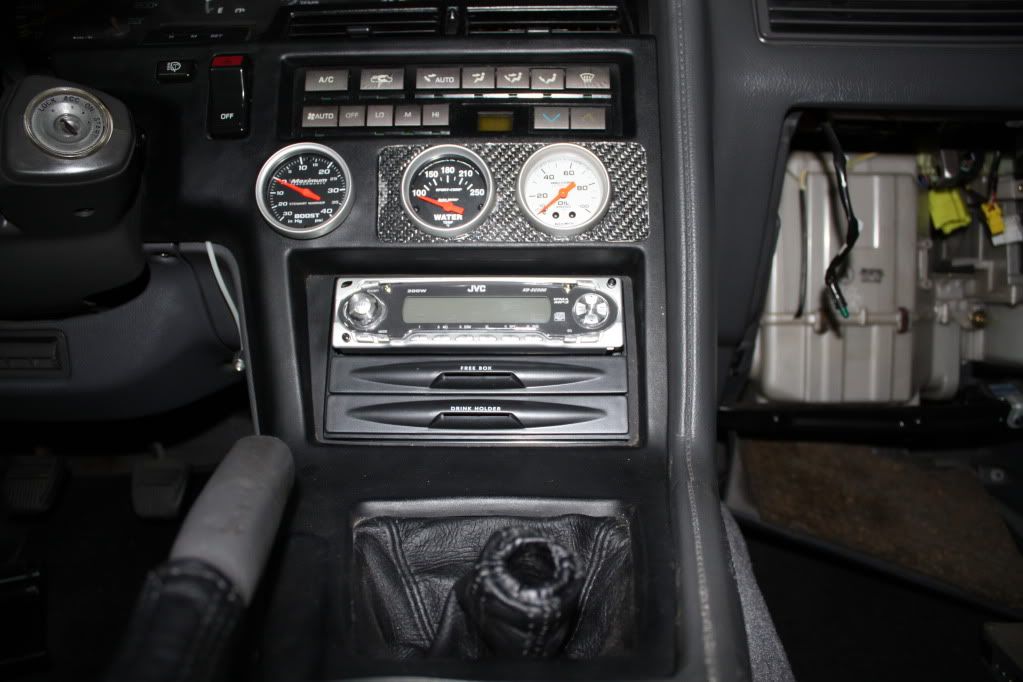
Supaman: Here's a pic. I have never had an issue with it being here but I am about to move it up to mount my single din cup holder. The AVC-R will be going on top of the steering column.

p1441165_1.jpg
 

Sawbladz

Supramania Contributor
Mar 14, 2006
1,727
0
0
Oshawa, ON, CA
Thanks man. Should be nice when it's all complete.

So I have been ordering parts again because I am getting frustrated with my fan shroud. Not having any fab equipment makes doing anything expensive and a pain in the ass.

So right now I am considering purchasing RonnieK's yellow poly subframe bushings. Front and rear. I figure I am so close to having the subframes on the ground that I might as well get this project done. I will also be able to inspect the subframes more closely and perhaps paint them up all pretty. Fuck this build is getting invasive. I see how this process works now. "If I's already here, I might as well..." 5 years later and the car is in boxes on a shelf waiting for the fenders to get back from powder coating. LOL

I am hoping someone watching this thread can give me some insight into changing the front bushings. I haven't even considered doing this until 10 min ago and I'm not sure how this works. The rear seems straight forward and I have seen pictures of that subframe out on the ground. Any tips for the front?

I really hope I don't regret this choice. I don't want my car to ride like shit. I hope the yellows meet my needs.
 

Sawbladz

Supramania Contributor
Mar 14, 2006
1,727
0
0
Oshawa, ON, CA
Some parts showed up today. Still have a few more things in the mail. I HATE UPS!

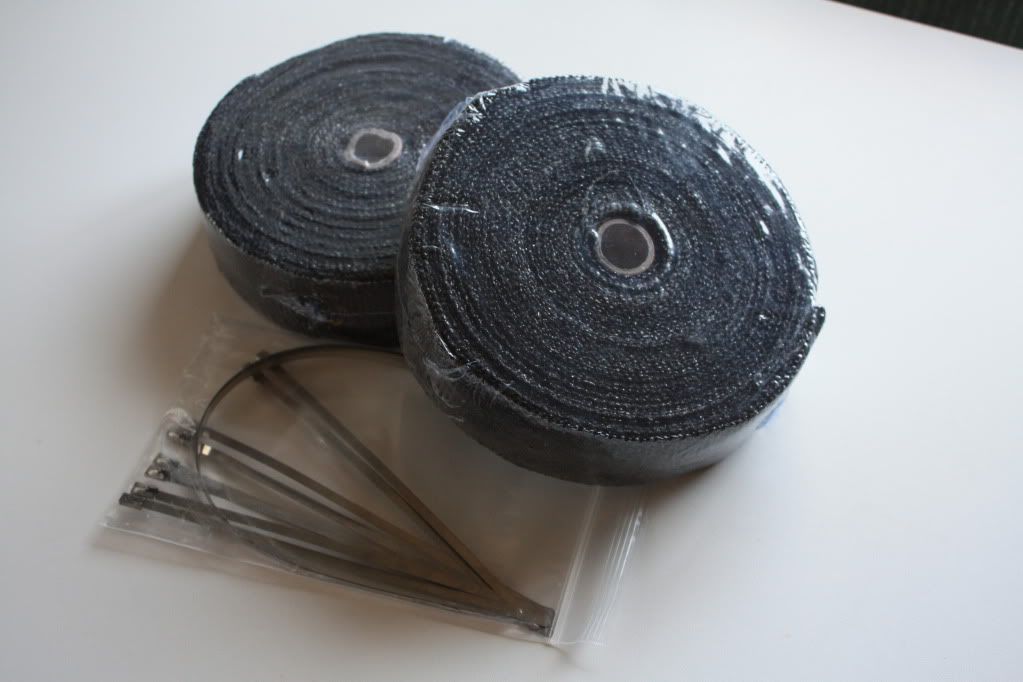
100 feet of exhaust wrap. Plan on doing my manifold, and double wrapping my downpipe/wastegate dump. I want my engine bay as cool as possible. If this isn't enough the manifold will be ceramic coated when the forged engine goes in.
p1446925_1.jpg


Cup holder I plan to make work in the car...somehow. It's for the din slot with the stereo. Looks like it will be pretty tight to make work. I dunno. I hope it works.
p1446925_2.jpg


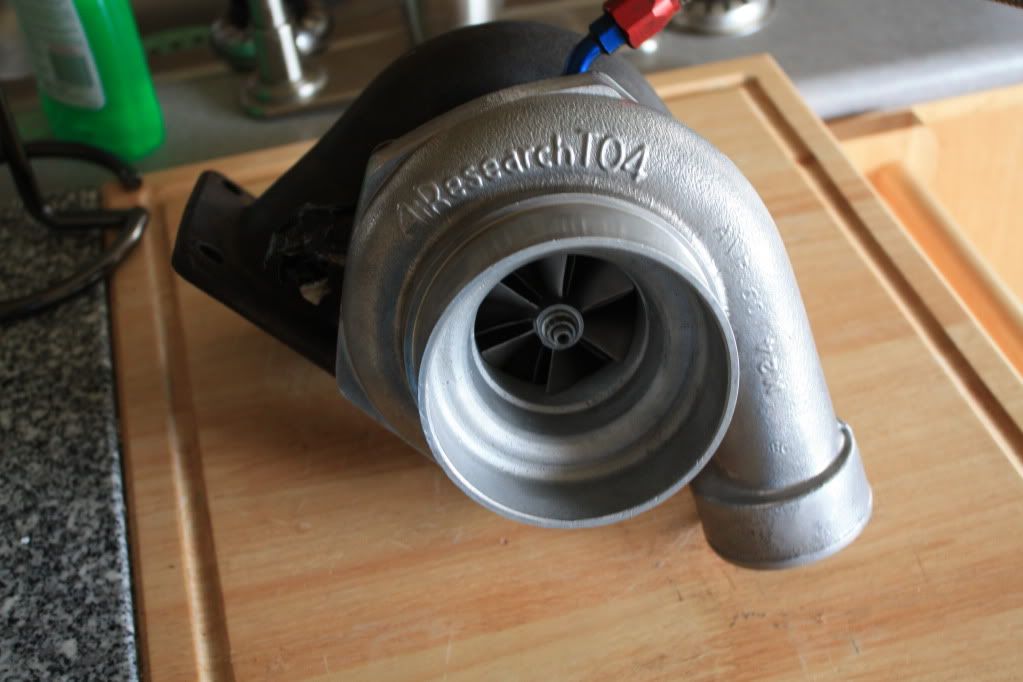
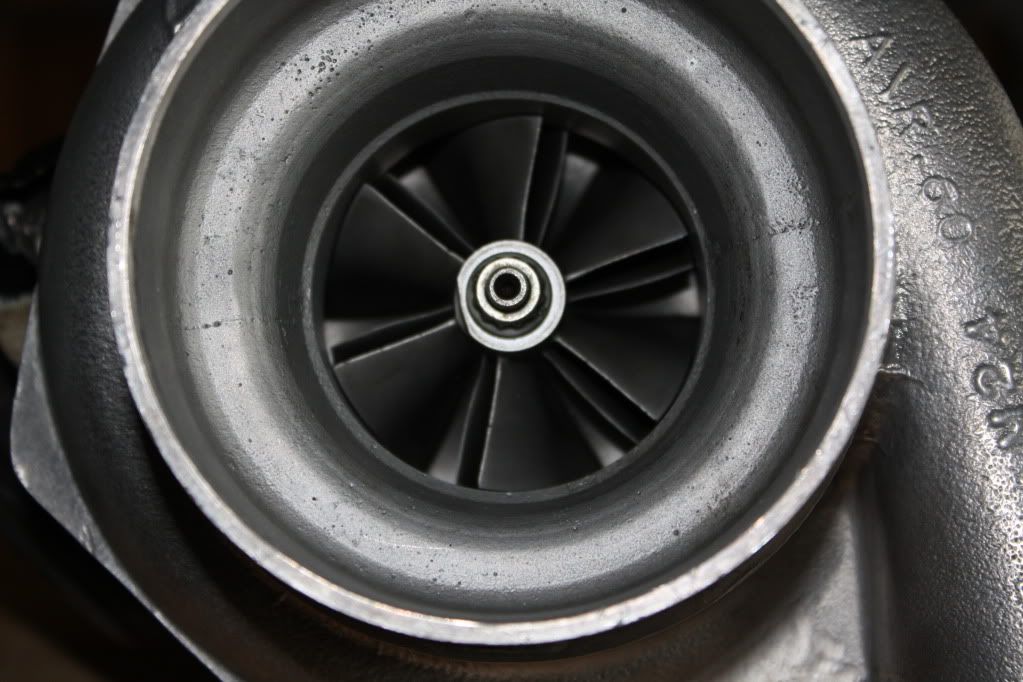
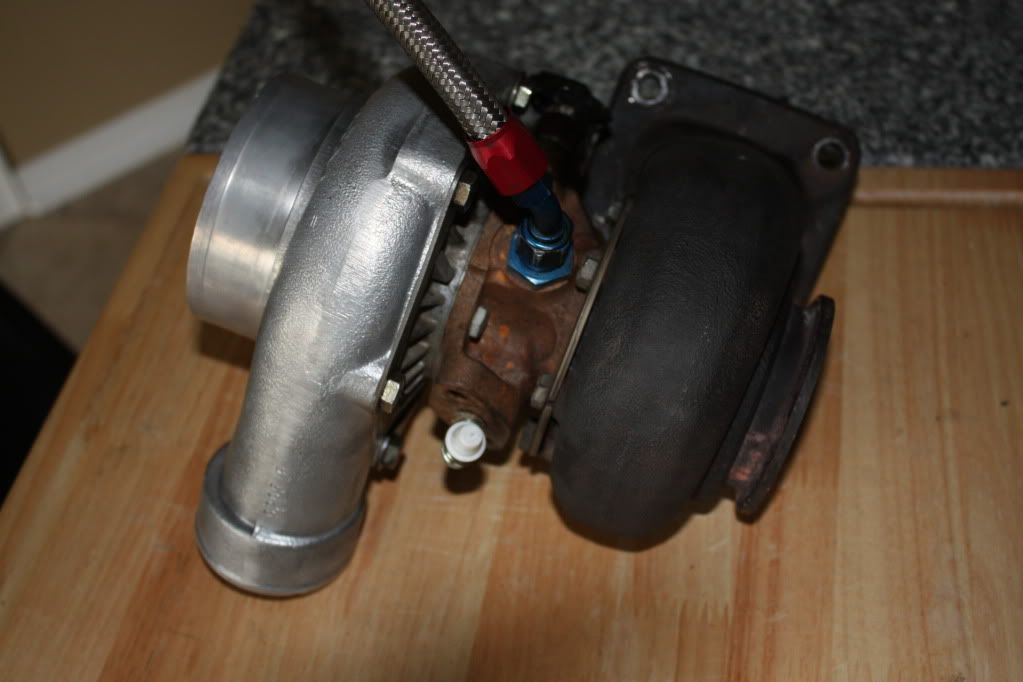
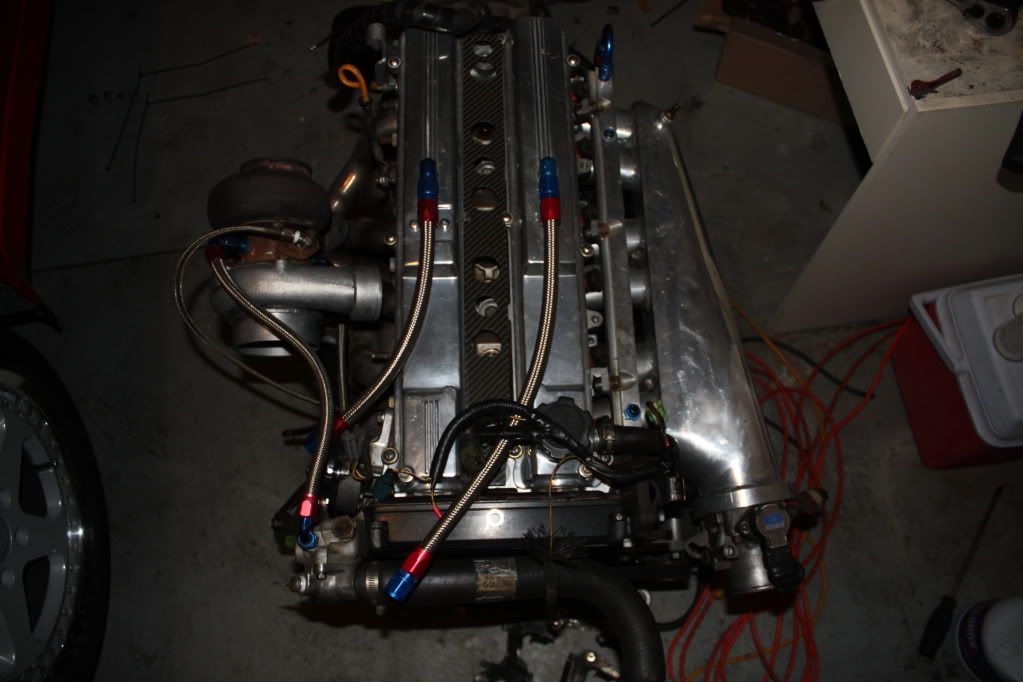
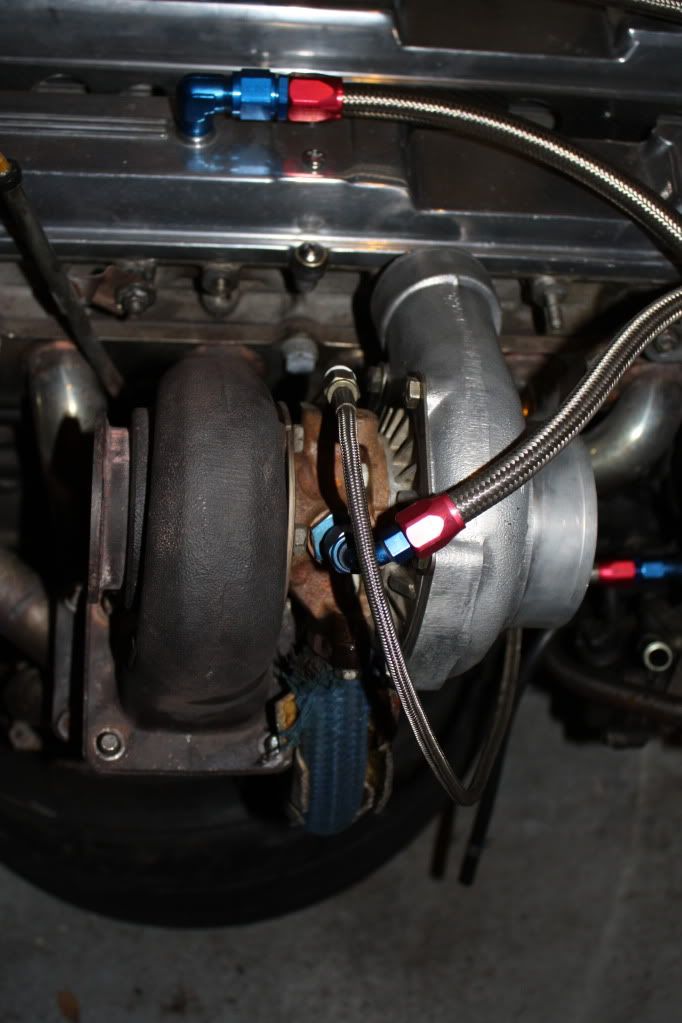
And finally...the turbo. T4 60-1, 0.60 AR compressor, 0.86 AR turbine, P trim. Garret internals and V band flanged. Water cooled. Should be adequate. Will have the hot side under a Titan turbo blanket.
p1446925_3.jpg

p1446925_4.jpg

p1446925_5.jpg

p1446925_6.jpg

p1446925_7.jpg

p1446925_8.jpg
 
Last edited:

SupaMan

Want The Boooooossttttttt
Oct 12, 2006
1,101
0
0
Cape Coral,Florida
nice! turbo looks good! anymore info on the cup holder idea? like where you got it from maybe pics of it installed?

i feel weird i keep focusing on your dash ideas instead of the power and stuff but you have good ideas!!

edit: Ive heard heat wrapping without having ceramic coating under it will result in fast rusting.
 

Sawbladz

Supramania Contributor
Mar 14, 2006
1,727
0
0
Oshawa, ON, CA
Heat wrap can retain moisture which will lead to rust on mild steel exhaust pipe. My manifold is stainless so it should be ok. My downpipe was wrapped before I got it and when I took the wrap off it wasn't rusted that badly. I will also rarely drive the car in the rain so I'm not too concerned. Also, when the downpipe rots out I will replace it with a 4 inch stainless one. ;)

The cupholder I got from ebay. It fits in the din slot and is supposed to be for Toyota Supra's. I have my doubts that it will work because it doesn't extend the drink holder very far from the dash. Won't know until I try to put it in place though. I wanted to try it and see if I could make it work. I think it's a good looking piece and I'd be happy to have it in my car.
 

Sawbladz

Supramania Contributor
Mar 14, 2006
1,727
0
0
Oshawa, ON, CA
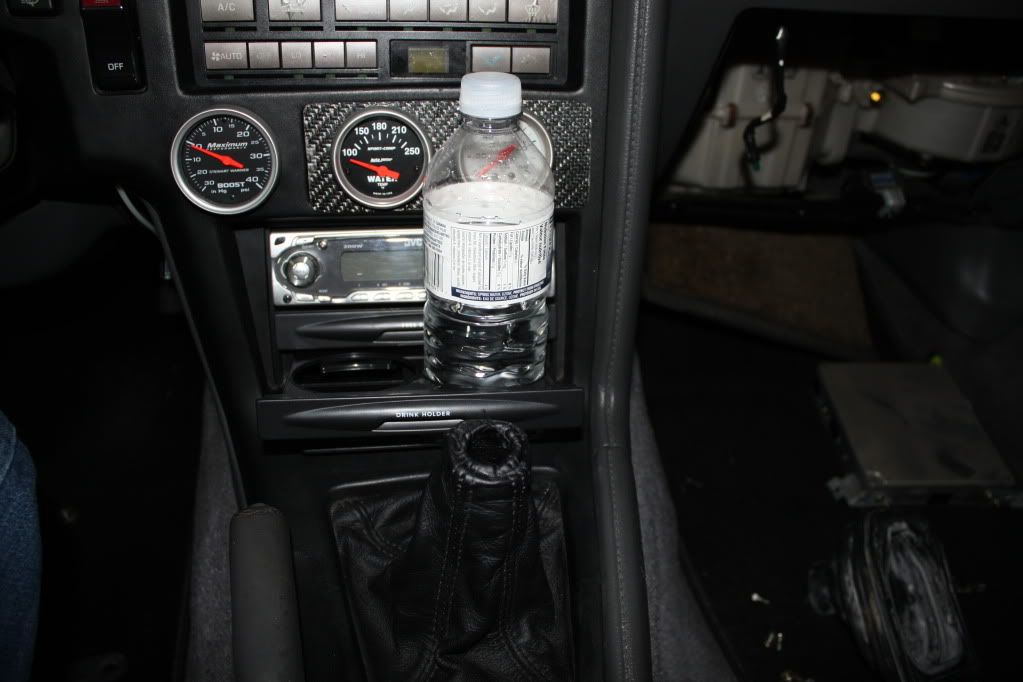
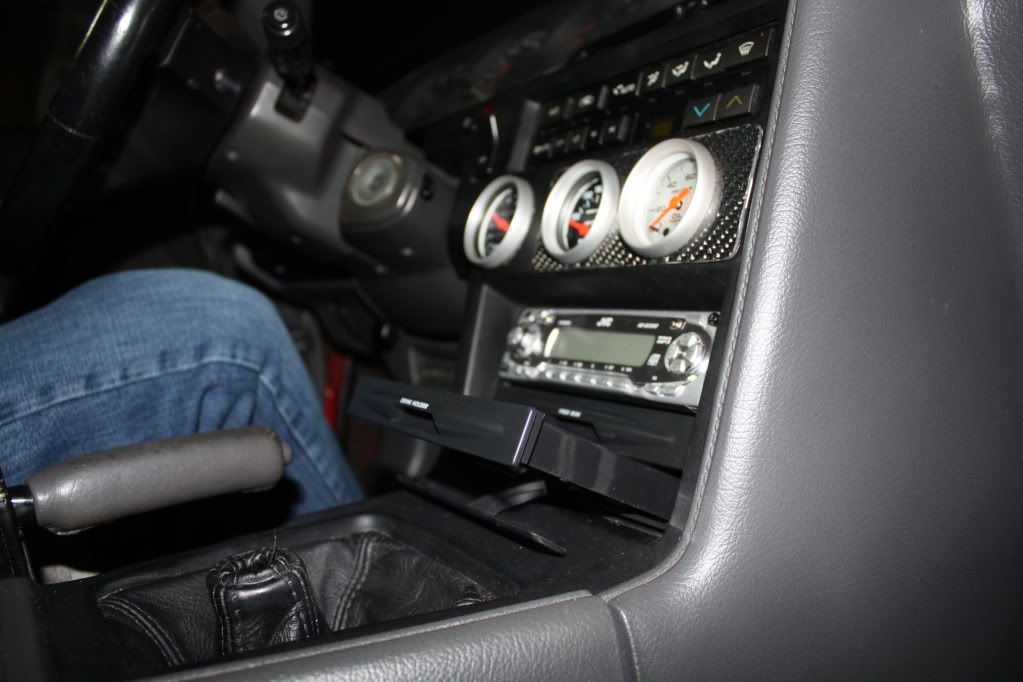
Took a break from studying to go mount my cupholder. This is the best it can be using the mounting tabs on the sides. Not good enough. I want it out about 3/4 of an inch further. I will have to play with it some more later.

p1447090_1.jpg

p1447090_2.jpg

p1447090_3.jpg