Changing my head gasket, me asking for your help while doing this
- Thread starter Doat
- Start date
You are using an out of date browser. It may not display this or other websites correctly.
You should upgrade or use an alternative browser.
You should upgrade or use an alternative browser.
I got everything today but I am going to change out the brush for a copper brush since it's softer but it is raining like crazy here at the moment.
UPDATE:
I cleaned up the valves and I think they look good, what do you guys think? Now I am at the point where I can remove the valves to do that I first remove the buckets, then hammer the spring using a socket like in the video from Numba1stuna, take out the retainer, pull off the spring then the valve comes out right? I set up a cardboard type container for all of this so I can keep track of which valve, etc. goes where.
I was not able to get all of the carbon build up off so some may seem like they are scratched up but it's just carbon build up that I can't get off because I am worried of damaging the valve by pushing on the brush too hard.


and my cardboard container, which I just realized needs a couple of tweaks to separate everything completely

I cleaned up the valves and I think they look good, what do you guys think? Now I am at the point where I can remove the valves to do that I first remove the buckets, then hammer the spring using a socket like in the video from Numba1stuna, take out the retainer, pull off the spring then the valve comes out right? I set up a cardboard type container for all of this so I can keep track of which valve, etc. goes where.
I was not able to get all of the carbon build up off so some may seem like they are scratched up but it's just carbon build up that I can't get off because I am worried of damaging the valve by pushing on the brush too hard.


and my cardboard container, which I just realized needs a couple of tweaks to separate everything completely

That brush won't hurt the valves. But, you got the process right. Another way to categorize the valves is using a Sharpie, and writing "I1" for intake one, "e2" for exhaust two etc.
Sent from my LG-P999 using Tapatalk 2
Sent from my LG-P999 using Tapatalk 2
I have them sitting in that container in the same order they are on the cylinder head, I will be taking pictures of the seats I just wiped them down but I am waiting for my last camera battery to finish charging.
While the pics are uploading, the seats just look like they have a little bit of carbon build up on them. How do I remove the old valve stem seals? Do I yank them out with needle nose pliers?
While the pics are uploading, the seats just look like they have a little bit of carbon build up on them. How do I remove the old valve stem seals? Do I yank them out with needle nose pliers?
Last edited:
UPDATE: I just simply wiped off the seats and snapped the pictures, it got dark outside so I had to use flash and a lamp. I carried the cylinder head inside so I can start lapping it. Did you guys want me to take pics of each set of valves to show the seats?
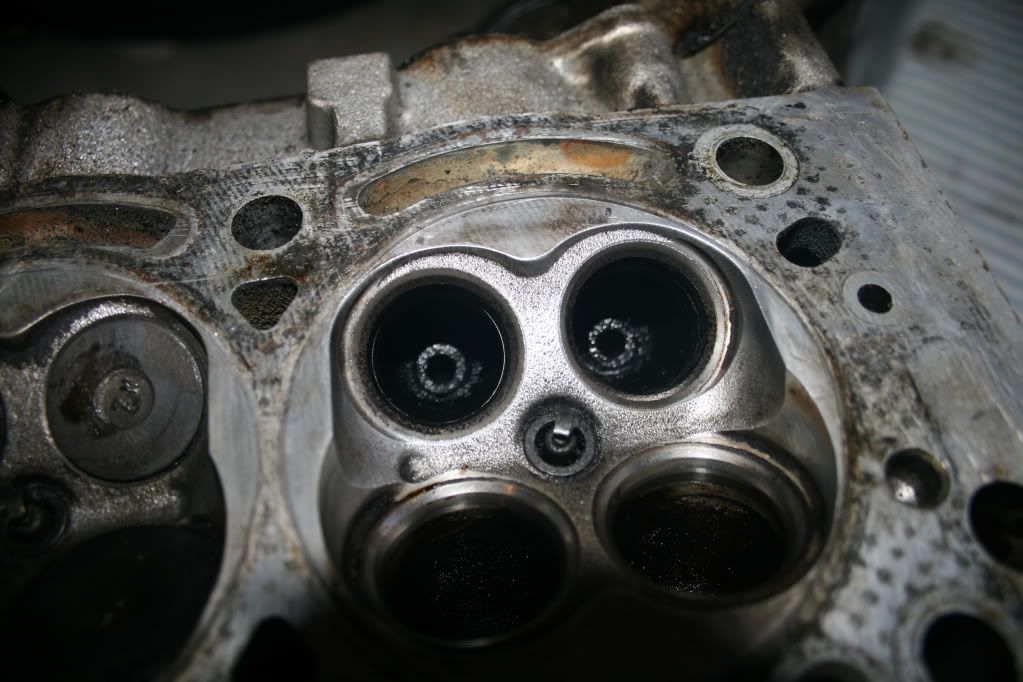
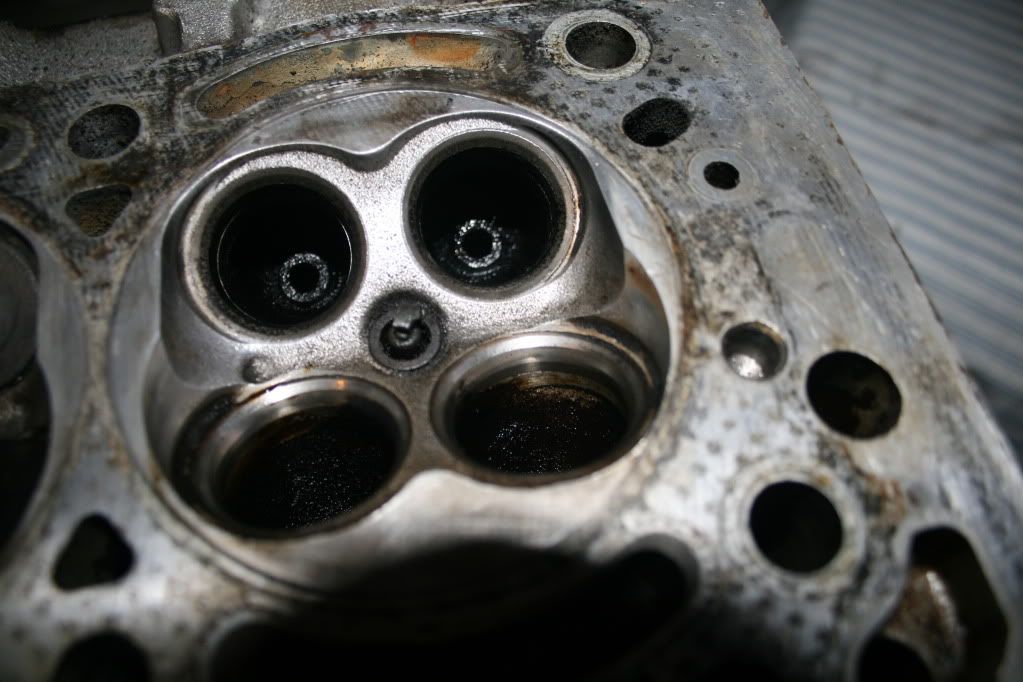
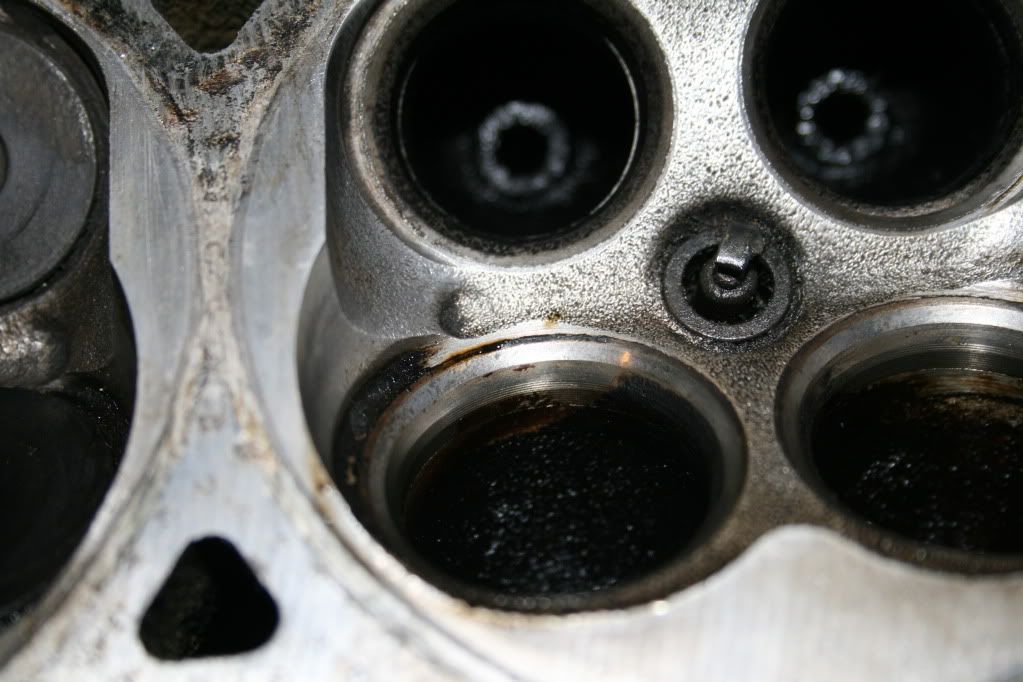
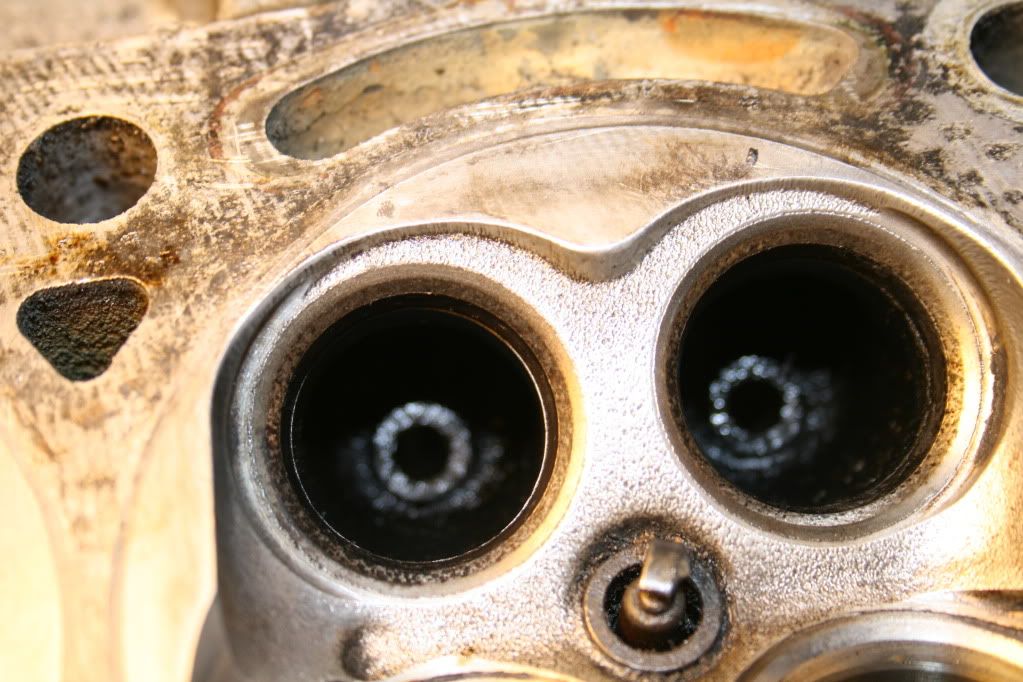

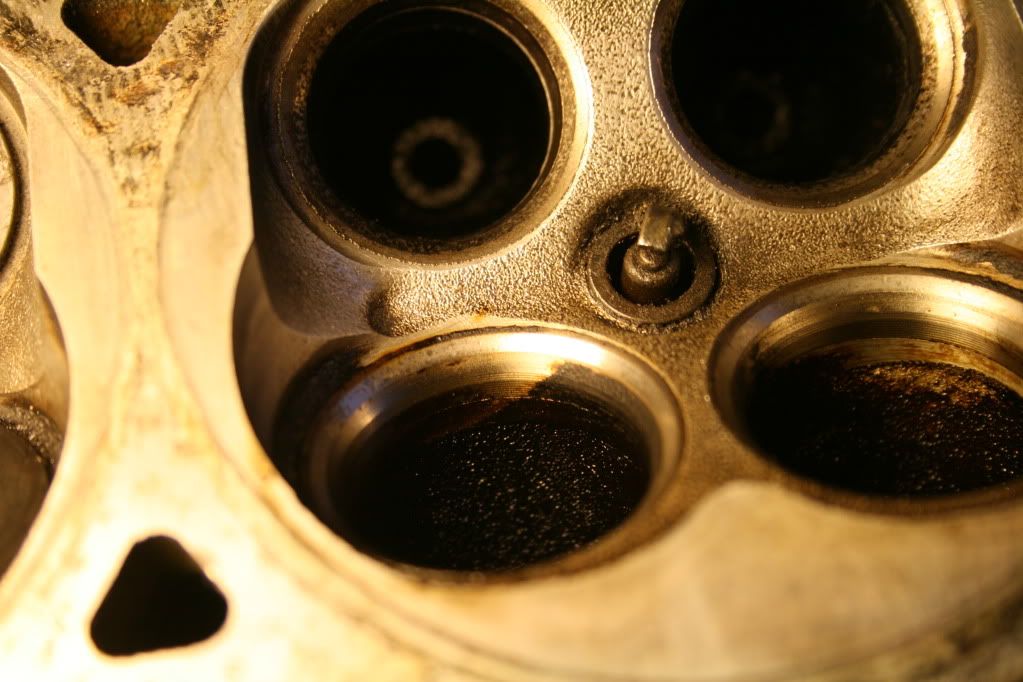

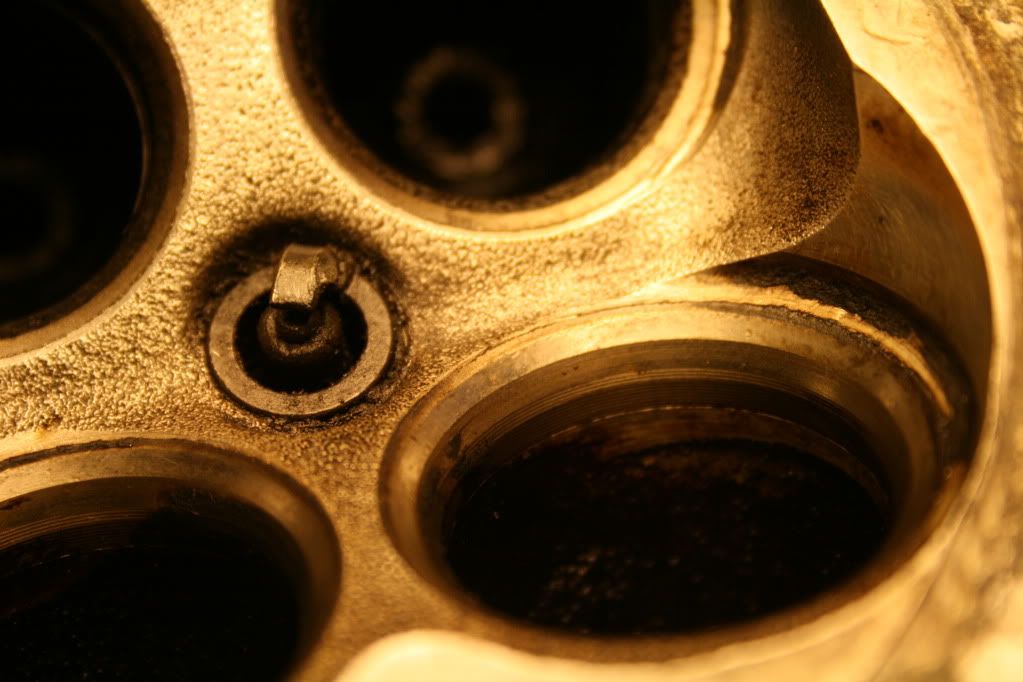
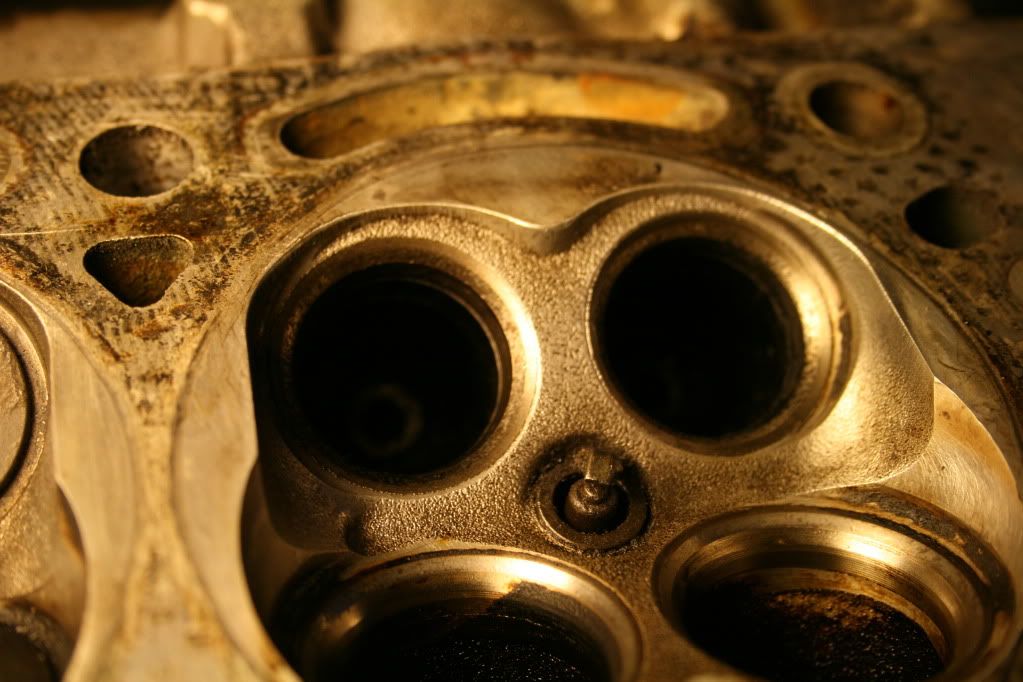
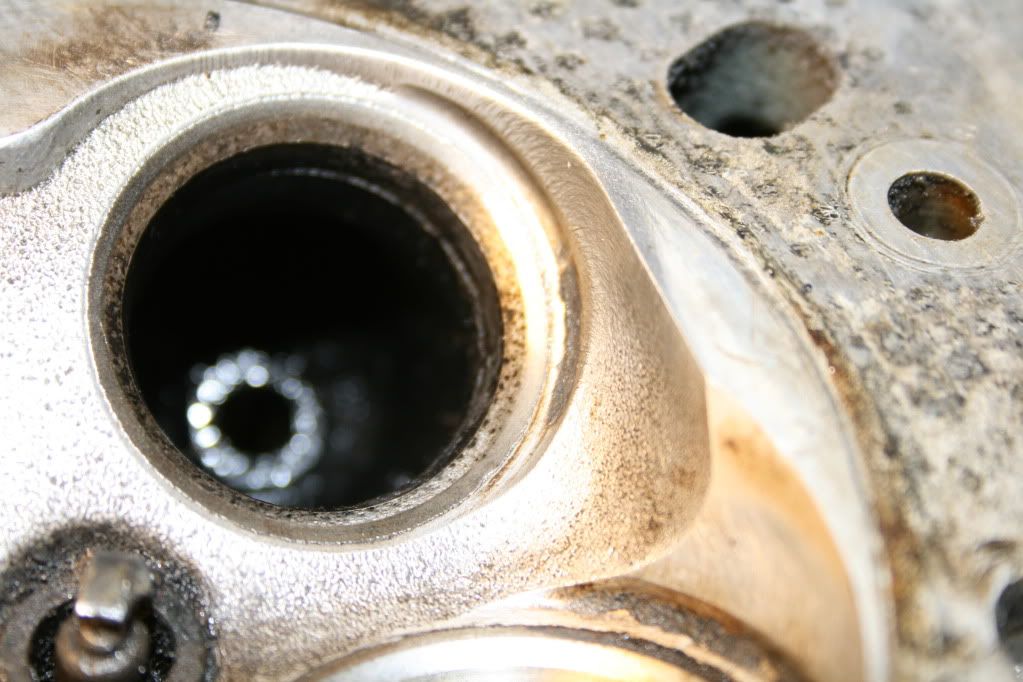
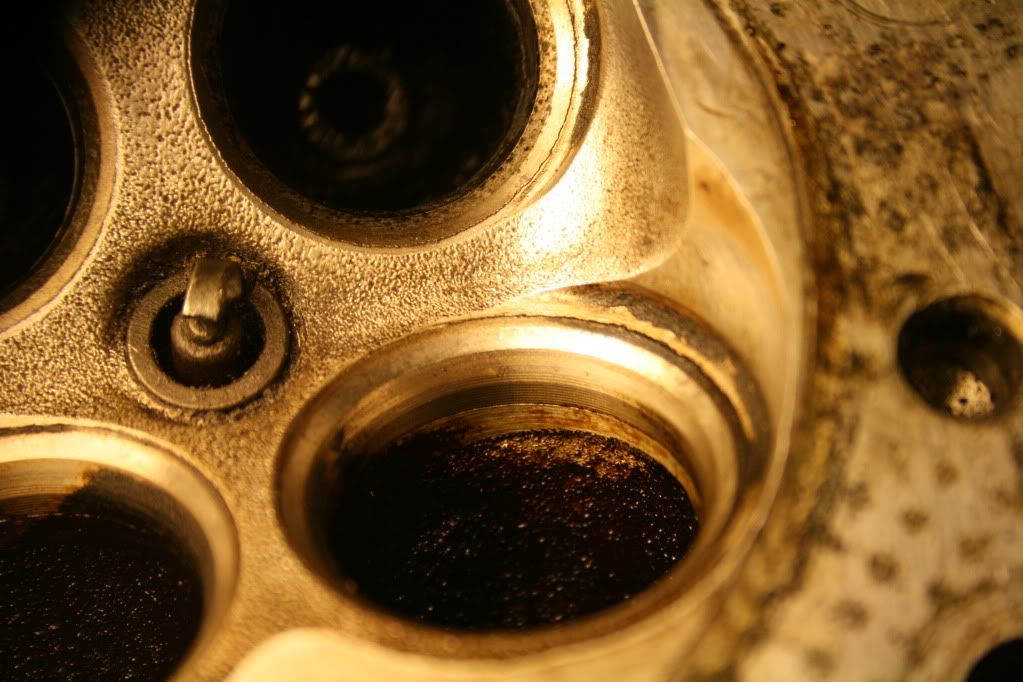
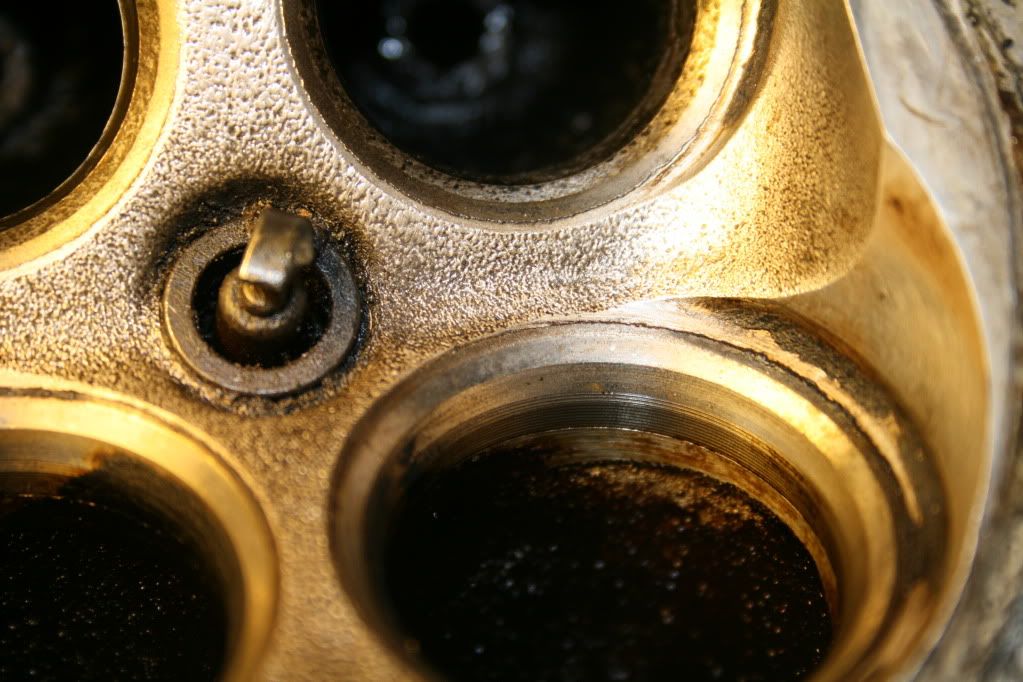


You want to make sure you get all that greasy grime off the 45° valve seat on both the head and valves before lapping. That way a good mating surface can be cut with the compound.
Sent from my LG-P999 using Tapatalk 2
Sent from my LG-P999 using Tapatalk 2
So when I remove the old valve stem seals do I just rip them out with needle nose pliers?
Update:
So far it has been going well, I paid very close attention to the videos and listened to the sound of the valve as I lapped them, didn't take long to get that smooth sound with these intake valves but tonight I will get to doing the exhaust valves.
This is a valve after lapping

This is a valve before lapping

This is the valve seat after lapping

Update:
So far it has been going well, I paid very close attention to the videos and listened to the sound of the valve as I lapped them, didn't take long to get that smooth sound with these intake valves but tonight I will get to doing the exhaust valves.
This is a valve after lapping

This is a valve before lapping

This is the valve seat after lapping

Last edited:
Those look good. You don't want shiny, that's where it's buffed itself. That whole contact surface needs to be that rough grey color. Good job so far man.
Sent from my LG-P999 using Tapatalk 2
Sent from my LG-P999 using Tapatalk 2
Thank you couldn't have done it properly without your videos, I am visual learner so having something to see and compare to really helps. Now, removing the old stem seals do I just yank them out?
I'm glad my videos helped you. Yeah, you can yank them out with needle noses. That's what I did.
Sent from my LG-P999 using Tapatalk 2
Sent from my LG-P999 using Tapatalk 2
Should I use a small wire brush to scrape off the build up around the valve in those hard to reach places or is it pointless? Also how can I clean off the rest of the gunk on the cylinder head and block? It feels smooth but how can I remove it or does it matter as long as it feels smooth? I scraped off what I could with a gasket scraper and used sandpaper on the block to gently get rid of everything that I could.
Last edited:
Remember that one wire attachment you showed a pic of that was longer and cone shaped? That would work perfect for getting down inside that valve seat area. Or a small wire brush. I'm going to blueprint my head with a dremel to remove the unnecessary flaky casting, then power wash it off. For the block you can use that cup shaped brush to clean the grime off, that's how I cleaned mine then painted it.
On a side note, I ordered some Helicoil yesterday for the exhaust side. How are your exhaust threads looking?
Sent from my LG-P999 using Tapatalk 2
On a side note, I ordered some Helicoil yesterday for the exhaust side. How are your exhaust threads looking?
Sent from my LG-P999 using Tapatalk 2
Those drill wire brushes won't damage the block and head?
My exhaust threads seem fine from what I can tell, some of the studs did come out with the nut though.
My exhaust threads seem fine from what I can tell, some of the studs did come out with the nut though.
You can run it lightly and not risk damaging it. You just don't want a lot of pressure against the aluminum with hard/firm bristles.
Sent from my LG-P999 using Tapatalk 2
Sent from my LG-P999 using Tapatalk 2
Oh, and on the block, you can push as hard as you want to clean it real good. I used carb cleaner and the cup brush on the block.
Sent from my LG-P999 using Tapatalk 2
Sent from my LG-P999 using Tapatalk 2
