7M BHG repair and rebuild

Vector89T

stickerdave.com
Aug 21, 2005
51
0
6
45
Lafayette, LA
Supradude7mgte;1157292 said:
i hope its not like the toyota HG though

cause 10,000 miles down the road
=
::bhg::

give or take............

Nick M;1157492 said:
Your information is factually incorrect.
+1 to Nick M. The dissemination of factually incorrect information can take away from those who aspire to learn something from well documented builds/rebuilds, like yours.

A properly tuned car that operates within the limitations of a stock head gasket should live a long healthy life. I managed to put nearly 30k on a stocker gasket that was retorqued at about 115k. At the time the car was on a stock CT-26, FIPK, Straight 3" exhausted and a Profec-B set to just below fuel cut. To top it all off, when I pulled the motor to put the rebuilt one in...the HG was still completely in tact. The motor was suffering from an EXTREME amount of crank walk.

Looks like you harvested a good bit if information from your research to do this job correctly and well. I really enjoy seeing well documented, especially with photographs, builds and rebuilds. Keep it up! Looking forward to seeing the final product.

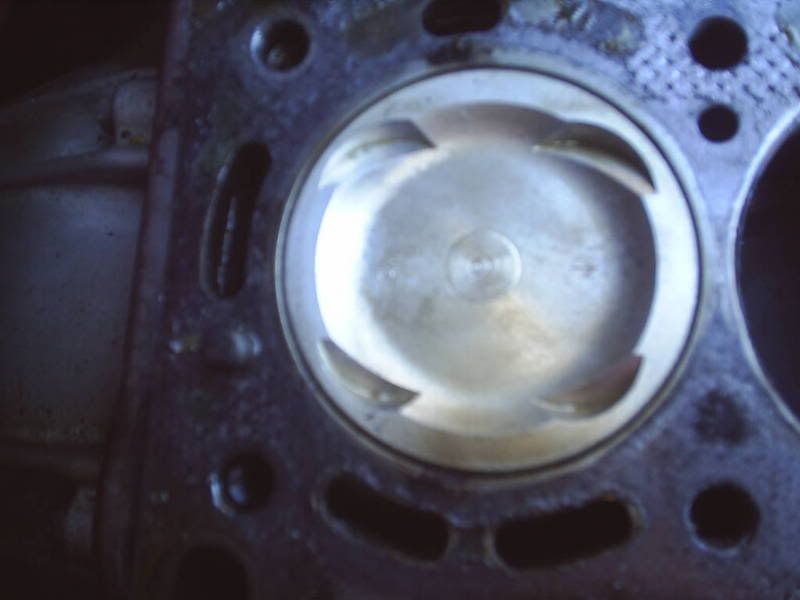
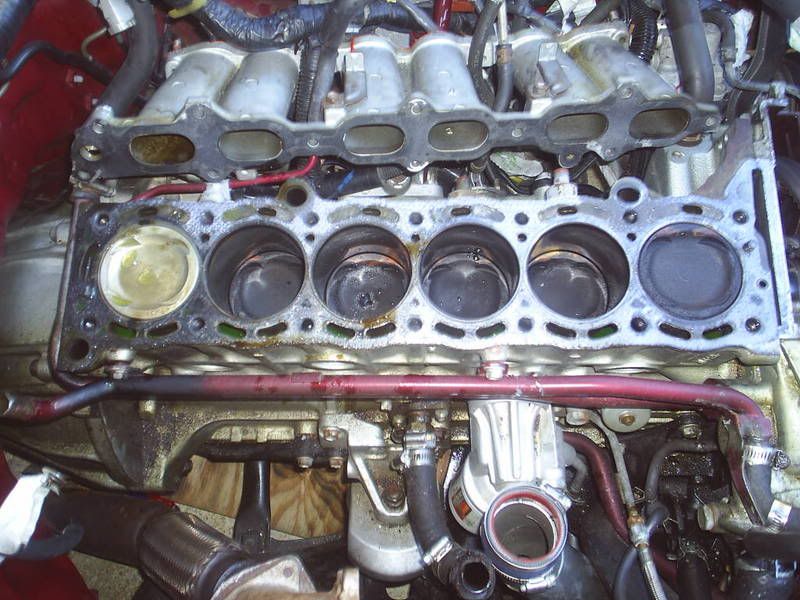
For some reason, I really like the below picture. It just seems like it should have some funny caption on it talking about a BHG.

p1157528_1.jpg


Damn that piston is clean!
 

Supradude7mgte

Throttle happy teenager..
Oct 14, 2008
191
0
0
Norfolk VA
okay, i stand corrected. But i am one to not prefer stock. anything.

thank you vector

haha that piston is perfectly clean, check this....... i laughed when i pulled the head off, simply wiped it off with a rag and it gleamed at me.
p1157594_1.jpg
:biglaugh:
 

Vector89T

stickerdave.com
Aug 21, 2005
51
0
6
45
Lafayette, LA
If you end up taking that piston out, just hang it up somewhere. lol. People will ask if it's new. I can't help but sort of chuckle when I see that. I don't even think my new ones from Toyota looked that clean. :)

Supradude7mgte;1157594 said:
haha that piston is perfectly clean, check this....... i laughed when i pulled the head off, simply wiped it off with a rag and it gleamed at me.
(image of clean piston)
:biglaugh:
 
Last edited:

Supradude7mgte

Throttle happy teenager..
Oct 14, 2008
191
0
0
Norfolk VA
Vector89T;1157599 said:
If you end up taking that piston out, just hang it up somewhere. lol. People will ask if it's new. I can't help but sort of chuckle when I see that. I don't even think my new ones from Toyota looked that clean. :)

i know hey? hahahah i wish there would have been coolant steaming all the other pistons so they would be clean like that.
 

Nomad707

Im From The Bay
Mar 14, 2007
1,039
0
0
Santa Rosa, California
hah.. when i did a HG job a while back on my first turbo supra 1 & 6 were steamcleaned like that.. i lol'd

Im waiting for a garage unit to become available at my appartment complex so i can start swapping the motor out of my 89 NA.. and na/t it... it sucks.. the wait they said can be up to 7 months.. car is sitting in a storage unit alone and sad =(
 

Supradude7mgte

Throttle happy teenager..
Oct 14, 2008
191
0
0
Norfolk VA
Nomad707;1157720 said:
hah.. when i did a HG job a while back on my first turbo supra 1 & 6 were steamcleaned like that.. i lol'd

Im waiting for a garage unit to become available at my appartment complex so i can start swapping the motor out of my 89 NA.. and na/t it... it sucks.. the wait they said can be up to 7 months.. car is sitting in a storage unit alone and sad =(

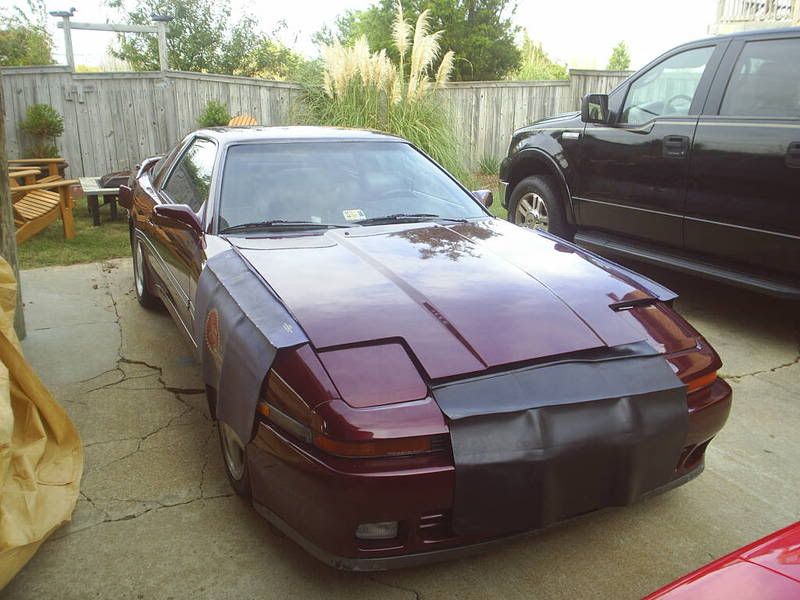
i don't even have a garage.

p1157951_1.jpg
.

she just sits there, sob, so sad.
a supra should never be put down.
 

Supradude7mgte

Throttle happy teenager..
Oct 14, 2008
191
0
0
Norfolk VA
today was the first time i really wanted the car.
i am also using a 90 VW Cabriolet for travel as well. 35 mpg.
but its stick and has like 30 hp..........
passed a srt 4 and saw all the gauges and wanted to race him so bad, but.......

no supra.

Grrrrr

ship faster parts..............
 

Supradude7mgte

Throttle happy teenager..
Oct 14, 2008
191
0
0
Norfolk VA
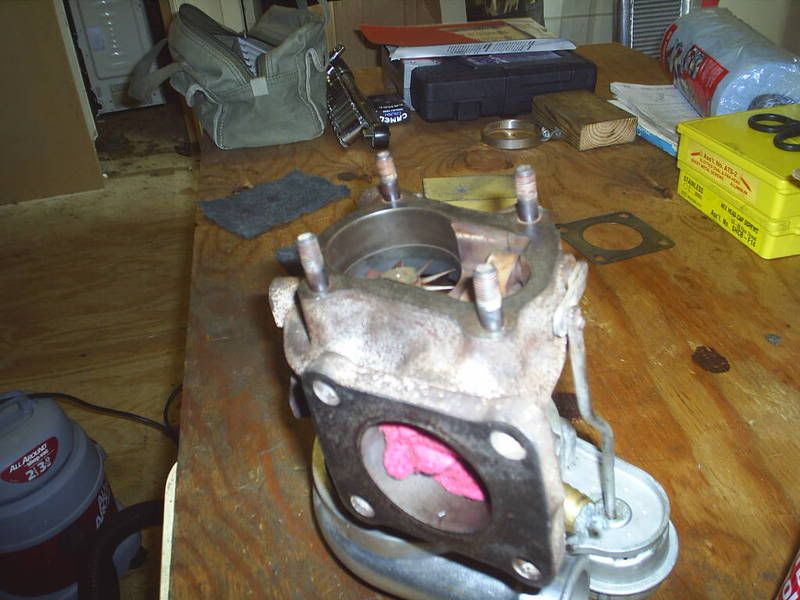
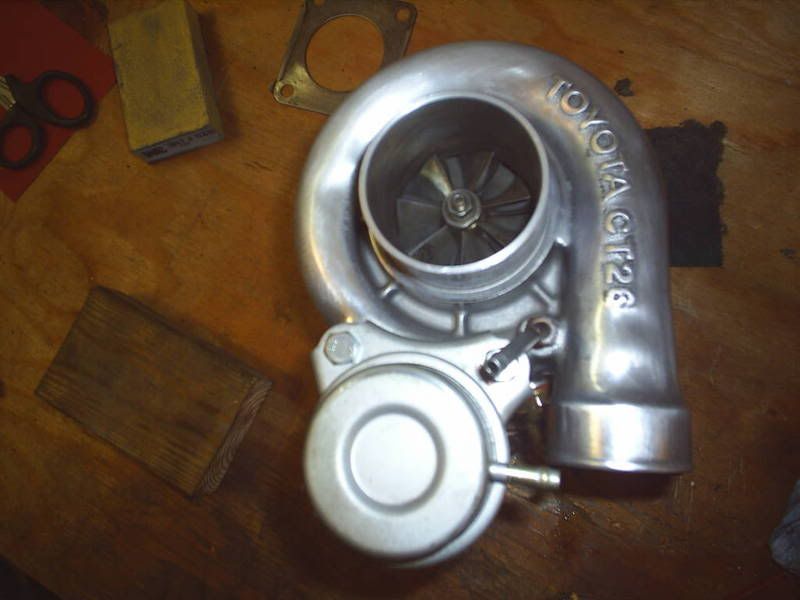
so, i just cleaned and went through all the parts that i pulled off and cleaned them and prepped the gasket sealing surfaces.

picture.php

picture.php


before

picture.php


after
picture.php


picture.php


so thats the progress so far.

havent started under the hood yet
 

Supradude7mgte

Throttle happy teenager..
Oct 14, 2008
191
0
0
Norfolk VA
man my arms still hurt from scouring and sanding that metal. Especially super fine 320 grit paper and a chunk of 2x4. i'm having trouble with the turbo gasket surfaces because of the studs, i guess ill just keep working at it waiting for the next parts.

and that gasket remover spray is vicious man! haha bubbles up on impack of anything and starts eating like an acid, i had to go get rubber gloves. Burns pretty bad


also, any input on making brackets? I have another intercooler, still questioning the mounting. It doesn't look like its supposed to fit in the MK3.
Who knows.

is it easy to replace the valve seals?
 
Last edited:

Nomad707

Im From The Bay
Mar 14, 2007
1,039
0
0
Santa Rosa, California
valve seals are fairly easy to replace.. and doesn't take long.. and if the head is off already, there is no reason you shouldn't do it now..

all you need is a valve spring compressor.. you can remove the springs and valves fairly easy..

I used two chunks of rubber to put on both clamps on the compressor so i didnt scratch the head...
Disassembly:
1) take the cams out
2) take off the caps with the shims on them, Make sure you number them and put them back in the place they came out so your clearances stay the same..
3) Use the compressor to compress the valve springs, a magnet may be useful to get the two locks out.
4) The spring and top washer will now come off freely after decompressing. the valve will fall out, or pull it out..
5) pull the valve seals out with some needle noses,, but be careful for the guides.

Assembly:
1) to install new seal, you can use a special tool, or if you are confident enough you can press them in with something that isnt sharp or something without edges.. but be sure it goes on all the way and evenly.
2) slide the valve back in.
3) put the spring and washers back on
4) use the compressor to compress the spring and washer... Dip the two retainer clips in some white grease so they don't fall off or move..
5) release pressure slowly so that you are sure that the clips seat in the groove properly, and be SURE that they are seated properly, if not, recompress and get pressure off of them so they aren't ruined

Do this process one valve at a time so you don't mix up your parts.. AGAIN be sure that the shim caps go back to the same spot they came!

If anyone feels like i need to be corrected, please state so... this is my personal way that never has failed.
 

Supradude7mgte

Throttle happy teenager..
Oct 14, 2008
191
0
0
Norfolk VA
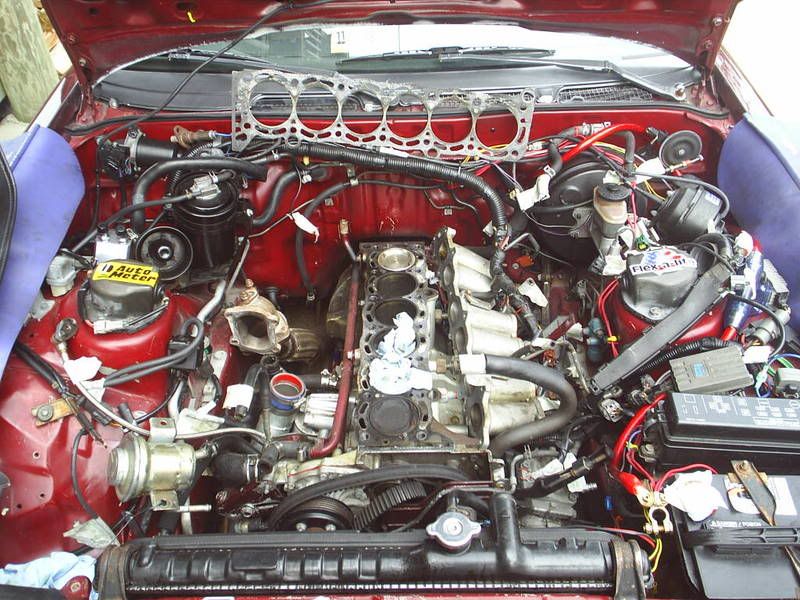
otay, since the parts are commin in soon, i need to get this ready for them.

heres the progress this morning. i will prob pull an all nighter to tinker with shit under the hood tonight.

sm_photo_missing.jpg

p1162398_1.jpg


Oh nice and shiny
p1162398_2.jpg


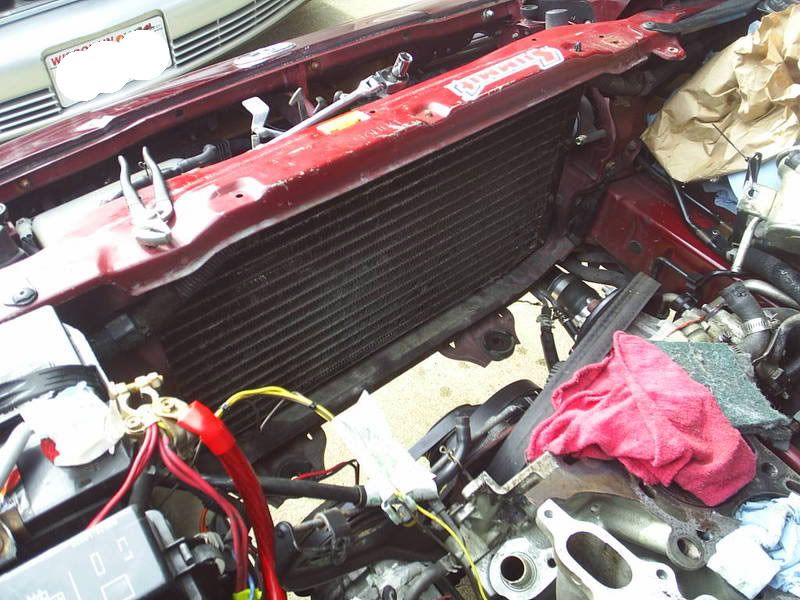
The damage under the hod so far

p1162398_3.jpg


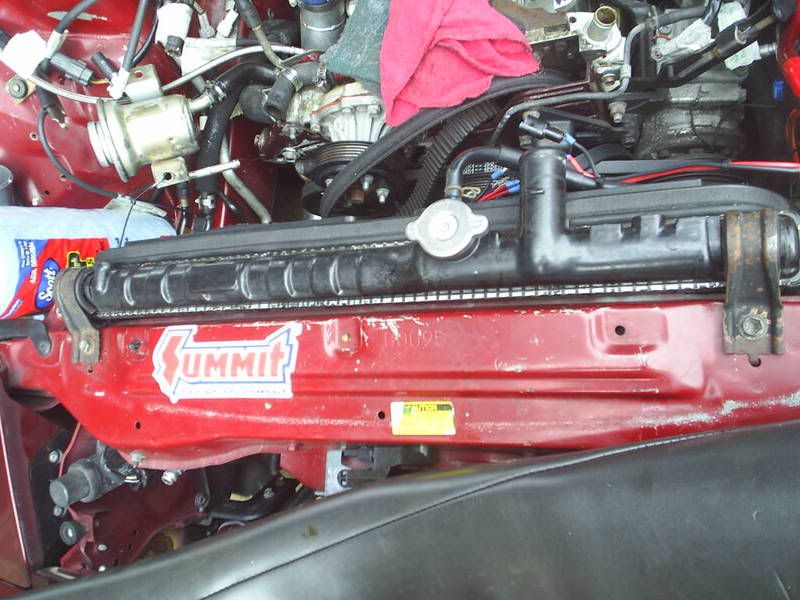
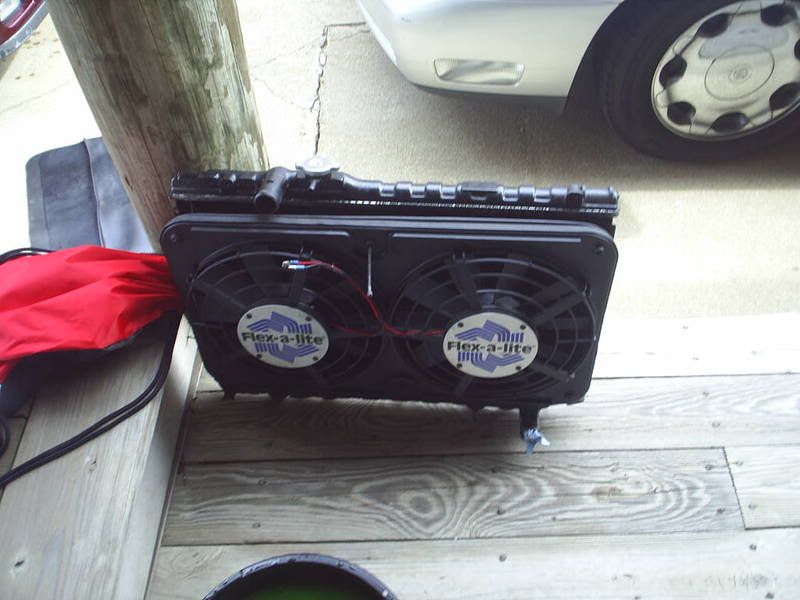
Last pic of the stock radiator and the fans in the car.

p1162398_4.jpg


it creates so much more room without them being in

p1162398_5.jpg


p1162398_6.jpg


i also further investigated the New IC instalation. it apears that i will have to drill a couple bolt holes, and make a bracket for further "sturdiness" and it is just as long as the stock IC. it will be mounted perfectly vertical wheras the stock is mounted at a angle.
I will make it work.

thats the progress right meow
 

Supradude7mgte

Throttle happy teenager..
Oct 14, 2008
191
0
0
Norfolk VA
so its 3 am and ive been stripping the paint of parts and repainting them. dark gunmetal flatblack high temp paint.

enjoy

the easiest way to strip the paint off of the valve covers was gasket remover, and steel wool
picture.php


picture.php


random other things....

picture.php

picture.php

picture.php


and now, the valve covers

picture.php

picture.php


well, better keep putsin wif da carshit
 

935motorsports

Active Member
Mar 30, 2005
2,569
0
36
47
San Diego, CA
Quick note:

The prior headgasket had no rings around the water jackets, which seems to have led to the failure. Make sure your new head gasket has these.

Your turbo oil drain needs to be replaced! They used a regular heater hose it seems, please replace this asap. You can get high temperature earl's hose for a few dollars a foot, if you want to use the same flanges.

Someone like to use orange RTV everywhere, don't make the same mistake.

Tip: You normally remove the head with the lower intake manifold still installed. You can actually put the lower manifold and the fuel rail/injectors on the head while it is on the workbench, to make sure that you get everything installed cleanly. This makes everything heavy, so make sure that you have someone help you install the head.


Good work! Looking forward to the results.