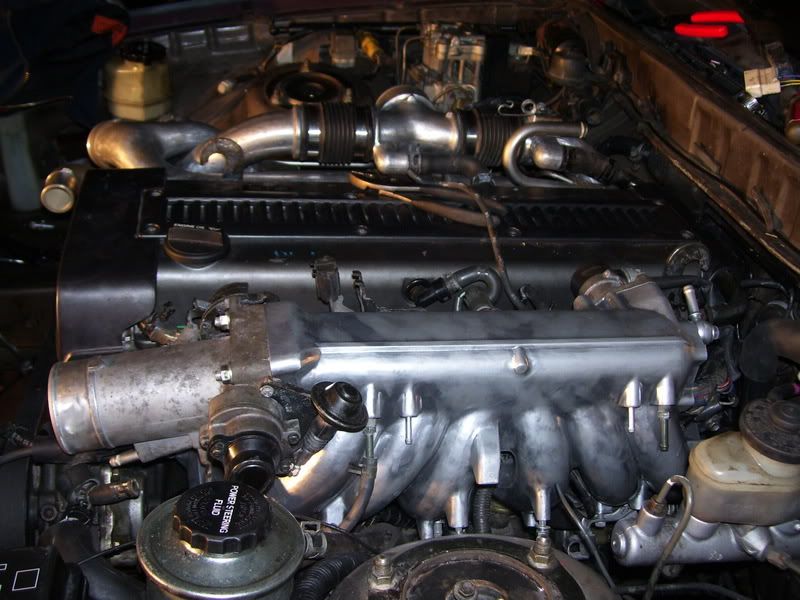
My 1JZ Swap!

apexi287

New Member
Jul 24, 2005
401
0
0
Knoxville, TN
Ok today was my day off:icon_biggso I got at the wiring some more and pretty much have it all done, there is still one thing I'm confused about and need to figure out which I will note at the bottom of this post w/ pics.

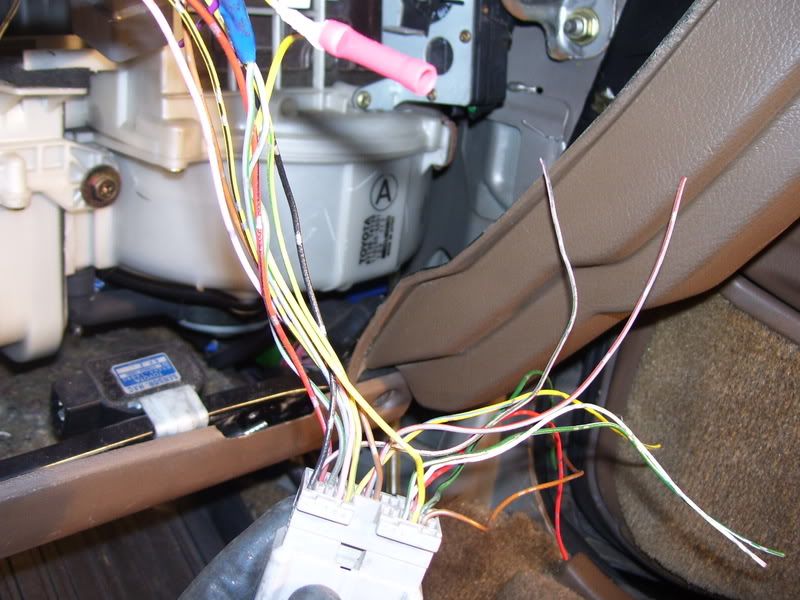
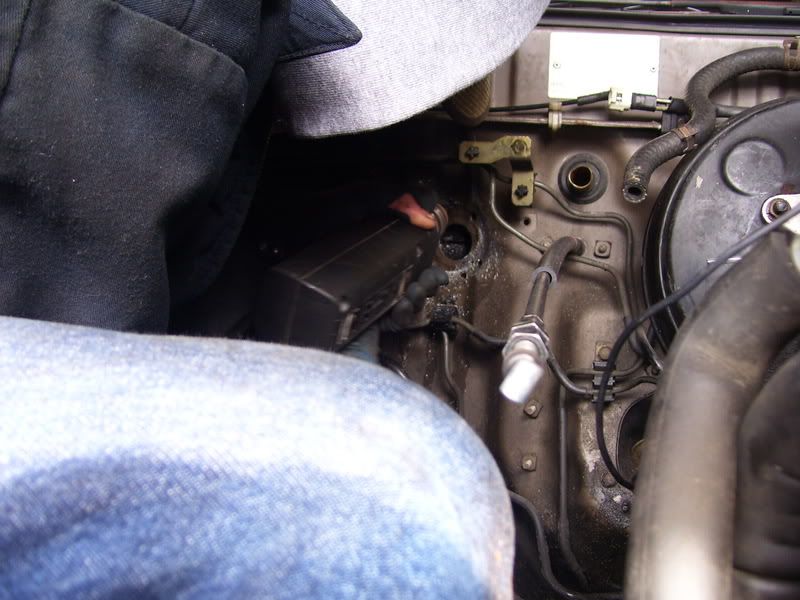
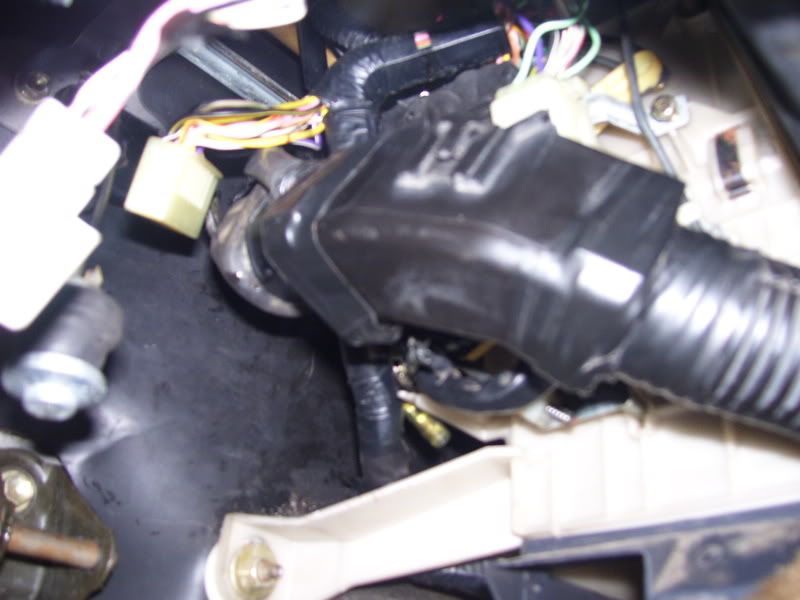
First thing I wired was the IG1 connector as it was the easiest to get to on the 7M chassis(right in front)....Everything was color for color the only difference was the female connector wire for the CEL on the JZ plug was grey/red and not grey/green other then that it was straight forward, cut/splice and connect..
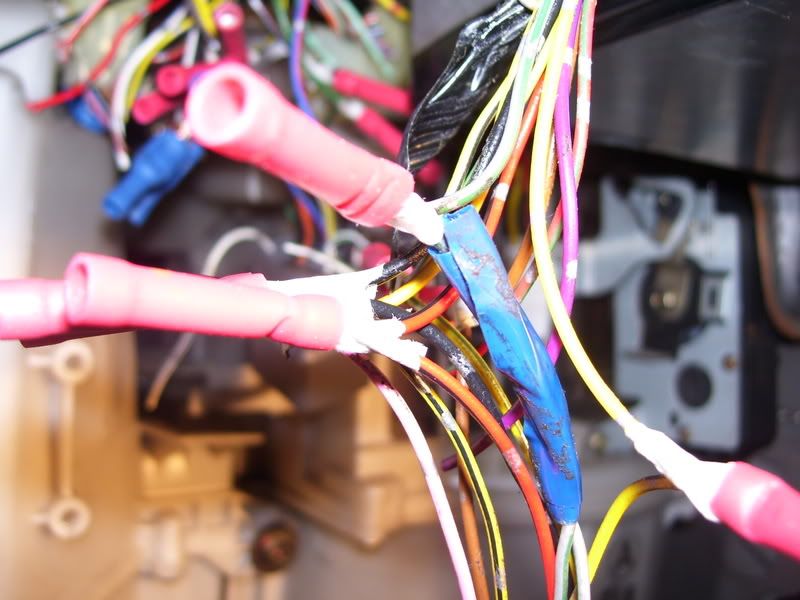
p931458_1.jpg

p931458_2.jpg

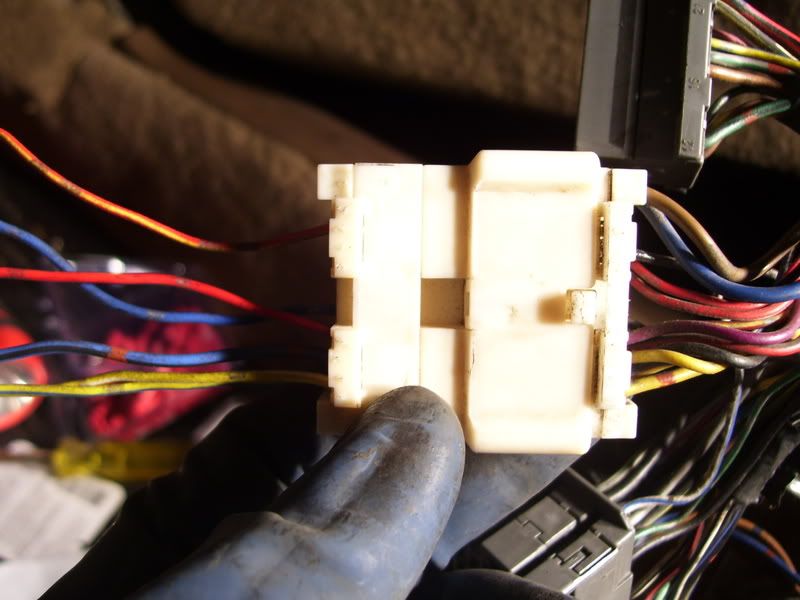
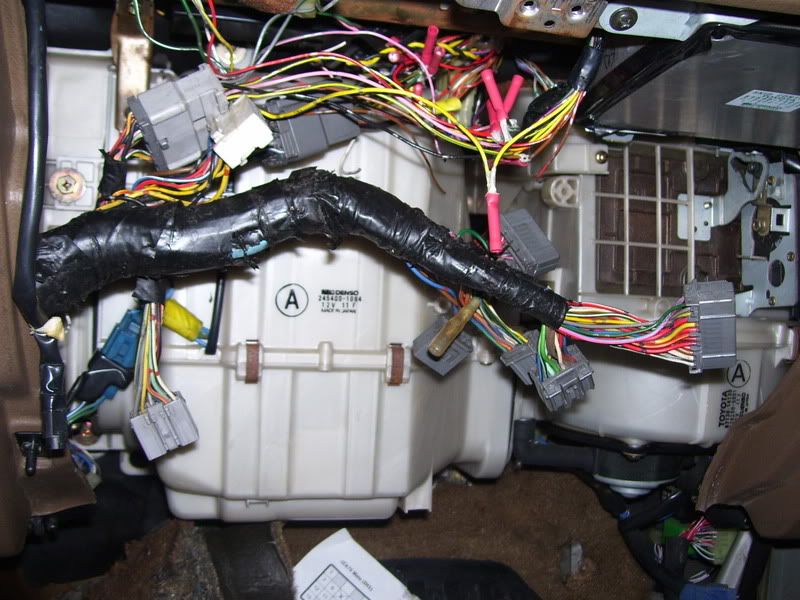
Double checked wire colors and location with the male side on the harness..everything is good(note there are a good amount of left over wires from the jz plug)..
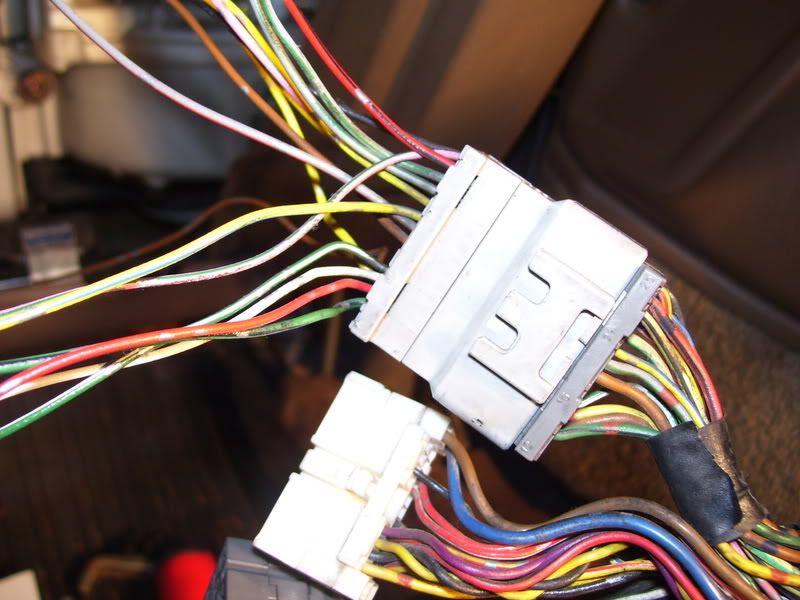
p931458_3.jpg


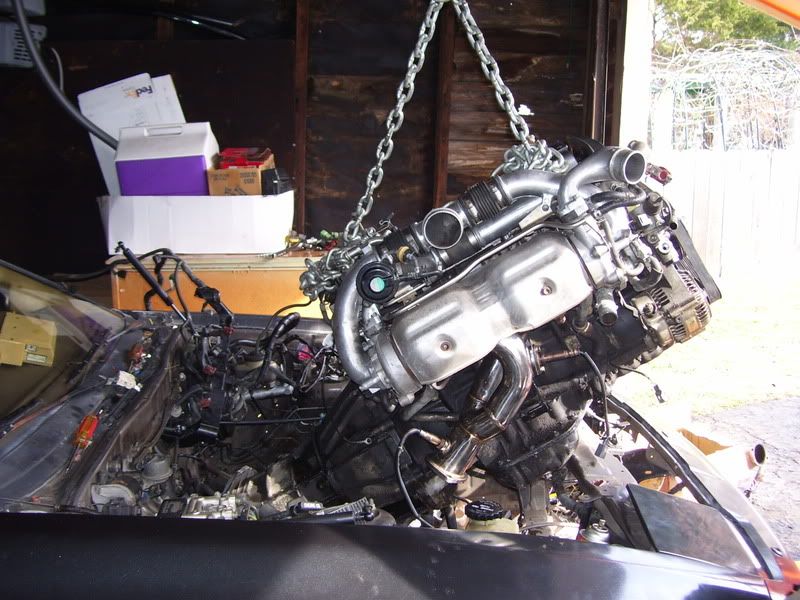
The next connector I did was the square IH1 connector and again everything was pretty much color for color I think there was one slight difference but I can't remember now off the top of my head..
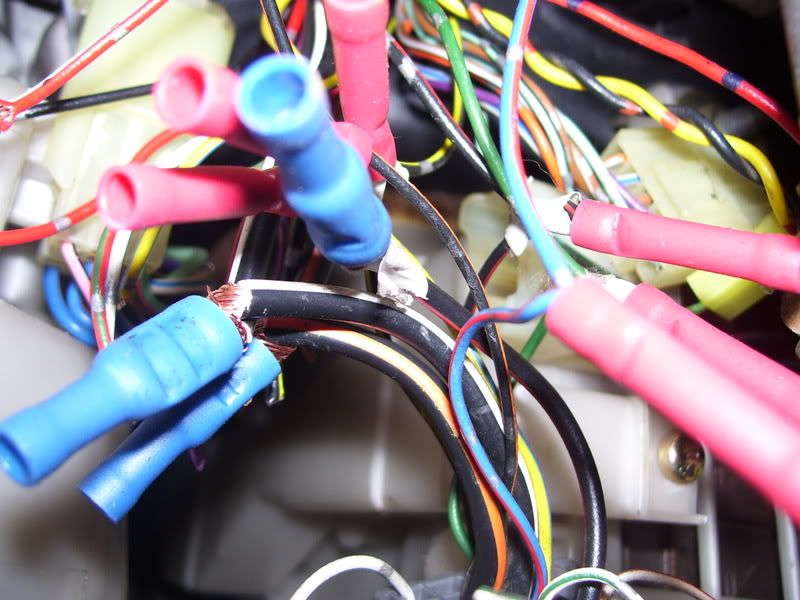
p931458_4.jpg


So 2 down 1 to go..and this is the one that confuses me, this connector IH2 is the TEMS/ABS/AC connector I don't have TEMS or AC so that doesn't concern me but I do have ABS and with no B3 connector I can't figure out how to wire it in.
There is one more connector on the 7M chassis harness but it is 3 pin and the wire colors seem to match up with what I need for the ABS but I'm one wire short according to the schematic(there are 4?)..
Left over 3 wire 7M connector...
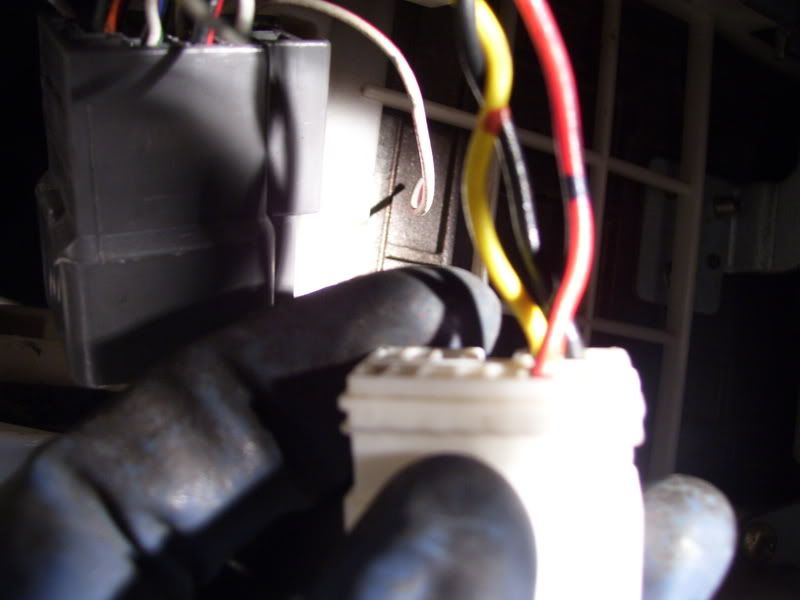
p931458_5.jpg

JZ connector that's left over..
p931458_6.jpg


^Help would be great but other then that my wiring is pretty much complete, I hope it's all right but it seemed too easy:confused:.
 

apexi287

New Member
Jul 24, 2005
401
0
0
Knoxville, TN
RWHP;932116 said:
This thread made me wonder what i have got my self into, will also do a swap :confused:

It's not as bad as you think, I thought the same thing after reading numerous threads and info on the wiring:aigo:. Once you actually see everything in front of you and start doing it, it's a lot easier then what you picture.
 

apexi287

New Member
Jul 24, 2005
401
0
0
Knoxville, TN
Update for today, I got my gasket kit in from champion Friday so I'll be able to now finish up everything with the motor itself and then just wait for the y-pipe to show up and it'll be ready to drop in. So I did a couple things when I got off work today so the engine bay will be more ready for the motor. The one thing I still need to do is route the wiring harness through the speedo hole, but pretty much everything else is ready.

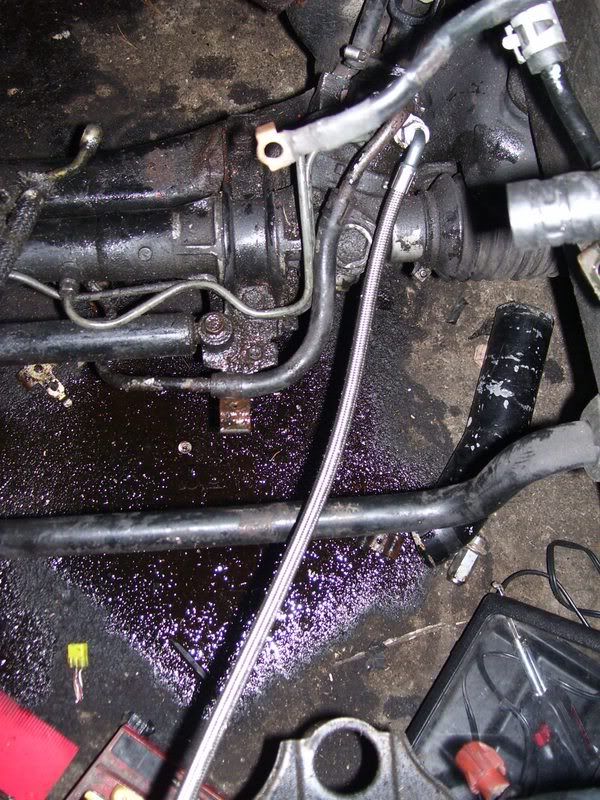
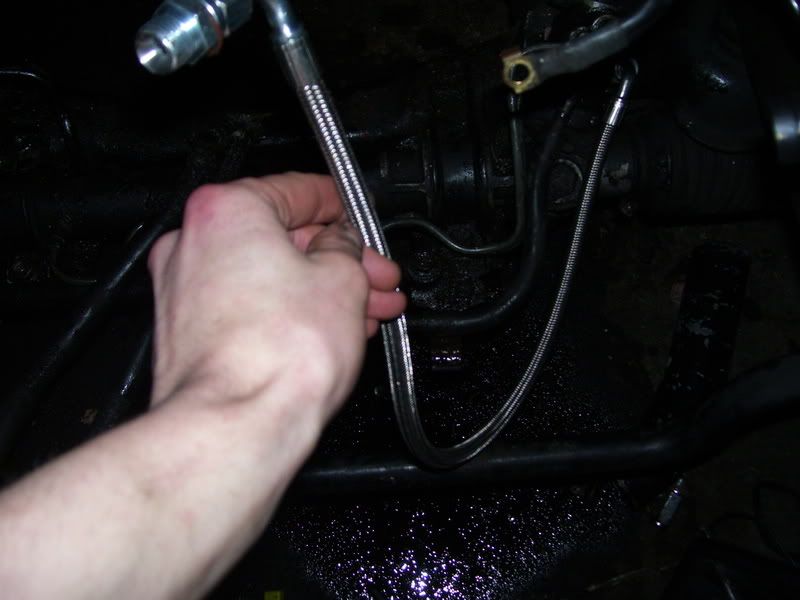
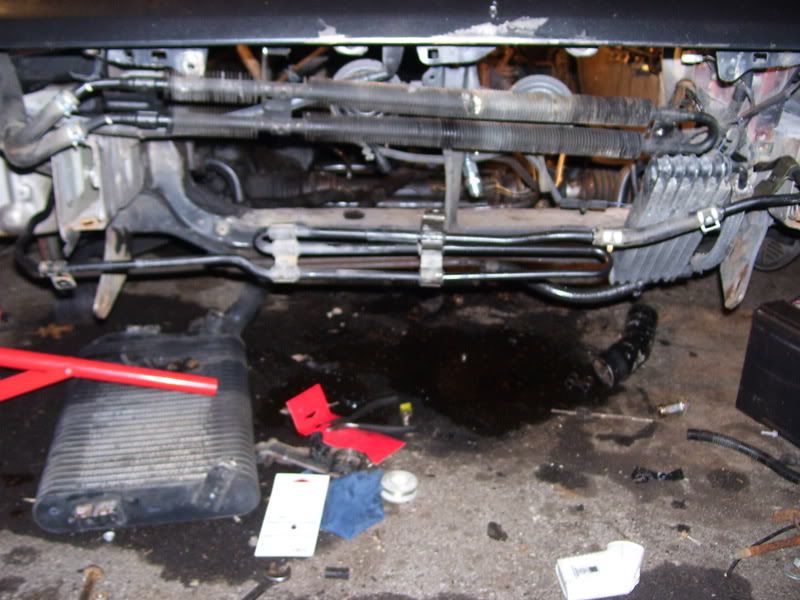
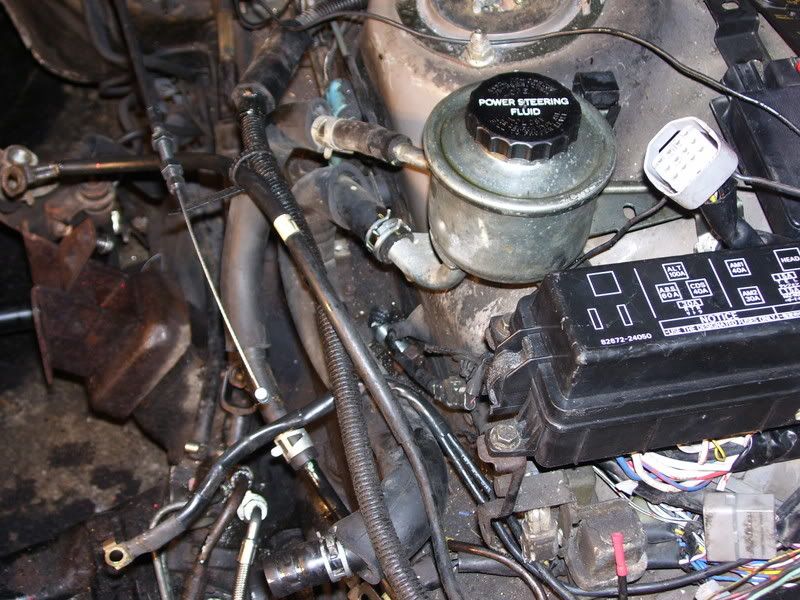
First thing I did was replace the 7M PS pressure line with the DM pressure line..
p933571_1.jpg

p933571_2.jpg


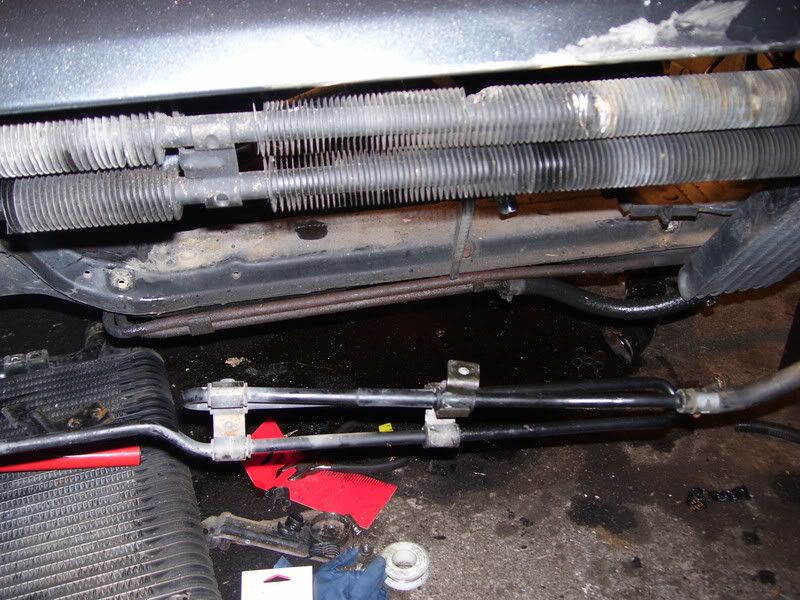
I then routed the JZ PS cooler where the 7M cooler was and bolted the PS reservoir to the body...
p933571_3.jpg

p933571_4.jpg


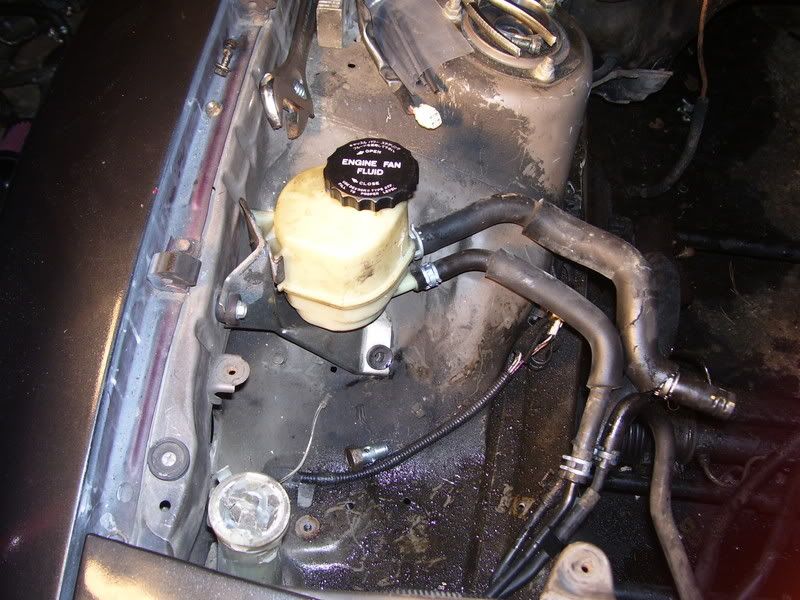
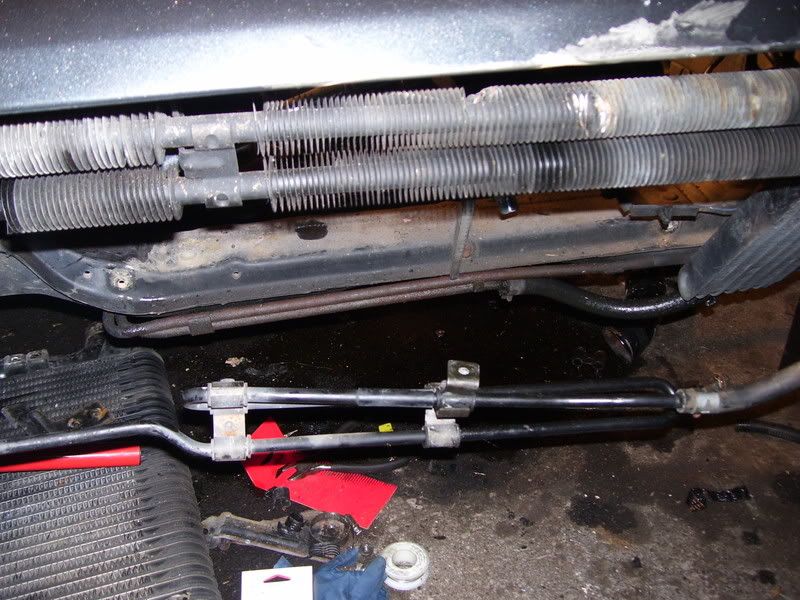
After the PS lines and reservoir were all done I mounted the hydrofan reservoir and mounted the cooler..
p933571_5.jpg

p933571_6.jpg


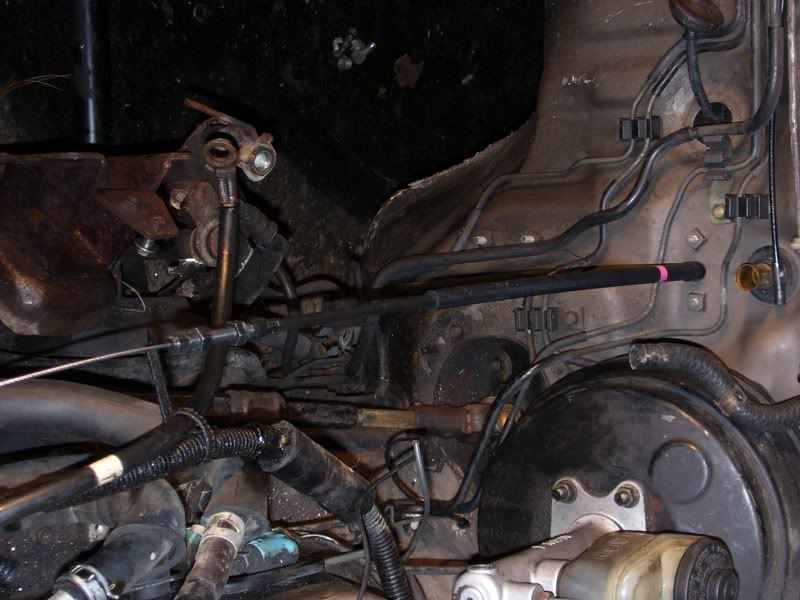
And last but not least I put in the 2JZ throttle cable and it looks like it'll reach perfectly!
p933571_7.jpg


That's it for now, just waiting for the new y-pipe to show up and then I think I'll have everything good and ready to drop in:naughty:.
 

soapra

Supramania Contributor
Apr 6, 2005
860
0
0
VVTi'n, CA
www.kaizenmotorsport.com
In this picture, it looks like you routed the coolers the wrong way. The one with the heat sinks on it, attaches to the bumper support. The one that does the loops goes attached to the header panel. Everything else looks good. :evil2:

p938298_1.jpg


PS. Get rid of the 7M oil cooler!
 

apexi287

New Member
Jul 24, 2005
401
0
0
Knoxville, TN
soapra;938298 said:
In this picture, it looks like you routed the coolers the wrong way. The one with the heat sinks on it, attaches to the bumper support. The one that does the loops goes attached to the header panel. Everything else looks good. :evil2:

p938465_1.jpg


PS. Get rid of the 7M oil cooler!

Yeah after looking at everything I routed I did flip the two around I'll be sure switch those up, and yeah I have yet to remove the 7M cooler that'll be gone as well, it completely slipped my mind when I was routing everything.
 

apexi287

New Member
Jul 24, 2005
401
0
0
Knoxville, TN
mk3 bamf;938292 said:
Update?:biglaugh:

I have just been waiting on the y-pipe that I had to re-order, but I received that yesterday and opened it immediately after work:naughty:! So that'll be in today as well as putting everything else back together, pics will be up later. Great timing for everything really because I have a 3 day weekend no work Friday, Saturday or Sunday!

I'm ready to get this bad boy fired up:evil2:!
 

apexi287

New Member
Jul 24, 2005
401
0
0
Knoxville, TN
Sorry its been a couple days since the last update, so I will give the entire weekend update! With a lot of pics:evil2:.

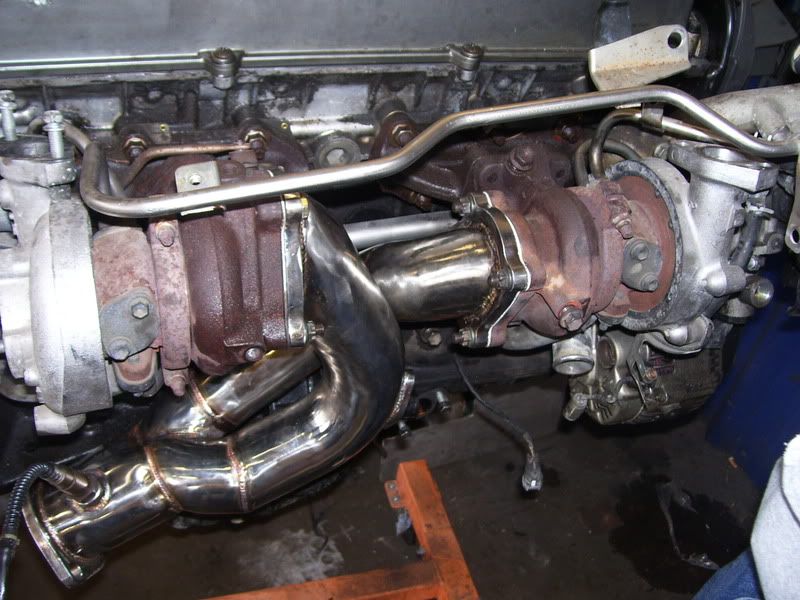
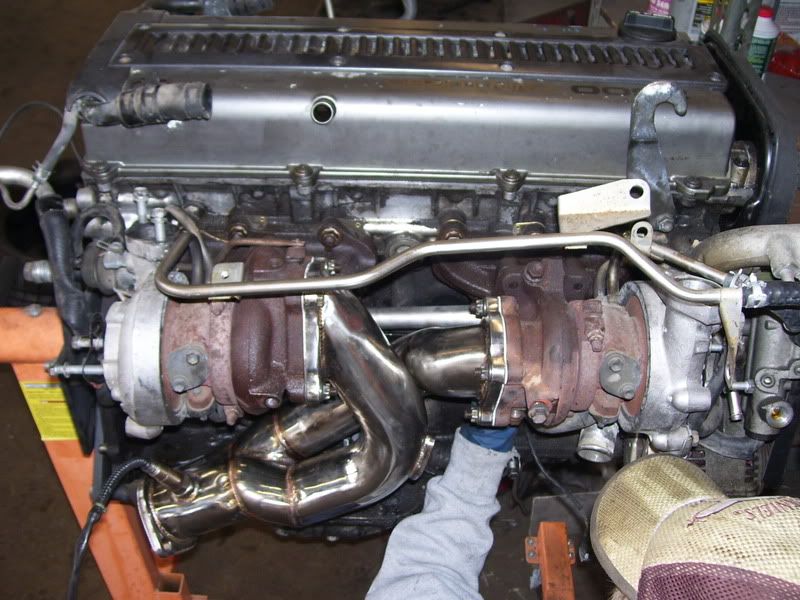
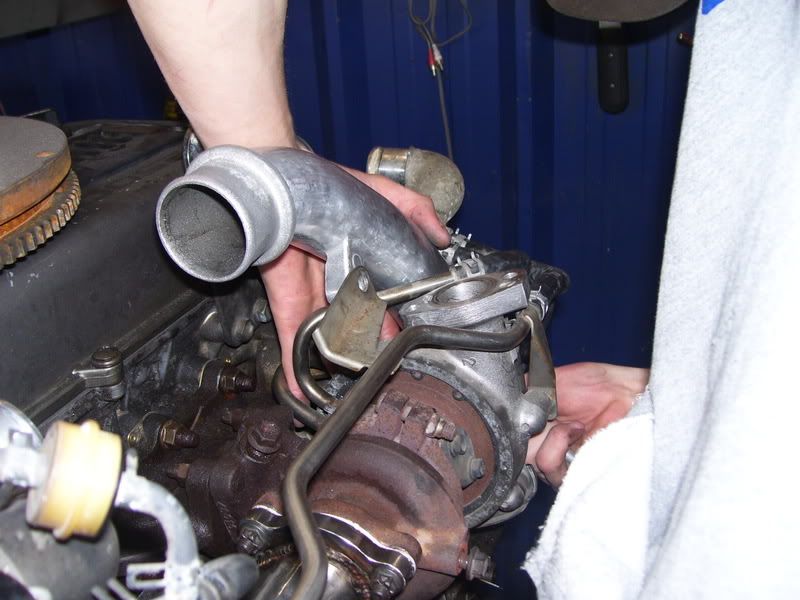
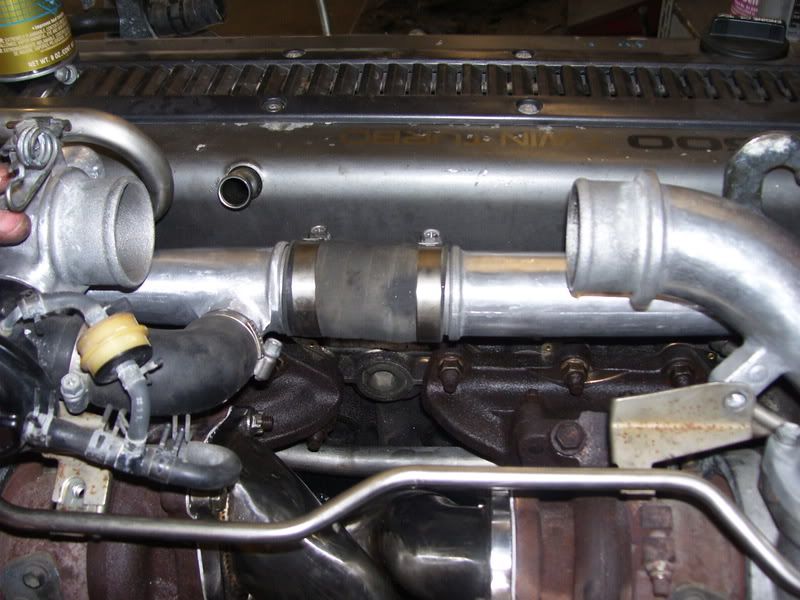
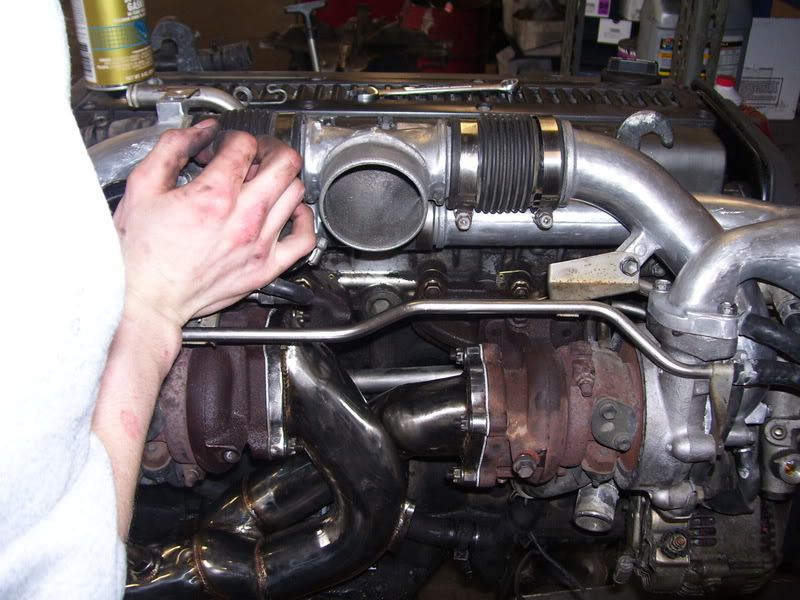
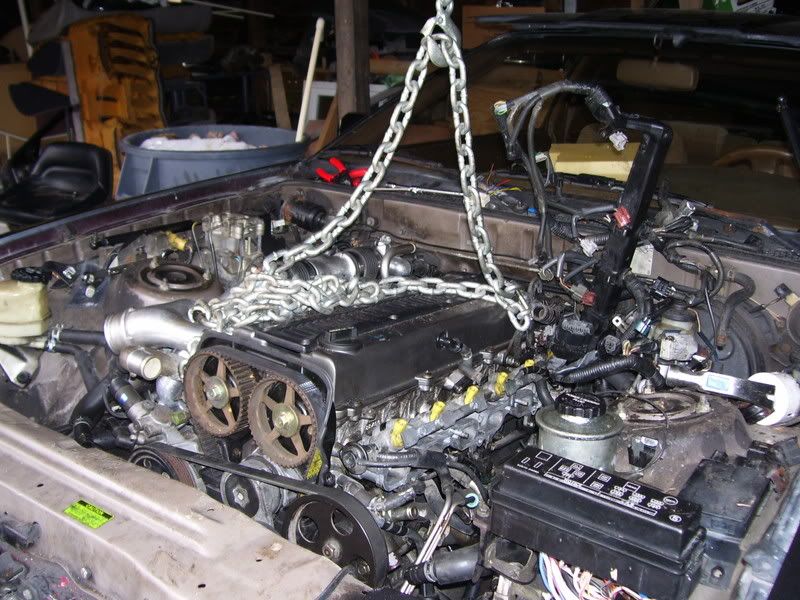
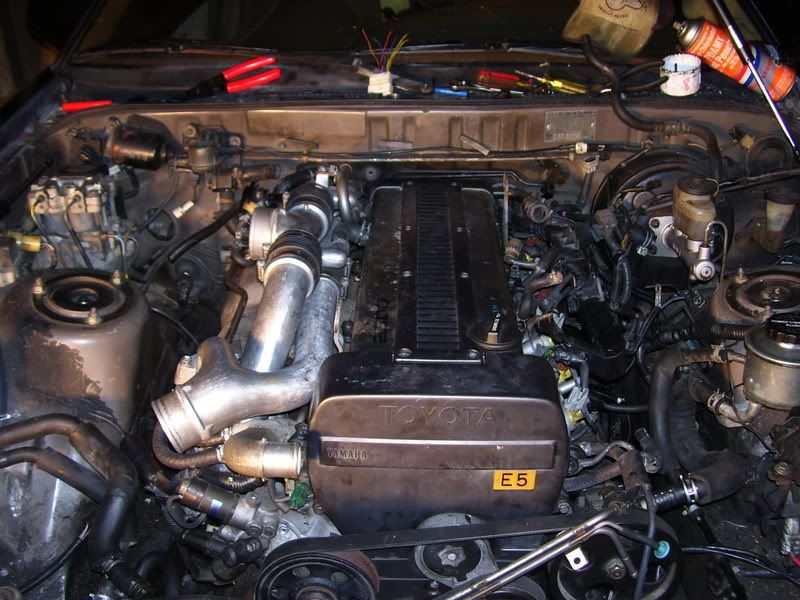
I had to go into work friday morning to finish putting the IC/Intake pipes on as well as the y-pipe since i had to hog the y-pipe holes out since they didn't align exactly 100% thursday night.

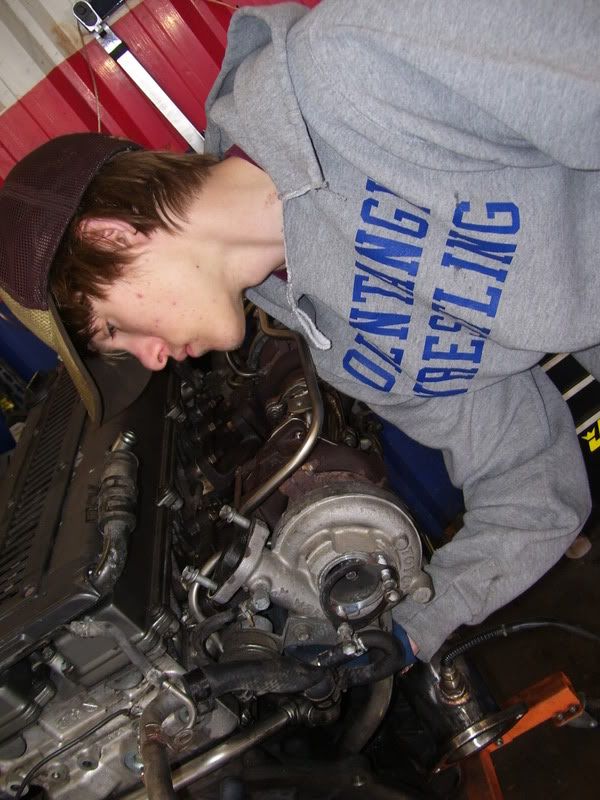
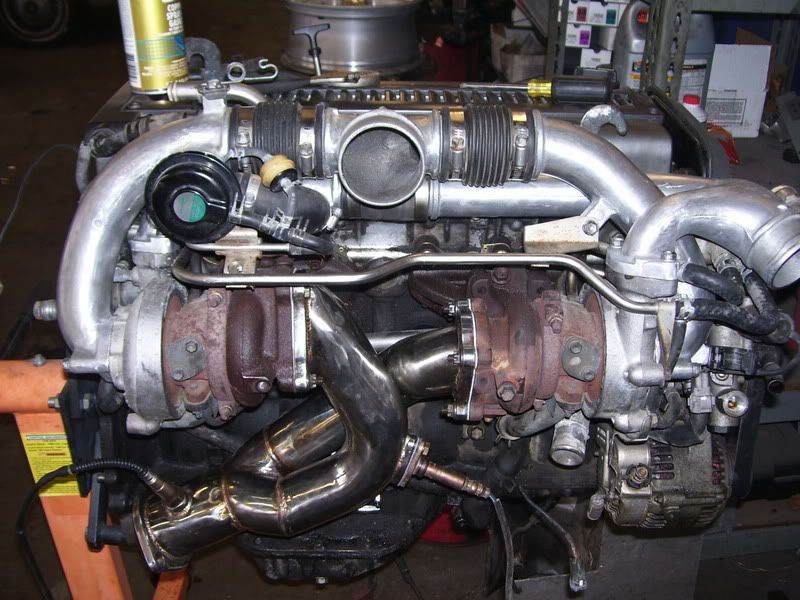
Y-pipe on..I found it easier just to take both turbos of connect the pipe then slide the 2 on as one, and I want to replace the exhaust mani gaskets anyways.
p943673_1.jpg

Tightening the stubborn studs from turbo to mani.
p943673_2.jpg

p943673_3.jpg

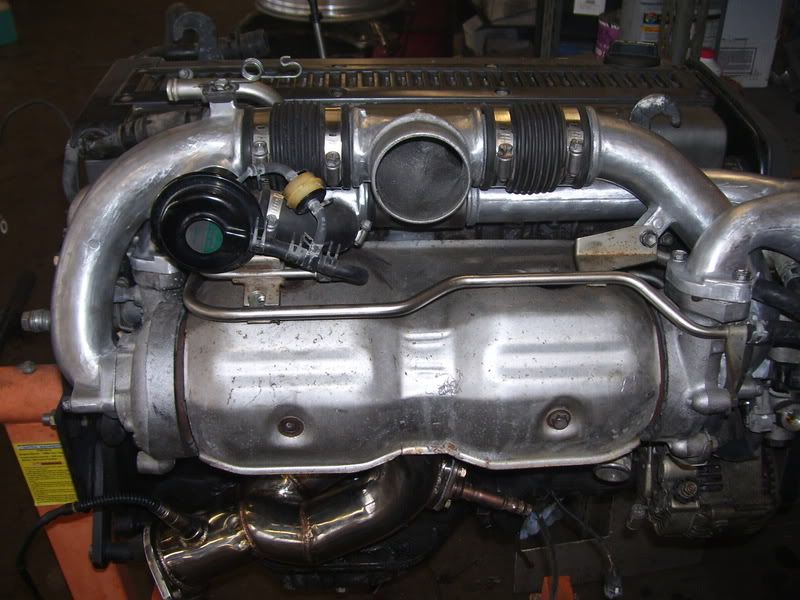
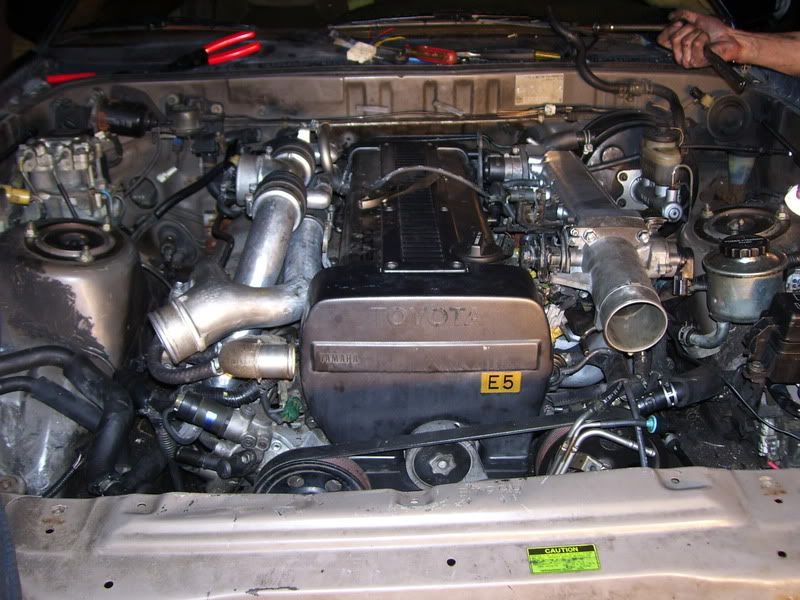
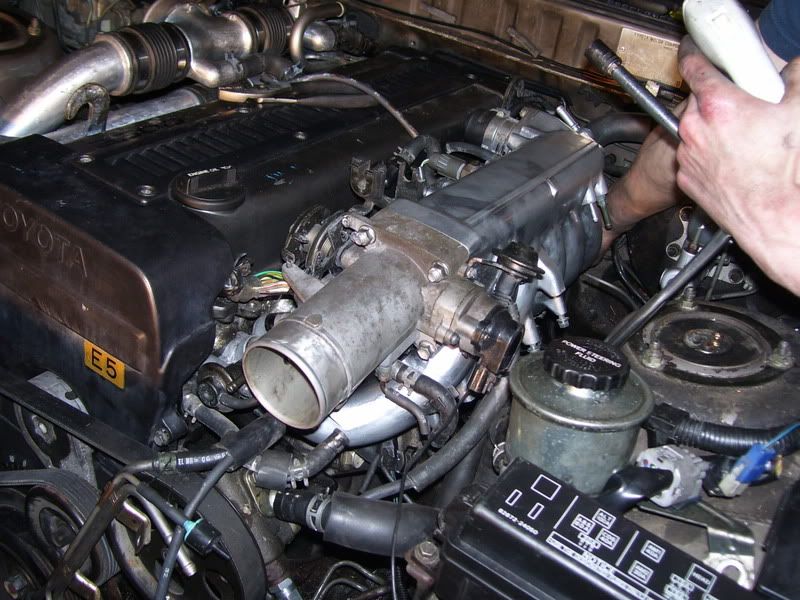
Once those were on i assembled all the pipes on again and heatshield.
p943673_4.jpg

p943673_5.jpg

p943673_6.jpg

p943673_7.jpg

Y-pipe w/out heatshield
p943673_8.jpg

With heatshield, I figured instead of seeing the nice shiny y-pipe I'd keep the heat where it belongs.
p943673_9.jpg
 

apexi287

New Member
Jul 24, 2005
401
0
0
Knoxville, TN
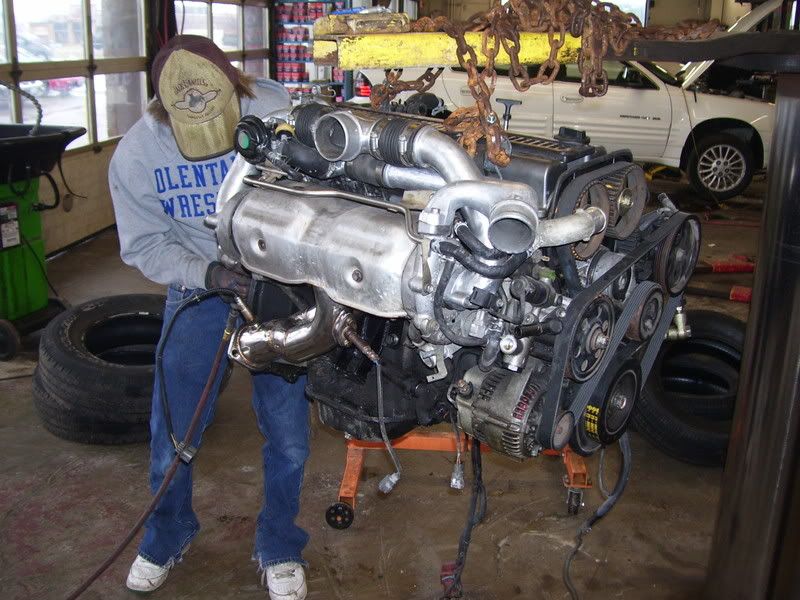
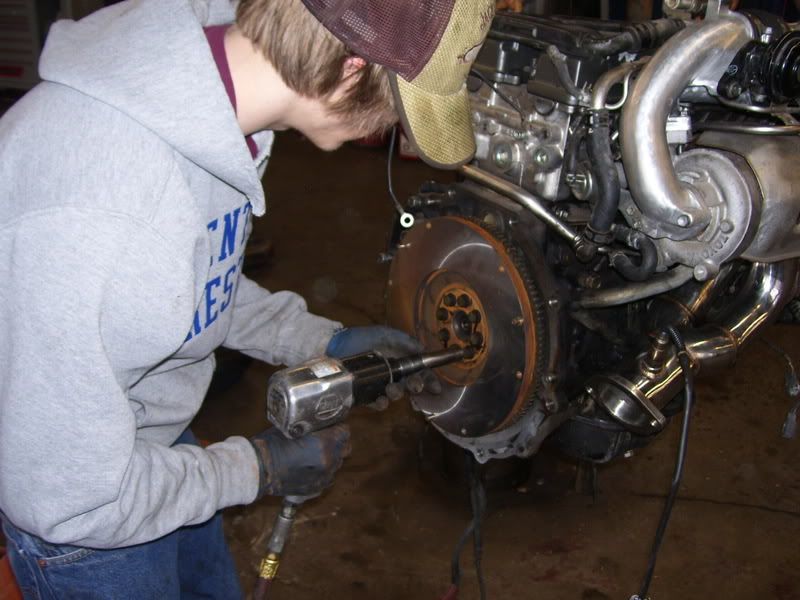
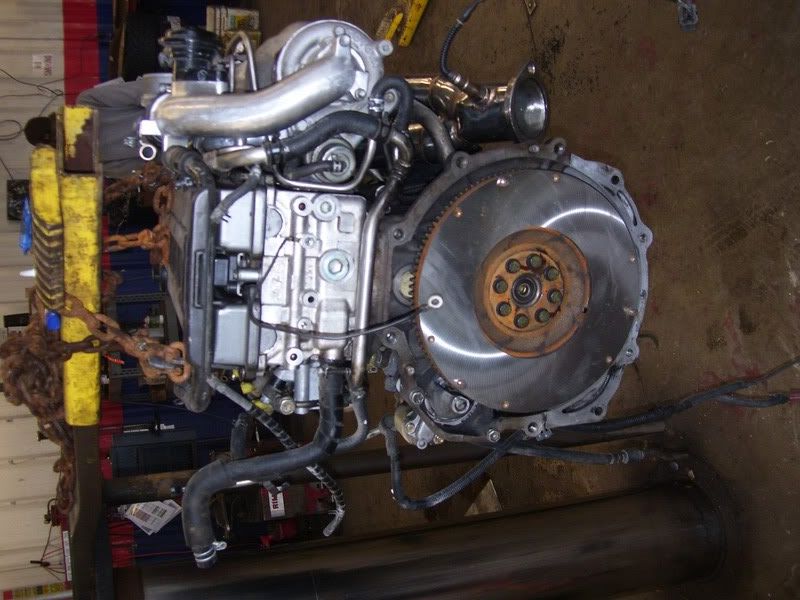
Then it was time to get the engine off the stand, with our lifts I used that to put the flywheel on.
p943683_1.jpg

p943683_2.jpg

Nice a resurfaced, compared to the pic on the 1st page..
p943683_3.jpg


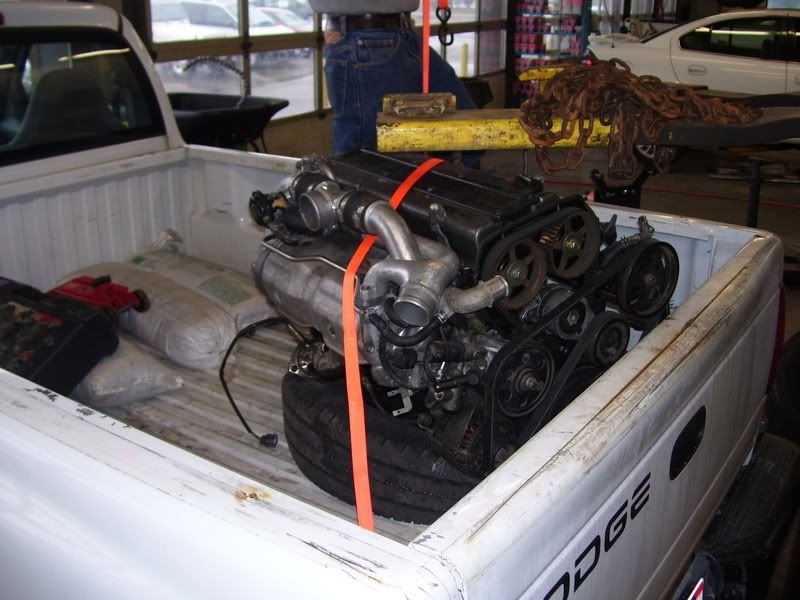
And then loaded it up to take home!:naughty:
p943683_4.jpg


That was all Friday, I didn't get as much done as I would of like but saturday was even worse:3d_frown:.
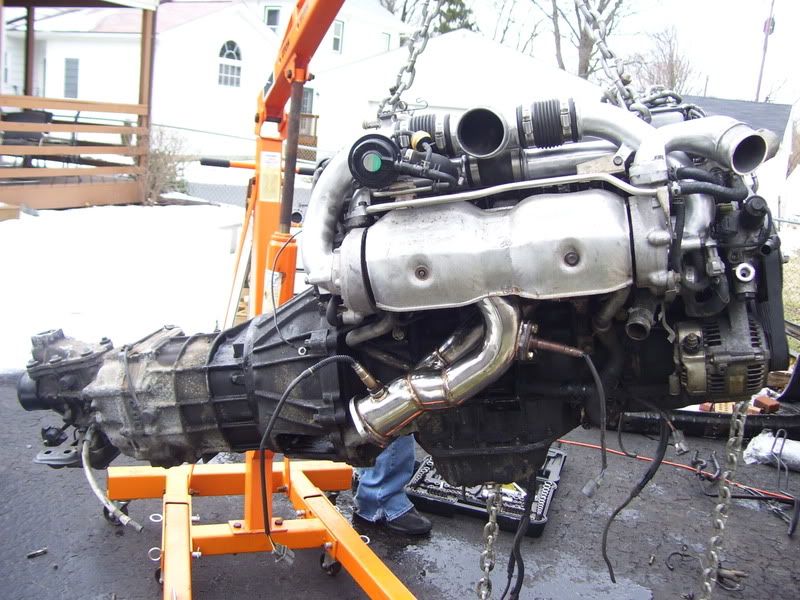
First thing in the morning i put the clutch and tranny on.
p943683_5.jpg

Then we had our morning energy drink/coffee:sarcasm::naughty:
p943683_6.jpg


I had yet to drill the speedo hole out so I had to do that and had a bad experience with the bit not cutting so we had to go one hole at a time with a small drillbit until it was enlarged:3d_frown:.
p943683_7.jpg

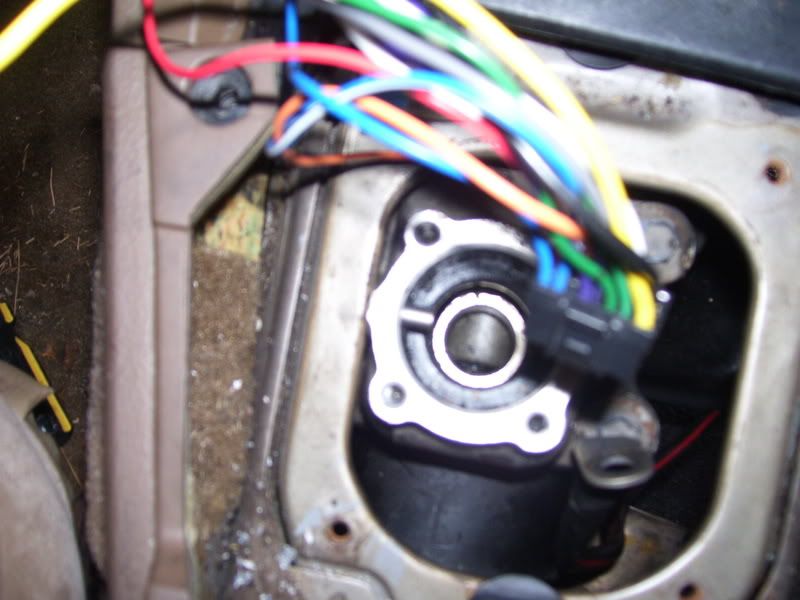
Then it was time to route the harness, throught the speedo hole down past and in front of the heater box to the glove box.
p943683_8.jpg

p943683_9.jpg

p943683_10.jpg
 

apexi287

New Member
Jul 24, 2005
401
0
0
Knoxville, TN
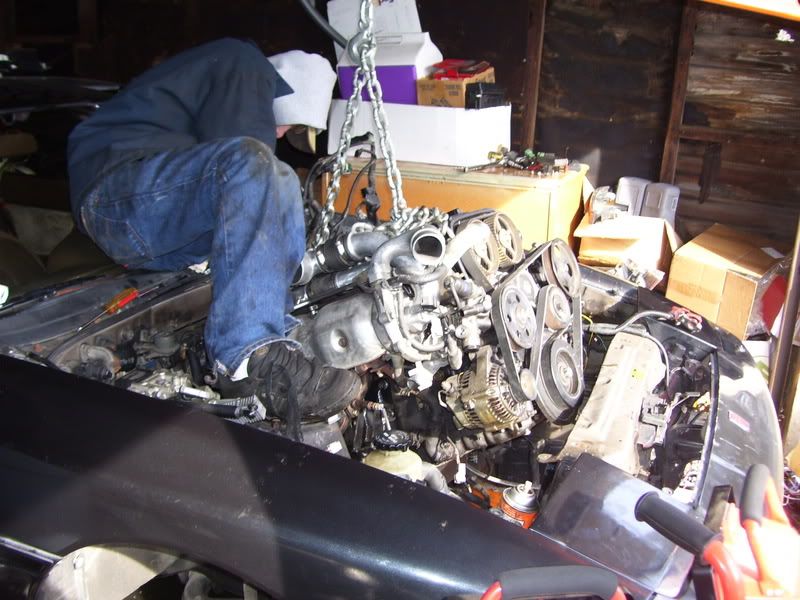
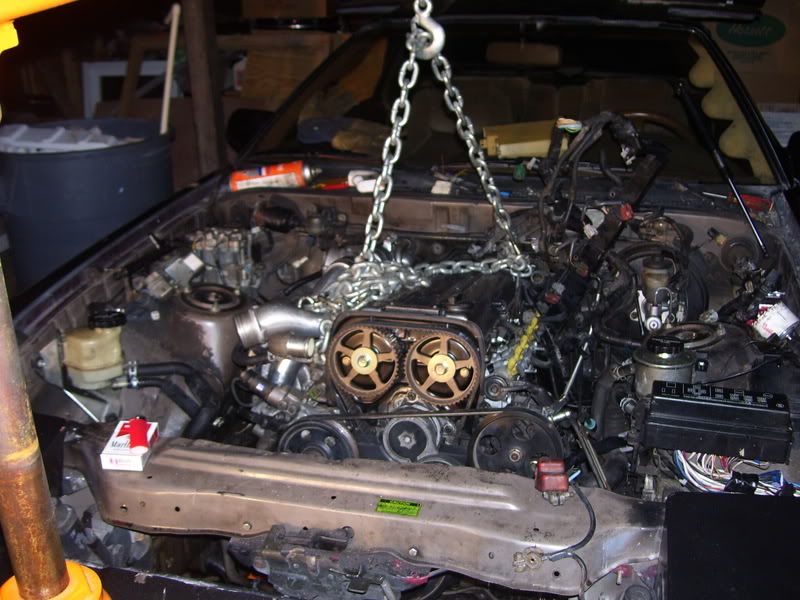
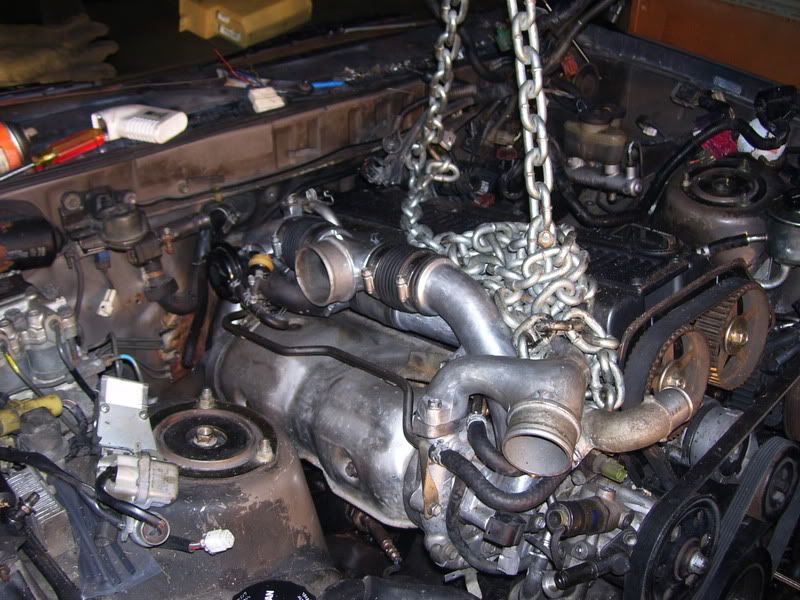
Then the actually dropping in of the motor took the rest of the day, well we cut it short at 4 then sunday morning. The motor mounts and cross member were giving us all kinds of headaches, either getting jammed or it was unlevel but it eventually all lined up.
p943692_1.jpg

p943692_2.jpg

p943692_3.jpg

p943692_4.jpg

p943692_5.jpg

p943692_6.jpg

Tranny lined up were the shifter hole is.
p943692_7.jpg

And the pic where it was all lined up.
p943692_8.jpg

And jaydee(supramaniac) tightening the motor mounts up.
sm_photo_missing.jpg

sm_photo_missing.jpg
 

apexi287

New Member
Jul 24, 2005
401
0
0
Knoxville, TN
We then went in to grab some food then went back out to run the harness and bolt down the intake mani, and connect all other hoses and lines, and jaydee was putting the interior/dash pieces back together.
p943695_1.jpg

p943695_2.jpg

p943695_3.jpg

p943695_4.jpg


And that was the weekend, as of right now which I'm about to get started on with jaydee, is finishing running the vac and coolant lines around the intake and plug in all the connectors on the block. Tighten the DM hydro line, install the shifter, clutch fork and slave, then cut to fit the IC pipes and fill up all the fluids. Everything left is pretty much gravy work, so depending on my work schedule this week it should be running by the end of the week if not the weekend:naughty::evil2::aigo:!
 

apexi287

New Member
Jul 24, 2005
401
0
0
Knoxville, TN
Ok I have an update on everything but need some help, I got everything finished up last night, all wires connected, vac and coolant lines. I filled up all the fluids and gave it a go at firing it up but no go, it'll crank all day but not turn over:3d_frown:.

It didn't throw any code last night, but I tried again tonight and it did. I'm not smelling any fuel and i don't think I'm getting spark which would make sense as I'm throwing a code 12(basic trouble area is the CPS)...
Diagnosis
* No "NE" or "G" signal to ECU within 2 seconds after engine has been cranked.

Trouble Area
* Distributor, or CPS, circuit
* Distributor or CPS
* Starter signal circuit
* ECU

Ideas help:cry:!? It's almost there once I get this all figured out and the 1J running I'll be able to route the IC and the soup will be on the road again!
 

MOON

New Member
Oct 12, 2007
34
0
0
45
calgary alberta
srry i got hint on your no start, but i was whered ya get the y-pipe and down pipe from? thanx

oh yeah.. very sweet ass job on the swap
 
Last edited:

suprastanger507mgte

2x88+2x89+1x91+2x92=ME
Apr 5, 2005
3,148
6
38
Hayward , Ca
apexi287;946472 said:
Ok I have an update on everything but need some help, I got everything finished up last night, all wires connected, vac and coolant lines. I filled up all the fluids and gave it a go at firing it up but no go, it'll crank all day but not turn over:3d_frown:.

It didn't throw any code last night, but I tried again tonight and it did. I'm not smelling any fuel and i don't think I'm getting spark which would make sense as I'm throwing a code 12(basic trouble area is the CPS)...
Diagnosis
* No "NE" or "G" signal to ECU within 2 seconds after engine has been cranked.

Trouble Area
* Distributor, or CPS, circuit
* Distributor or CPS
* Starter signal circuit
* ECU

Ideas help:cry:!? It's almost there once I get this all figured out and the 1J running I'll be able to route the IC and the soup will be on the road again!

Did you connect all the grounds ? Especially the ones on the manifold?
Also, did you just splice the power wires into the fusebox or replace the whole fusebox?