born2drv said:
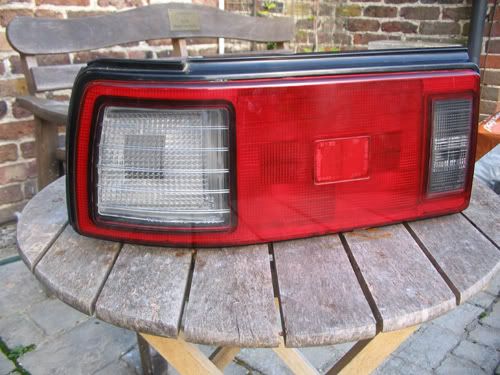
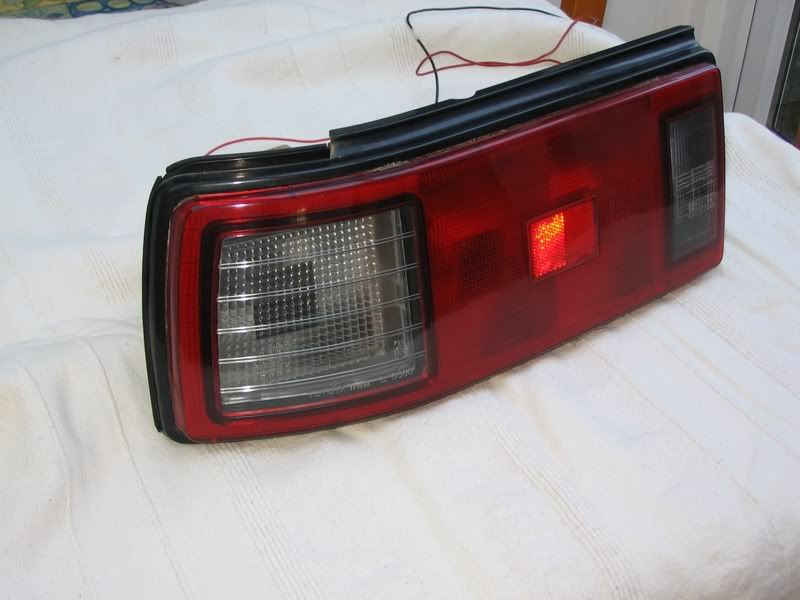
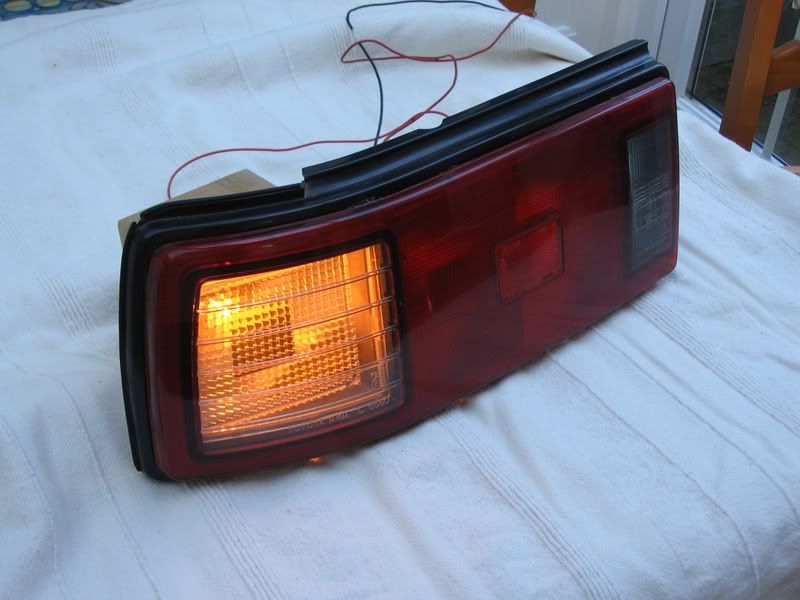
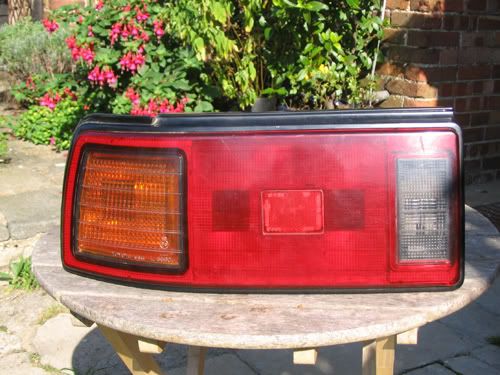
Can you ship out complete tail light assemblies, not jus the amber replacement peice? How hard is it to modify it? I don't mind trying to do it on my own, but I just have the inclination that I'll mess it up! I'd prefer a complete plug-and-play solution if possible. But if you're only going to ship out the plastic peices can you please give very detailed instructions and what types of tools to use exactly so we don't crack/break anything?
Thanks.
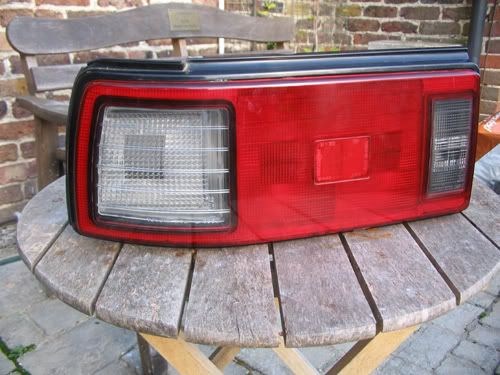
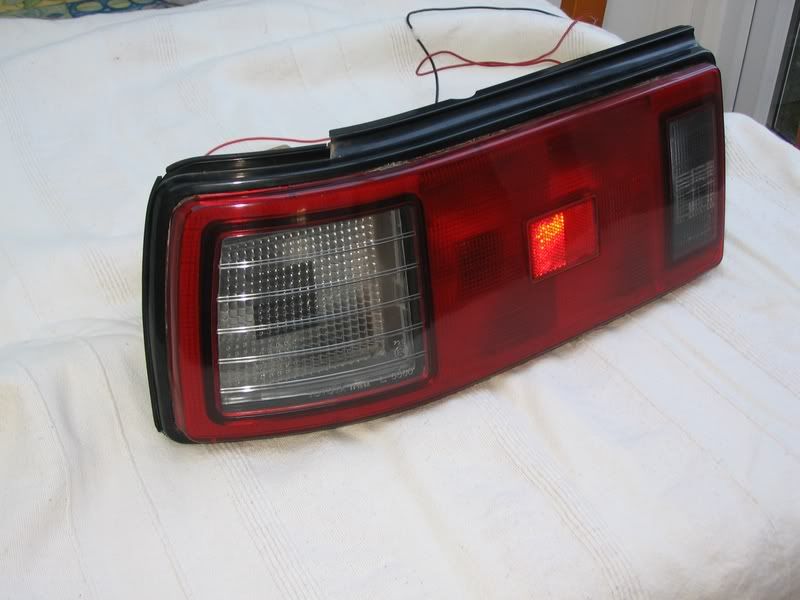
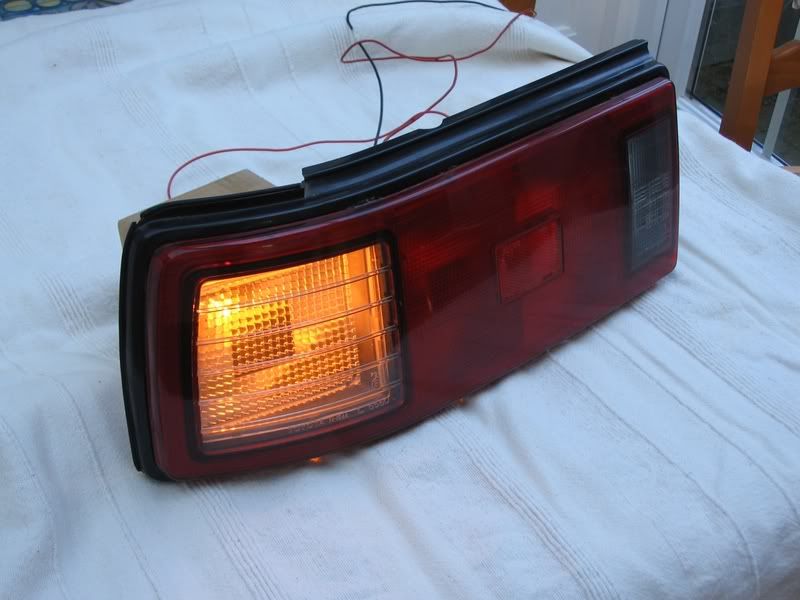
Sourcing, converting and shipping complete units isn't viable for me. However, having split the cluster about half an hour after having one in my hands, I think my technique should be able to be used by most folk with basic practical skills and the right equipment.
This was a basic procedure ...........
Step 1. Using a Dremel mounted in a pillar stand/press, I used a 2mm HSS drill bit not to drill out, but heat up, the 6 little blind head screws round the rear of the casing, until they just started to spin as they melted the plastic. Quickly whip them out with a pliers or wire cutter before the plastic hardens again. It helps if you can expose the head a bit by trimming a little of the plastic away with the scalpel
Step 2. Time for the oven......Firstly, I'd be a bit concerned abourt doing this in a gas oven due to higher risk of melting. Also you need to know where the heating elements are in the oven. I'm lucky - mine are at the back but on some they will be at the sides too. In this case you'd need to be really careful or put the unit in front to back. I put side to side on an oven glove at set oven at 100deg. Check every few minutes, will vary a lot from oven to oven but about 10 mins should do. You must check every couple of minutes to make sure it doesn't overheat. When ready, it should feel quite warm, but not uncomfortably so.
Remove from oven and press firmly through the back of the unit and if hot enough, the lens should start to move.
The grey mastic tries to pull the lens back in the casing - you need to get a little wedge in to stop it. Halves of plastic clothes pegs work well. Also cut any stretchy sealant you can see with a scalpel. You will need to return the unit to the oven for a couple of minutes and then repeat the procedure probably 2-3 times, each time easing the lens a bit further out and wedging another peg in and cutting a bit more of the mastc as its exposed.
That's really all there is to it - don't know what all the fuss was about. ROFL
There is a light grey surround to the indicator lens which I was going to try spraying chrome - not sure it'll make much difference, but may give better reflectance.
Should be able to give final details of price/delivery early next week.
Just a thought, with the cluster apart, it might be worth considering masking off the rear lens and spraying the inside of the clear area with a 'frosted glass' effect spray. Could be interesting and further help to disperse the light.
I'll try the effect on a piece of clear acrylic sheet first - I think it can be removed with hot soapy water, but I'll check before actually trying it out on th lens.
What d'you reckon?....could look really good or crap - possibly how well it was done?
Looks like like I'm going to have to order that new Dremel workstation to be able to tackle the side markers - should be able to get by the end of next week.
Thanks to all for the comments, wouldn't expect to appeal to everybody but general consensus seems favourable.


