Reviving my tired 7M-GTE for a swap (w/ pics)

89_turborunner

New Member
Oct 1, 2006
57
0
0
Oregon
3p141592654 said:
I got mine from 935motorsports.

To figure out for sure how much was removed from your head, measure from the deck to the cam cover flange. Should be exactly 116mm on an uncut head.

Ouch. Mine is 115.4mm Looks like I am getting a 2.0mm head gasket.
 
Last edited:

89_turborunner

New Member
Oct 1, 2006
57
0
0
Oregon
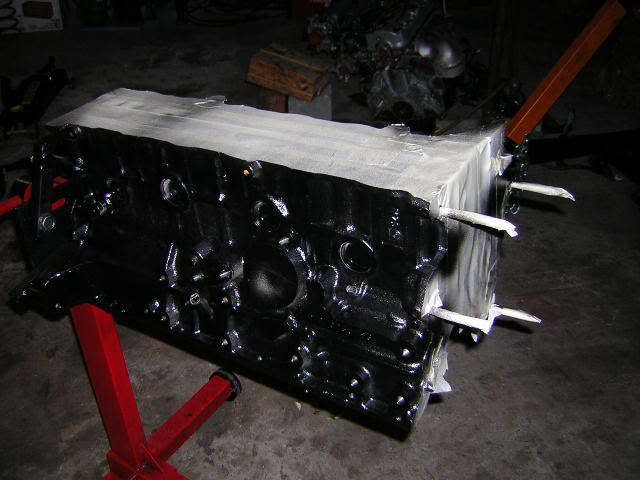
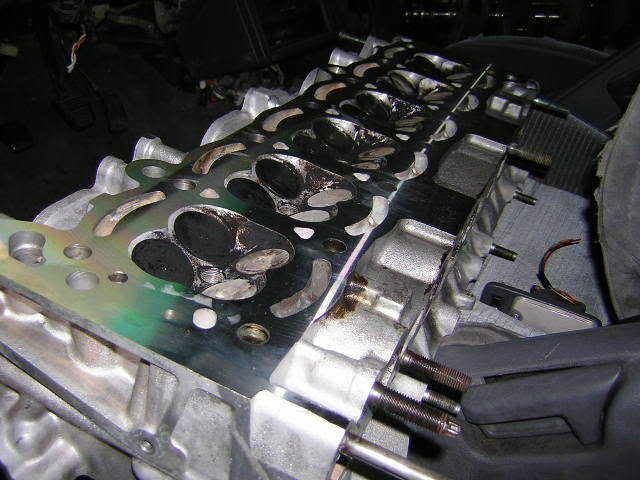
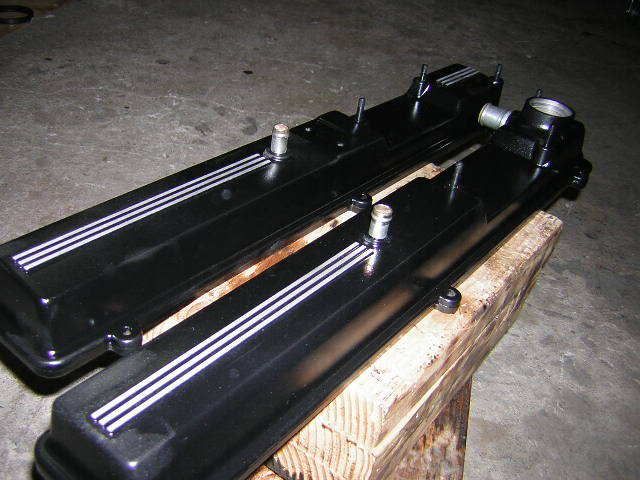
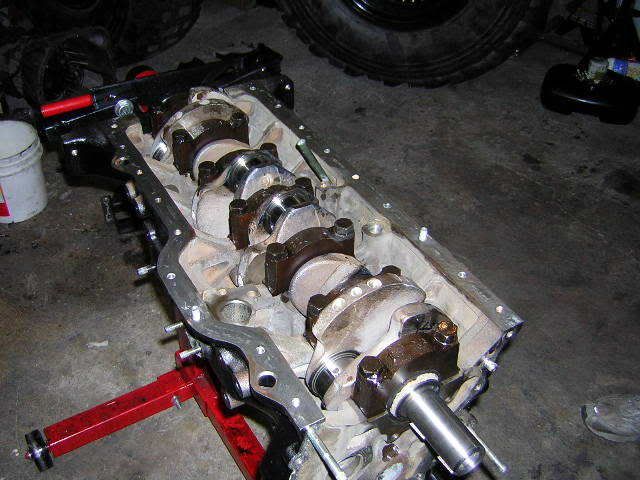
Ok I have pics for everyone.

Got the stuff back from the machinist of course. He said he did an RA of 5. It looks like glass to me. Except he had to take .010 off the block to get most of the pitting out of it. there is still a little, but it is so minimal.

Painted the block, ordering bearings, HG, and ARP studs today. woo-hoo

p496343_1.jpg


p496343_2.jpg


p496343_3.jpg


p496343_4.jpg
 
Oct 11, 2005
3,816
16
38
Thousand Oaks, CA
In your pictures of the block, I don't see the front timing cover installed. Make sure the machinist decks that to the same height as the block or you will have a big leak!
 

89_turborunner

New Member
Oct 1, 2006
57
0
0
Oregon
3p141592654 said:
In your pictures of the block, I don't see the front timing cover installed. Make sure the machinist decks that to the same height as the block or you will have a big leak!

I forgot that part the first time around, then measured the defferance and had another machine shop do it. Should be done now. The original shop can't clamp stuff that small in his mill.

How close do they have to be? is +/- .001 good enough?

Today I got the pistons in, a few of the rod bearing clearances were about .01mm over spec, came in at .070mm, spec is .060. Should This worry me or is it close enough? Also, there is a little bit of blue coloration on the crank (the rough cast part by the rod bearing surfaces). I know this is from heat, but is it normal?

I can get pics tomorrow.
 

supra90turbo

shaeff is FTMFW!
Mar 30, 2005
6,152
32
48
40
MA, 01440
89turborunner said:
This is by far the most positive post i have EVER had in one of my threads. Thank you.
:bigthumb: no problem, man. everything positive that's geared in your direction is well deserved!

89turborunner said:
I forgot that part the first time around, then measured the defferance and had another machine shop do it. Should be done now. The original shop can't clamp stuff that small in his mill.

How close do they have to be? is +/- .001 good enough?
That should be close enough, but I would smear some RTV on top of it before assembly just to fill in any slight surface irregularity, just to be safe.

89turborunner said:
Today I got the pistons in, a few of the rod bearing clearances were about .01mm over spec, came in at .070mm, spec is .060. Should This worry me or is it close enough? Also, there is a little bit of blue coloration on the crank (the rough cast part by the rod bearing surfaces). I know this is from heat, but is it normal?
I'd see about getting the specs somewhere in the middle of the spectrum at least. I'd be more comfortable leaning towards the tight side myself, anywhere outside of the accepted values isn't good no matter how you look at it. 0.01" isn't a lot by any means, but it's apart now, and how many times do you want to rebuild this engine this year? ;)
I'd get it squared away now, while the engine is still apart...

Is the crank scored at all? one of the 3 cranks that I have is pretty blued around one rod journal and that one journal is fucked...
If there's any scoring, check if it's acceptable. Take a pre-1970 penny and rub it across the rough area. If it leaves copper behind, the crank needs to be machined.


::edit:: my color choice for the rig is olive drab green. that, or satin black. not flat black, but satin black with a satin clearcoat. that would be awesome.
 

89_turborunner

New Member
Oct 1, 2006
57
0
0
Oregon
supra90turbo said:
:bigthumb: no problem, man. everything positive that's geared in your direction is well deserved!


That should be close enough, but I would smear some RTV on top of it before assembly just to fill in any slight surface irregularity, just to be safe.


I'd see about getting the specs somewhere in the middle of the spectrum at least. I'd be more comfortable leaning towards the tight side myself, anywhere outside of the accepted values isn't good no matter how you look at it. 0.01" isn't a lot by any means, but it's apart now, and how many times do you want to rebuild this engine this year? ;)
I'd get it squared away now, while the engine is still apart...

Is the crank scored at all? one of the 3 cranks that I have is pretty blued around one rod journal and that one journal is fucked...
If there's any scoring, check if it's acceptable. Take a pre-1970 penny and rub it across the rough area. If it leaves copper behind, the crank needs to be machined.


::edit:: my color choice for the rig is olive drab green. that, or satin black. not flat black, but satin black with a satin clearcoat. that would be awesome.

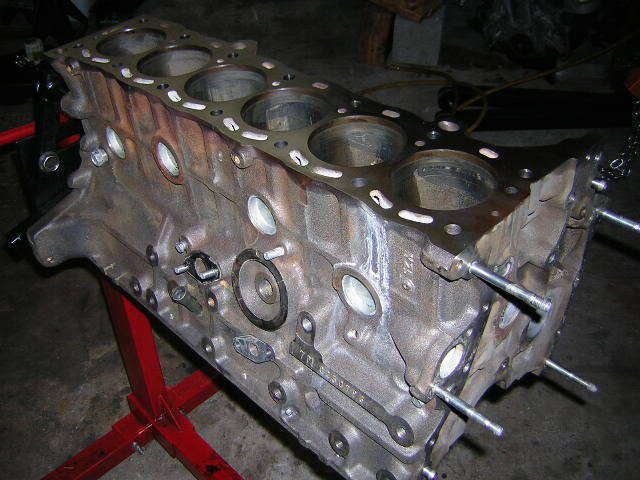
There were no spun bearings on the crank, and no scoring. I had the crank polished at the machine shop, and he said that all the bearings should be standard size. I measured the last two bearing surfaces after I got the first large plastigage reading, and they were just below spec (on the loose side, by like .01-.02mm. So the reason is that it is the crank being a little on the small side. But getting the crank machined costs like $300. Then I have buy another $50 in bearings, reinstall everyhting.

OH BTW- This is a 6M crank. As far as I know it is original in my 89 motor.

Second opinions? Experiance?
 

89_turborunner

New Member
Oct 1, 2006
57
0
0
Oregon
Re plastigaged the crank bearings, they are good.

I am not sure if I have the two matching sensors under the intake manifold (where it would be) in the right holes in the block... Oil the oil pressure sending unit on the exhaust side. Anyone know?

Got a lot done, heat is torqued to 120 with 30wt oil on the ARPs, cometic 2.0mm is in of course.


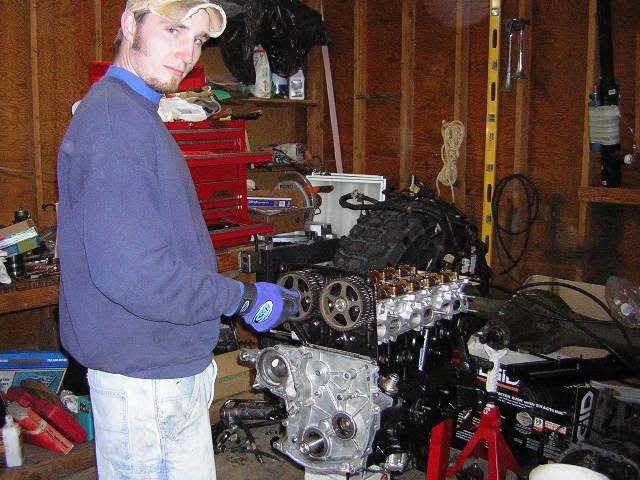
p510794_1.jpg

Josh (the local help) putting on the cam gears
sm_photo_missing.jpg

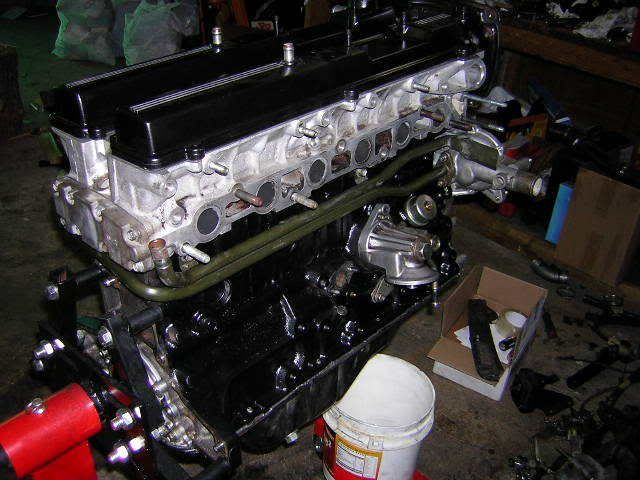
Oil pump by aisin (toyota scratched off?)
p510794_2.jpg

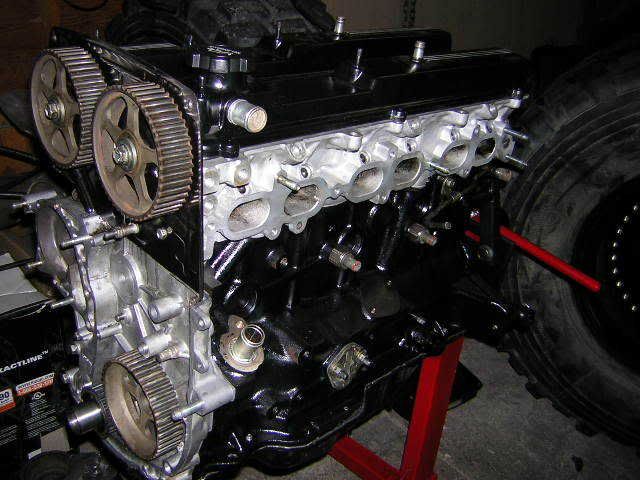
Getting there
p510794_3.jpg
 
Oct 11, 2005
3,816
16
38
Thousand Oaks, CA
Move your front knock sensor forward to the next bung. Where it is mounted now is only for the single knock sensor on the 7MGE. Oil sensor looks right, but a better camera angle would help to confirm.
 

89_turborunner

New Member
Oct 1, 2006
57
0
0
Oregon
3p141592654 said:
Move your front knock sensor forward to the next bung. Where it is mounted now is only for the single knock sensor on the 7MGE. Oil sensor looks right, but a better camera angle would help to confirm.

Great advice, thanks.