:bigthumb: no problem, man. everything positive that's geared in your direction is well deserved!
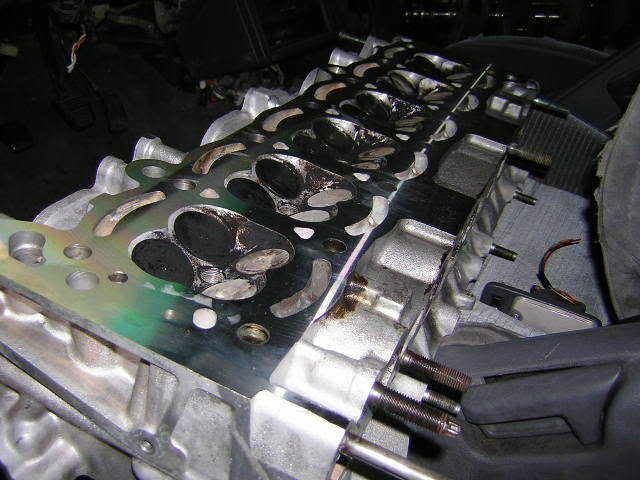
That should be close enough, but I would smear some RTV on top of it before assembly just to fill in any slight surface irregularity, just to be safe.
I'd see about getting the specs somewhere in the middle of the spectrum at least. I'd be more comfortable leaning towards the tight side myself, anywhere outside of the accepted values isn't good no matter how you look at it. 0.01" isn't a lot by any means, but it's apart now, and how many times do you want to rebuild this engine this year?
")
I'd get it squared away now, while the engine is still apart...
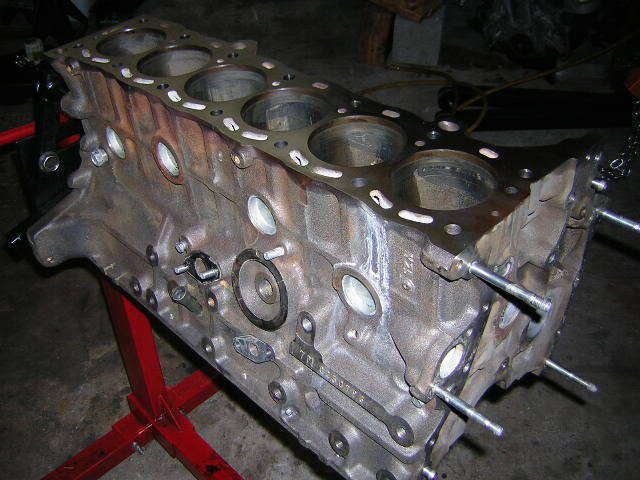
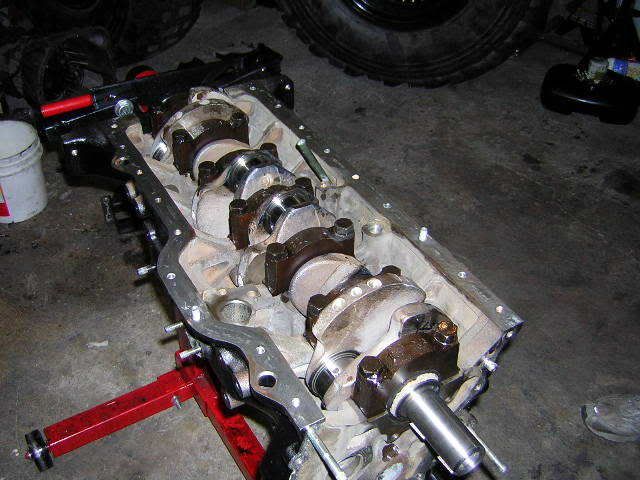
Is the crank scored at all? one of the 3 cranks that I have is pretty blued around one rod journal and that one journal is fucked...
If there's any scoring, check if it's acceptable. Take a pre-1970 penny and rub it across the rough area. If it leaves copper behind, the crank needs to be machined.
::edit:: my color choice for the rig is olive drab green. that, or satin black. not flat black, but satin black with a satin clearcoat. that would be awesome.