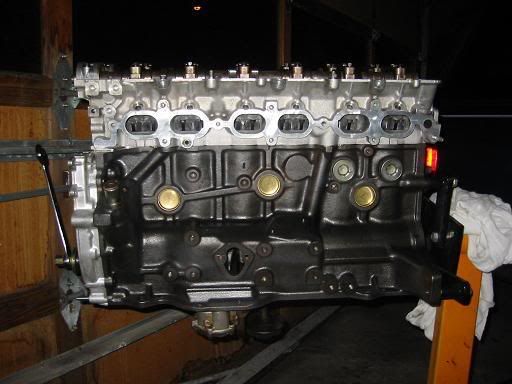
My new 7M buildup...long road.

supraguy@aol

Well-Known Member
Dec 30, 2005
4,235
37
48
Atlanta
Ok, for the past year or so I have been collecting parts for my next buildup; a 7MGTE that'll reliably handle the 300-400hp range. I wanted to have a complete longblock ready to drop in, rather than rebuilding my current one, so I could reduce downtime. Besides, as soon as the old engine is removed, I can begin building that for the 500+ HP goal (do we EVER stop planning the next engine?)

So the parts that I've collected so far are:
A decent block/crank/head
The gasket set
A Cometic MHG
Aluminum flywheel
Aluminum driveshaft
SS T4 header/spacer

Parts I still need to get are:
Probe Industries forged pistons (I'm part of the group buy)- Update- done.
A decent clutch
T4 turbo, with a .68-.84 A/R
external wastegate
oil cooler setup -Update*done*
Stainless valves -Update*done(new oem valves)*
Comp Cams SBC valve springs -Update*done*


I already have a new set of NPR pistons/rings in std., but now that the probe pistons are almost here, I'll end up waiting on them instead. Due to the wait, I've been spending my time starting a port and polish job on the head. I've already had the head and the block machined for the MHG, and had the connecting rods checked/ resized. I included some pics of some of the work so far. I hope there will be more to show you guys soon.

Starting the port work- it's getting there
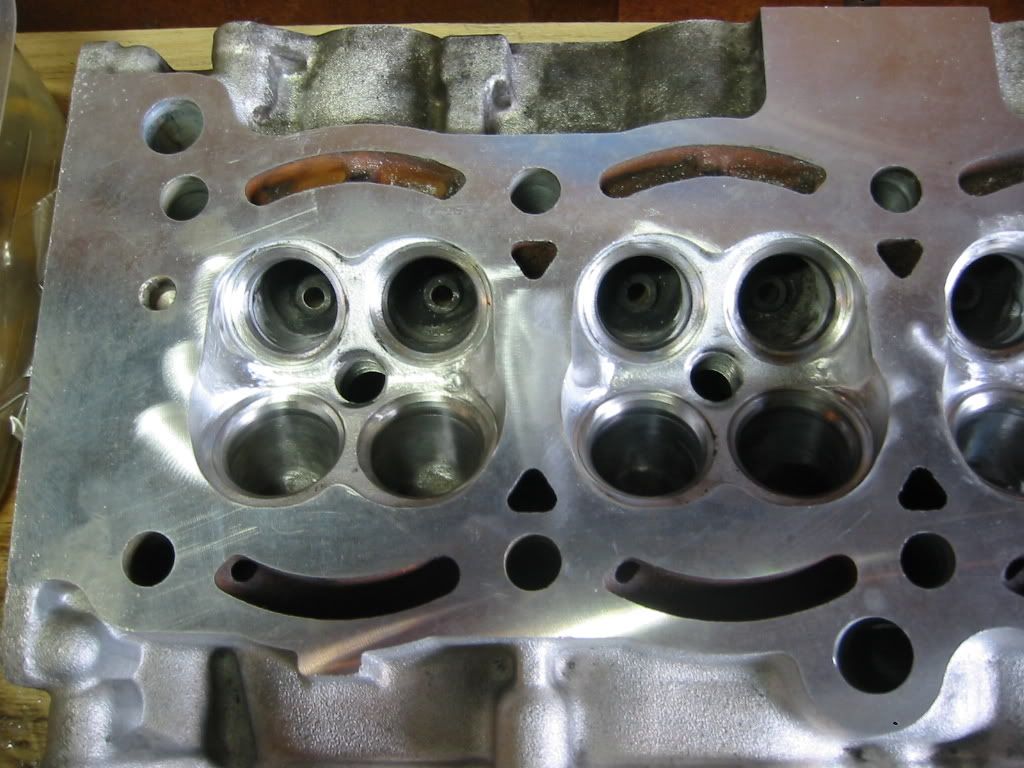
p661010_1.jpg


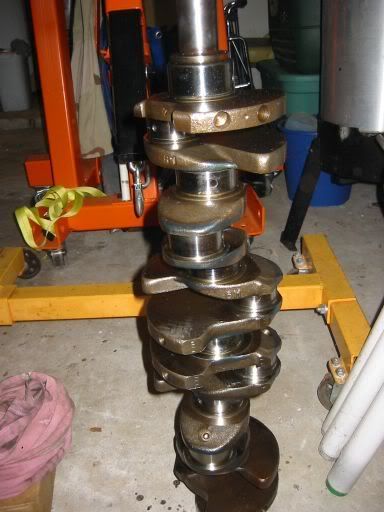
Crank has been polished/ checked
p661010_2.jpg


Yes, the front cover WAS machined with the block (yay!)
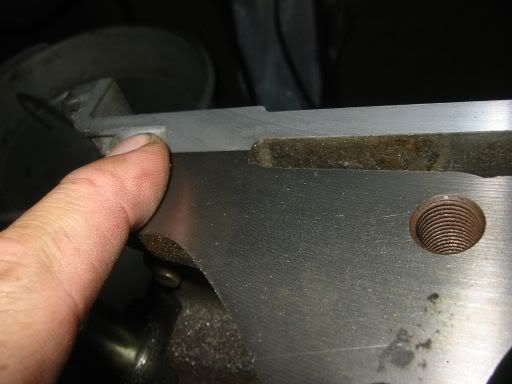
p661010_3.jpg


PS- Just finished heli-coiling the exhaust studs today. As soon as the head's reassembled, I will post some more pics! Thanks for looking.
:naughty:
 
Last edited:

supraguy@aol

Well-Known Member
Dec 30, 2005
4,235
37
48
Atlanta
No real news lately except purchases....
Bought a 130amp alternator, set of BBC springs for the valves, new oil pressure sender, bought into the Probe piston group buy, and just picked up a Kaminari whale tail(always loved it's subtelty over the Bomex version).
Will have new pics up this week with valve head completion(hopefully)
 

supraguy@aol

Well-Known Member
Dec 30, 2005
4,235
37
48
Atlanta
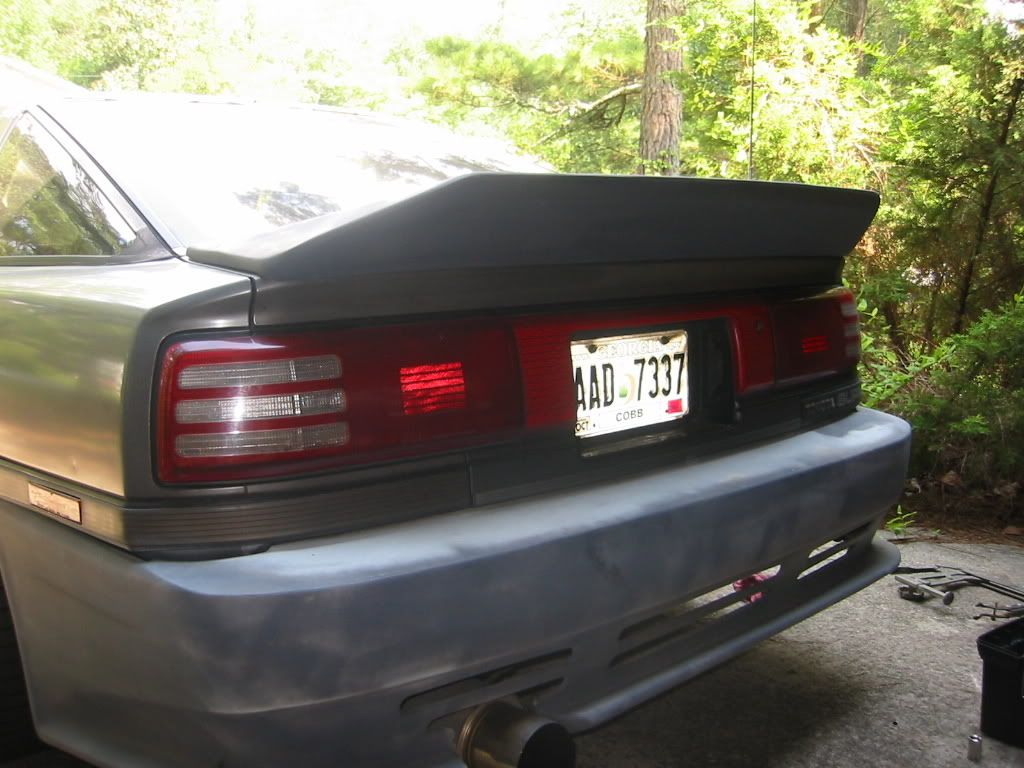
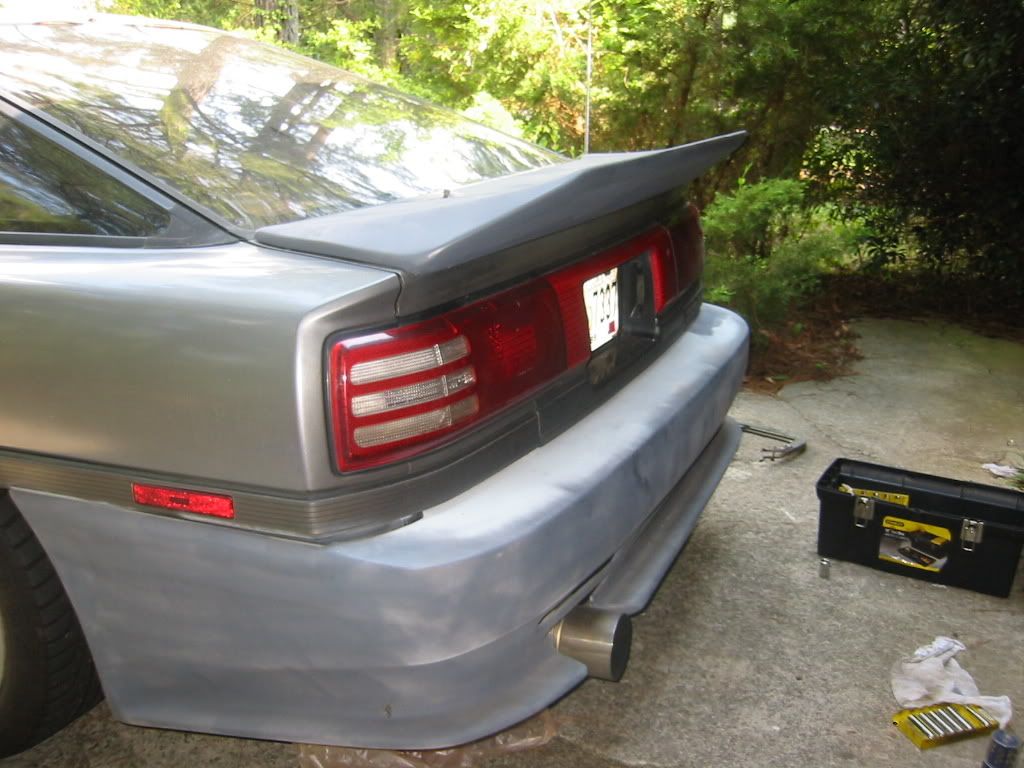
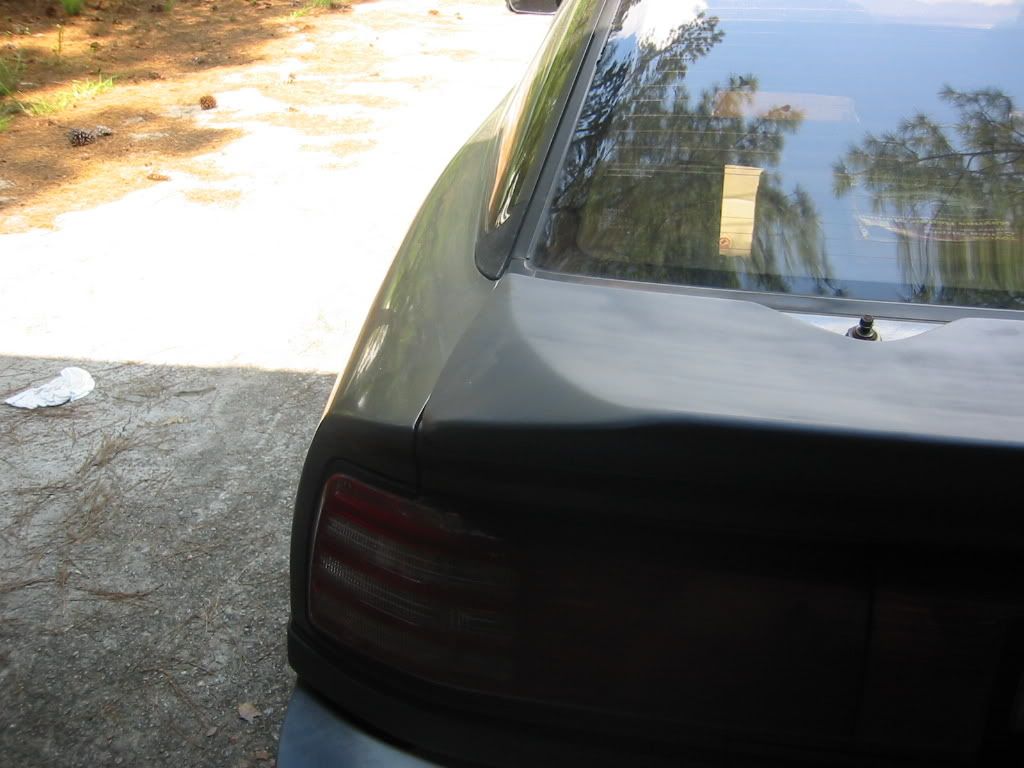
Well, I haven't installed the valves/springs yet, but I did install the Kaminari wing:

p694827_1.jpg

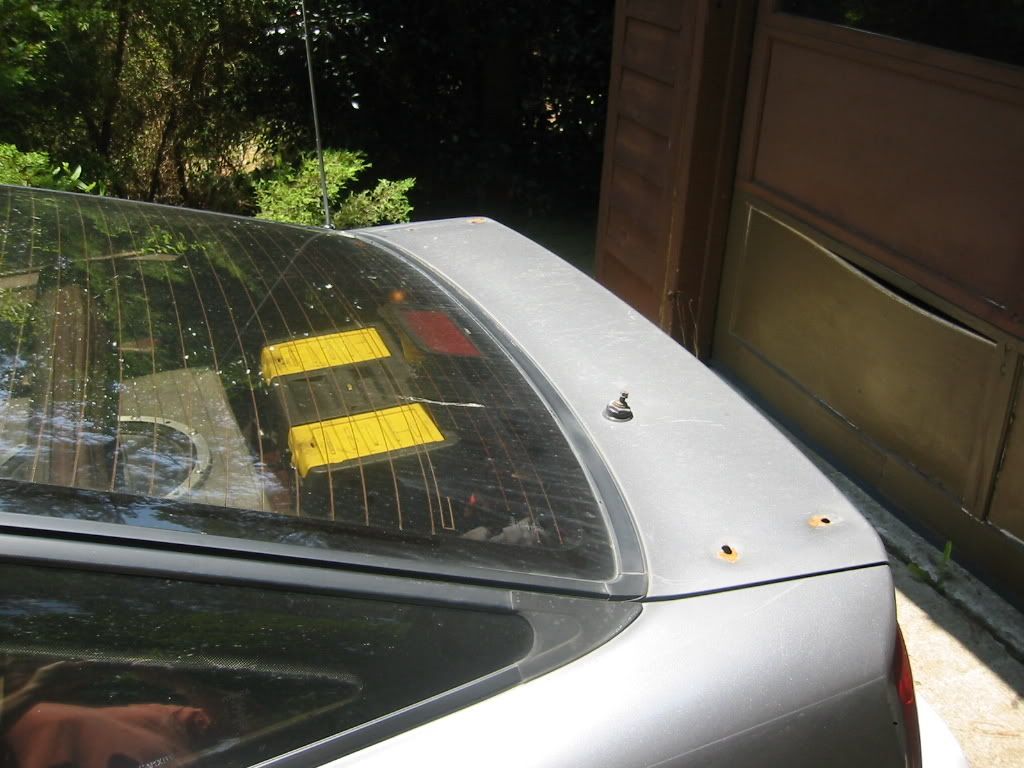
Deck before install- You shoulda seen the nappy Mk IV wing that used to be on here...

p694827_2.jpg

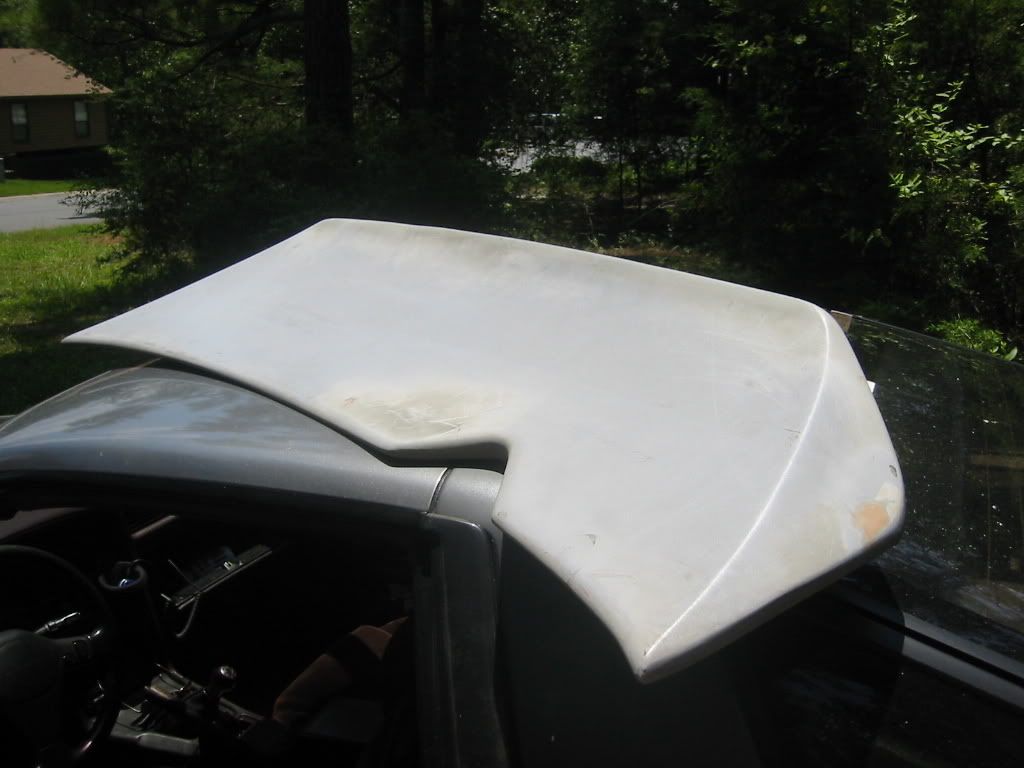
The wing, pre-prepped.

p694827_3.jpg

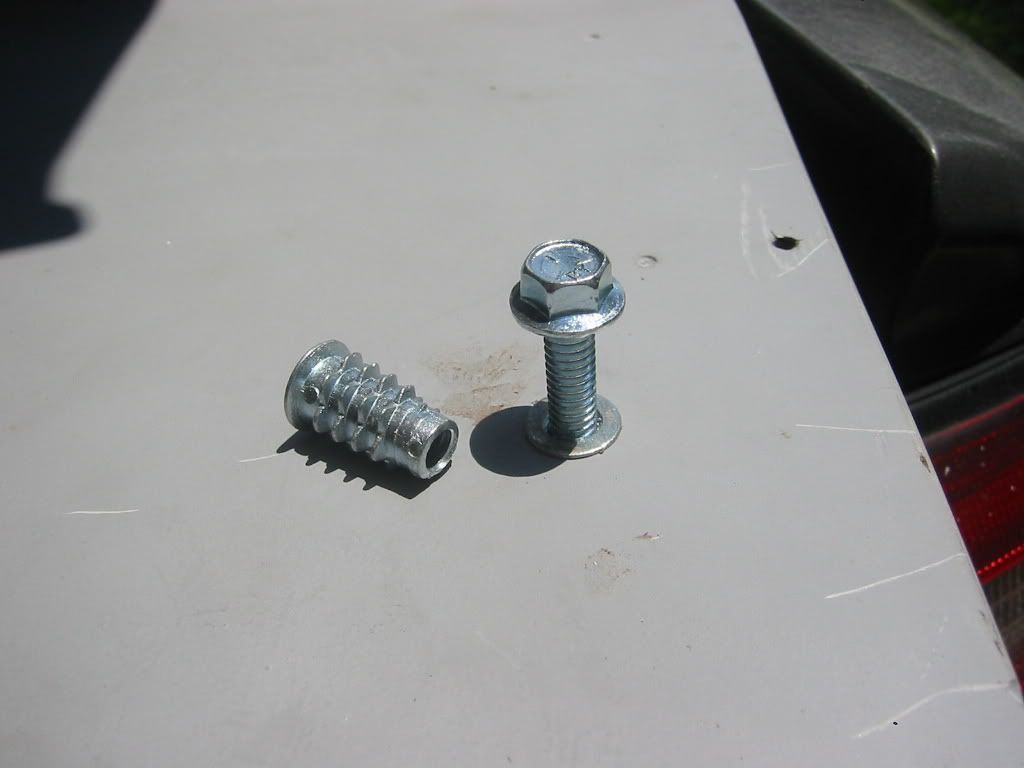
Installing the mount system into the fiberglass- didn't want to just 'bondo' it on.

p694827_4.jpg

Installed, fiberglass jelly around the mounts to seal them, then bolts installed.

p694827_5.jpg

Another angle...

p694827_6.jpg

I really like how the wing FITS the lines of the car.

I know some people hate the Kaminari, and love the Bomex, but I really dig the 80's look of this one, and it's a bit more subtle compared to the Bomex.

Also installed the new 130amp alternator, but dunno if I see any improvement to the car's voltage- I think I may have too much resisitance in the harness, simply from age. Also received a driveshaft safety loop for the aluminum DS, and a set of brass expansion plugs for the engine build. Still waiting on those probe pistons... :icon_frow
 

supraguy@aol

Well-Known Member
Dec 30, 2005
4,235
37
48
Atlanta
Slow progress... It seems like nobody wants to talk to me on my work days, but as soon as my day to work on my car rolls around... BAM! Everybody wants something!

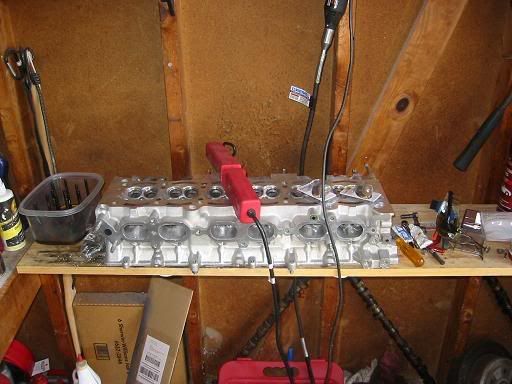
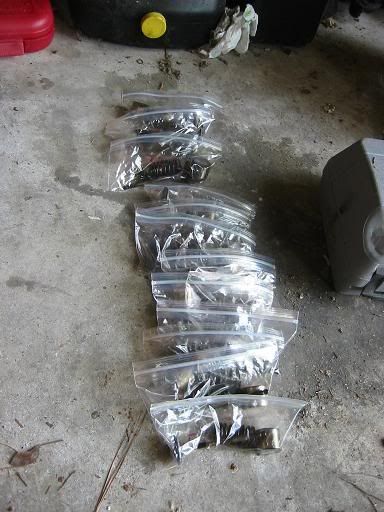
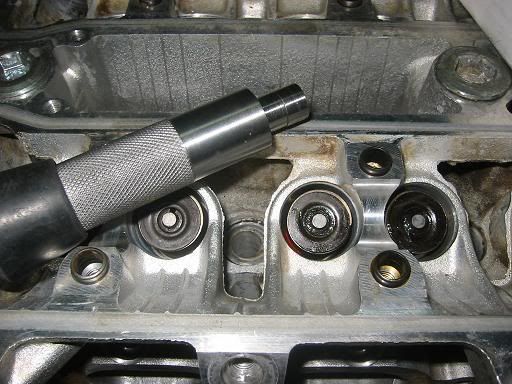
Anyway, I did some final porting to my head today, just a bit to clean up the area around the valve guides on the intake side, then I lapped intake valves 1-4, and installed them with the Comp Cams BBC springs. Not too tough to do now that I have the super-duper import valve installer thingy.

My cylinder head bench:
p703595_1.jpg


Lining up the valve baggies:
p703595_2.jpg


Some of the installed valves:
p703595_3.jpg


Probably won't get another chance to work on it till next Wednesday, which sux. By the way- does anyone know any secret way of getting all the frikken carbon off the exhaust valves easily?? I've been soaking them in solvent for 3 weeks, but not luck. Apparently not the right solvent, eh?

:aigo:
 

polobai

New Member
Apr 1, 2005
662
0
0
40
Orlampa
WOW-looks great man! The way I got the carbon off my exhaust valves was to use a wire brush wheel on an electric drill-it works wonders! I also like the body mods you have done to the car-seem tasteful!
 

supraguy@aol

Well-Known Member
Dec 30, 2005
4,235
37
48
Atlanta
Thanx- I've put the bodywork on hold for the most part... I just want to get this motor done and installed, then I can focus on making it look less ugly. That'll include 18" wheels, a factory color repaint w/ painted mouldings, and new trim for the front and rear glass.
 

supraguy@aol

Well-Known Member
Dec 30, 2005
4,235
37
48
Atlanta
Small update with pics to follow-

I just dropped off the freshly-decked block for boring and honing, now that I have the Probe forged pistons. The block should be done in about a week. Then I can FINALLY start assembling the short block.
Also, I've picked up a Long brand stacked plate-type oil cooler, as well as 1/2" npt to -10 AN fittings, the thermostatic valve, filter mount, remote block adapter, and push-loc -10 hose. All I need now for the oil cooling system is the -10 hose ends.
The progress on my cylinder head has been slow. I've reinstalled the intake valves, and today I'm doing the exhaust side. Just need to grind all the carbon off the valves themselves. I'm hoping that the progress and therefore the updates will be coming a bit quicker from now on.

: )
 

supraguy@aol

Well-Known Member
Dec 30, 2005
4,235
37
48
Atlanta
Update-
I gave up on cleaning the exhaust valves up. I tried the above recommendation of using a wire wheel brush, as it STILL wasn't making a dent in the carbon! After finishing two valves, I said fugg it. I bought a new set of exhaust valves, and put them in today. Comparing old and new valves side by side, I see how much of the valve thickness is missing from the heads, so I'm doubly glad I replaced them.
Anyway, I got all of the valves in, and set the cams in to measure cam lobe clearance, and then shim thickness, to figure out where I'm at. Well, the intake side is way loose, in fact there's not one intake valve within tolerance.
The exhaust side however, is good on 6, and very close on the other six. I'm going to swap some shims from the intake side to the exhaust, to put all tolerances on the tight side. Looks like I'll need close to 12 new shims, in the 3.0mm range.
Also, no word yet from the machine shop on my block. They SHOULD have it done by now. I keep saying that there'll be pics, and there will be, as soon as I pick up my block. I might take a pic of some of my other goodies(oil cooling system, driveshaft), just to pass the time.
 

supraguy@aol

Well-Known Member
Dec 30, 2005
4,235
37
48
Atlanta
Well, I'm not sure, but I might be the first guy to get the Probe piston installed! Notice I didn't say pistonS, as I've only gotten one in so far.
:crazy1:

What I did today:
Picked up the block from the machine shop
Went to Jarco to chat with those guys for a bit
Stopped into the Toyota dealership for a few small parts
Went home and put the block on the stand
cleaned block
painted block
installed cleaned oil squirters
installed new aux. shaft bearings
laid the crank in and plastigauged the mains(all within spec)
installed crank
installed new oil sender
installed brass expansion plugs
installed (1) rod onto (1) piston
gapped rings and installed onto said piston
installed (1) piston/rod assembly
Anyway, dunno when I'll get another free moment to continue, but I'm glad to finally see some progress. Speaking of progress, I've got the cylinder head complete, minus a few exhaust bucket shims that I'm still searching for (if you've got any 3.0mm shims, lemme know!). Here's just a couple of pics:

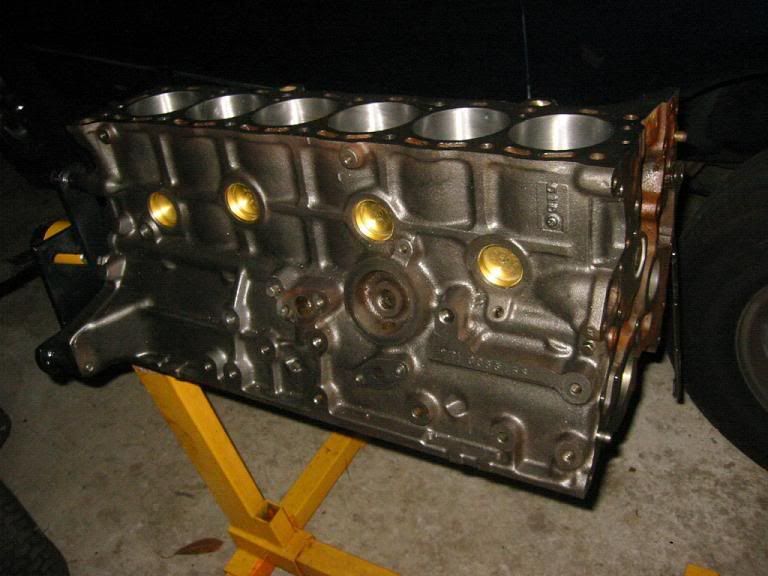
Block after paint(still needs touching up)
p801771_1.jpg


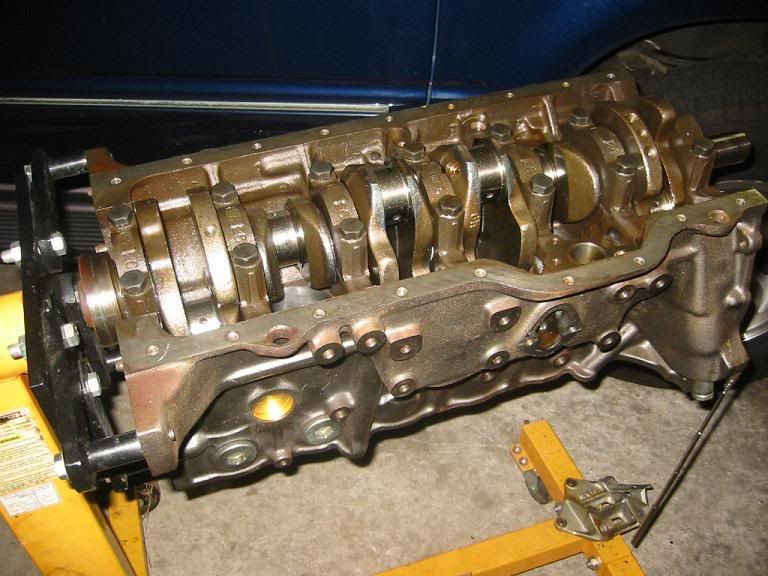
Crank installed. Turns smoothly with three fingers.
p801771_2.jpg


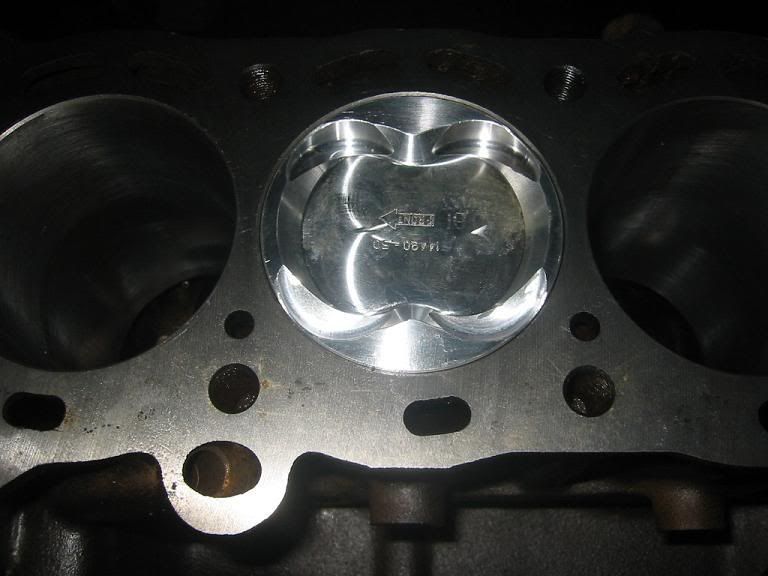
Yes- ONE Probe piston installed, 5 more to go.
p801771_3.jpg

More to come soon, I hope.
:naughty:
 

supraguy@aol

Well-Known Member
Dec 30, 2005
4,235
37
48
Atlanta
Well, I'll try to take a few next time i'm within 5 miles of the head. Dunno when I'll get a chance to get back over there for more work.
 

supraguy@aol

Well-Known Member
Dec 30, 2005
4,235
37
48
Atlanta
Well, I finally did get that chance to work on the motor again, but first I needed to do a tuneup to the car, because I failed emissions(NOx was too high). I replaced the plugs, dialed back the fuel pressure to stock, reset the ignition timing, as it was at 16 degrees by accident, and removed, cleaned and reinstalled the egr.

THEN, I did some fun stuff, and put 4 more pistons in the block, and tapped all the head stud threads. I also cleaned, clearanced, shimmed and lube-packed the oil pump. No pics yet, but I figured I'd wait till all six pistons were installed, hopefully tomorrow. The it's on with the oil pump, oil pan and timing cover. I still need to pick up 8 more exhaust bucket shims, and then I'm done with the cylinder head.
 

tookwik4u89

Red T-shirt
Apr 6, 2005
2,008
0
36
Rockford, IL
So, that tool worked pretty good for installing the valve keepers with the chevy springs? If so, that's good news, I'm planning on doing that with out pulling the head.
 

supraguy@aol

Well-Known Member
Dec 30, 2005
4,235
37
48
Atlanta
Yeah, the tool I bought is for import auto and motorcycle valves. It worked pretty well, and also came with a magnetic valve lock remover.
 

supraguy@aol

Well-Known Member
Dec 30, 2005
4,235
37
48
Atlanta
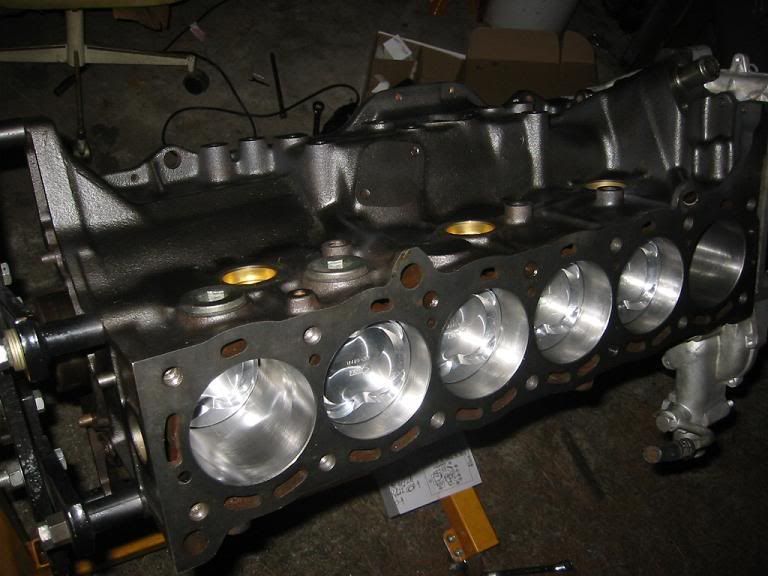
Just a couple more pics today, showing that I have all 6 pistons finally in!
yay me!

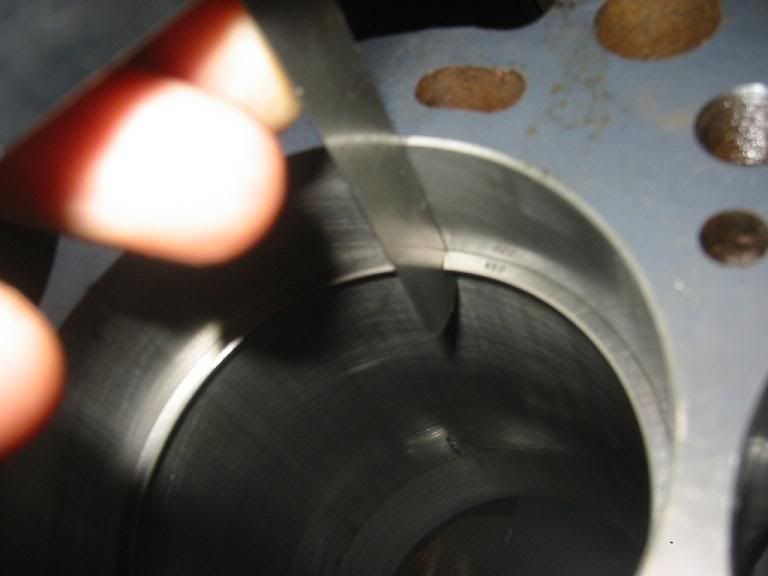
I gapped the rings to .017 on top, .019 on second, and .013 on oil.
p810022_1.jpg


All 6 in...
p810022_2.jpg
 

supraguy@aol

Well-Known Member
Dec 30, 2005
4,235
37
48
Atlanta
Today's update-
After work, I installed the new shims I received from Goodson.com, and installed my ex. cam to check clearance. After one last switch-around, I now have all clearances correct. I then installed the ex. manifold studs into the heli-coiled holes with locktite. Head is pretty much done. Now I have to get the oil pan cleaned up, and measure the gap between the oil pump pickup and the bottom of the pan, so i can tweak it a bit.

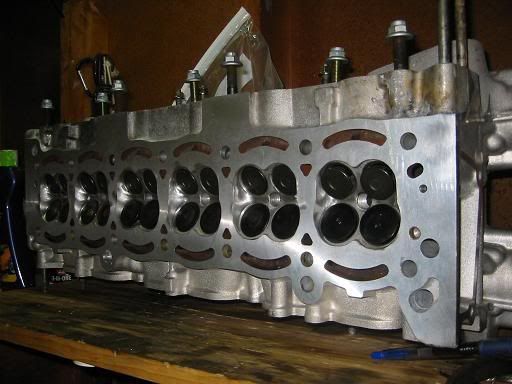
Completed head.
p818287_1.jpg


Pick of the head mocked up.
p818287_2.jpg


In doing this, I also checked the MHG, to make sure that none of the rivets were in a compromising location- all good.
 

supraguy@aol

Well-Known Member
Dec 30, 2005
4,235
37
48
Atlanta
Well, today I increased the extension of the oil pump pickup into the oil pan. I set it about 5mm closer to the bottom of the pan. I also cleaned and painted the pan in low-gloss black, and installed the wrap-around coolant pipe, which is painted red. I'll have a pic or two up tomorrow, since I didn't have my camera with me today. Next, I will be installing the rear main seal, and installing the oil pan. the comes the front timing covers, etc.