Disclaimer : I'm not a sprayer or bodywork specialist but I've done this stuff a few times. I don't know if this is 'the done thing' or considered good practice but I base it on the results. I'm happy enough with the work I'm doing to put this up as a guide and if you like the results then use it.
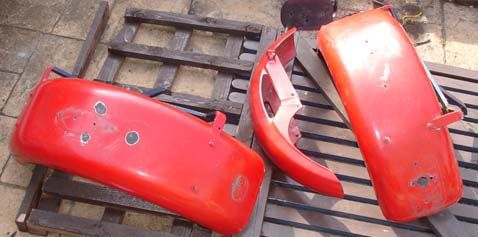
Obviously this isn't being done on a Supra - it's actually a Stringer trike but the principles are the same across the board
Step 1 - If possible, remove the item you are going to spray completely. If you are doing a small section on a larger panel then you need to suitably mask off the area. Be sure that no excess spray can fall on bits you don't want painted (If you are doing a small area, it is sometimes helpful to cut out a hole in a piece of card and spray from behind the card - this directs the spray more centrally so you don't paint any more than you need)
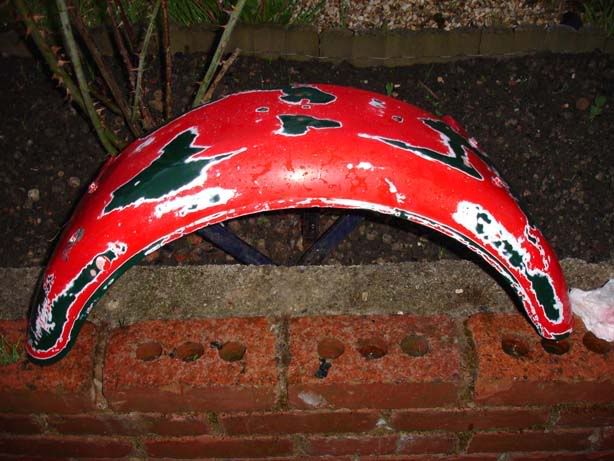
Step 2 - If you are using paint stripper then apply it liberally following the instructions and get rid of the softened paint with a wallpaper scraper. For my purposes, I just wanted to flatten the arch surface so skipped this stage.
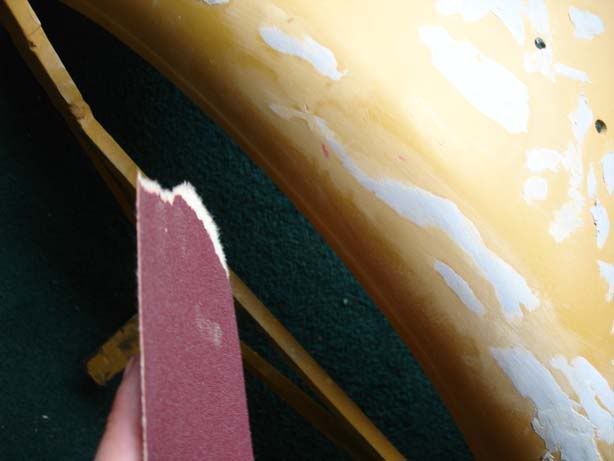
Step 3 - Wet sand back the surface until it is smooth. To wet sand:
- Get a (or several) medium/fine wet sanding sponge (Wilkos ~£1)
- Dip in water and then wipe it over the surface a few times to build up a film of water
- Sand the surface as normal but regularly stop to dip in clean water
The water will prevent cutting into the surface and give you a much smoother finish but it takes a lot longer to smooth down so if your area is badly damaged you might want to dry sand it first. One side of your sponge will be medium grit (which isn't as coarse as it feels when you have a surface of water so don't worry!), and the other is fine. Start with the medium then flip over to the fine side
Put time in here, if you have a surface scratch it WILL show through. Get as much light on the panel as you can and try and find the scratches by catching it in the right light
Step 4 - Once you have completed the wet sand, dry it off with a cloth/kitchen towel and leave it for a few hours
Step 5 - Now go back to it fresh and wet sand it again. You will find more defects and do a better job if you do this
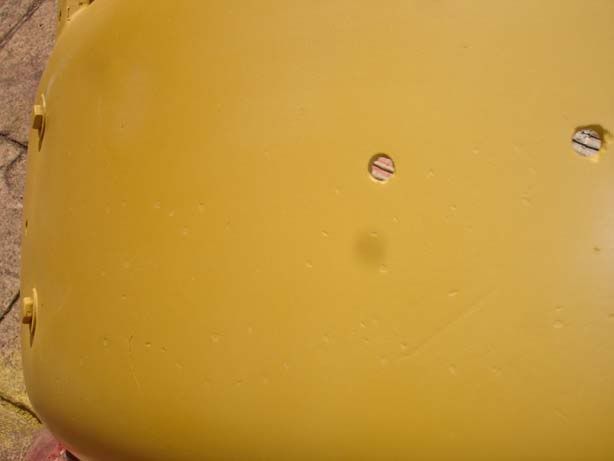
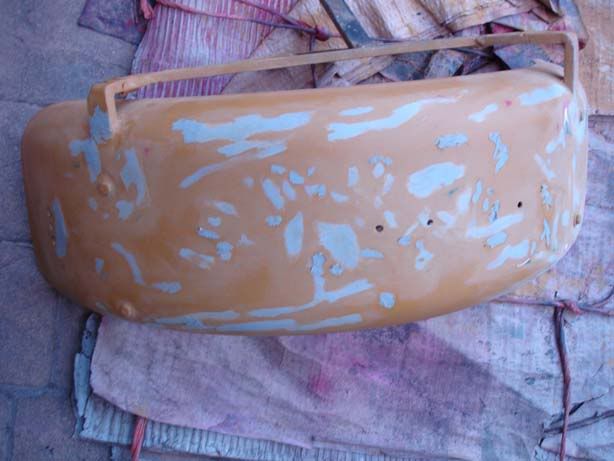
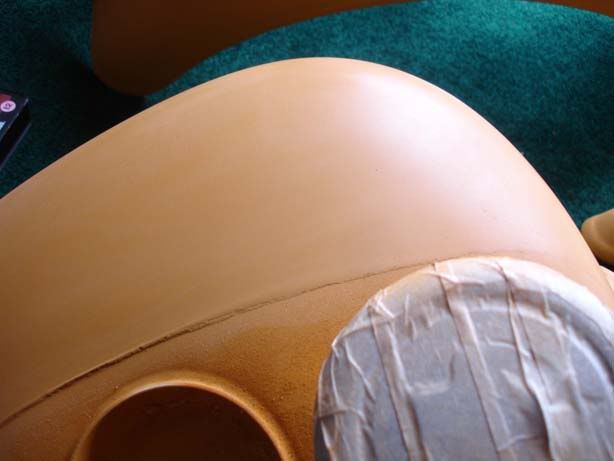
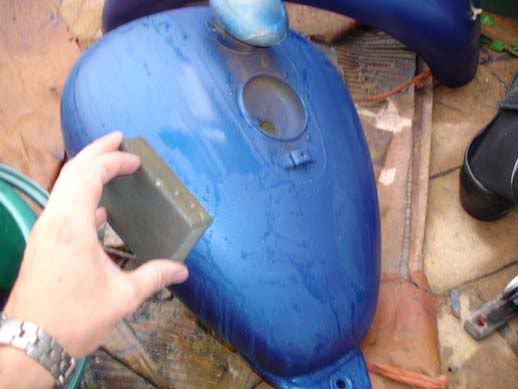
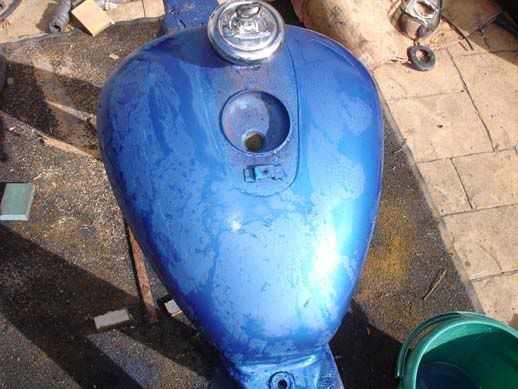
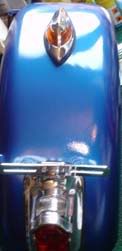
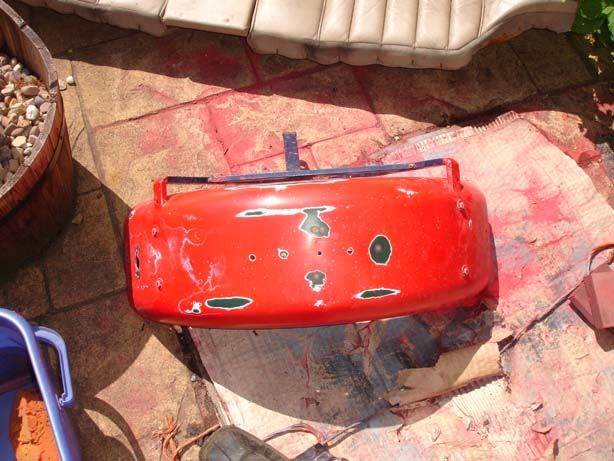
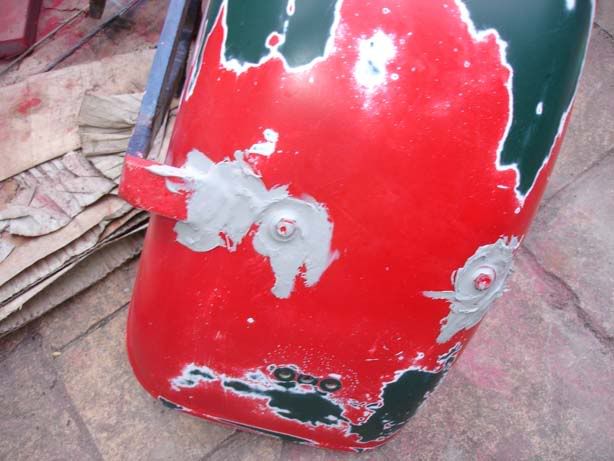
Step 6 - I'm not going to cover filling large areas but I did need to use a substantial amount of 'stopper' which is a fine surface filler. Basically this can be applied to cracks, dints, chips etc anything small that is going to show through the finished surface. The first picture shows the most substantial area I covered which was a large lightly pitted area, it almost warranted the use of a P38 style filler but the stopper is actually a very fine layer so I decided this would be adequate. Try and apply your filler in an even manner and smooth the edges where it meets the paint - Oh, use your finger for it because you'll be able to mould it properly and smooth it better than anything else you can buy
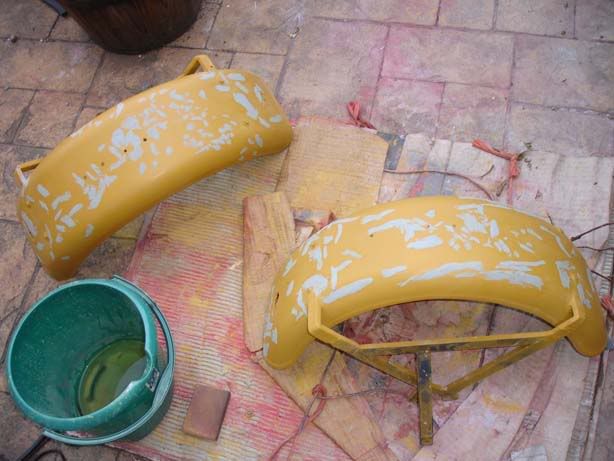
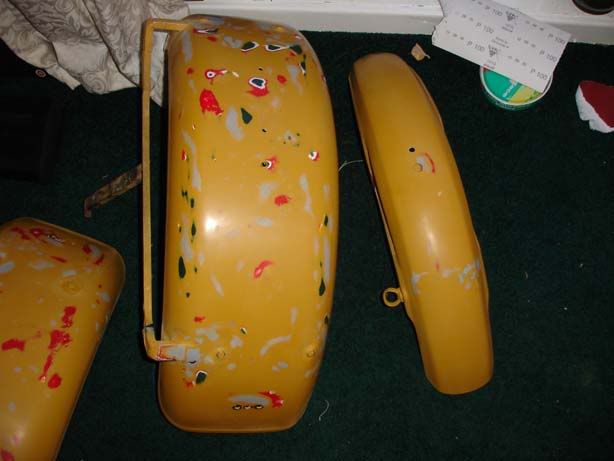
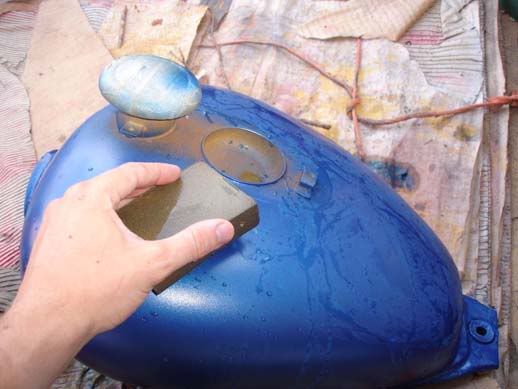
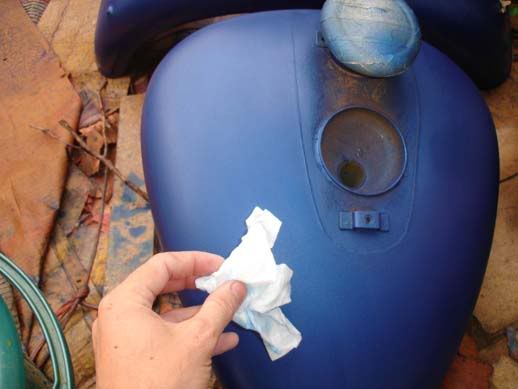
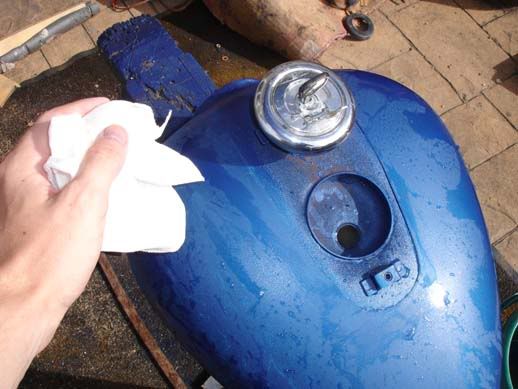
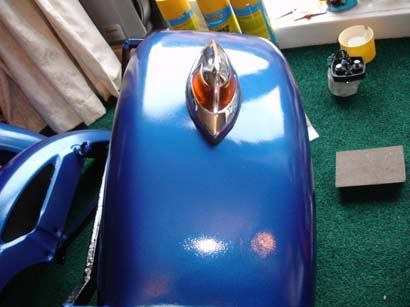
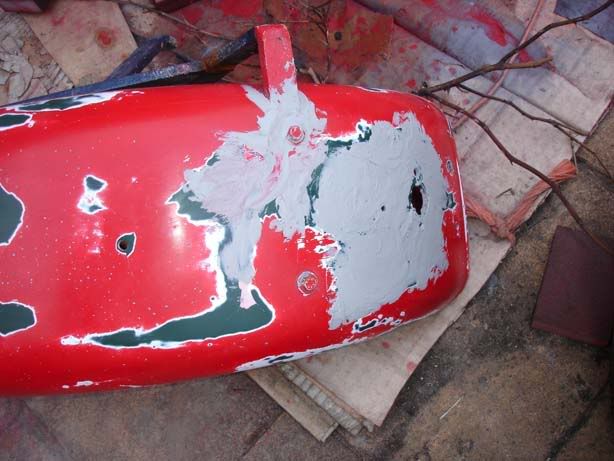
If necessary, build up the stopper/filler with several layers (Shown in picture 2 with one layer applied. In this case standard filler could have been justified)
NOTE : When stopper starts to dry (Very quickly after you apply it) you won't be able to re-work it so apply it at a steady pace and don't get ahead of yourself. Work a small area at a time and concentrate on making it as smooth as you can. Saying that, don't get carried away - you'll be sanding it to get the finish you need and if you keep prodding it then it'll start to solidify and rough up the surface (If this happens, move on to the next part and don't touch til it dries)
Step 7 - Leave the stuff to dry for whatever length is advised - I always leave it overnight. Now get cracking with the wet sanding again - take your time and make damned sure you've got two things
1. A smooth blending where the filler meets the paint work - and I mean VERY smooth
2. No huge lumps! Seems obvious but it isn't. When you are concentrating on smoothing out the filler it's very easy to miss the fact that it stands proud of the surface of the paint. Look at it from a shallow angle and make sure your filler is level with the surface of the paint itself
Once again, take your time and if necessary leave it and come back a few times - you cannot make up for short cuts taken at this stage, make it as smooth as you want the finished article to be
Step 8 - Ensure the surface(s) are thoroughly free from dust and dirt then get yourself some primer. Depending on what you are doing you might want plastic primer, metal primer, fibreglass primer etc etc. The colour will also influence the top coat so speak to your local auto factor (or wherever you are buying the paint from) and confirm what base colour should be used with the top coat.
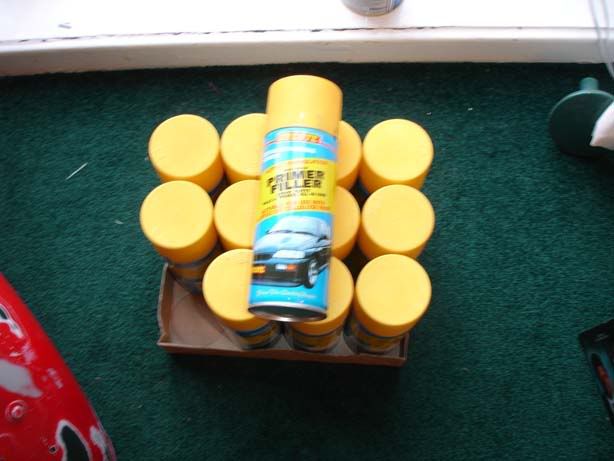
I HIGHLY recommend Hycote. It is a make of paint I have used a couple of times now and they are cracking products, easy to work with, good spray patterns, good price etc. I used filler primer because the surface I was working with was not the greatest (A hand painted, neglected trike arch!). I wanted this to build up a thick base layer so I could sand out any surface scratches etc that I didn't get with the initial stopper/wet sand.
Note - by the time I finish I'll have used the best part of 10 cans on the stuff I'm doing. Admittedly I'm probably doing a larger area than any of you will consider but take this into account. Oh, and I got 12 cans for about £30 off ebay so it's not too bad for cost
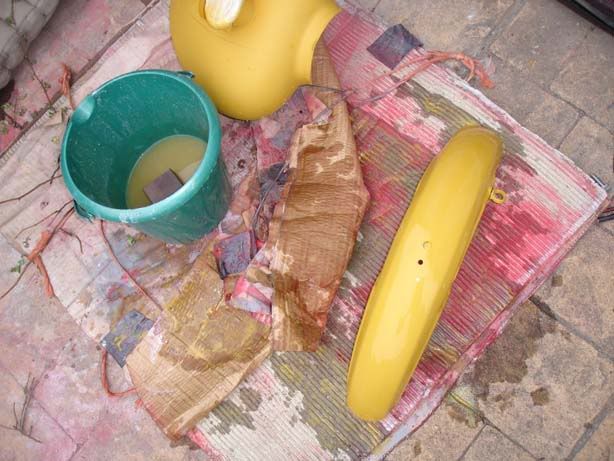
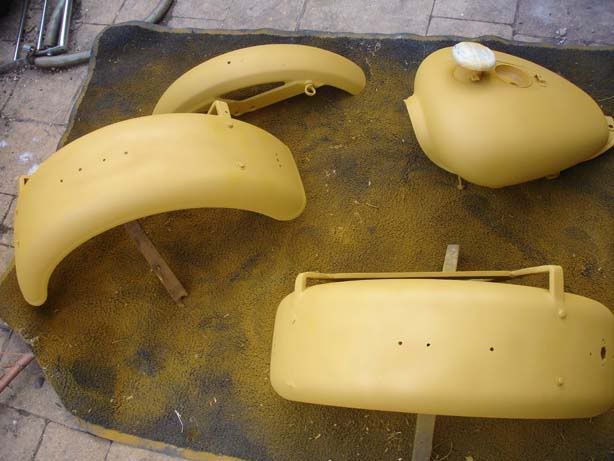
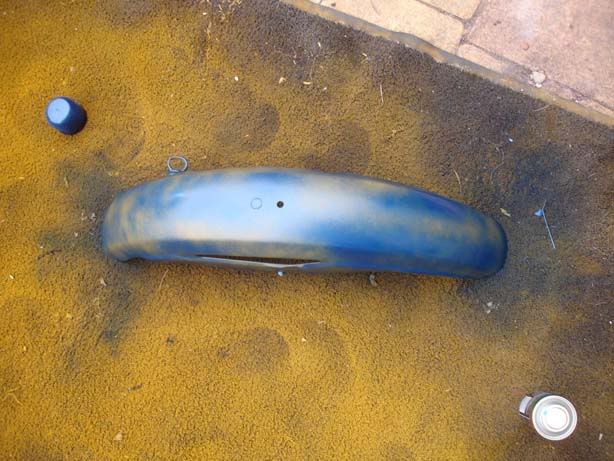
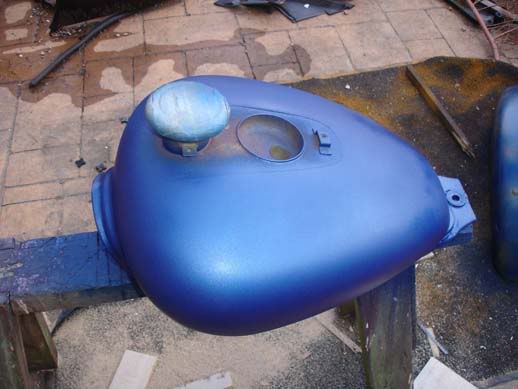
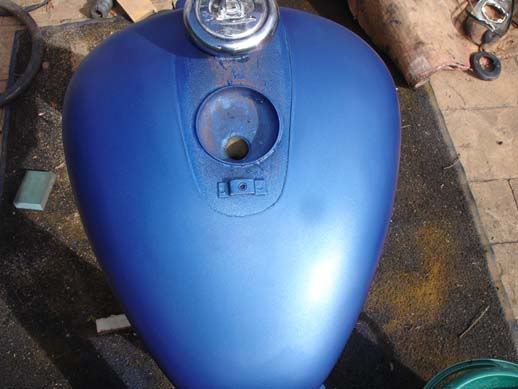
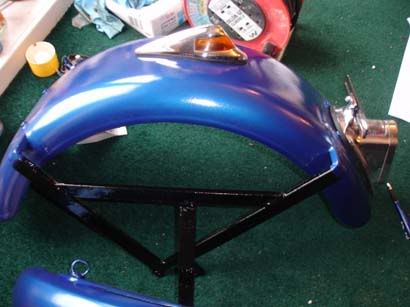
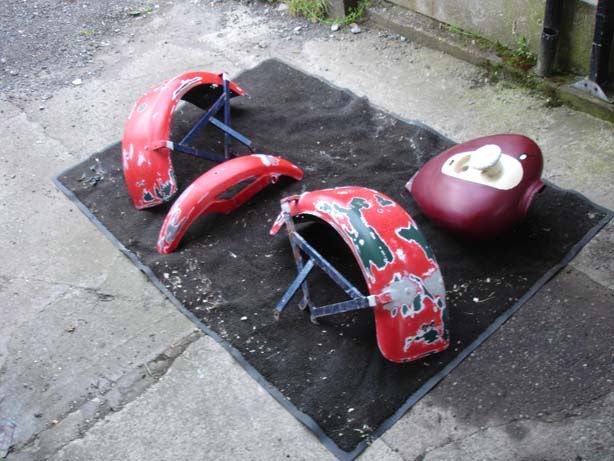
Step 9 - Lay your part(s) out on a surface (picture 1) you can afford to get paint on and start shaking your tin of primer. Mix the paint well because you don't want colour imperfections or inconsitent spraying. Start to spray ...
Spraying :
1. Keep the aerosol min 20cm away from the surface. Seriously. Don't be tempted to move in close because you WILL screw up the finish.
2. Move all the time - if you hold the can still you will have massive build up of paint and it'll look crap. Constantly move across the surface in long sweeping strokes. Don't point the aerosol at the surface then press the nozzle, start spraying before you are over it and then spray evenly across the whole part until you pass over it completely
3. Do lots of very thin coats. If you start putting a thick coat on it'll look awesome ... for about 10 seconds until you realise you've got high/low points, running paint (drips), and just generally a bad result.
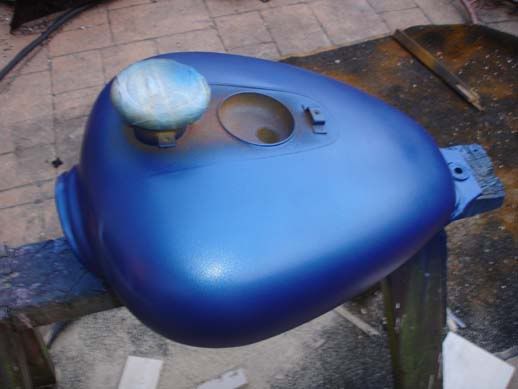
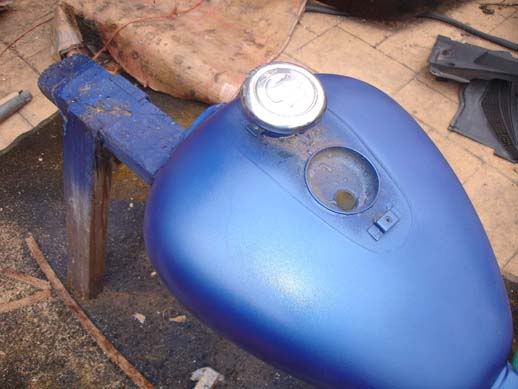
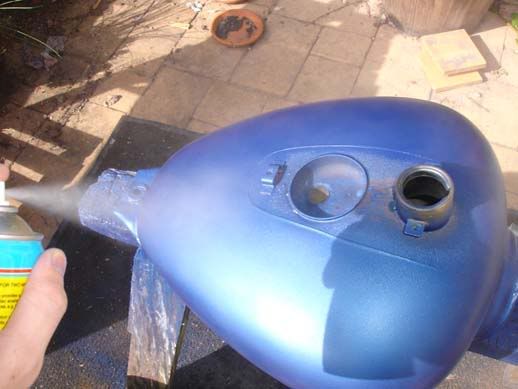
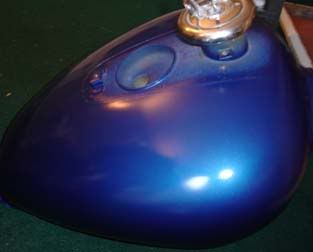
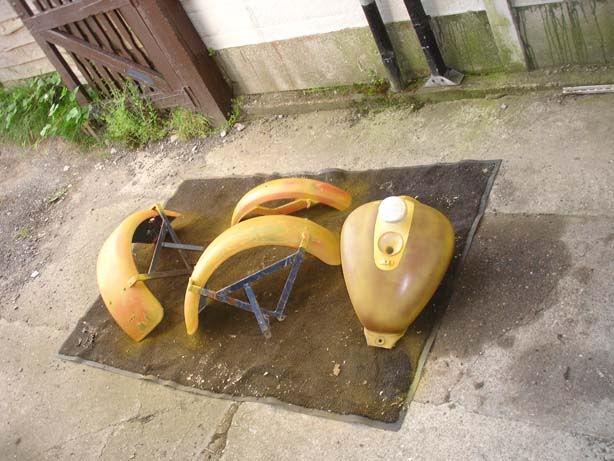
Have a look at the fuel tank in the second picture. It gives you the best idea of how thin the coats I put on were.
Obviously this isn't being done on a Supra - it's actually a Stringer trike but the principles are the same across the board
Step 1 - If possible, remove the item you are going to spray completely. If you are doing a small section on a larger panel then you need to suitably mask off the area. Be sure that no excess spray can fall on bits you don't want painted (If you are doing a small area, it is sometimes helpful to cut out a hole in a piece of card and spray from behind the card - this directs the spray more centrally so you don't paint any more than you need)
Step 2 - If you are using paint stripper then apply it liberally following the instructions and get rid of the softened paint with a wallpaper scraper. For my purposes, I just wanted to flatten the arch surface so skipped this stage.
Step 3 - Wet sand back the surface until it is smooth. To wet sand:
- Get a (or several) medium/fine wet sanding sponge (Wilkos ~£1)
- Dip in water and then wipe it over the surface a few times to build up a film of water
- Sand the surface as normal but regularly stop to dip in clean water
The water will prevent cutting into the surface and give you a much smoother finish but it takes a lot longer to smooth down so if your area is badly damaged you might want to dry sand it first. One side of your sponge will be medium grit (which isn't as coarse as it feels when you have a surface of water so don't worry!), and the other is fine. Start with the medium then flip over to the fine side
Put time in here, if you have a surface scratch it WILL show through. Get as much light on the panel as you can and try and find the scratches by catching it in the right light
Step 4 - Once you have completed the wet sand, dry it off with a cloth/kitchen towel and leave it for a few hours
Step 5 - Now go back to it fresh and wet sand it again. You will find more defects and do a better job if you do this
Step 6 - I'm not going to cover filling large areas but I did need to use a substantial amount of 'stopper' which is a fine surface filler. Basically this can be applied to cracks, dints, chips etc anything small that is going to show through the finished surface. The first picture shows the most substantial area I covered which was a large lightly pitted area, it almost warranted the use of a P38 style filler but the stopper is actually a very fine layer so I decided this would be adequate. Try and apply your filler in an even manner and smooth the edges where it meets the paint - Oh, use your finger for it because you'll be able to mould it properly and smooth it better than anything else you can buy
If necessary, build up the stopper/filler with several layers (Shown in picture 2 with one layer applied. In this case standard filler could have been justified)
NOTE : When stopper starts to dry (Very quickly after you apply it) you won't be able to re-work it so apply it at a steady pace and don't get ahead of yourself. Work a small area at a time and concentrate on making it as smooth as you can. Saying that, don't get carried away - you'll be sanding it to get the finish you need and if you keep prodding it then it'll start to solidify and rough up the surface (If this happens, move on to the next part and don't touch til it dries)
Step 7 - Leave the stuff to dry for whatever length is advised - I always leave it overnight. Now get cracking with the wet sanding again - take your time and make damned sure you've got two things
1. A smooth blending where the filler meets the paint work - and I mean VERY smooth
2. No huge lumps! Seems obvious but it isn't. When you are concentrating on smoothing out the filler it's very easy to miss the fact that it stands proud of the surface of the paint. Look at it from a shallow angle and make sure your filler is level with the surface of the paint itself
Once again, take your time and if necessary leave it and come back a few times - you cannot make up for short cuts taken at this stage, make it as smooth as you want the finished article to be
Step 8 - Ensure the surface(s) are thoroughly free from dust and dirt then get yourself some primer. Depending on what you are doing you might want plastic primer, metal primer, fibreglass primer etc etc. The colour will also influence the top coat so speak to your local auto factor (or wherever you are buying the paint from) and confirm what base colour should be used with the top coat.
I HIGHLY recommend Hycote. It is a make of paint I have used a couple of times now and they are cracking products, easy to work with, good spray patterns, good price etc. I used filler primer because the surface I was working with was not the greatest (A hand painted, neglected trike arch!). I wanted this to build up a thick base layer so I could sand out any surface scratches etc that I didn't get with the initial stopper/wet sand.
Note - by the time I finish I'll have used the best part of 10 cans on the stuff I'm doing. Admittedly I'm probably doing a larger area than any of you will consider but take this into account. Oh, and I got 12 cans for about £30 off ebay so it's not too bad for cost
Step 9 - Lay your part(s) out on a surface (picture 1) you can afford to get paint on and start shaking your tin of primer. Mix the paint well because you don't want colour imperfections or inconsitent spraying. Start to spray ...
Spraying :
1. Keep the aerosol min 20cm away from the surface. Seriously. Don't be tempted to move in close because you WILL screw up the finish.
2. Move all the time - if you hold the can still you will have massive build up of paint and it'll look crap. Constantly move across the surface in long sweeping strokes. Don't point the aerosol at the surface then press the nozzle, start spraying before you are over it and then spray evenly across the whole part until you pass over it completely
3. Do lots of very thin coats. If you start putting a thick coat on it'll look awesome ... for about 10 seconds until you realise you've got high/low points, running paint (drips), and just generally a bad result.
Have a look at the fuel tank in the second picture. It gives you the best idea of how thin the coats I put on were.