'95 BMW M3 - shaeff's summer daily driver

shaeff

Kurt is FTMFW x2!!!!
Staff member
Super Moderator
Mar 30, 2005
10,589
10
38
Around
Anyway, I felt like trying my hand at welding on the old subframe before I go welding on the AKG sway reinforcements and the bushing reinforcements, etc... I got it dialed in pretty well at the end. This is my first time using this welder with shielding gas (C25) and solid core wire (.35 wire, would have been better w/ .30 but the .35 will work fine at the settings I dialed in) Welder is a Hobart Handler 210.

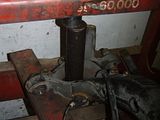
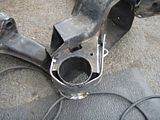
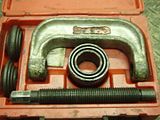
I do NOT plan to use this subframe, this was just practice. So what did I do? First, I pulled the bushing out that bordered the torn differential mount, again using the MIS RTAB puller:
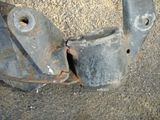
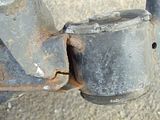
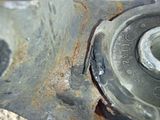
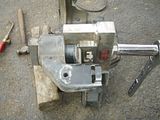
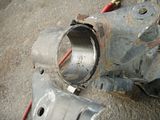
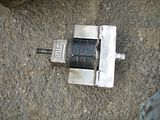


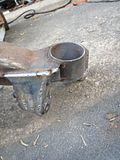
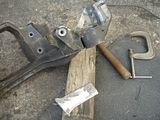
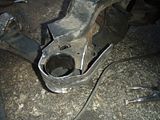
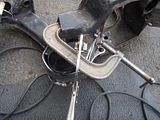
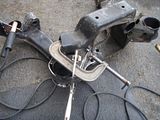
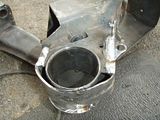
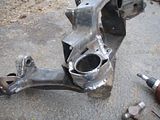
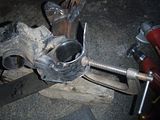
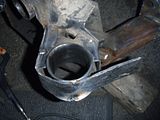
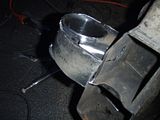
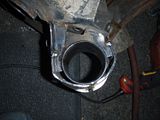
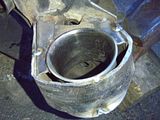
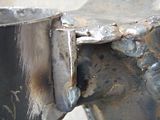
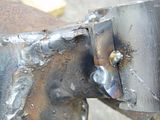
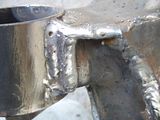
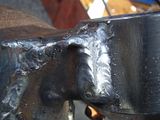
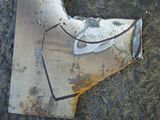
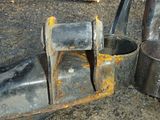
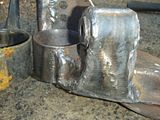
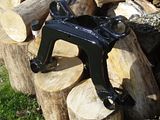
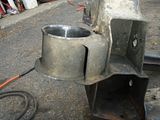
Once it was out (note I wasn't exactly being careful with this because I'm not using it again), I used the grinder to clean up the edges as much as possible. Then a BFH to pound it back as close as I could get it. Then clamped in place, tacked, removed clamp, and welded. It took me a few tries to get the heat close to where I wanted it, but here are the results:
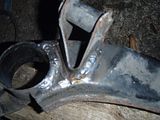
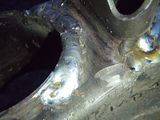
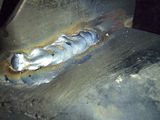
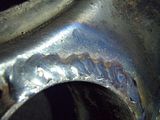
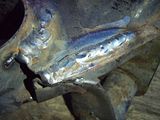


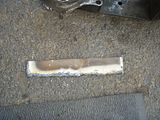
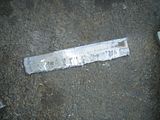
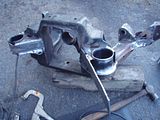
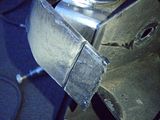
Voila, fixed differential mount. I'm fairly certain that if I braced it up like I plan to do the new one that it would hold just fine. I beat the piss out of the welds and nothing broke, no porosity that I could find. Anyway, it's going in the scrap pile for practice metal. LOL:
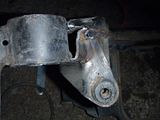

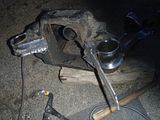
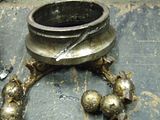
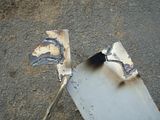
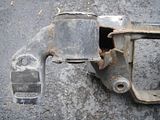
This is the same picture from one of the previous posts. Just to show how I pieced it back together, the picture immediately above used to look like this:
 

shaeff

Kurt is FTMFW x2!!!!
Staff member
Super Moderator
Mar 30, 2005
10,589
10
38
Around
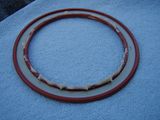
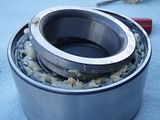
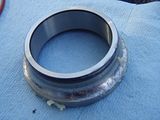
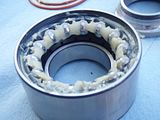
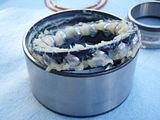
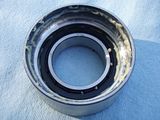
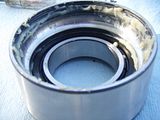
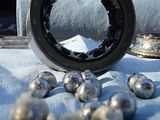
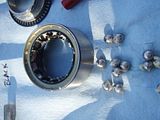
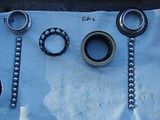
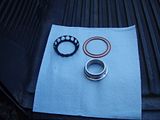
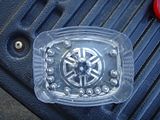
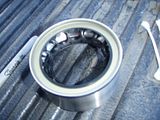
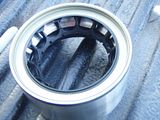
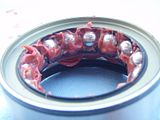
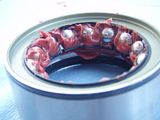
Repacked my new FAG wheel bearings w/ Redline CV2 grease today:


Forgot to take one of it w/ the dust cover back on. Oh well. Maybe if I remember later. I'm going back to my friend's shop on Saturday to press them in. I've got one RTA with new ball joints pressed in, and the wheel bearing pressed out. So all that needs is the new wheel bearing.

The other RTA needs the ball joint/bushing pressed out, and the new ball joints pressed in, as well as the wheel bearing out/in. Fun. No pics of doing the ball joints, I was in a big hurry as my friend wasn't staying much later and I just stopped by quickly. More pics to come Saturday.


supra90turbo

shaeff is FTMFW!
Mar 30, 2005
6,152
32
48
40
MA, 01440
WOO!

That car better be fun as hell to drive... If I were you, I'd be pretty sick of it by now if it wasn't... ;)

I <3 E36's btw.
 

shaeff

Kurt is FTMFW x2!!!!
Staff member
Super Moderator
Mar 30, 2005
10,589
10
38
Around
It sure is! I love learning to work on other stuff, so it's not so bad. What IS bad is that I was hoping to have this done by now but I lost track of time over winter with crazy work hours, etc...

I also picked up a 3.38 differential. They call it "the poor man's supercharger" LOL. Can't wait to see how that feels. I <3 E36's too, but the build quality is shit compared to the Supra. I'm not sure if I'd buy another one. If I did, I'd buy it, swap all my reinforced/rebuilt stuff onto the new chassis, and all the old stuff onto mine and sell the crap. This car is supposed to be my summertime DD, but I get sucked into this stuff!
 

shaeff

Kurt is FTMFW x2!!!!
Staff member
Super Moderator
Mar 30, 2005
10,589
10
38
Around
Anyway, I didn't get as much done today as I'd hoped. As I was setting up everything to go to my friend's shop to use the press, he stopped by my house and told me that his GF was riding her motorcycle and some old dude cut her off. She ended up laying the bike down and sliding into oncoming traffic. Thankfully, nobody hit her. She's fine, bike is a little bruised, but otherwise all is well. Took a huge chunk out of both of our days though.

I got a little done, though. I boxed in both differential mounts, finished the sway bar reinforcements, and started to reinforce the front subframe mounts.

Question for the day: Are the sway reinforcements enough to keep my subframe from peeling back like the old one did? Or should I create a sort of "hook" out of steel and weld it from the top of the subframe down under where it ripped out on the old one?

Pics, not many as I was in a hurry:

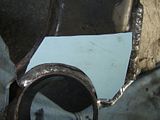
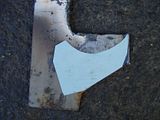
Template:


Random pic w/ the sway reinforcement:


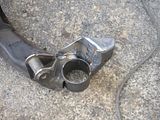
Diff mount- to be boxed in:


Cut-out steel:


The end result-forgot to take pics of the other piece of steel and tack welds/etc..:


Here's a pic of the steel plate for the other side diff mount, the one I forgot pics of above:


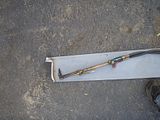
Oxy/acetylene torch to cut the steel plate. I scored about 6 sheets of this steel plate amongst a crapload of other steel for free!


Starting in on the front subframe mount reinforcements:


How the sub sits when I put it back in the garage at dusk:


Don't make fun of my welds. LOL.
 

shaeff

Kurt is FTMFW x2!!!!
Staff member
Super Moderator
Mar 30, 2005
10,589
10
38
Around
A little progress today. Got the tacked front subframe mount reinforcement welded up today, ground down the other plate that I'd cut out w/ the torch the other day. Cleaned the subframe up for welding of the other front plate, and got it tacked in. I'll weld it up this weekend. On to the pics:

This is pretty much where I left off above- got it wrapped around nicely and about ready to be tacked in it's final resting place:


Clamp kept slipping, so I had to put a clamp on for another clamp to rest against to prevent it from slipping off. Worked well:


Top welded:


Finished one side:


Starting the other side. Flat piece of steel I cut out w/ the torch:


Dirty, but this is where the above piece goes:


Steel cleaned up, ground down, nice 'n shiny:


Tacked on:


Bent around, just holding it to the bushing housing to tack it:


Tacked middle, bending it around the rest of the way:


A little too long (on purpose)- cutting it down:


Cut down:


Tacked in place:


That was it for today, ran out of daylight. :( I'll finish this up on Saturday most likely.
 

casgallo

Not a lurker :)
Apr 3, 2005
68
0
6
New York
very nice! ought to strengthen that up considerably. Welds look pretty good to me! (no actual meaning haha)

I see that white supra in the garage... focus focus!!
 

shaeff

Kurt is FTMFW x2!!!!
Staff member
Super Moderator
Mar 30, 2005
10,589
10
38
Around
LOL, I finished up all the subframe welding today. I plated two more spots which I'll post pics of later on. The welds definitely penetrated, that's for damn sure, I think they'll hold just fine!

As for the Supra- I think I'm going to find some spare interior parts to slap in it so I can finally get the cage welded in. I've been waiting on my Recaro to show up, but who knows when it actually will. LOL. Once the cage is in, serious work will once again start to happen on that white, gutted, pathetic excuse for a Supra. :(
 

shaeff

Kurt is FTMFW x2!!!!
Staff member
Super Moderator
Mar 30, 2005
10,589
10
38
Around
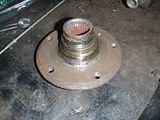
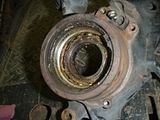
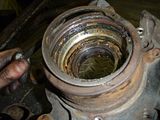
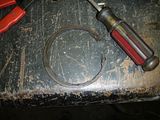
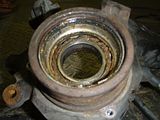
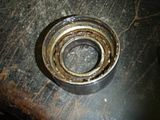
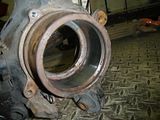
Popped the flange out + got the race off. Air chisel FTW!


Pressed out the old bearing:


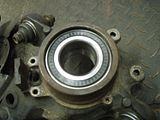
New one in, no pic of the flange pressed in, as I was short on time:


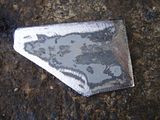
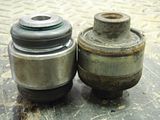
Used a Mac balljoint press to press in some new ball joints. The '95's have a bushing in the lower spot (pictured next to the ball joint that replaced it) You can see them installed in some of the above pics:


Ball joint vs original bushing. Top was a BJ from the factory on '95's bottom was a bushing. That changed in '96, and now on my '95. ;) :


Boxing things off, more welding goodness. Closed off the open ends near the rear subframe bushings, then plated the top area and butted the welds up to the bushing carrier.

Tacked:


Welded:


Other side:


Template for top plate of steel:


Traced out:


<3 Oxy/acetylene torch:


Ground down and welded on:


Other side:


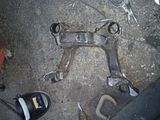
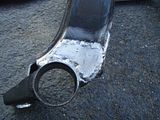
Non- boxed on old subframe:


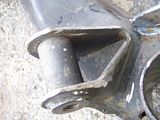
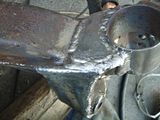
Boxed in diff mount goodness:


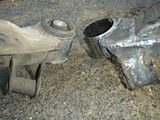
Comparison of old vs new. I doubt this'll fail on me now:
 

shaeff

Kurt is FTMFW x2!!!!
Staff member
Super Moderator
Mar 30, 2005
10,589
10
38
Around
Also, yesterday while it was 93*F here, and quite humid, I welded in my Bimmerworld rear trailing arm pocket reinforcements. I didn't take a single picture of the process. That job sucks! I'm a n00b welder, and welding upside down SUCKS. Ugh. Not to mention I was in pants, shortsleeves, and a sweatshirt, welding gloves, and welding mask with my hood on to prevent slag from dripping down my neck and body.

In several places slag dripped down and burned through my sweatshirt, shirt, and burned my torso. Did I mention that welding upside down SUCKS!? :taser:

I'll take pics of the finished product tomorrow if I remember. It's already coated in P.O.R. 15 because it was supposed to rain today (and it did!) so I didn't want surface rust appearing.

It did end up getting warmer out, much less humid, and sunny, so I took the opportunity to fix my UUC EVO3 short shift kit which had loosened up on me. I put RED loctite on those bolts, and put JB weld all in the shifter cup where it inserts into the shift carrier. I'm no longer a fan of it, and if it loosens up again, it's going in the trash. More to follow on UUC:


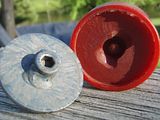
While pulling the shifter, I loosened the tranny xmember. Low and behold, this is what I found. Mind you, I purchased these UUC tranny mounts on 10/6/08 (I went back and looked at my CC statement) The car isn't even driven for 6months of the year. You do the math!


Delaminated FTL. I ordered Vorshlags along with Vorshlag Poly motormounts. Bolt-through FTW!

That's all for today, I suppose.
 

shaeff

Kurt is FTMFW x2!!!!
Staff member
Super Moderator
Mar 30, 2005
10,589
10
38
Around
Nick M;1580381 said:
Your house isn't on wheels is it? Because it seems none of your cars are.

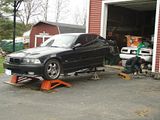
LOL! No, my house is firmly planted for sure. My Pickup is still on all fours! And I've got the M3 done as of a few weeks back. Tightened up the rear of the car SO much. All that work was most definitely worth it!