Vantucky, WA turbo build.

JoeC

Banned
Jul 10, 2006
338
0
0
Vancouver, Washington
Okay.. More pics!! Learned a bit more tonight!! Okay so...

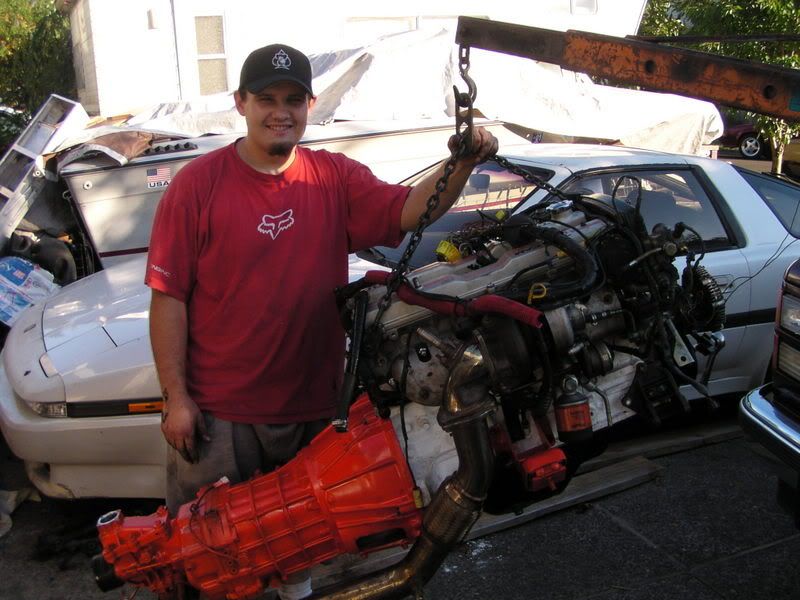
I am buying my brothers downpipe and turbo elbow.. so.. since his car is down, off the parts go!!!

p9210001gj3.jpg


Okay... Next off.. hopefully you guys know what this means... AFM ANY ONE??

p9210018mh6.jpg


Last off... I was wondering if any one knows what pressure plate this is.. I don't think its OEM

p9210021pn3.jpg


and.. the last picture, is my flywheel.. aluminum, it's been balanced and such.. yeapp...

p9210022sb9.jpg


Other than that.. quite a bit of connectors broke, injector clips, etc... the pictures are sort of blurry so I decided not to post them.. whatever... good night.
 

JoeC

Banned
Jul 10, 2006
338
0
0
Vancouver, Washington
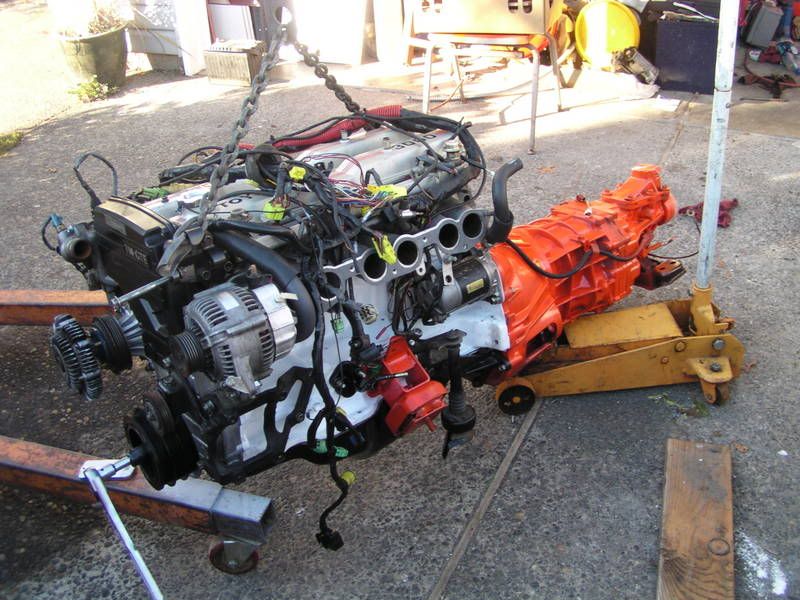
Well, today we spent our time just cleaning parts.. painting parts.. pretty much lol. Jim had soldered all the connections on my harness and replacing all the broken clips on it, I spent about 6 hours hand cleaning my transmission to be painted. I then power washed it, aswell as the engine moints, and intercooler pipes for repainting. We decided to go gloss black on the intercooler pipes, aswell as the crank pulley, but went Chevrolet orange (way bright) on the entire transmission, and motor mounts. Things came out okay. I didn't sand down the intercooler pipes and I just cleaned them with brake cleaner and then sprayed over the old paint.. worked okay I would say, though there are some uneven spots where you could see the old paint flaked away and left an low spot. I'm not too bothered about it. The transmission came out great. It was packed with what looked like 20 years of grease and dirt, and had about 1/8" thick of dried grease covering the entire thing. More on the inside of the bellhousing!

We also picked up electrical tape, wireloom, and shrink wrap to finish off the wiring harness. I hope it doesn't throw any codes!

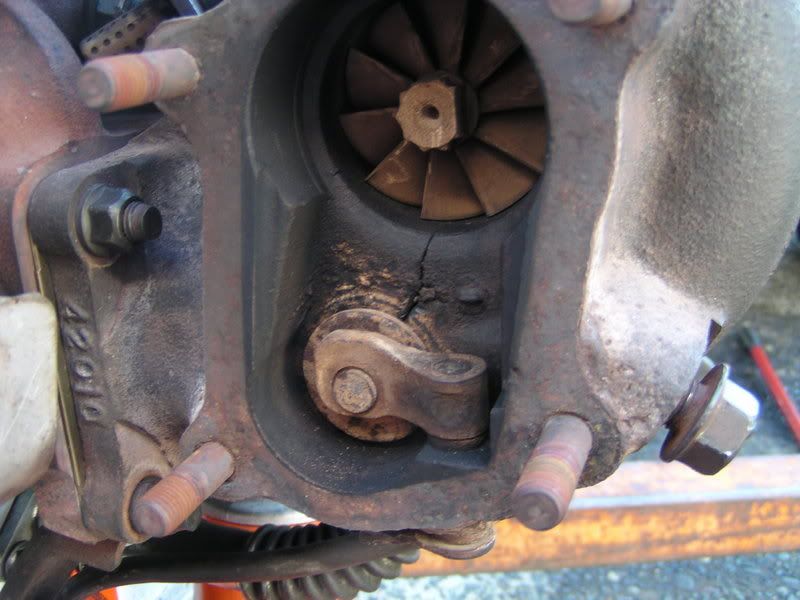
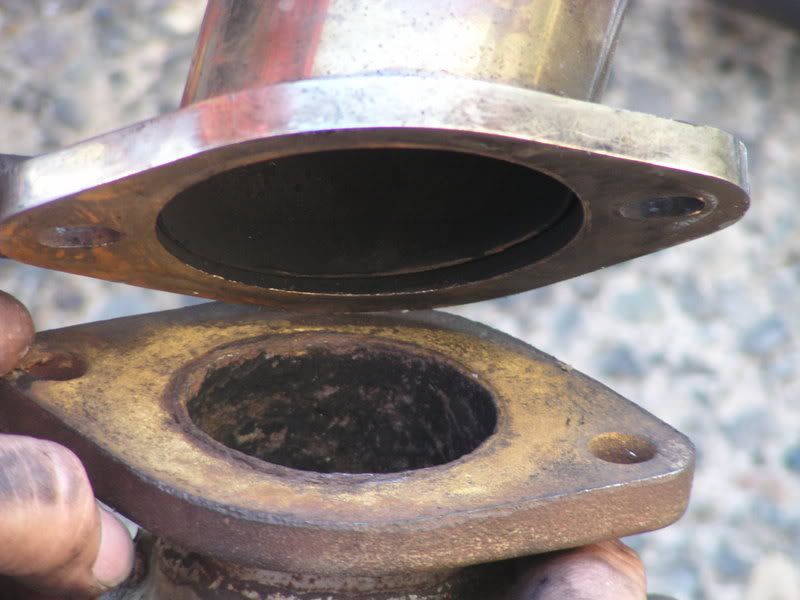
So, if any one hasn't noticed yet.. or for someone that hasn't seen my brothers car in person or in pictures, things look familiar. We decided since his block needs to be gone through for safe measures.. all new bearings and such, that there is no reason why we shouldn't upgrade my car. So we are putting his intercooler, 2.5" hard pipes, Turbo (mine has lots of cracks on exhaust side), Maft Pro, and downpipe and turbo elbow into my car! We figured, my downpipe is crap.. 2.5" to 3", and i have a stock elbow.. So he told me I could buy his for like 100 bucks.. whatever, add it to my bill.

The maft pro is being installed in my car for a few reasons. I need one. And secondly because we might as well wire it up and get it tuned right so when his car is back up, i can buy my own maft pro and just plug and play and transfer the tune from the laptop. Sounds easy enough. He's upgrading his intercooler to something larger in the future, so I think im buying that from him.. and the hardpipes? Well.. we will be buying more 2.5" pipe and bends and make another set at my neighbors house, since he paid quite a bit for this set to be hand made.

We are a little delayed on getting the motor in the car, just because of random stuff comming up. Finding parts, cleaning parts, buying supplies, etc... Also, the only free time I have is after work and college.. which I usually have homework, and weekends... So things are hard right now, but I think it will be worth it in the end. Pictures to follow tommorrow most likely if I have time.
 

pimptrizkit

thread killer
Dec 22, 2005
1,572
0
0
vancouver Wa
eh, atleast you have been using your free time correct joe.. i ran into the problem i was workin so much i ran out of time for home work :cry:

any ways, i'm pulling the head back off and going to use coper spray on the head gasket and also clean the head gasket between all of the layers to make sure i get the best seal as posible.

well off to college for me!
 

JoeC

Banned
Jul 10, 2006
338
0
0
Vancouver, Washington
A small update. I bought a new *used* turbo from someone on the boards here at SM and hopefully i will get that monday. Mine was cracked on the exhaust housing pretty badly so we figured for $120 I could just add it on my total.

Jim has been wire looming every thing and using black electrical tape, things are comming together real clean imo. Electrical is pretty much done. Next.. if any one noticed we are using N/A valve covers without the mounting studs for the coil packs, so we are mounting the coil packs under the intake by welding it on the support. I just purchased (4) #6 wires from another member on SM to go with our two so every thing can reach fine. I would of upgraded to new wires completely, but we wanted to retain the stock style plug that fits into the head to keep water out.

I have to go dig threw some boxes to find my clutch fork before we can put the two components together and put it in the car. (perhaps tommorrow?.. Not sure, I have school.. and work :aigo: )
 

pimptrizkit

thread killer
Dec 22, 2005
1,572
0
0
vancouver Wa
well a little bit of progress today, i got the motor off the stand, and drove in the new pilot bearing, torqed the fly wheel on, that sucker is light!

some how in our mess, we lost his clutch fork, sadly before i ran out of money last year, i had bought all the 5speed parts to swap my auto. so right as now, he's using my tranny wing and my clutch fork, there's still hope to find his fork so i dont have to repurchase. but i broke his tranny wing doing some thing stupid so he got mine out of the deal.. .

i took a few teaser pics. but it's really sad how messy it all looks with the harness on there and resting on top.

i got all the clutch bolts in, but not tight yet, and i am still missin one of the tranny to block bolts, along with not being able to find the inspection plate that covers the back of the fly wheel from road hazards and water.

so far i have made good progess, and would be faster but findin bolts can suck some times. i do know that next time i do this, i will buy a box of sandwich bags and start labling, im doing this at school and i know my motor will come back together very quickly knowin where all the bolts are..

p358511_1.jpg


this pic is the reason it is not in the car at the moment...

p358511_2.jpg


the hks high flo cat..........

p358511_3.jpg


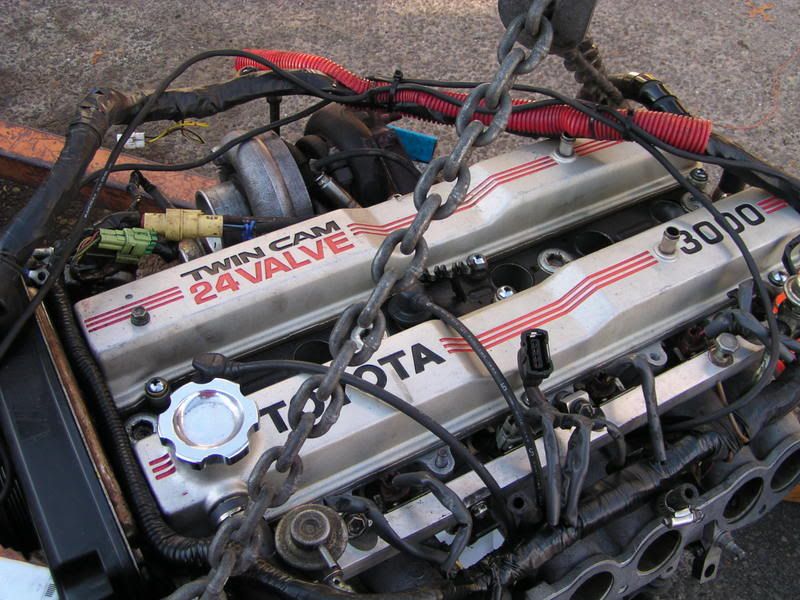
i went ahead and pulled the manifold back of to make sure my mani to head bolts were tight, the upper was only lose tho, i have been fixin broken clips, solderd a new pigtail on for a knock sensor, and tapped up the harness some, the red conduiet stuff is being removed, looks ugly and doesn't match a lick of the color skeem of the car..
any ways, here's some more..

p358511_4.jpg

p358511_5.jpg


forgot to mention, i also picked up a new pcv hose while i was at toyota gettin the pilot bearing.
 
Last edited:

JoeC

Banned
Jul 10, 2006
338
0
0
Vancouver, Washington
Well, I haven't uploaded the new pictures we have taken, but!! I can tell the story right?!

We got the motor dropped in, only took about 20 minutes?.. We just did a straight drop in with the transmission. We started looking at how we are going to mount our plug wires and such (we are relocating the coil packs underneath the intake mani. like BigAaron *thanks! for the idea*) We bought a bunch of #6 plug wires since they were the longest and hoped they would work, but no luck.. they don't reach!.. So we have to make custom plugs.. We are disasembling the toyota plugs and putting new wire in that is longer and all the same length (24") maybe? Then we will glue the ends on them so we will have extended wires with original toyota ends on them with locks!

We received the turbo, but upon close inspection the turbo we received had two cracks under the wastegate flap.. What can we do.. I dont have time or money to return this turbo, so we figure it's better than what the old turbo looked like and we put it on. If the oil seals are toast I will go bezerk for sure. Right now I am driving 40 miles a day in a diesel truck making 10 mpg! Yeah.. HALF tank a day just to school and back! ahaha, it's rediculous..

So I will post pictures this weekend with a little better explanation of what we are trying to accomplish. It's almost done though! It should be running by Oct. 14th for the Supraburger cruise hopefully!!
 

bkma71

supra coupe
Jun 7, 2005
91
0
0
37
troutdale, Oregon
you jacked the bros maf system too?? dang the red is looseing its heart of performane huh? Where you guys go for machine work? Im trying to get some headwork done right now so I can get mine back together. Odd color combo with the hugger and white. I been trying to put bolts back in the holes they came out of with some stragglers so hopefully I dont run into that problem. gl getting it finished it up
 

JoeC

Banned
Jul 10, 2006
338
0
0
Vancouver, Washington
I decided for now, to just go completely stock based. Stock intercooler, stock intercooler pipes, stock MAF. The only thing that will change is the filter really. We will dyno it to get a base number and make sure my motor doesn't throw any codes. Then I will buy the MAFT and tune and redyno, then upgrade my intercooler and pipes and tune/dyno again to see the progress and benefits of the performance parts.
 

JoeC

Banned
Jul 10, 2006
338
0
0
Vancouver, Washington
Okay another update... got every thing pretty much bolted together.. Jim started it up today for the first time and said it sounded good. Though, we have a problem. The turbo I bought off of the forum which was supposed to be in "good" condition had two cracks under the wastegate. I mentioned this to the seller. Upon starting there was instantly black smoke. I wasn't there, but my brother said the turbo is smoking and has bad oil seals. He said he ran it for 10 minutes or so and from startup to shut off it was smoking.

Now, the motor is brand new on the bottom end, and the top end, so I am a little upset that I was sold a turbo that the seller knew nothing about but said he did. (told it had good oil seals and wasn't cracked)... I won't mention the sellers name until things have been solved.
 

pimptrizkit

thread killer
Dec 22, 2005
1,572
0
0
vancouver Wa
wow.

hold on, lets fix a couple boo boo's..

i started it up, and she still has to many vac leaks to stay running. pcv aren't hooked to the vavle covers..

but we craqcked the throttle, and managed to get her to idle around 600-1200 rpm (throttle dependent) we dont have the linkage hooked up due to a throttle cable length not long enough while using the n/a valve cover..

any ways, while we were listin to the motor purr for the first time, i was watching, the smoke rise off the exhaust manifold, while the temps were starting to come up, at this point we have only been running solid for about 1 minute.

at this point i looked at my dad since i was smelling oil burning. and saw a nice size cloud coming out of the back of the car...

im going to fiddle around with it again tomorrow..

but before any one says any thing, i am using the down pipe off my car that hass NO oil in it, my car ran great. also using my elbow...

any wAYS CHOW!
 

pimptrizkit

thread killer
Dec 22, 2005
1,572
0
0
vancouver Wa
good news Bad news..

well checked for codes, foun 51, looked it up, and found either tps or a switch, well i realized the ac was on

fixed that, then rechecked and found 11, realized i didn't leave the fuse out lng enough..

3rd time the charm! NO codes!

so im happily working along, tightenin the started, and crack.... i took out the rear knock sensor! dopE!

any ways, made some progress on coil pack relocation, and also on deletion of the throttle linkage..

joe will post some pics soon enough.
 

JoeC

Banned
Jul 10, 2006
338
0
0
Vancouver, Washington
Okay so here's an update!!! Things have been comming along slowely I suppose, atleast its almost there right? So the pictures I will be showing you today is where the motor is at now, explaining what left needs to be done, full view of our mess.. or our beauty? whatever you want it to be.. And LAST of all, Detailed pictures on how to get RID of your Tripod/Cruise control and have a Direct throttle to throttle body connection that WORKS.

These are high res. pictures scaled down to 640 so be happy.. They were 3265x whatever =P

Okay, so any ways.. Here's the current status of the motor. It's in, it's bolted down in there and every thing, coil packs are mounted below the intake manifold (sorry.. pics are on the other digital camera).. Radiator is in aswell as the turbo and every thing like that.. What needs to be done now is replace a broken knock sensor, install intake manifold and upper IC pipes, ground some connections and fix a broken wire. the car isn't throwing any codes like jim said, so thats good.. Looks like I have a good platform to work with!

motordw0.jpg


Next off is a full shot, yepp.. that's a full shot if you're blind. Just kidding! Here's what the car has looked like infront of our messy house for the last unno weeks! Like my discontinued rims huh? :icon_bigg

fullcarkb9.jpg


Just because this picture turned out cool looking, here's my interior. I know, brown seats, blue accent peices, black dash!? Doesn't fit! I KNOW! lol, thats how I bought the car.. I don't care! :cry:

interiormr8.jpg


Okay, last of all for now *until I can upload more pictures or take more*... Here's a step by step of the throttle connection. Btw, you need turbo throttle body linkages, and an N/A throttle cable and some knowledge of how to use a grinder, a drill, and maybe some pliers.

(1) First off, we start with a stock stopper peice from the throttle body. This peice is used JUST for the stopper and springs so the throttle closes and opens perfect and will not throw codes for over opening. The red line is where the peice was cut in later pictures for clearance issues.
1tm2.jpg


(2) Next, this peice i BELIEVE came off of a turbo, DONT quote me! I didn't see where jim pulled it off before he cut into it. But, any ways.. This peice is where the throttle cable will attach to, it has been cut as you can see. (used a grinder..)
2on7.jpg


(3) Here is peice number one and two put together.. showing how we fit them.
3oo7.jpg


(4) Fourth, here is part number 1 mounted on the throttle body before it was cut for mounting purposes. We took pictures as we were figuring out how to get it to work.
4vp3.jpg


(5) Fifth, Part number one mounted still but with the two stock springs hooked up.
5wv4.jpg


(6) Sixth, this shows part one and two mounted on the throttle body with the springs attached.
6sw7.jpg


(7) Seventh, this is all the peices mounted to the throttle body, after part one was cut for clearance issues. You can see in the picture we bent a peice of metal and cut some holes in it to hold the cable in a stationary position. Don't worry! We will be making a new peice that is longer and places the cable straight with the guide so there isn't any problems, this was purely mock up!
7eb4.jpg


(8) Eighth, this is just a different view of picture 7. Showing the cut part number 1.
8us8.jpg


(9) Last of all! Another view of the mock up with all of the springs attached.
9lo2.jpg


Hope you all enjoyed reading this, if someone wants to take the initiative to post a "how to do it" for this throttle linkage go ahead you can use my pictures and information, but give me credit for doing this writeup in your thread :icon_bigg
 

pimptrizkit

thread killer
Dec 22, 2005
1,572
0
0
vancouver Wa
the part i used was a jdm turbo, auto, throttle blade spinner thing.. it had came on my jdm turbo motor and i swaped it for an non turbo cam lober thing while tring to get the linkage to work.


you will need, an non turbo throttle cable (maybe auto) because it's longer then the stock turbo cable, and allows for better positioning,.im sure you can make a turbo one fit but will the cable wear out?

i had seen this done once before using just the jdm throttle lobe, and i didn't notice any thing sayin it over turned the butterfly.


but when i assembled it, i saw what part i needed to cut off, and i also noticed it turned the butterfly to about 110* where it only needed to achive 90* at wot.. of course this would hinder performance, by closing the thottle some, and also would push the tps possibly past acceptible ranges. thuse throughin a code.. (in my mind atleast..)
even with out making the bracket and cuttin the origonal turbo peice. when mocked up and the mani was on, we had perfect throttle operation,

the reason for the bracket was to extend cable life. cleaner look , and being able to take the slack out of the gas pedle.

any ways, this is a mod i will definitly be doing on my car when she's back up and running ! along with the coil pack relocation , these 2 mod's definitly clean up the engine bay !
 

JoeC

Banned
Jul 10, 2006
338
0
0
Vancouver, Washington
Turbo. Targa. Life. said:
Car is coming together VERY nicely Joe!! Keep up the good work!!


IT STARTED!! WOOHOOO!! We have one vacuum leak under the intake manifold, and a water leak on the turbo because of an old seal. It PURRS!!! Rev's to 2k INSTANTLY, literally no wait or hesistation, my bro revved it in the car and said guess the RPM and i thought he was at 1 grand. I drove his car for 4-5 weeks and it was NO where near as smooth in power.

IM SO HAPPY! Should be driving it within the next few days.
 

pimptrizkit

thread killer
Dec 22, 2005
1,572
0
0
vancouver Wa
yeah that vaccume leak he speaks of is the vac line to the bov, i couldn't find the stock metal line that connects with 2 rubber hoses so i got creative, but im having a hard time hooking it up.

it's a little hard to start because of the leak, but nothing like my supra, w/ a temp sensor code.
if the isc worked faster it wouldn't start bad at all. but i coved the vac leak, she purrs right at 700 rps or so, no codes. check engine light does flash when she's about to die but doesn't stay lit while running !

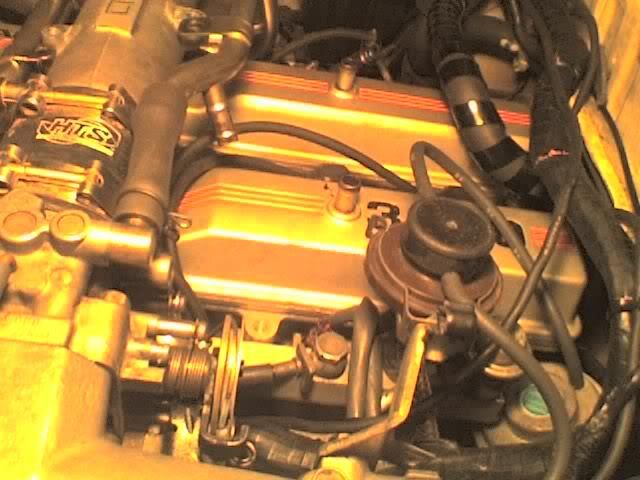
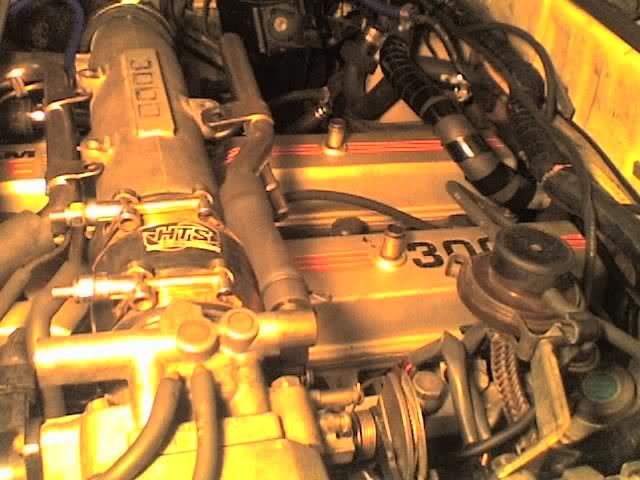
i did manage to shock my self while covering the vacum leak while letting the car do a heat cycle today. i snapped a couple cell phone shots.. so dont hate to hard.. i guess these will be a sneak peak before we can get some good quality shots in :biglaugh:

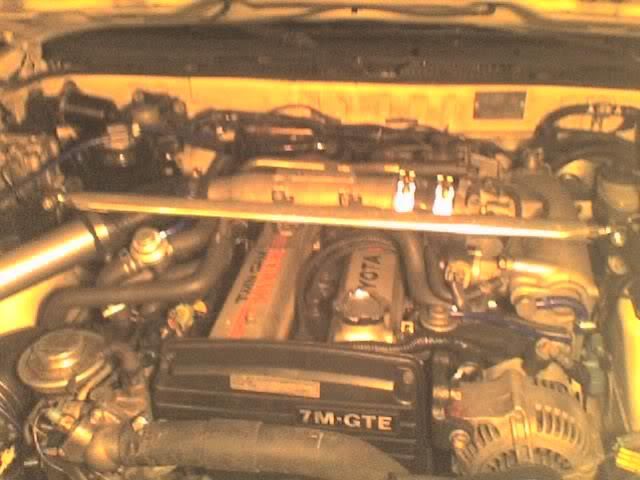
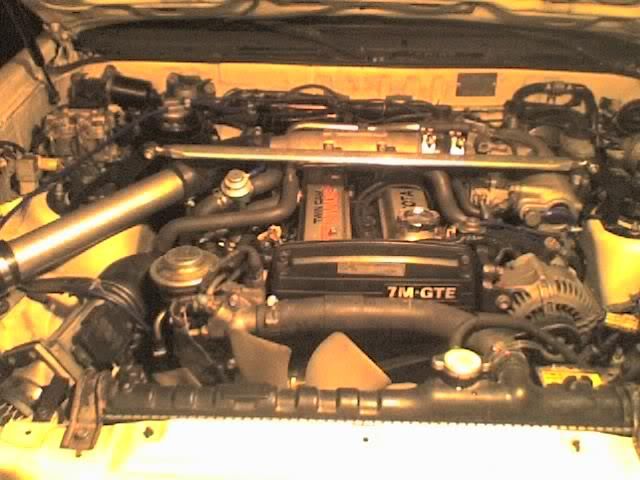
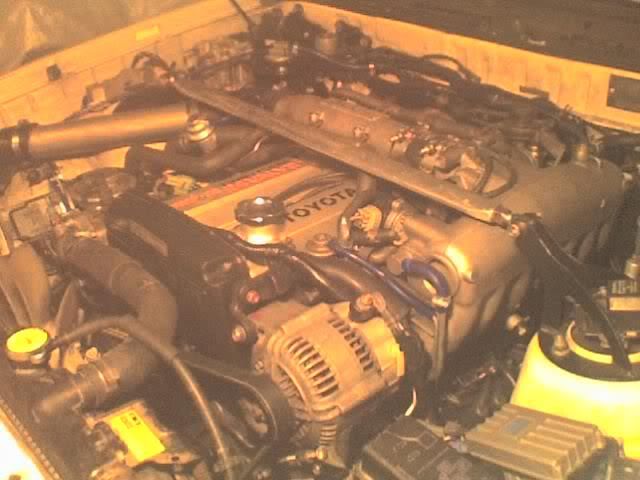
any ways, here's a pic of the n/a valve covers, some custom wires i did up. and decided to pull the fan shroud off since it was broke.. need's to be replaced!
p380330_1.jpg

also good news is his small ac fan works when temp is coming up, and the larger one infront of the norm fan comes on at operating temp. also the car has 40psi cold start, and has 20psi warm idle.
p380330_2.jpg

p380330_3.jpg


hmm whats missin guys?


p380330_4.jpg

p380330_5.jpg


maybe those will help you see a bit closer..
 

pimptrizkit

thread killer
Dec 22, 2005
1,572
0
0
vancouver Wa
opps! lol i tell you , new motors have some blow by!

im jsut really glad the turbo we picked up recently was in decent shape, it's the 3rd turbo the motor has had and not driving any miles on.. any ways,

i plan on soldering up a nice stock looking set of pvc pipes out of stock assorted parts i have..
if not, maybe a catch can and some clean fittings..

and i know the nuts on the 3k pipe are missin too!
 

pimptrizkit

thread killer
Dec 22, 2005
1,572
0
0
vancouver Wa
ahh dang typo's,

yeah i know what there for.

i didn't plan on soldering the nipples, it would make it nerealy impossible ot reove the valve covers..

i would be makine my own piping that looked sotck buck worked with the system..