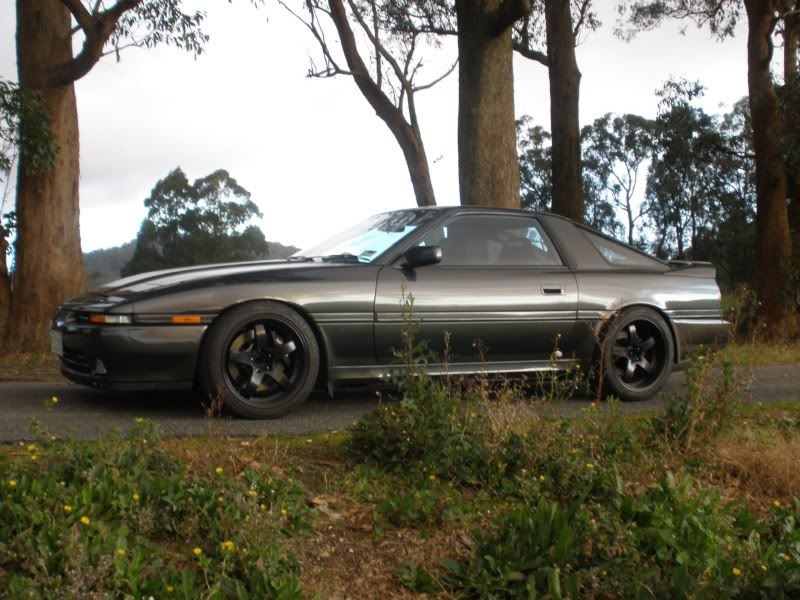
yeah, i need to find a good workshop to do my generally fitting. although i try to do most of that stuff myself. i have an excellent metal fab guy whom i can trust and does amazing work. i figured the bushes were only a small job but give a bunch of morons (like pedders) a small job and they will find a way to fuck it up i guess. although one of the guys there was a great bloke, we got talking about Ben's old yellow 2JZA70 as he used to work at RPM...
spiller's JZA70 build-up
- Thread starter spiller
- Start date
You are using an out of date browser. It may not display this or other websites correctly.
You should upgrade or use an alternative browser.
You should upgrade or use an alternative browser.
progress today on this!
got to re-installing the front RHS suspension components and new coilovers...(excuse the phone pics)
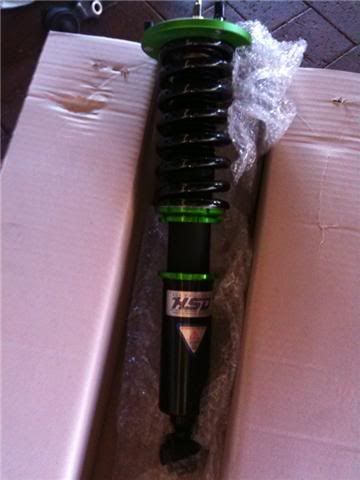
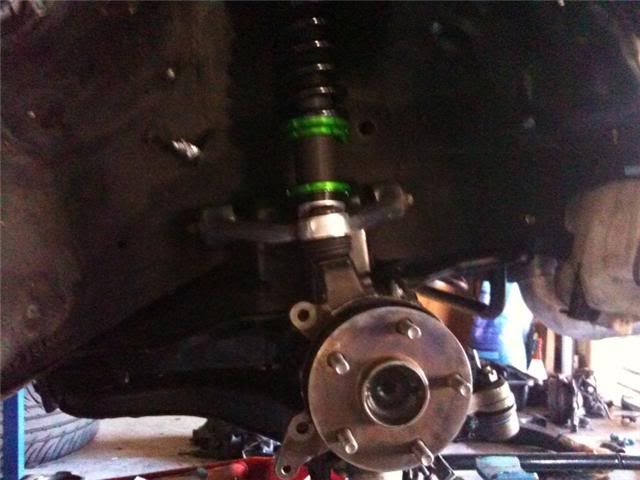
everything is back in, nice and clean, done up bloody tight (with threadlock in some areas) and ready to go. notice the dust sheild has been cut away completely to account for the extra thickness of the wilwood rotor.
test fitted my wilwoods too...
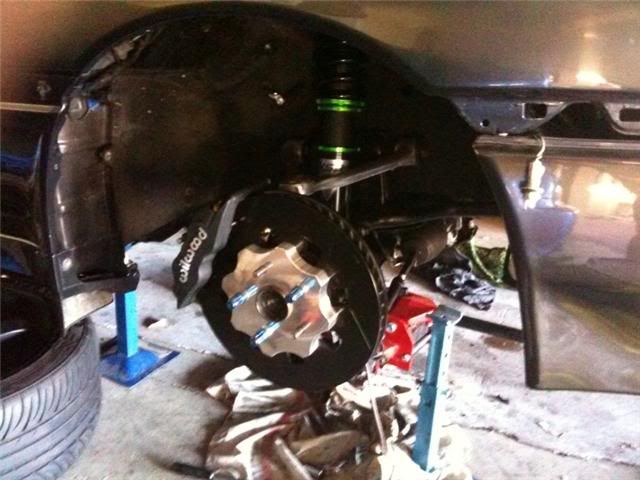
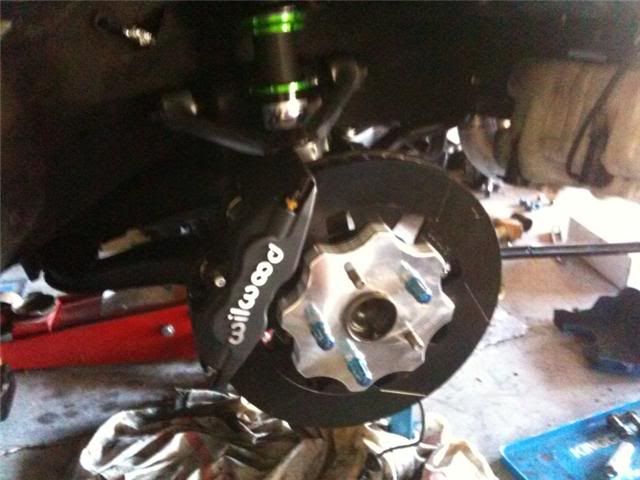
very easy to instal, still need to threadlock the rotor to hat bolts and measure the caliper to rotor to check if i need to shim the caliper at all. but aside from tightening things and fitting the brake line, that's all there really is to it.
and plenty of caliper clearance with these wheels!

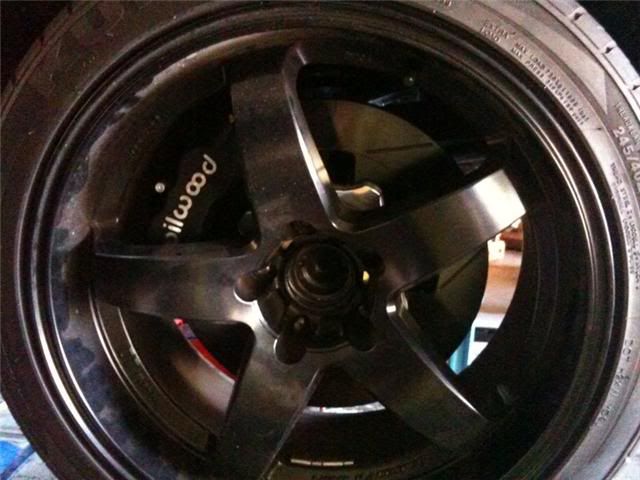
still waiting on the other bush to arrive so when that does ill get going on the LHS. then its onto the rear :aigo:
got to re-installing the front RHS suspension components and new coilovers...(excuse the phone pics)


everything is back in, nice and clean, done up bloody tight (with threadlock in some areas) and ready to go. notice the dust sheild has been cut away completely to account for the extra thickness of the wilwood rotor.
test fitted my wilwoods too...


very easy to instal, still need to threadlock the rotor to hat bolts and measure the caliper to rotor to check if i need to shim the caliper at all. but aside from tightening things and fitting the brake line, that's all there really is to it.
and plenty of caliper clearance with these wheels!


still waiting on the other bush to arrive so when that does ill get going on the LHS. then its onto the rear :aigo:
i decided to put off the unexplaned pad clearance issue today while i wait to hear back from the Arizona Perfomance and ripped off the rest of the mouldings and rear bar for paint. also fitted the HSDs in the back.
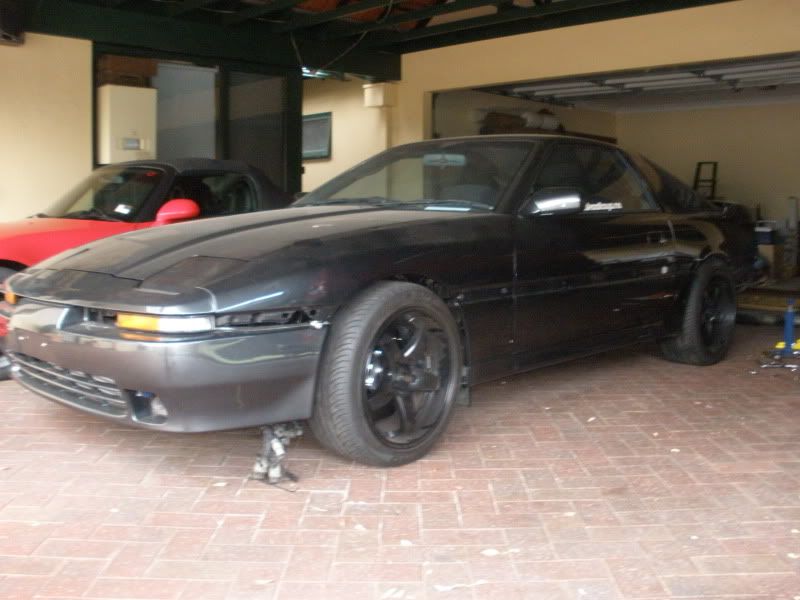
obviously needs to go much lower to make those wheels fit
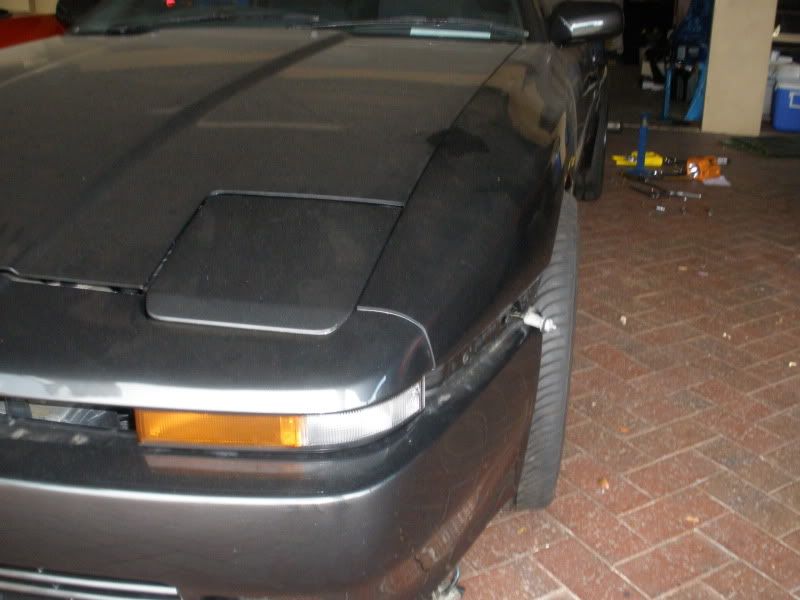
clearly i fucked up the geometry when refitting the suspension - positive camber and ridiculous toe-out. wheel aligner is gonna have fun
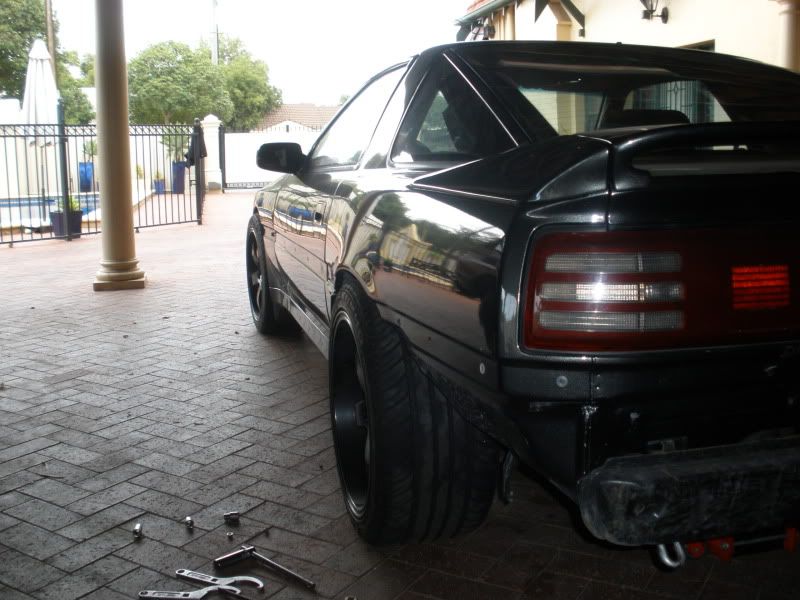
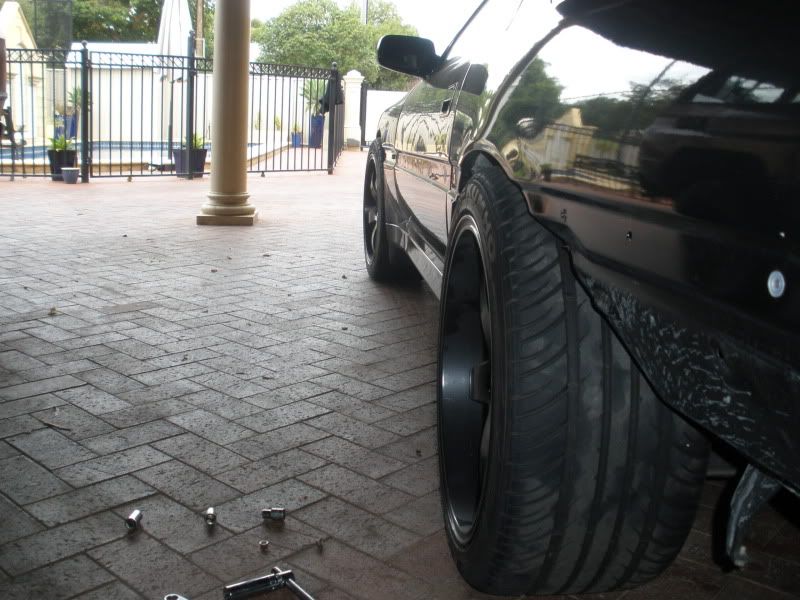
and one of the brakes which are currently may as well be good looking paper weights (at least until i get them operational and pop massive endos )
)
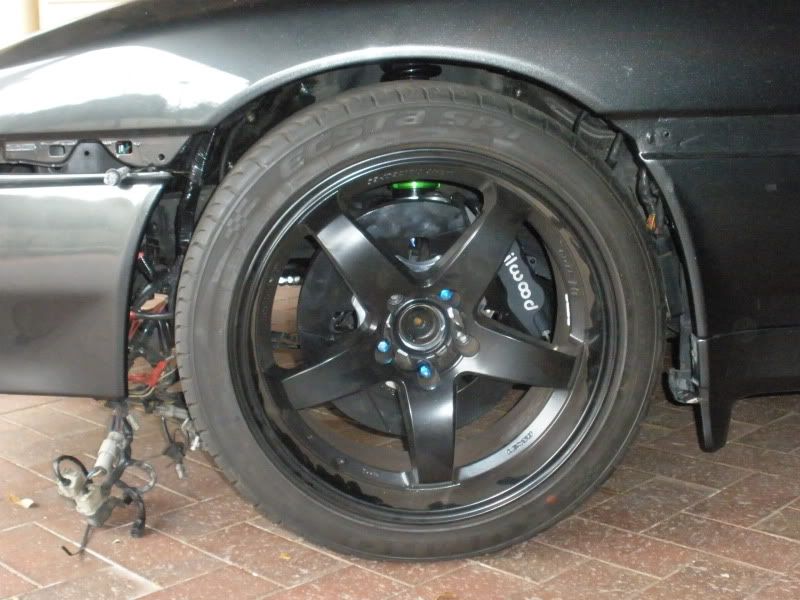

obviously needs to go much lower to make those wheels fit

clearly i fucked up the geometry when refitting the suspension - positive camber and ridiculous toe-out. wheel aligner is gonna have fun


and one of the brakes which are currently may as well be good looking paper weights (at least until i get them operational and pop massive endos

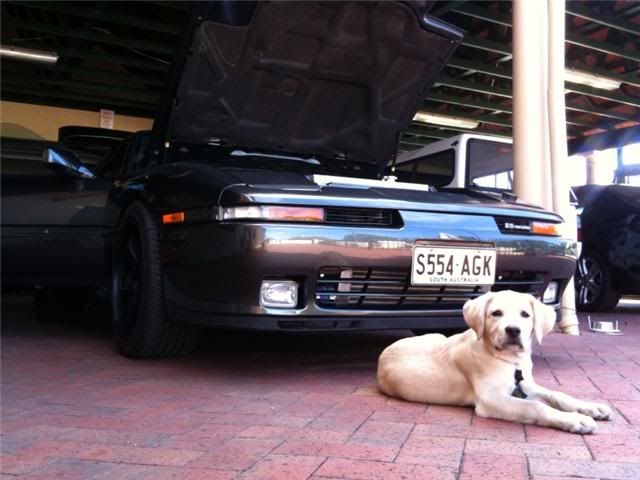
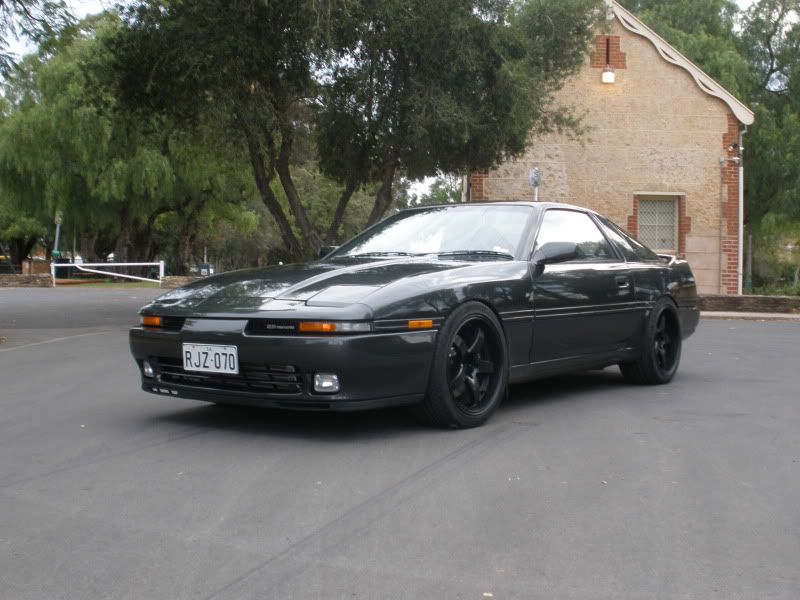
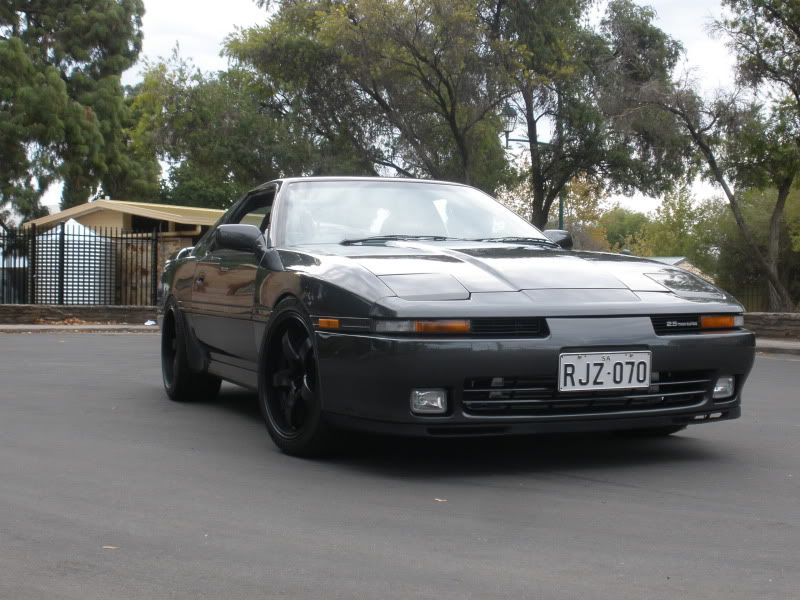
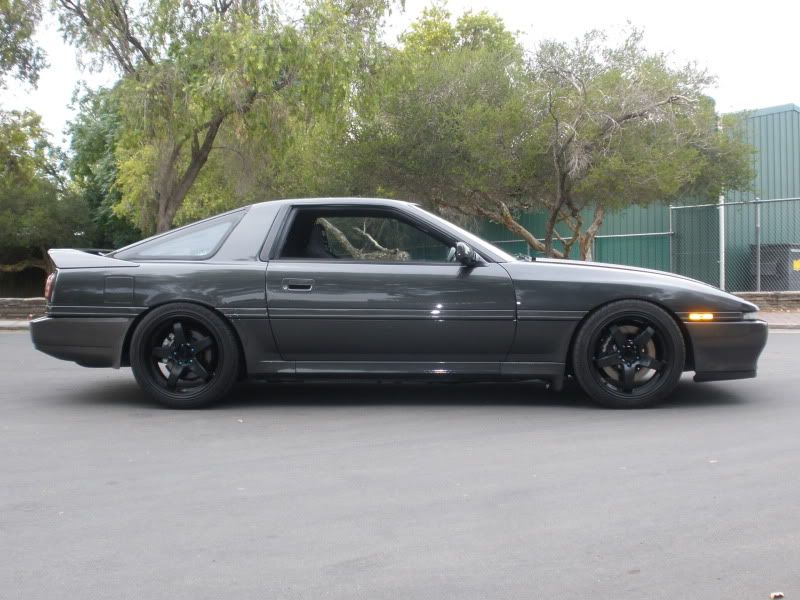
been a while since i've updated but this thing is all back together now after this weekend's efforts. only managed to get 1/3 of the way through my wilwood "bedding in" procedure due to a thermo fan that shuts off when the temps get hot (stupid i know). Quite annoying because I can't drive the car long distances, or finish bedding in my brakes until this issue is sorted.
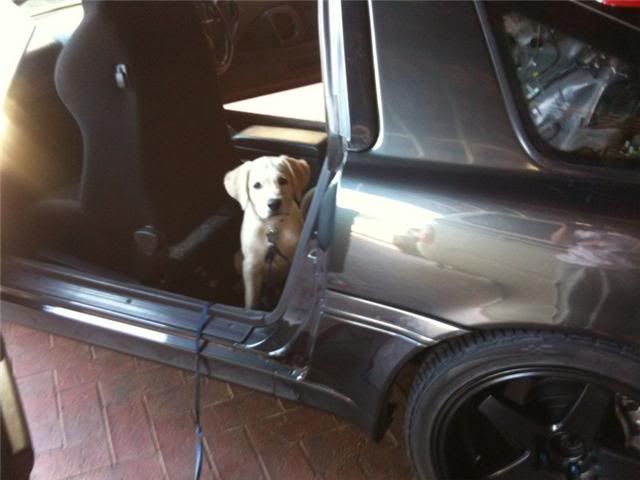
anyway, pics:
had a little help from my friend
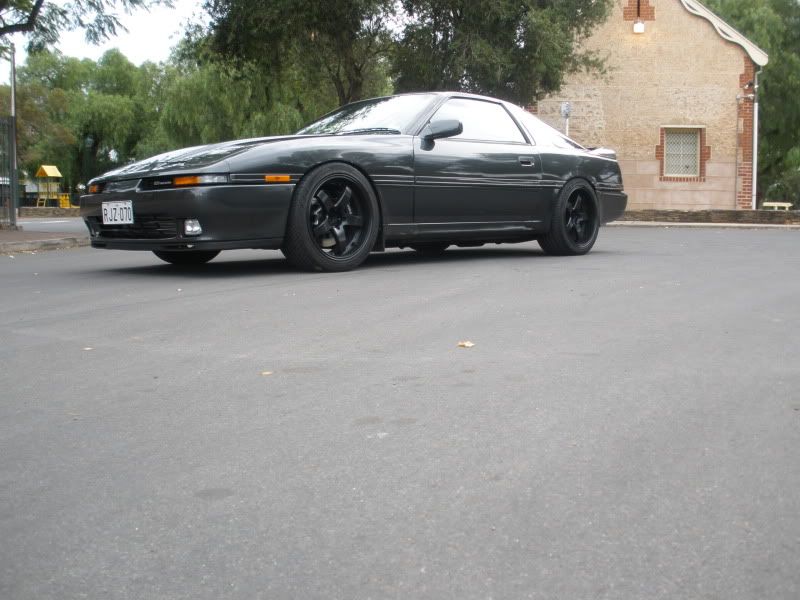
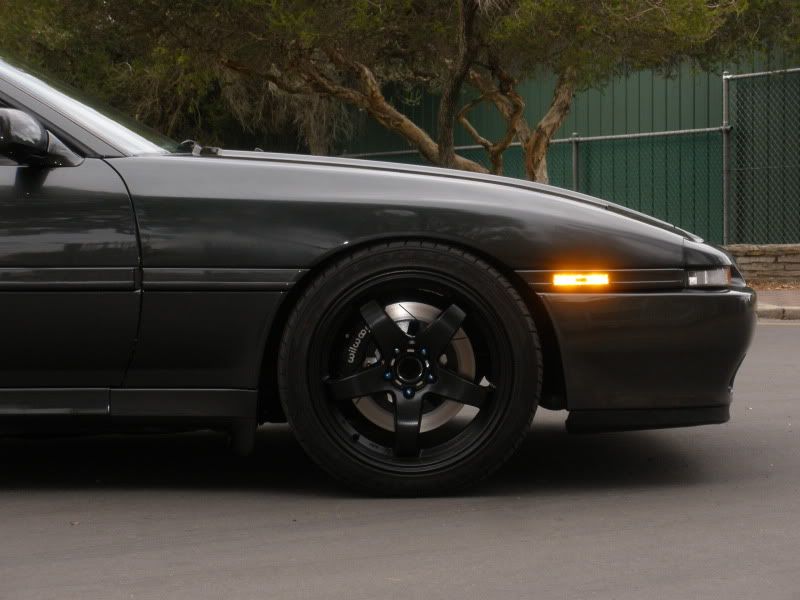
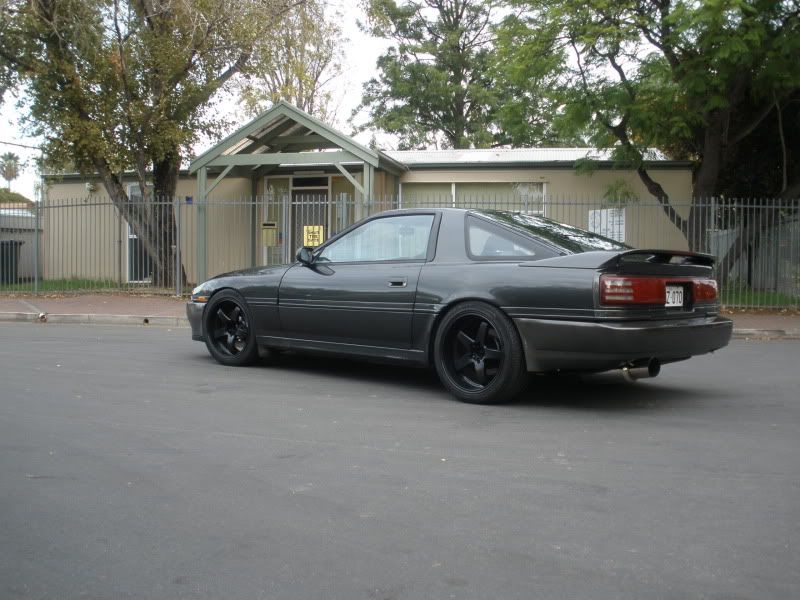
also scored one of these...
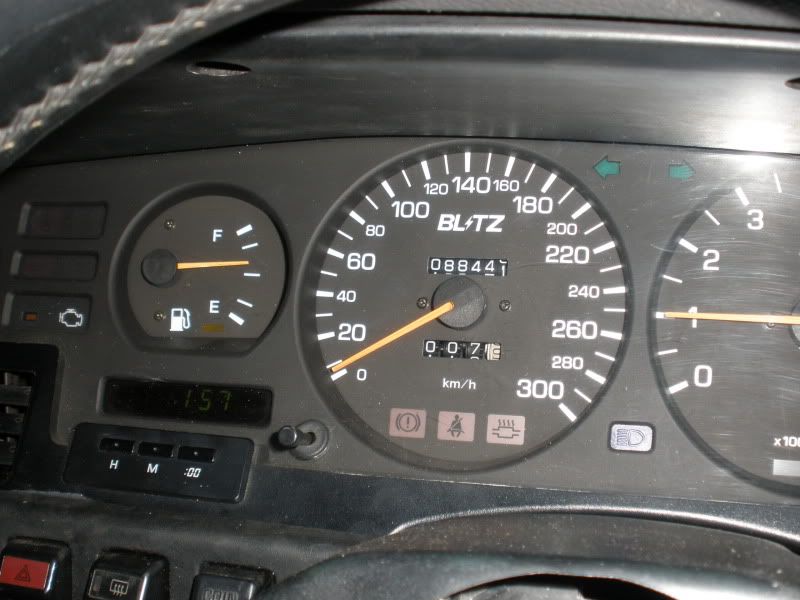
and a pair of these...which i'm chuffed about because I had the same seats in my RZ and loved them (plus the old school recaros in there had seen far better days!)
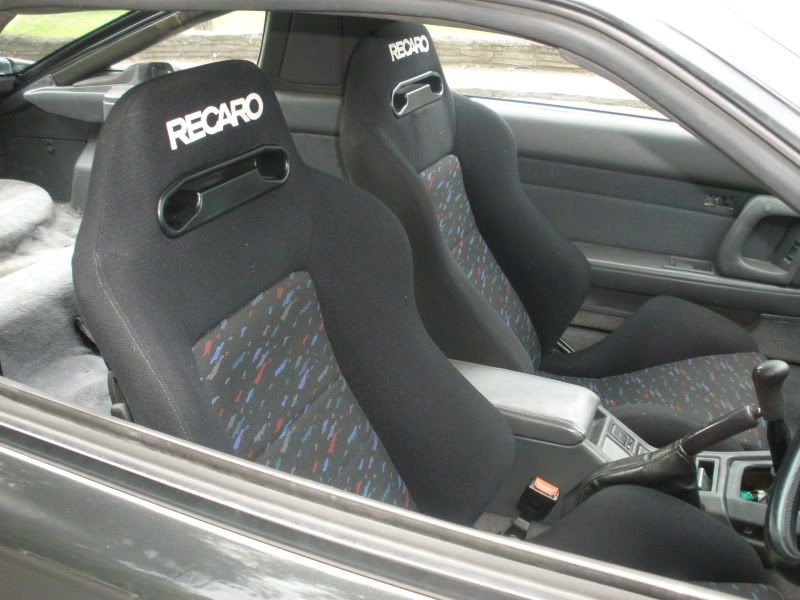
that's about all for this build up for now. hopefully I can source a different thermo fan soon and get the car driving in order to discover any other ptential teething issues!
anyway, pics:
had a little help from my friend


also scored one of these...

and a pair of these...which i'm chuffed about because I had the same seats in my RZ and loved them (plus the old school recaros in there had seen far better days!)

that's about all for this build up for now. hopefully I can source a different thermo fan soon and get the car driving in order to discover any other ptential teething issues!
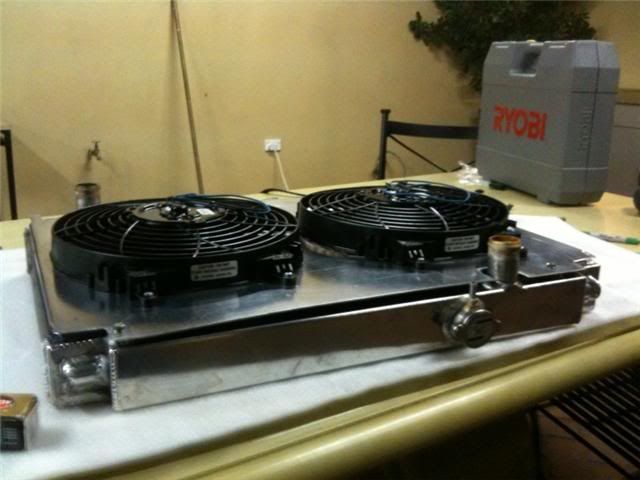
havent updated this in a while, was having some cooling issues due to a dodgy thematic fan which turned out to be a cheap no-name fan that porbably didn't pull enough air and was actually arcing out and shutting off when temps rose! have replaced it with twin 12inch Davies Craig fans. These babies pull 3000cf/m each so i don't think ill have any more issues!
also made up my own radiator shroud out of alloy as I couldnt get anything off the shelf that would be appropriate. quite happy with the end result!
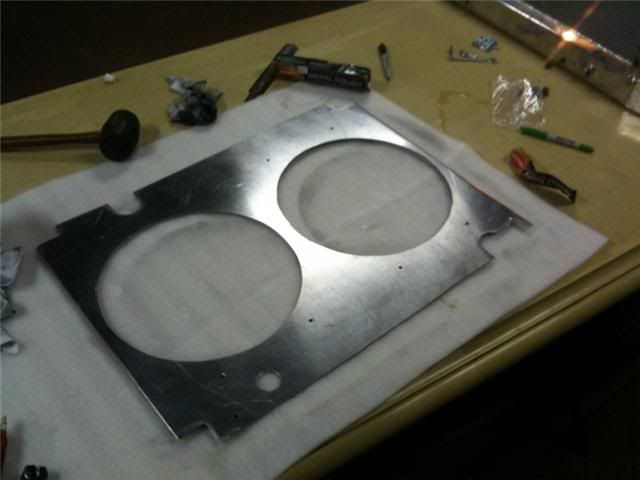
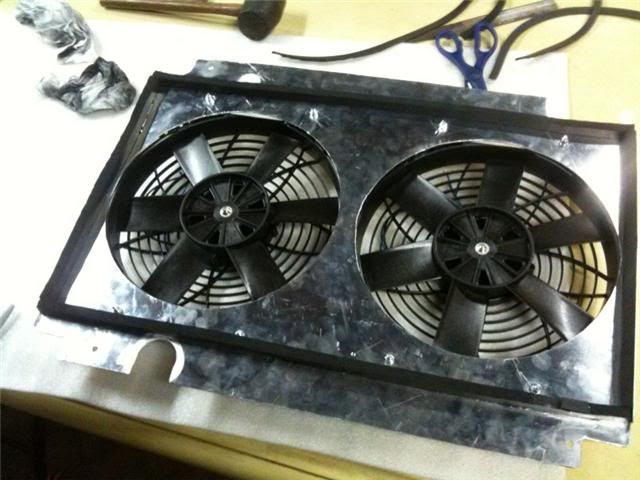
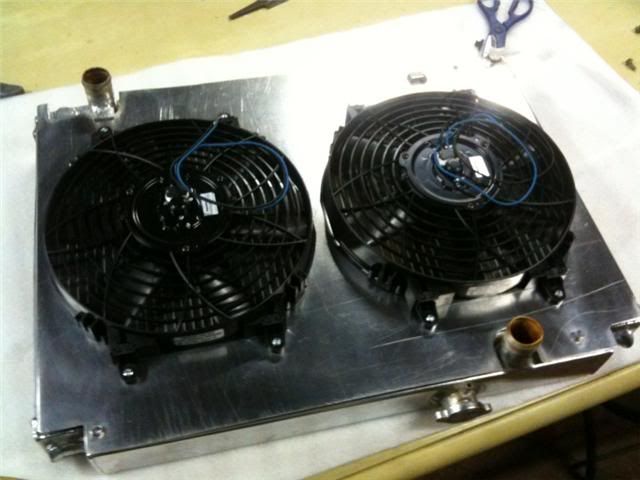
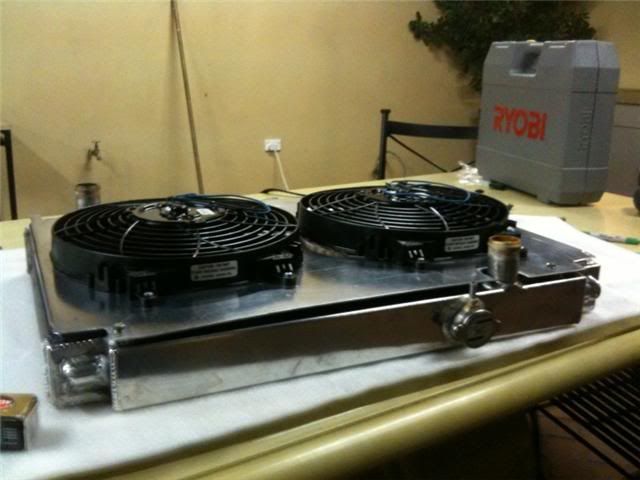
I will need to re-rout the cold side intercooler piping though because a tiny section of the fan fouls to the point where the radiator wont fit. shouldn't be too difficult though as I'm already running a very small battery.
also made up my own radiator shroud out of alloy as I couldnt get anything off the shelf that would be appropriate. quite happy with the end result!


I will need to re-rout the cold side intercooler piping though because a tiny section of the fan fouls to the point where the radiator wont fit. shouldn't be too difficult though as I'm already running a very small battery.
spiller;1569304 said:havent updated this in a while, was having some cooling issues due to a dodgy thematic fan which turned out to be a cheap no-name fan that porbably didn't pull enough air and was actually arcing out and shutting off when temps rose! have replaced it with twin 12inch Davies Craig fans. These babies pull 3000cf/m each so i don't think ill have any more issues!
also made up my own radiator shroud out of alloy as I couldnt get anything off the shelf that would be appropriate. quite happy with the end result!
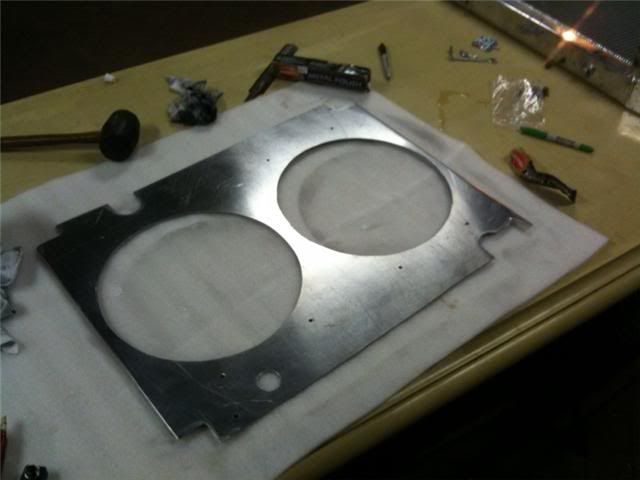
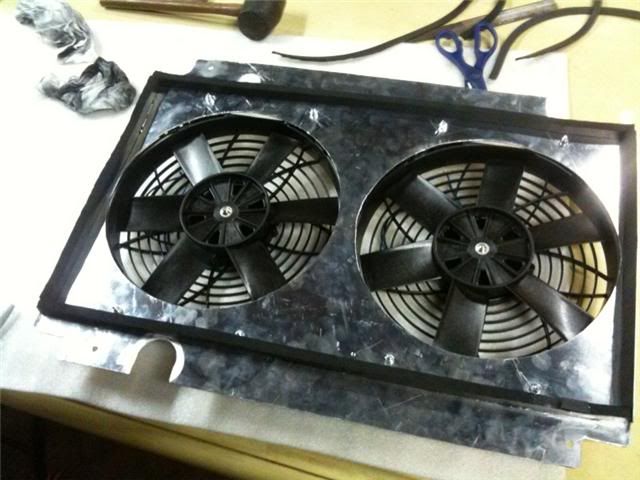
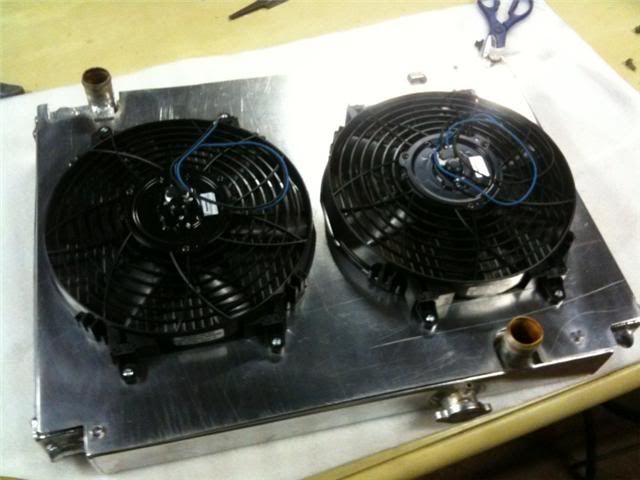
I will need to re-rout the cold side intercooler piping though because a tiny section of the fan fouls to the point where the radiator wont fit. shouldn't be too difficult though as I'm already running a very small battery.
I don't think the shroud is a good design to have it against the radiator that close. I could be wrong though. I just think it would generate more heat with that sheet metal press against the radiator that it would only drawn air cooling at the center of the radiator and I think it should have at least a 1'' distance from the radiator and enclose. Maybe with those large fans it won?t matter.
-Noel
although it doesnt look like it, it's actually set back about 3/4 inch off the radiator. i did quite a bit of research before i went ahead with this and priced up an off the shelf kit from the US (which was extremely high qaulity and close to 1000 dollars) and based the design off that. believe it or not, most of the factory fan arrangements/shrouds have very little "set back" from the radiator. even if I wanted 1-2 inches, there is simply not enough room at the front of the engine bay as it would foul on the crank, cam and other ancillery pullies. this already fouls on the intercooler piping as is.
cheers
cheers
The AU/Falcon Fans I'm using have much more "plenum volume" in the shroud than that.
Not sure how well it's going to work with them that close, you run the risk of the fans only drawing their own diameter through the core.
Not sure how well it's going to work with them that close, you run the risk of the fans only drawing their own diameter through the core.
AU falcon fans didnt fit unfortunately, we tried them, along with mondeo and other ford variants.
If I space the fans any further back off the cooling surface then the radiator will not be able to be installed. What's better, a radiator with fans closer to the cooling surface or a radiator with no fans at all? there isn't any more clearance available. Simple as that. Whilst the shroud looks like its flush up against the radiator, its actually only like that on the outside edges where it mounts to the top tanks. There are only 3 mounting points on the corners which means the shroud bows in the middle (thus creating more "plennum volume"). Not to mention that the edges are pretty well sealed so the fans should draw from all parts of the surface as the air has very little room to go elsewhere.
If I space the fans any further back off the cooling surface then the radiator will not be able to be installed. What's better, a radiator with fans closer to the cooling surface or a radiator with no fans at all? there isn't any more clearance available. Simple as that. Whilst the shroud looks like its flush up against the radiator, its actually only like that on the outside edges where it mounts to the top tanks. There are only 3 mounting points on the corners which means the shroud bows in the middle (thus creating more "plennum volume"). Not to mention that the edges are pretty well sealed so the fans should draw from all parts of the surface as the air has very little room to go elsewhere.
That's it! My brother and I have exactly the same set up (made them both at the same time) and I have reports from him that there are no cooling issues with his car and he has a 22cm snail under the bonnet with 400 rwhp so I figure this should work! also, looks like I'll have to get the hot and cold sides of the cooler
piping modified to make these fans fit
piping modified to make these fans fit
Thanks pal, I'm happy with the HSD's so far. I haven't played around with the damper settings too much but even at the higher end of the range, with these spring rates it's still relatively comfortable on the street. Doesn't like too many bumps but coilovers will do that. Good value for the money!!
Last edited:
Loved reading through your build!
Awesome car man! and I enjoyed seeing pics of your JZA70R with the red lip wheels again.
Hope to see more progress! Keep up the good work!
Sam
Awesome car man! and I enjoyed seeing pics of your JZA70R with the red lip wheels again.
Hope to see more progress! Keep up the good work!
Sam
thanks mate! I actually had a dream about the old JZA70 R the other night, I had both this one and the old one parked in the driveway next to one another and someone was making me decide on which one I wanted to keep. I was torn between them both. haha
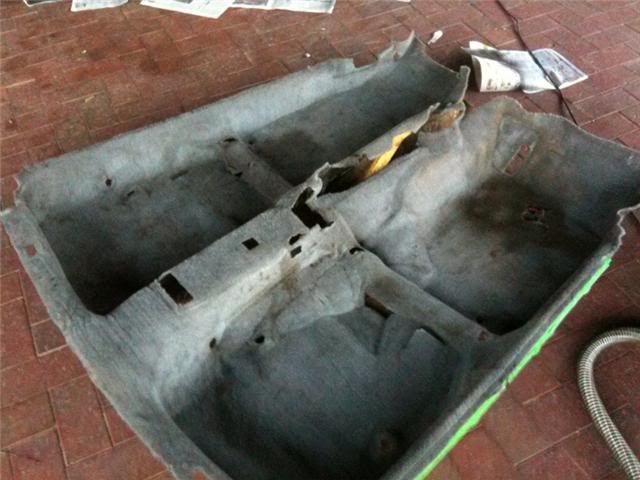
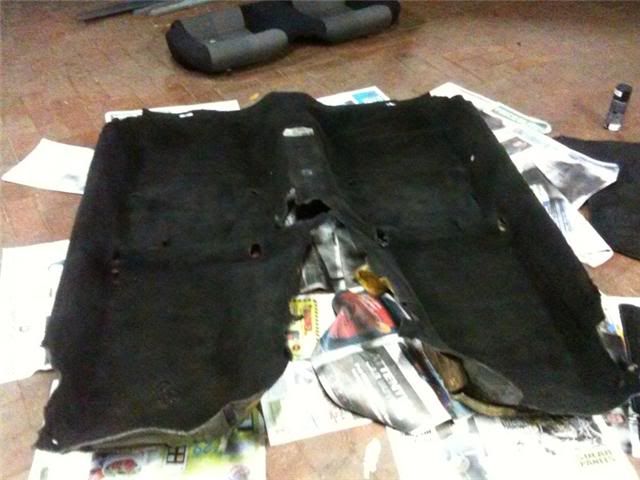
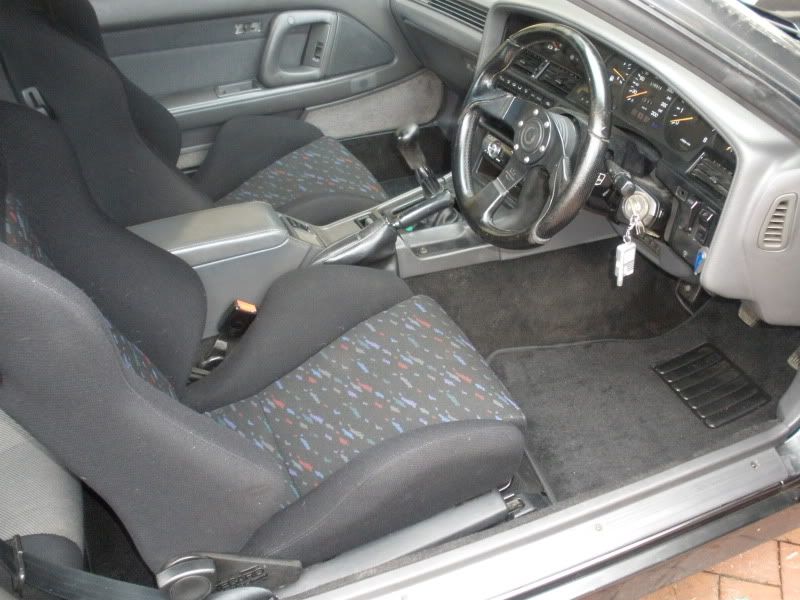
well, the interior on this car is something that had bothered me from the day I got it. It was tatty, with torn seats and a stained dirty carpet. I rectified the seats with the installation of my recaro SR3s, but the carpet was still getting to me. Over the weekend I decided to experiment with some DIY vinyl and carpet dye. Since my seats are black, I decided to carry on the theme and break up the grey a bit (plus I needed something that would cover up the stains lol).
i'm pretty happy with the results:
before:
after:
all re-assembled:
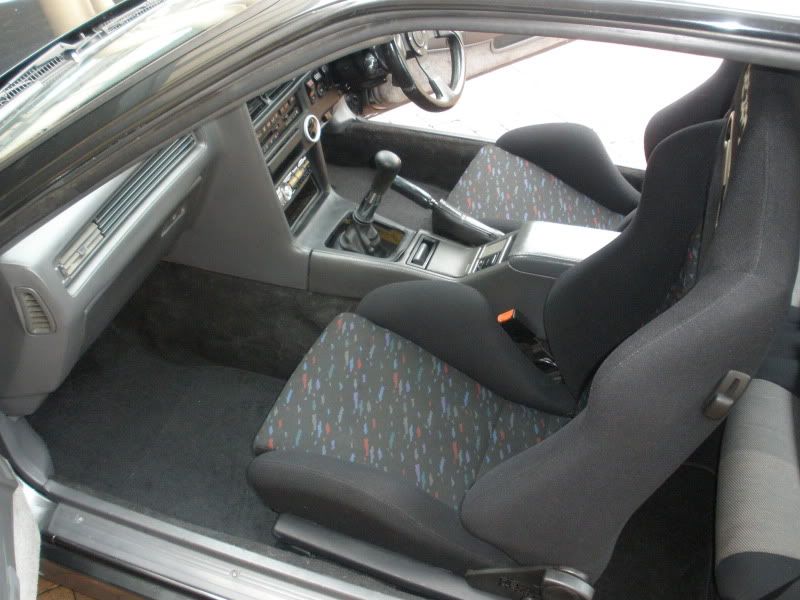
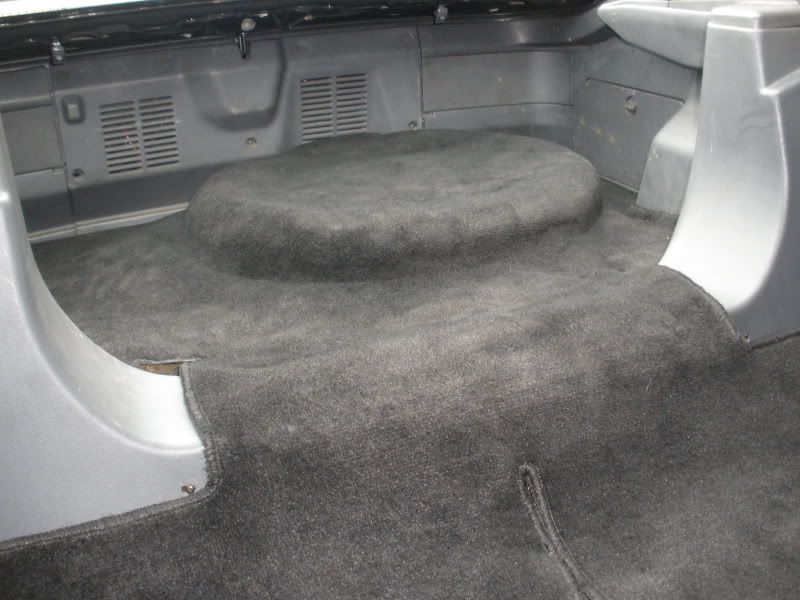
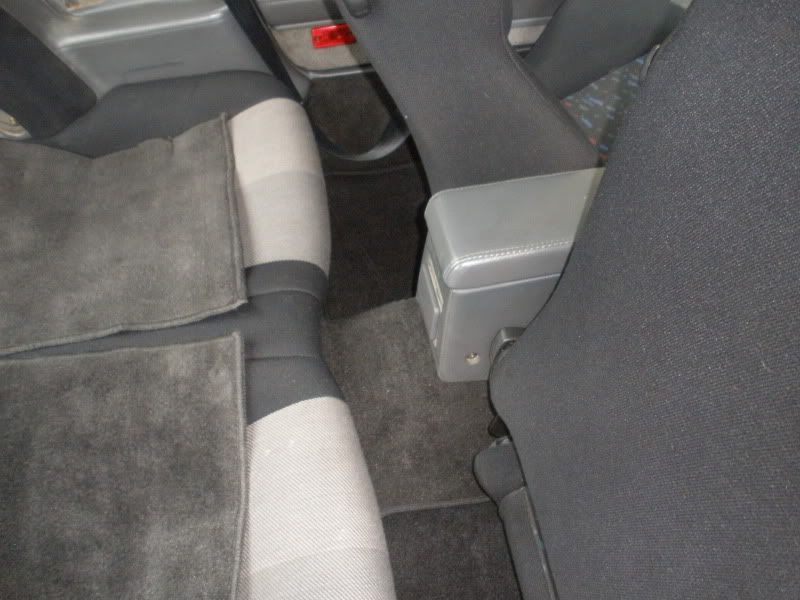
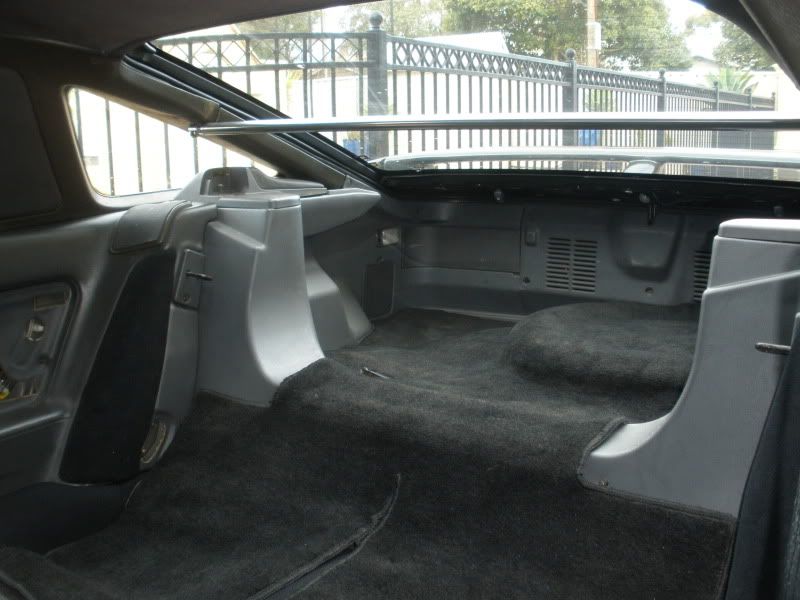
and a refresher showing how it was when I got the car:
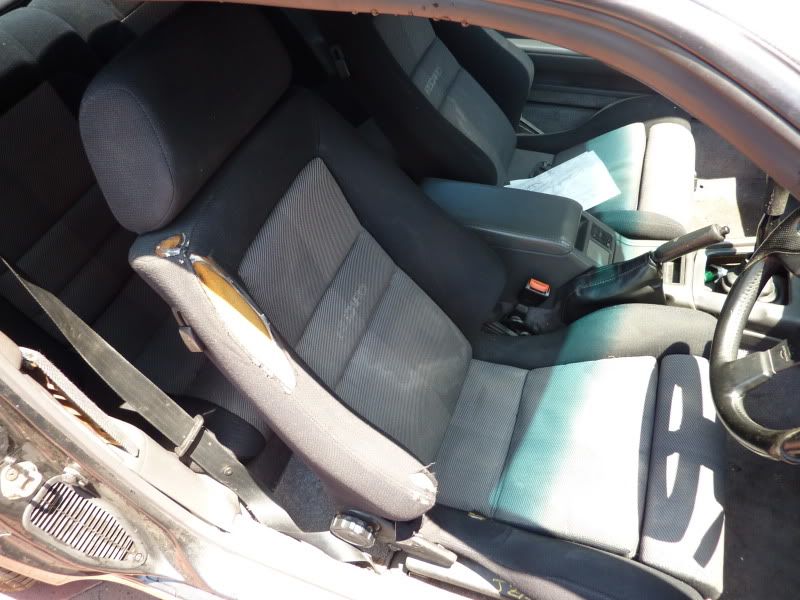
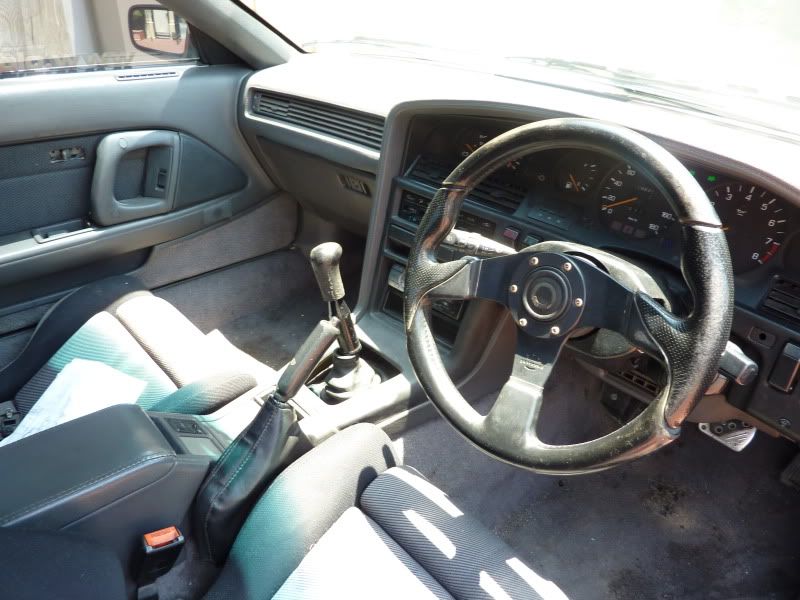
All I need now is a gear boot and a nicer steering wheel (thinking of a sparco wheel, or maybe just a momo RACE), and to fit my cusco rear strut brace and the interior is done!
i'm pretty happy with the results:
before:

after:

all re-assembled:


and a refresher showing how it was when I got the car:


All I need now is a gear boot and a nicer steering wheel (thinking of a sparco wheel, or maybe just a momo RACE), and to fit my cusco rear strut brace and the interior is done!

