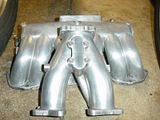
ok I remeber reading a rite up somewhere on polishing your 3000 pipe along with intake mainfold and numerous other parts. Now can I do this by hand(go out and buy like 20, 100, 200 etc etc. sandpaper) or should I go out and buy a dereml??? can I polish my valve coers too along with any other metal parts or only specfic ones I can do???
polishing up some parts
- Thread starter doom26464
- Start date
You are using an out of date browser. It may not display this or other websites correctly.
You should upgrade or use an alternative browser.
You should upgrade or use an alternative browser.
Or you could have the parts chrome ceramic coated and save a ton 'o work :naughty:
http://www.supramania.com/forums/showthread.php?t=41913
http://www.supramania.com/forums/showthread.php?t=41913
ive read about this all over the web on certain car forums.. google "how-to polish car parts" or something to that effect. im too lazy to do it but id be interested in it as well.
stole this from razzaken on here. i searched and pulled this up. i hope it helps:
-----------------------------------
No matter how smooth the piece of aluminum I'm working is, I always start with 80 grit. Sand it w/ 80 grit until you think you've removed all the high spots, then hit it again for another good bit. IMO, the first round of sanding is the most crucial. If you miss something in the early stages, you won't get rid of it in the latter stages.
After the 80 grit, hit it with 220, 400, 800, 1000 & then 1500. Once you've gone over it with the 800, you should be able to start seeing a luster coming through. If you see something that you missed, drop down 2 grits (ie. If you're using 1000, go back to 400) & hit it again. Don't be afraid to sand, sand the shit out it.
Get a good & powerful bench grinder & put a cotton buffing wheel on each side. One will work, but two is the ticket.
Put a small amount on the part you want to buff, keeping the working area to about a 6-12 sq inch area. Doing a larger area will cause more problems than it's worth. Anyway buff the area nice & slow. Also, use light pressure, don't push the piece into the buffer. You'll more than likely cake your paste while buffing which will cause your buffer to 'grab' your piece & it will sort of bounce. If so, back the pressure off a little until your buffing nice & smooth.
Once your done with the small area, take a clean rag & remove the paste. For the areas that the paste caked, take some clean paste & rub over it. That will release the cake. A spray wax will do the job a little better. Also, you'll see the areas that the paste caked, they'll have a yellow tint to them as if it was heated a little too much (look close at my pictures & look at the runners, you'll see what I'm talking about). For those areas, take some 1500 grit & sand the color out. It won't take much effort. Remember, get everything off before buffing the area again. Clean between each buffing, and keep your hands as clean as possible too.
You shouldn't have to buff the piece more than three times, but keep going to suit your preference.
Get a palm sander, and a dremel will help immensely too. I have about 4 hours in my manifold, with most of the time being spent on the runners.
My advice is to spend more time sanding with the rougher grits, definitely not less. After skipping the lower grits & sanding for hours, I had to go back to the lower grits a basically start again because the higher grits couldn't take the larger cast marks off.
This should help you out a little.
http://forums.celicasupra.com/showthread.php?t=16905&highlight=mirror+polishing
Jdub does really really hot looking finishes....................:love:
http://forums.celicasupra.com/showthread.php?t=16905&highlight=mirror+polishing
Jdub does really really hot looking finishes....................:love:
you give that manifold some buffing action and some compound and itll look even better! allot better
already have:icon_bigg that pic is a couple weeks old...since then Ive hit it with 2000grit, rubbing compound, and some mag polish and just put it on tonight and some new valve cover gaskets too. Ill get a pic tomorrow.theKnifeArtist said:you give that manifold some buffing action and some compound and itll look even better! allot better
Get a professional to do it! I spent hours and hours doing just what Razzaken said to do on my first intake, took forever and I still had high and low spots.
first manifold done myself:
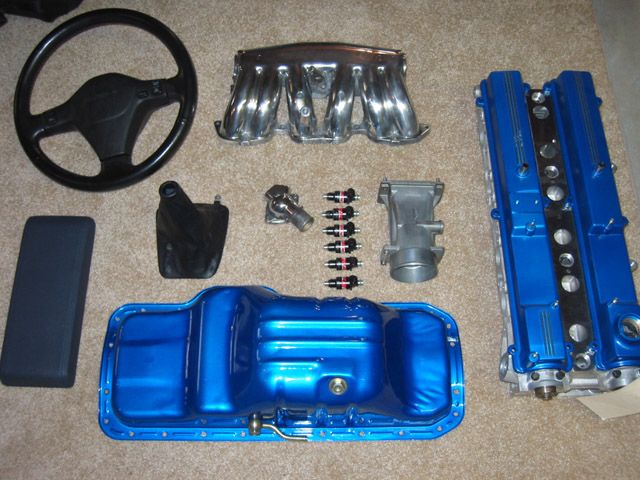
professionally done manifold, valve covers, fuel rail, IC pipes, rad pipes:
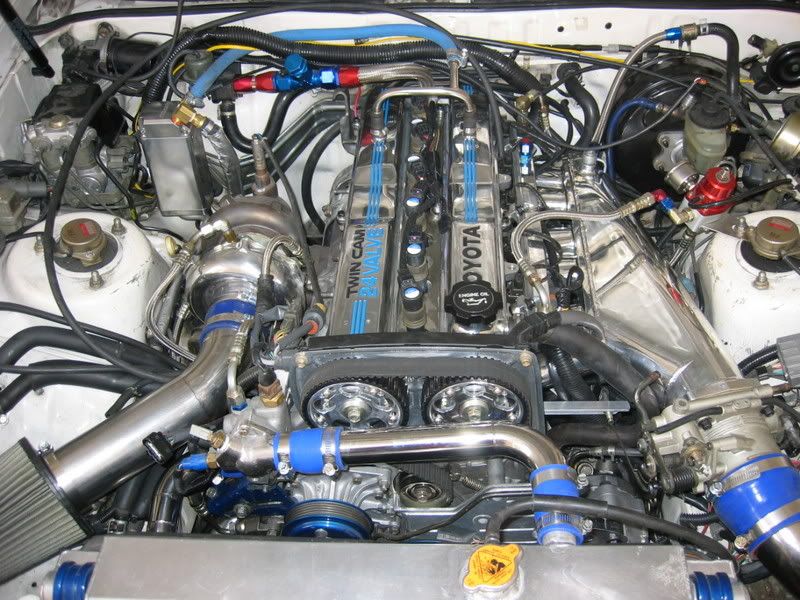
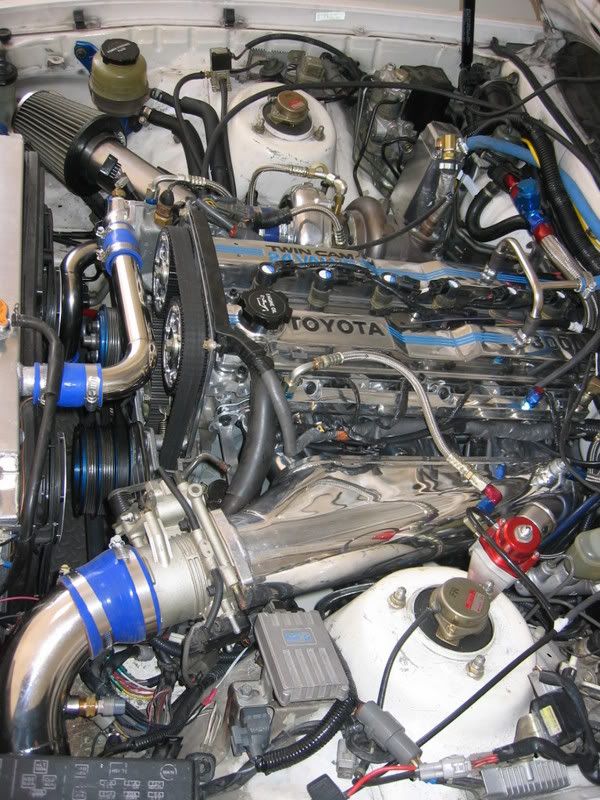
It was only about $400 to have it all done, my grinder/polisher, the different buffs and polishing compounds, and all the sand paper came out to close to that price. Not to mention it took a couple of weeks to finish it, where the pro took a weekend.
Matt
first manifold done myself:

professionally done manifold, valve covers, fuel rail, IC pipes, rad pipes:


It was only about $400 to have it all done, my grinder/polisher, the different buffs and polishing compounds, and all the sand paper came out to close to that price. Not to mention it took a couple of weeks to finish it, where the pro took a weekend.
Matt
:love: looks great!Gilsdorf said:Get a professional to do it! I spent hours and hours doing just what Razzaken said to do on my first intake, took forever and I still had high and low spots.
first manifold done myself:
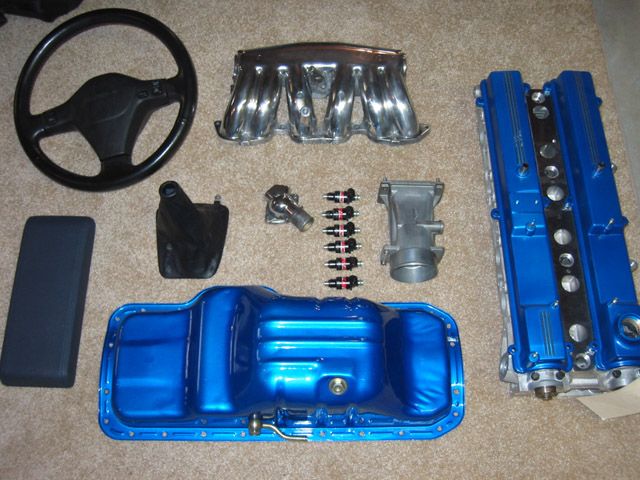
professionally done manifold, valve covers, fuel rail, IC pipes, rad pipes:
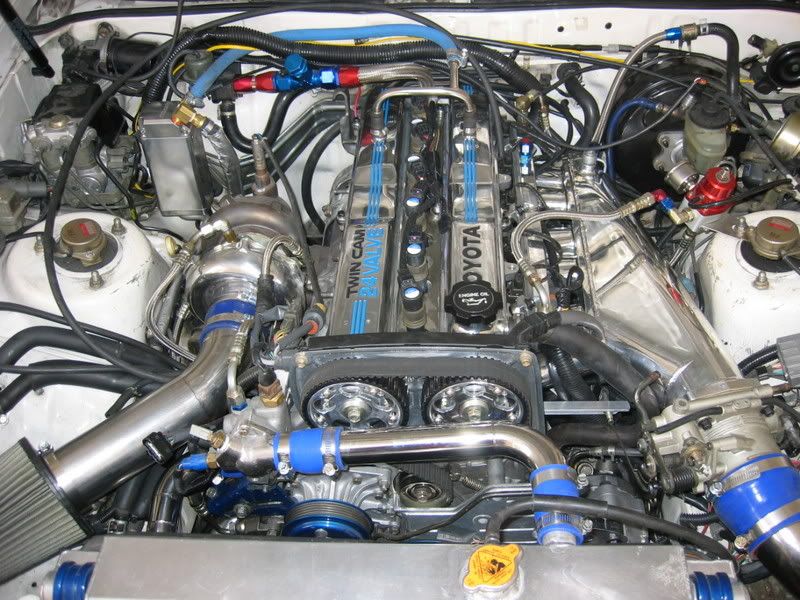
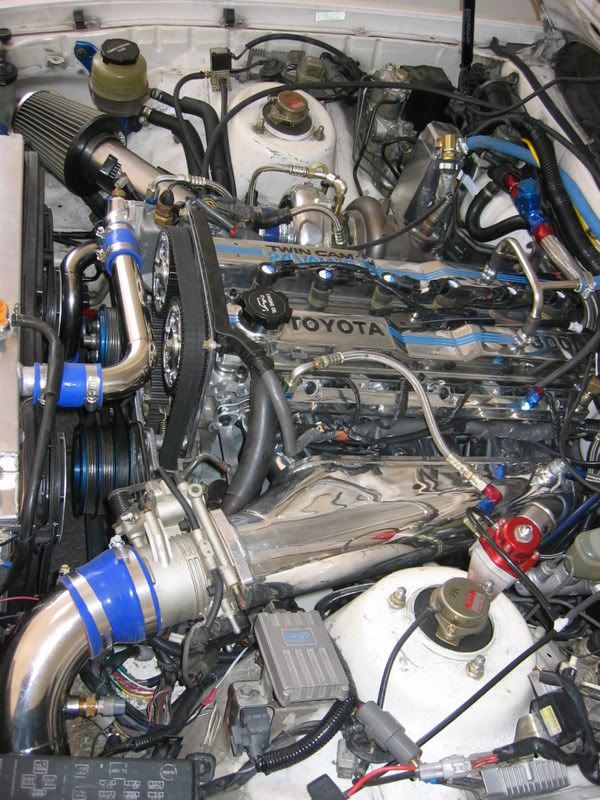
It was only about $400 to have it all done, my grinder/polisher, the different buffs and polishing compounds, and all the sand paper came out to close to that price. Not to mention it took a couple of weeks to finish it, where the pro took a weekend.
Matt
Hey John,
The coils are off of a Hayabusa (they are brand new and were never actually installed on a 'Busa), controlled by an AEM EMS and an MSD-4.
If you look close you can see some of the parts you coated for me (the cam backing plate, exhaust shields and the lower timing belt cover), I ebay'd the IC pipes you did for me though.
Matt
Matt - That motor looks awesome man...the polish really ups the "bling" factor by a huge margin.
Yeah...I saw the parts I did
Should have had your water neck done to match...LOL
Yeah...I saw the parts I did
Should have had your water neck done to match...LOL

