
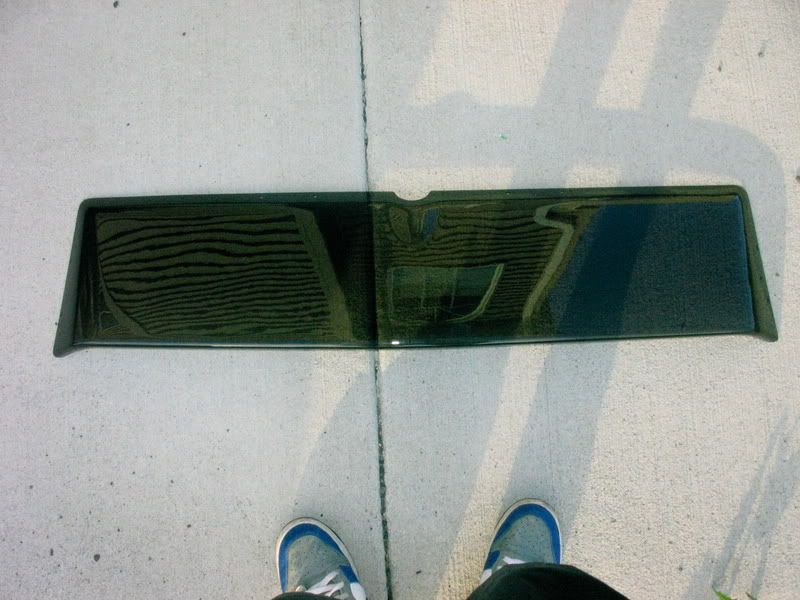
Amazingly enough people seem to still screw this install up! Its pretty straight forward... ")
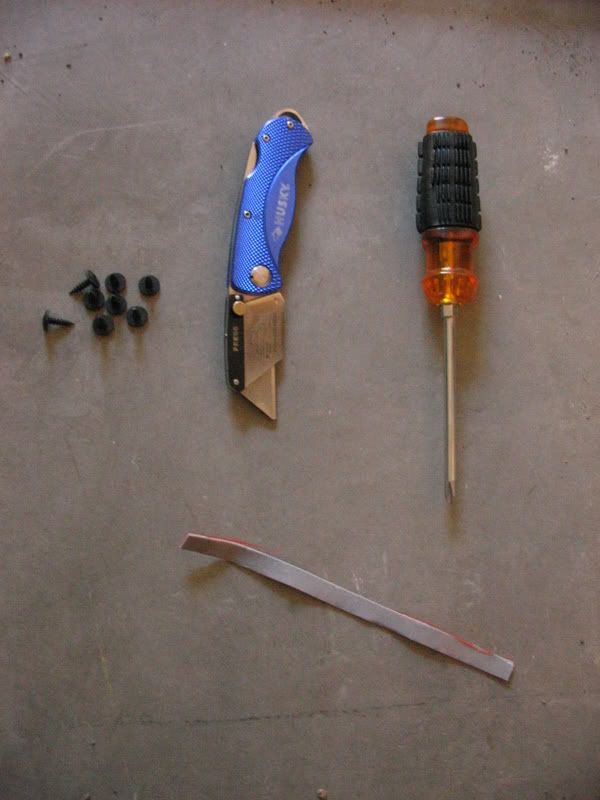
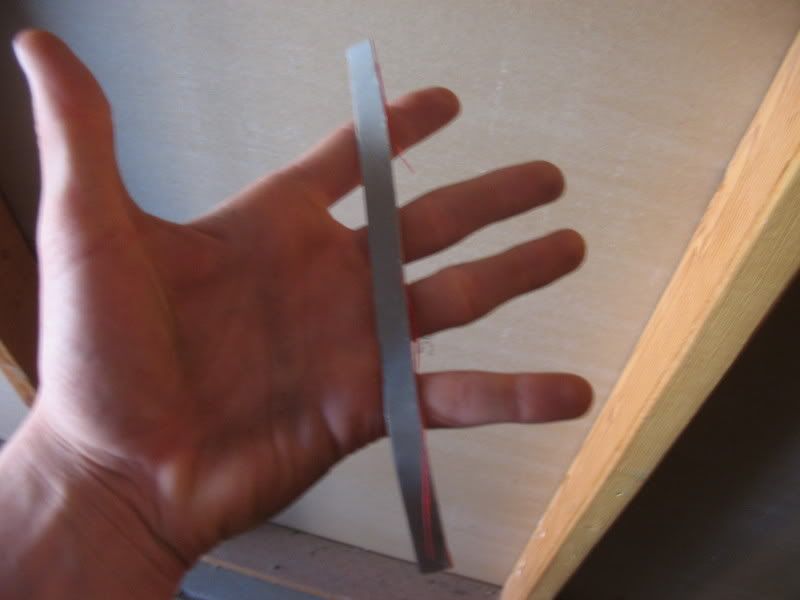
Step 1: Make sure you have these supplies before you try installing the sunshade. 1. Sunshade, 2. 3M tape, 3. Razor (most should work fine), 4. Screws, 5. Brackets, 6. To line things up I used aluminum tape (use what ever you comterble with.) That about covers it.
Ok, now we are ready to start!
To insure best possible fit, its best to do a mock up/pre install what ever you want to call it. So that's what where going to do! :biglaugh:
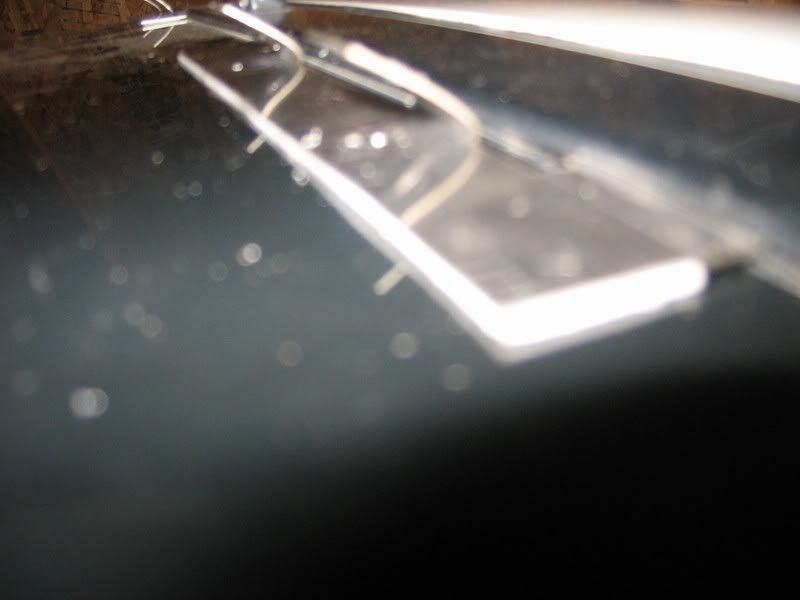
First use the razor to pry up the metal molding.
Like so...

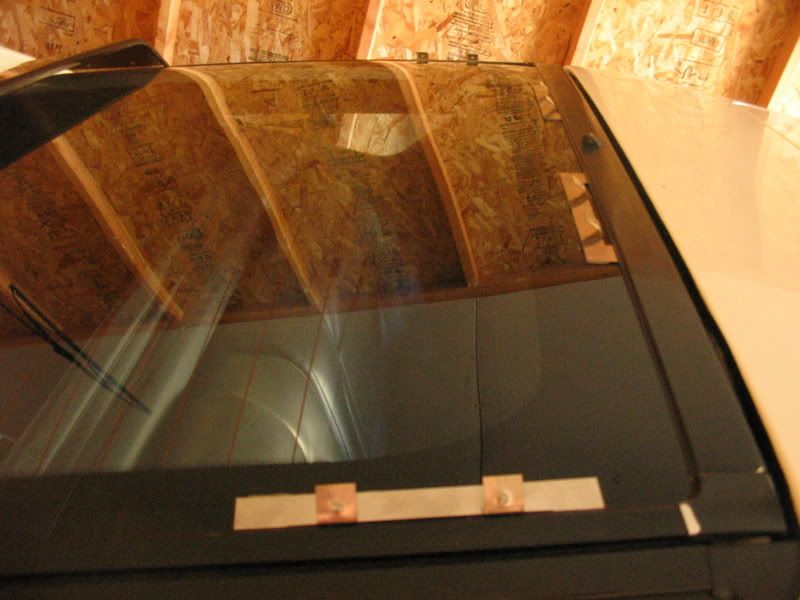
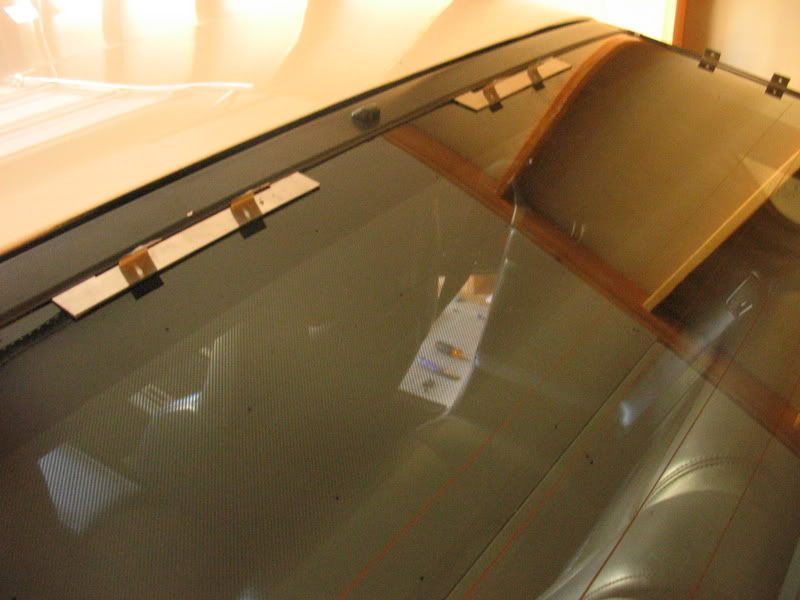
Now put the bracket underneath the molding. So, do your best to line it up as best as possible.
Basically, you going to slide around the brackets intell you have a good fit. Put the brackets underneath the molding, then put the shade up to it. Move the bracket accordingly.
For me, I wanted the shade to look as stock as possible. So I wanted the shade to be as close to the metal molding as possible.
So the brackets should end up looking like this.
Like so...
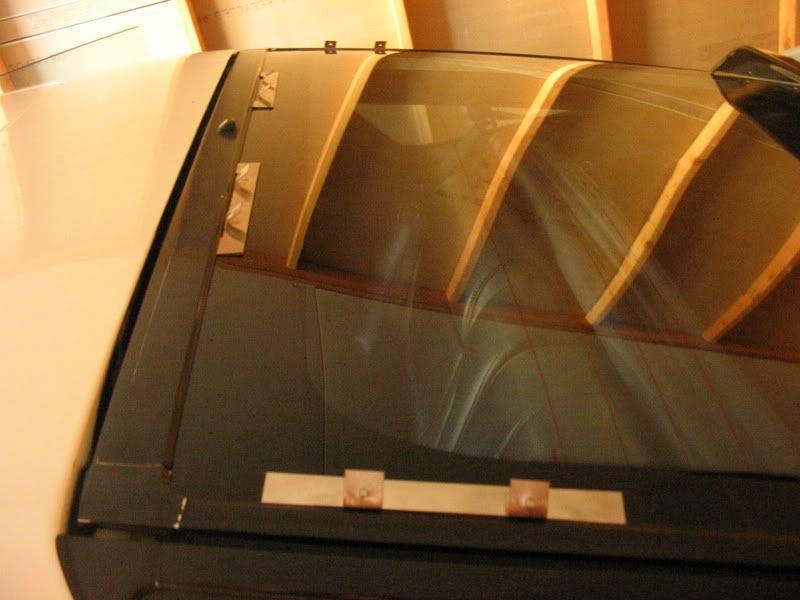
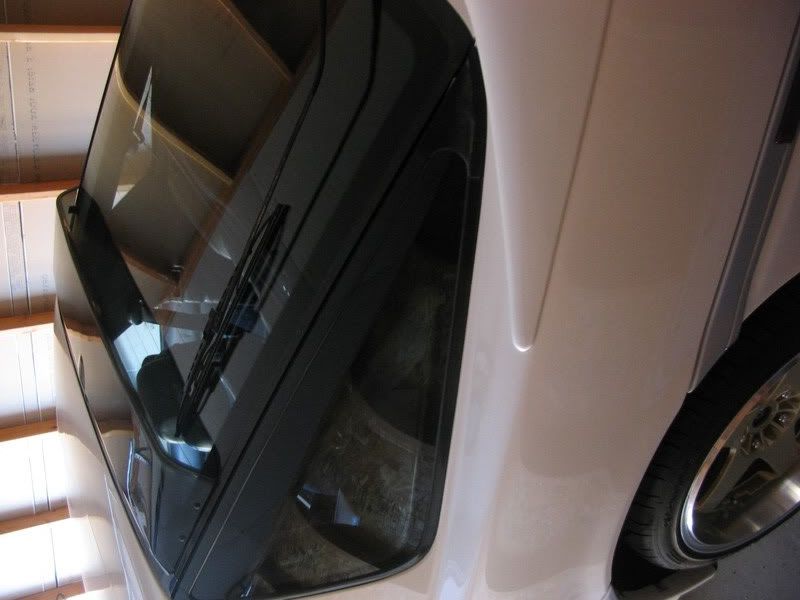
Now when your done with that, go around the car and make sure every bracket hole/shade hole lines up!
Like so...
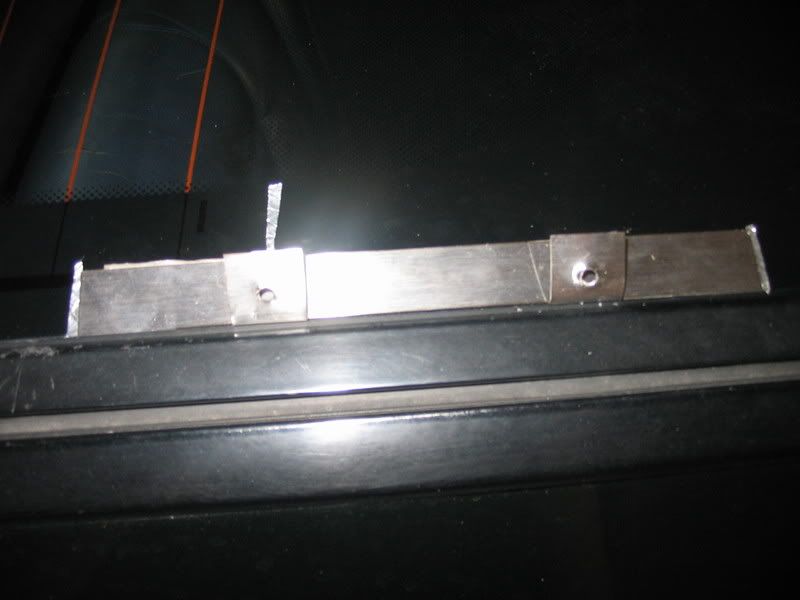
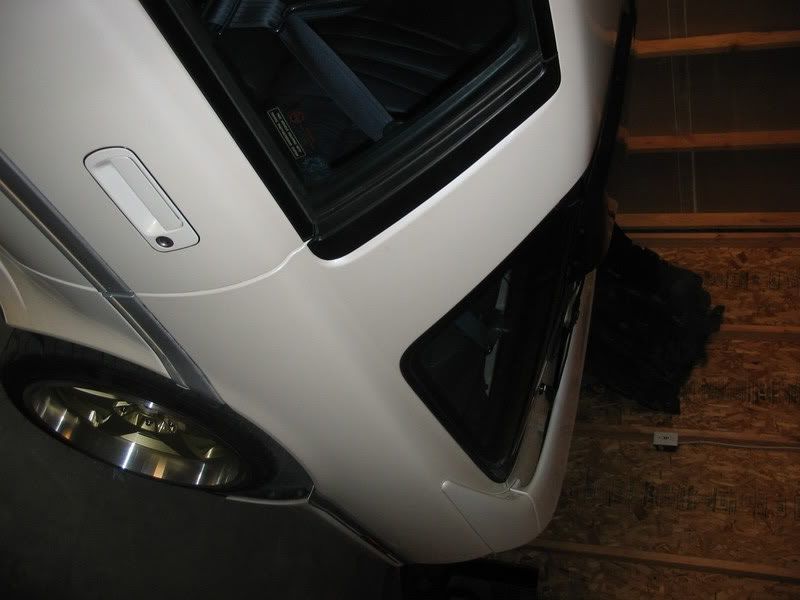
Now that you have your brackets lined up to the shade, you are ready to install it permanently! But first, you have to tape off where the brackets need to go so when you pull them off you know where they go back. You can use a pencil, tape, whatever your comterble with!
Here is how I did it...
Once your done doing that to all the brackets, take them off and apply 3M double sided tape. Line the bottom of the bracket with tape but dont put the tape on the tab. Use a razor to cut off excess tape.
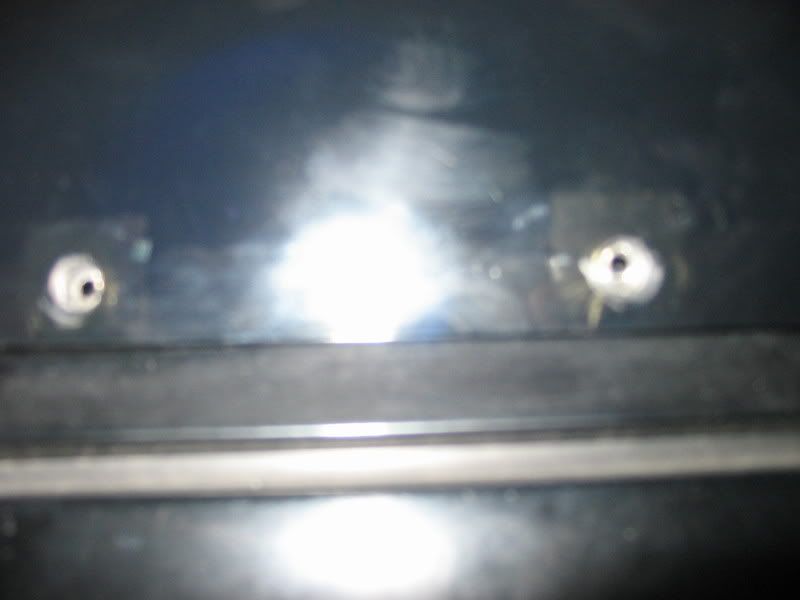
Now that you know where the brackets need to go (via tape, pencil marks, ect,) pry up the molding once again and make sure the tape on the bracket doesnt touch the window! Just insert the bracket tab's first, then when you have it lined up correctly push and hold the bracket down for 30seconds to insure hold.
Should look like this...
When you done doing that to all the brackets and have everything lined up correctly mount the brackets using the screw's Kevin supplied you with. I used the black screw's, you can use the silver if youd like!
Like so...

SCREW IN THE SIDE BRACKETS FIRST! BE CAREFULL THAT YOU DONT CRACK THE SUNSHADE WHEN YOUR SCREWING THEM IN. BE PATIENT, AND MAKE SURE EVERYTHING LINES UP ACCORDINGLY!
Now your done! I know easy as that!
Here is what it should look like!
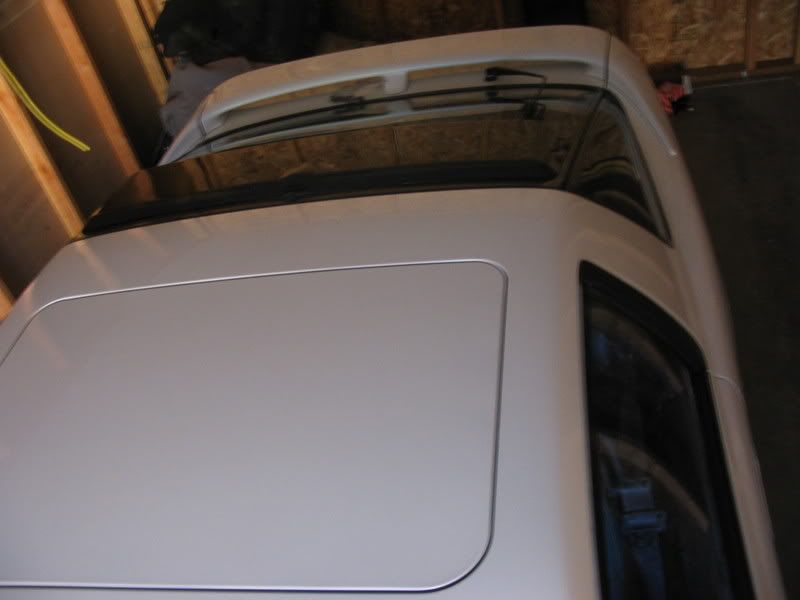
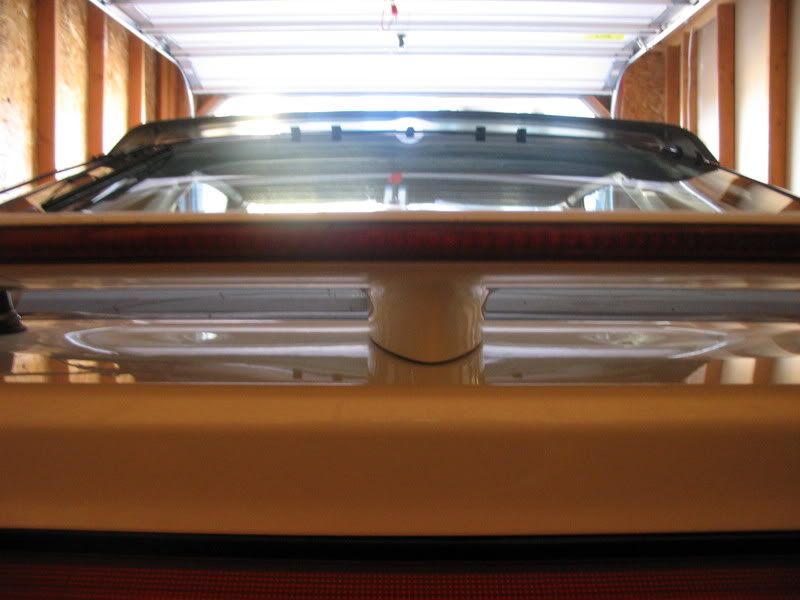
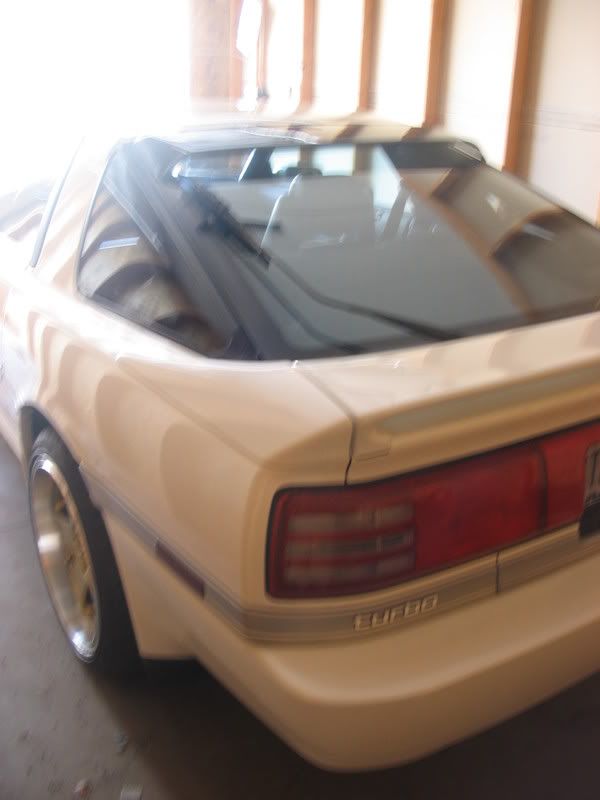
There you go!
~Cory
Step 1: Make sure you have these supplies before you try installing the sunshade. 1. Sunshade, 2. 3M tape, 3. Razor (most should work fine), 4. Screws, 5. Brackets, 6. To line things up I used aluminum tape (use what ever you comterble with.) That about covers it.
Ok, now we are ready to start!
To insure best possible fit, its best to do a mock up/pre install what ever you want to call it. So that's what where going to do! :biglaugh:
First use the razor to pry up the metal molding.
Like so...
Now put the bracket underneath the molding. So, do your best to line it up as best as possible.
Basically, you going to slide around the brackets intell you have a good fit. Put the brackets underneath the molding, then put the shade up to it. Move the bracket accordingly.
For me, I wanted the shade to look as stock as possible. So I wanted the shade to be as close to the metal molding as possible.
So the brackets should end up looking like this.
Like so...
Now when your done with that, go around the car and make sure every bracket hole/shade hole lines up!
Like so...
Now that you have your brackets lined up to the shade, you are ready to install it permanently! But first, you have to tape off where the brackets need to go so when you pull them off you know where they go back. You can use a pencil, tape, whatever your comterble with!
Here is how I did it...
Once your done doing that to all the brackets, take them off and apply 3M double sided tape. Line the bottom of the bracket with tape but dont put the tape on the tab. Use a razor to cut off excess tape.
Now that you know where the brackets need to go (via tape, pencil marks, ect,) pry up the molding once again and make sure the tape on the bracket doesnt touch the window! Just insert the bracket tab's first, then when you have it lined up correctly push and hold the bracket down for 30seconds to insure hold.
Should look like this...
When you done doing that to all the brackets and have everything lined up correctly mount the brackets using the screw's Kevin supplied you with. I used the black screw's, you can use the silver if youd like!
Like so...
SCREW IN THE SIDE BRACKETS FIRST! BE CAREFULL THAT YOU DONT CRACK THE SUNSHADE WHEN YOUR SCREWING THEM IN. BE PATIENT, AND MAKE SURE EVERYTHING LINES UP ACCORDINGLY!
Now your done! I know easy as that!
Here is what it should look like!
There you go!
~Cory
Last edited: