
If your cam covers are looking a bit tired then you can quite easily (and cheaply) bring them back to a reasonable state with a bit of hammerite and some sandpaper. Here's how :
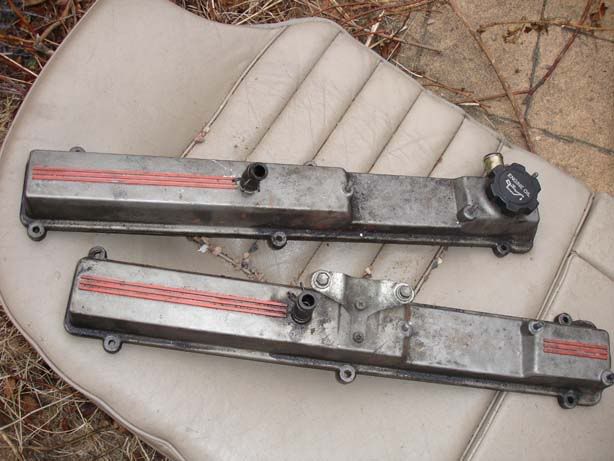
Step 1 - Get yourself a set of covers (preferred route if you don't want the car off the road for long) or remove your old ones. It doesn't matter how dirty they look but make sure there are no cracks and that the surface isn't too ropey
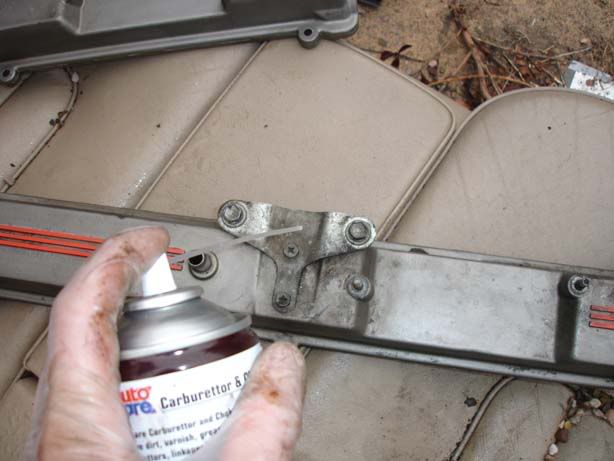
Step 2 - Get some carb cleaner (it's great stuff and will make light work of removing any dirt), and spray liberally on the covers.
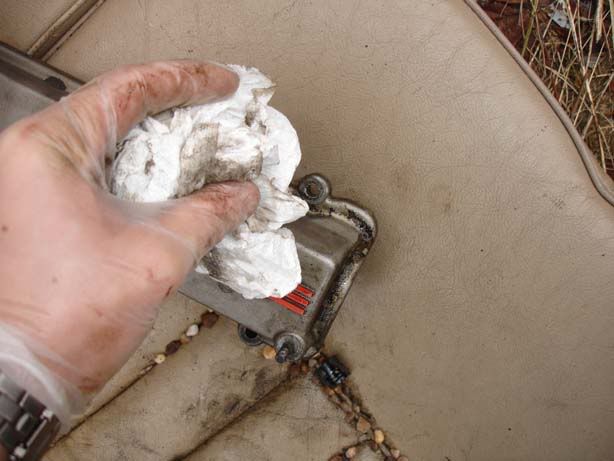
Step 3 - Wipe clean any loose dirt/oil with some kitchen towel and continue to use the carb cleaner to get back to the metal surface.
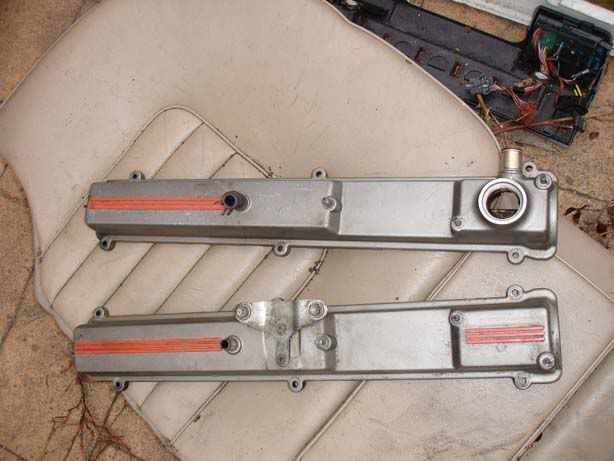
Step 4 - After a few minutes you should end up with something like this
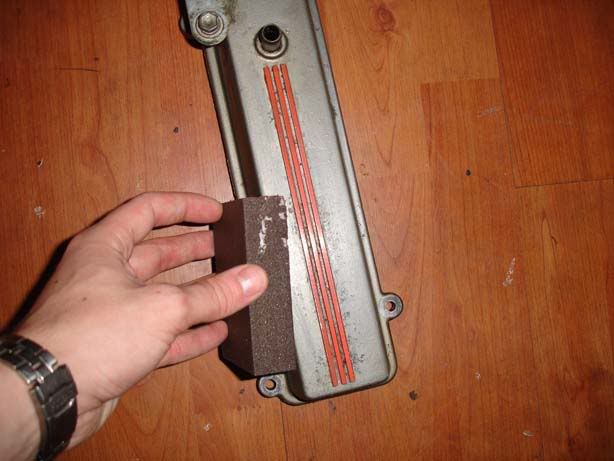
Step 5 - The surface of my covers wasn't great, the paint was blistered and it wasn't a smooth surface. Use some rough grit sand paper to get rid of the surface irregularities and then some finer sand paper to blend it in
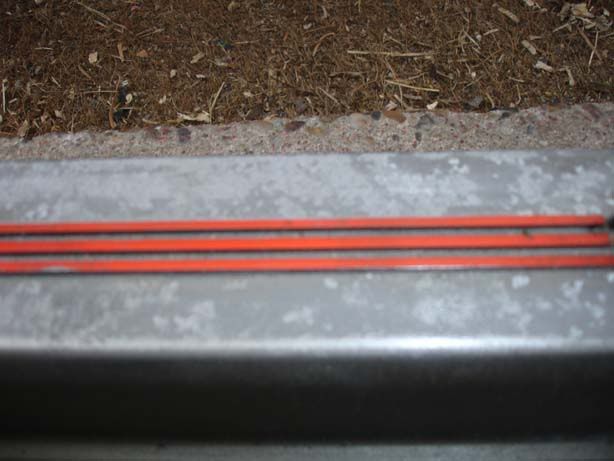
Step 6 - This is a close up of the surface finish after my dry sanding (Make sure you get in the gaps between the red lines that run down the covers, I used a screwdriver for this)
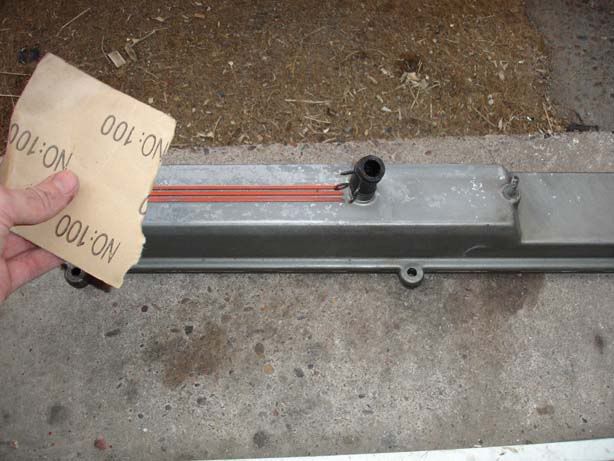
Step 7 - I quickly went over my covers with some wet & dry sand paper (The picture is just for illustration, I actually used water when wet sanding!). The wet sand made the surface finish a bit smoother - this is where you can go to town if you want a perfect smooth finish
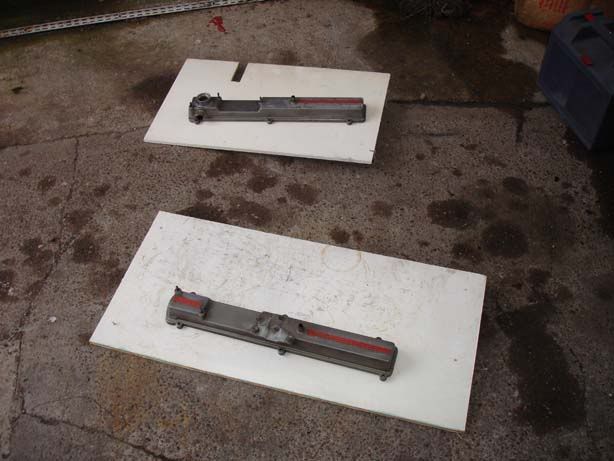
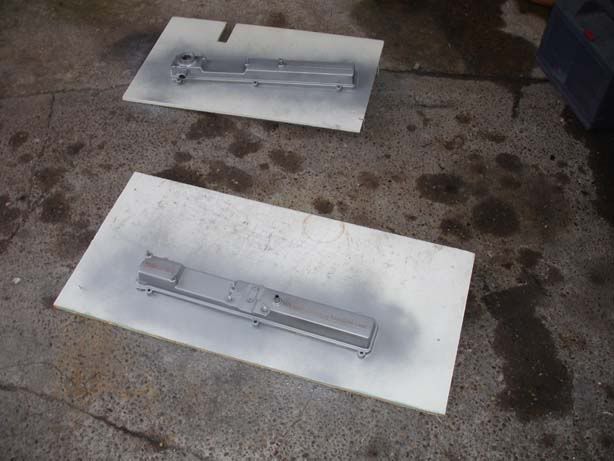
Step 8 - Go to a well ventilated area (but preferably dust free) and lay the covers on some boards/card/polythene
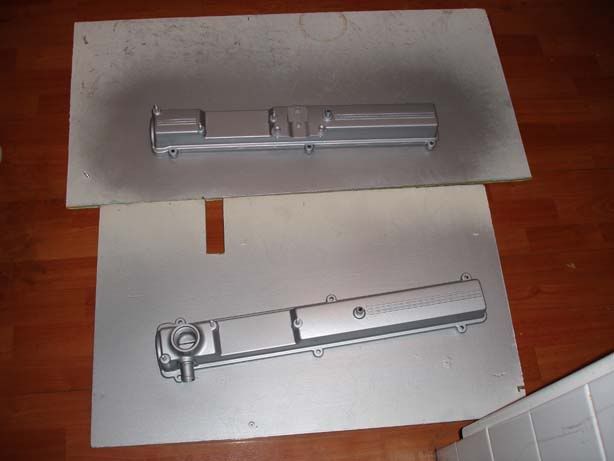
Step 9 - I used Hammerite silver smooth aerosol for my covers and it worked well. Spray from 6" away and use sweeping motions, don't stop in any one place and don't try and 'colour it in'. The aim is just to get a covering of paint, after several coats you will have filled in any gaps
Step 10 - Give the covers as many coats as you feel is necessary, I'd recommend at least three but no more than 6. You should have a smooth finish by the time you have sprayed your silver topcoats.
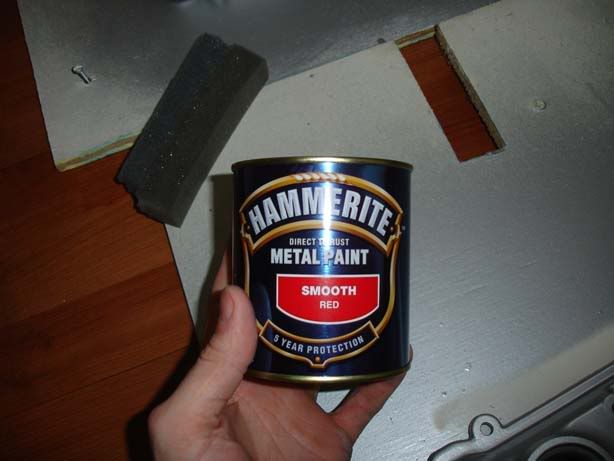
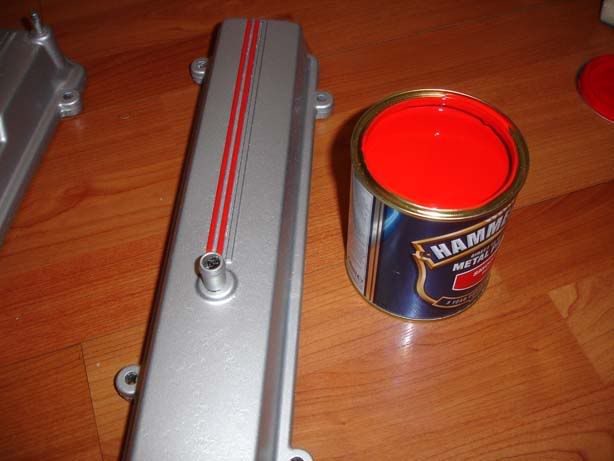
Step 11 - If you are going for a stock look then Hammerite smooth red does a good job. Get the smallest tin you can, you'll need a tiny amount
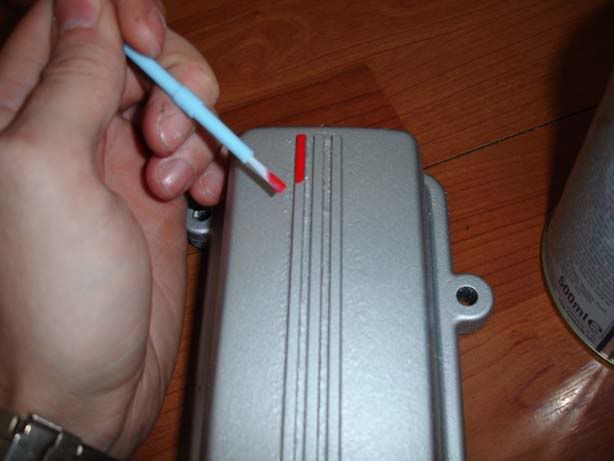
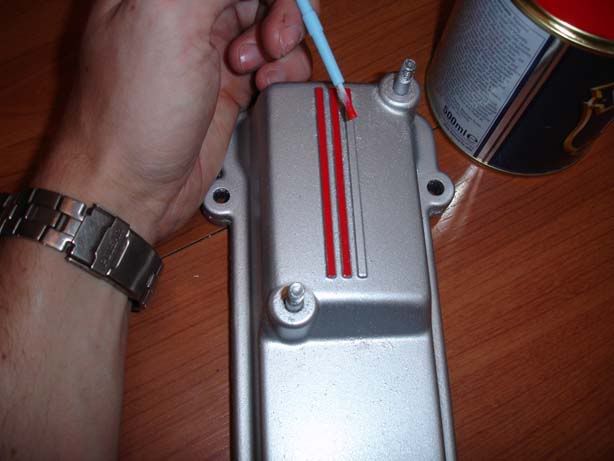
Step 12 - Buy a small, cheap (mine was 17p) brush, preferably the kind they sell in newsagents for kids to play with. The synthetic bristles don't fall out at all and they are just the right size. Start to apply the red - this is really quite easy as long as you don't overload the brush too much. I did one thick coat of this because Hammerite is so forgiving and flattens out the surface really well
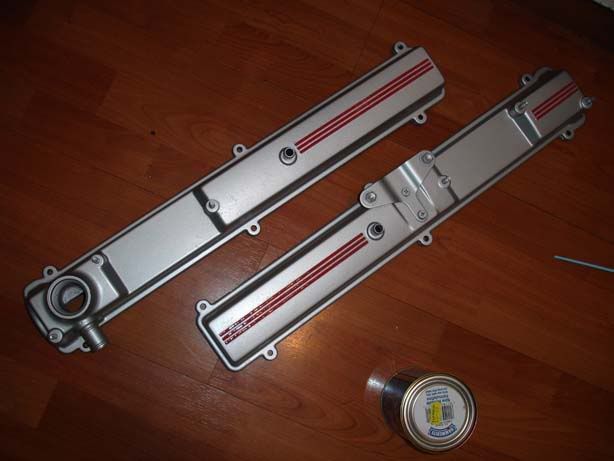
Step 13 - A few pictures of the paintwork :
Step 1 - Get yourself a set of covers (preferred route if you don't want the car off the road for long) or remove your old ones. It doesn't matter how dirty they look but make sure there are no cracks and that the surface isn't too ropey
Step 2 - Get some carb cleaner (it's great stuff and will make light work of removing any dirt), and spray liberally on the covers.
Step 3 - Wipe clean any loose dirt/oil with some kitchen towel and continue to use the carb cleaner to get back to the metal surface.
Step 4 - After a few minutes you should end up with something like this
Step 5 - The surface of my covers wasn't great, the paint was blistered and it wasn't a smooth surface. Use some rough grit sand paper to get rid of the surface irregularities and then some finer sand paper to blend it in
Step 6 - This is a close up of the surface finish after my dry sanding (Make sure you get in the gaps between the red lines that run down the covers, I used a screwdriver for this)
Step 7 - I quickly went over my covers with some wet & dry sand paper (The picture is just for illustration, I actually used water when wet sanding!). The wet sand made the surface finish a bit smoother - this is where you can go to town if you want a perfect smooth finish
Step 8 - Go to a well ventilated area (but preferably dust free) and lay the covers on some boards/card/polythene
Step 9 - I used Hammerite silver smooth aerosol for my covers and it worked well. Spray from 6" away and use sweeping motions, don't stop in any one place and don't try and 'colour it in'. The aim is just to get a covering of paint, after several coats you will have filled in any gaps
Step 10 - Give the covers as many coats as you feel is necessary, I'd recommend at least three but no more than 6. You should have a smooth finish by the time you have sprayed your silver topcoats.
Step 11 - If you are going for a stock look then Hammerite smooth red does a good job. Get the smallest tin you can, you'll need a tiny amount
Step 12 - Buy a small, cheap (mine was 17p) brush, preferably the kind they sell in newsagents for kids to play with. The synthetic bristles don't fall out at all and they are just the right size. Start to apply the red - this is really quite easy as long as you don't overload the brush too much. I did one thick coat of this because Hammerite is so forgiving and flattens out the surface really well
Step 13 - A few pictures of the paintwork :