
If, like me, you receive a car which has some stickers on that you'd like to remove then don't worry, it's definitely a DIY job.
Thanks for this one goes to Paul (Signman) our resident vinyl expert for advice and fluids, much appreciated
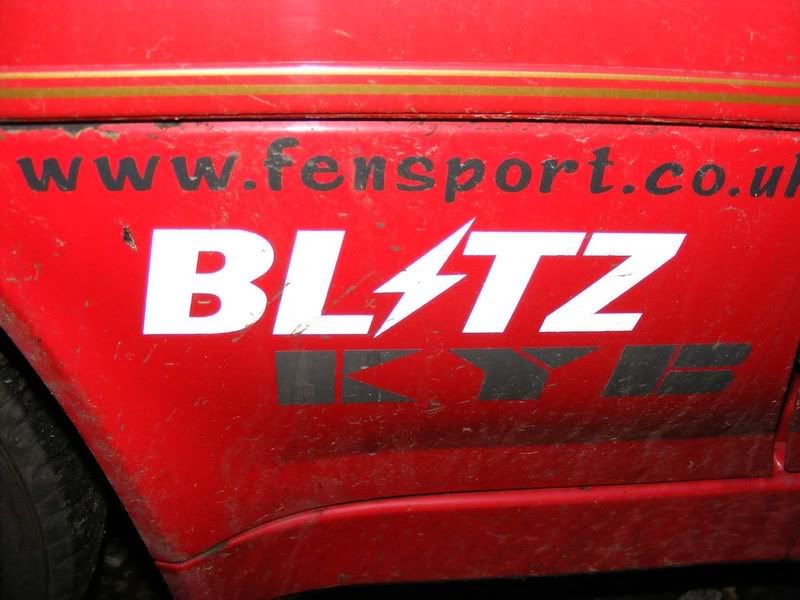
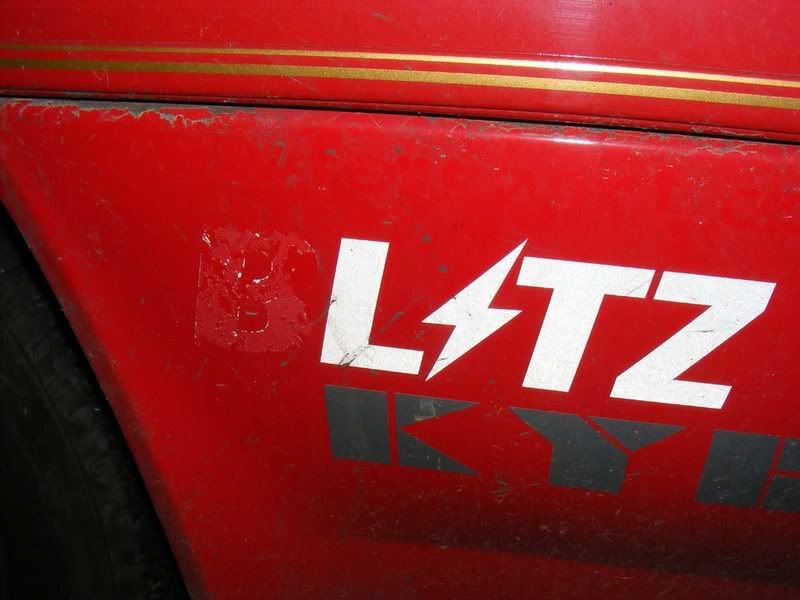
Step 1 - Here's what I was faced with on either side of the car and on the front, start by washing the area with a sponge
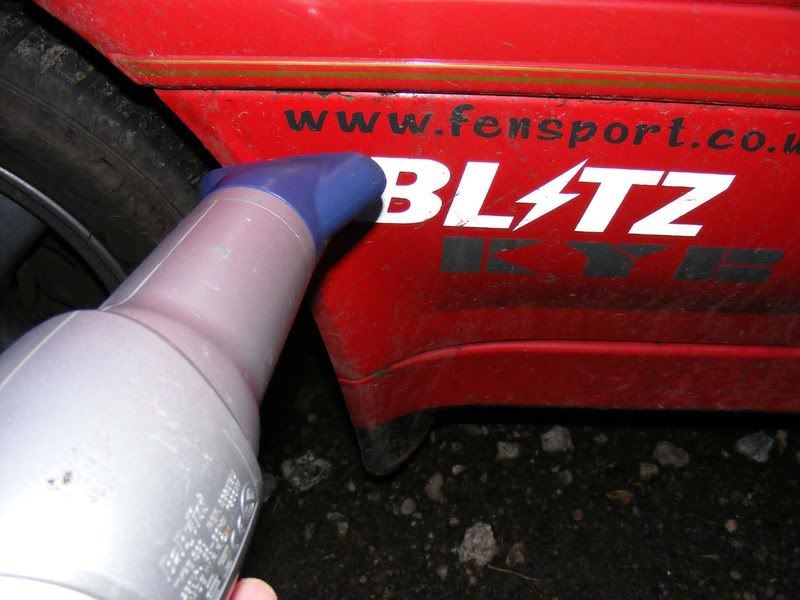
Step 2 - You need to use a hairdryer to soften the vinyl and adhesive. I tried without heat and it really does make a huge difference. Give it about 5-10 seconds up close as shown
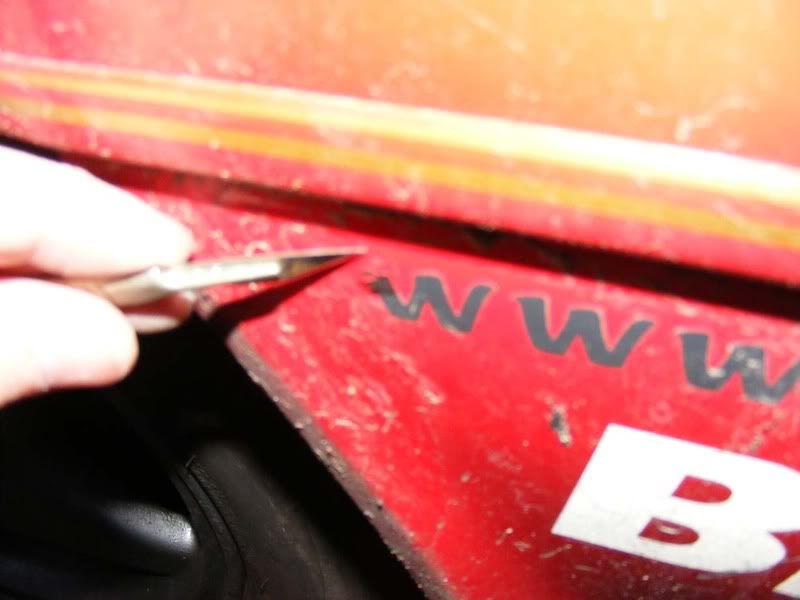
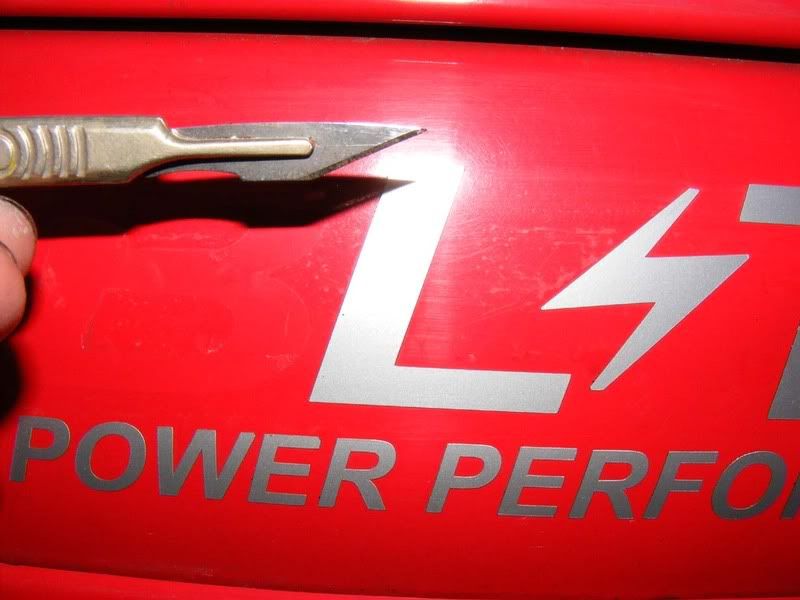
Step 3 - Preferably whilst still applying the heat you need to nip one of the edges carefully with a scalpal (Stanley knife will do). Don't stab at it, apply even slow pressure to peel it back
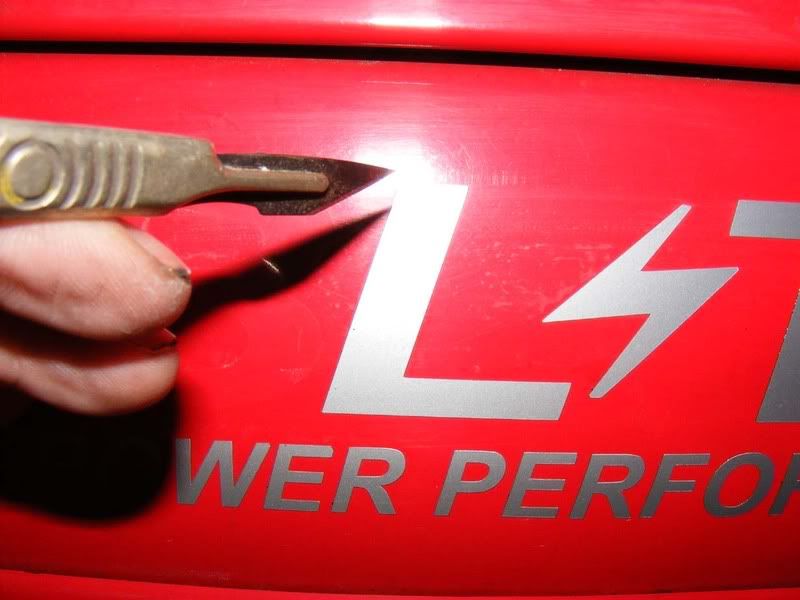
Try to use a shallow angle on the knife as shown in picture 2 rather than a steep stabbing point which will be more likely to damage the paint as shown in picture 3
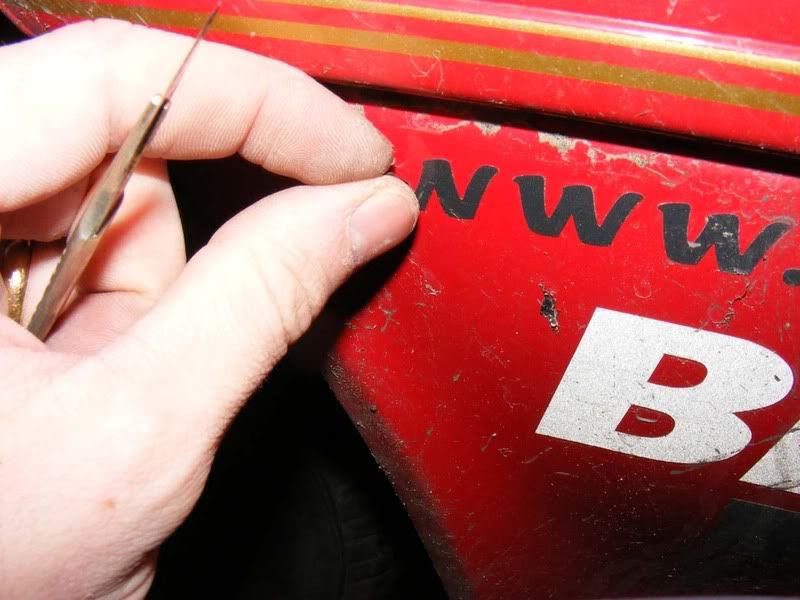
Step 4 - Once you've got a piece you can get your fingers to, slowly pull the sticker off and follow the shape as best you can e.g. pull down then up then down then up for my 'W' shape shown. If you just try and yank it off it will break into smaller pieces
When you get into it you may find that you can take off the whole sticker with a scalpel as shown in the second picture
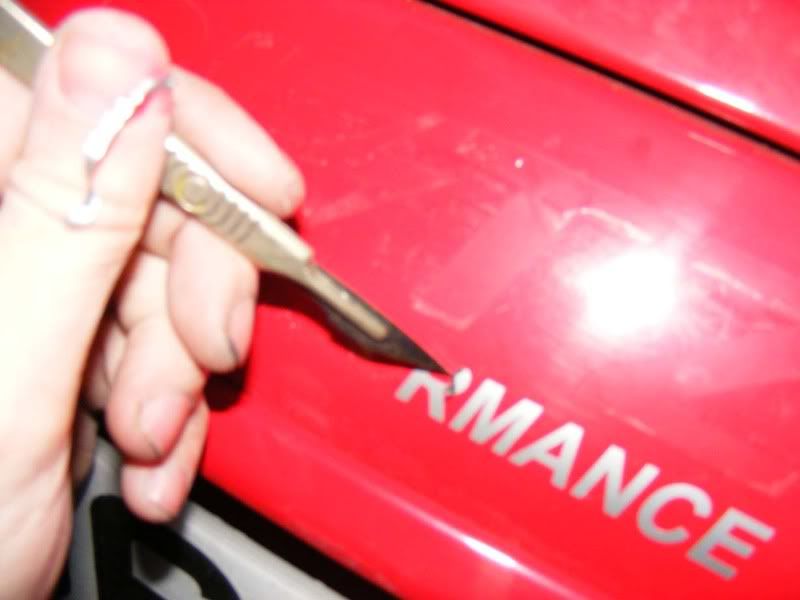
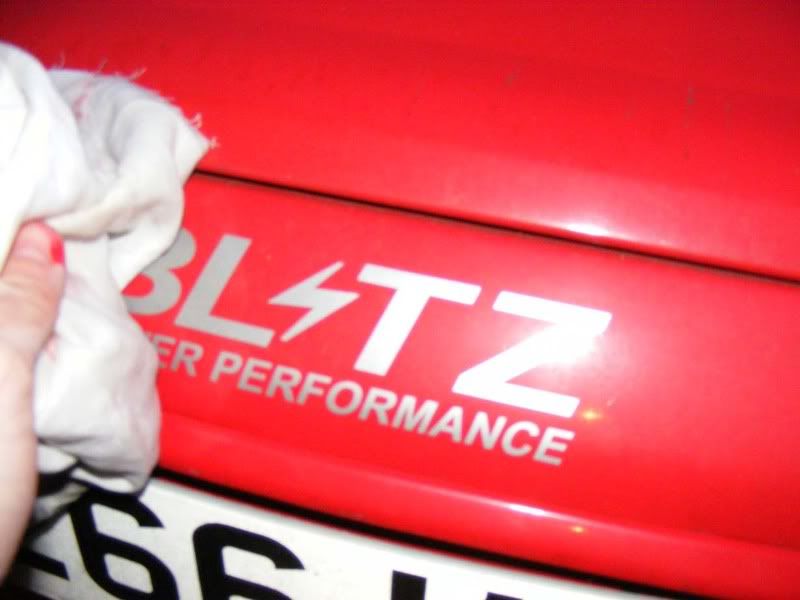
Step 5 - Note that some stickers may leave an adhesive residue behind as shown in the picture. Others might not be so obvious but will most likely leave a gluey surface behind which can cause 'shadowing' where you see an outline of the sticker left in the paint
Step 6 - A really good degreaser/mild cutting agent/adhesive remover is uPVC window cleaner and I highly recommend this stuff although various similar fluids are available. Be careful you don't get anything too agressive that will attack the paintwork
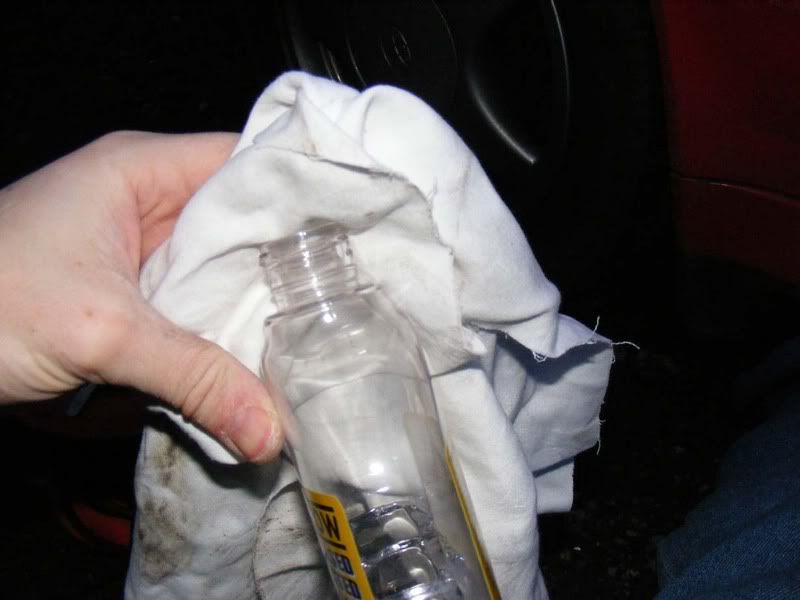
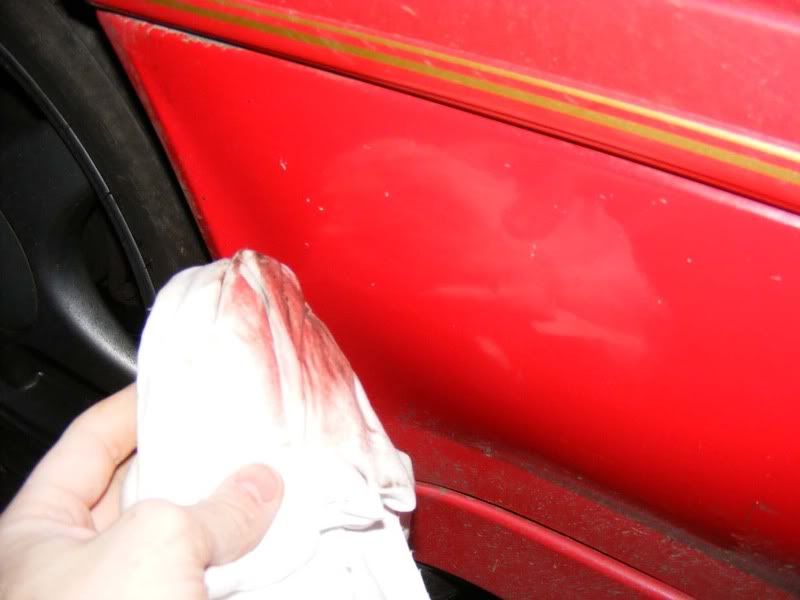
Step 7 - Apply liberally with a rag and firmly rub away any sticky residue. Note it's normal for the rag to turn the same colour as the paintwork as it 'cuts' the surface. Note: Never cut fresh paint, if you're car has recently been sprayed seek professional advice
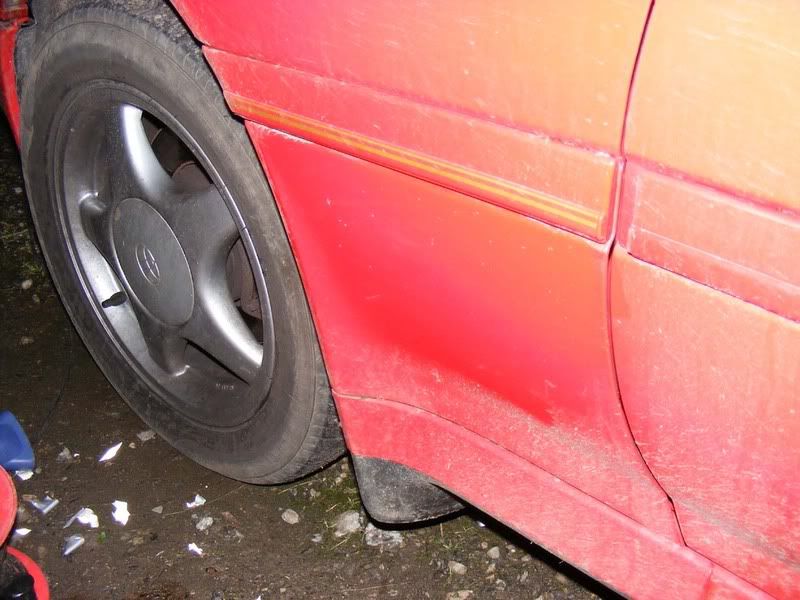
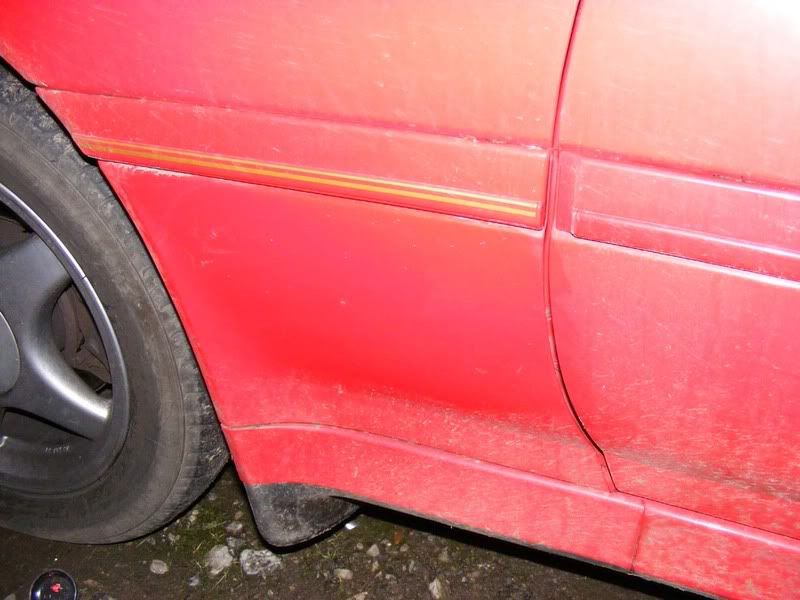
Step 8 - When you've finished you'll have something like this, you may have a couple of tiny scratches in the paintwork from the scalpel so we'll fix these next
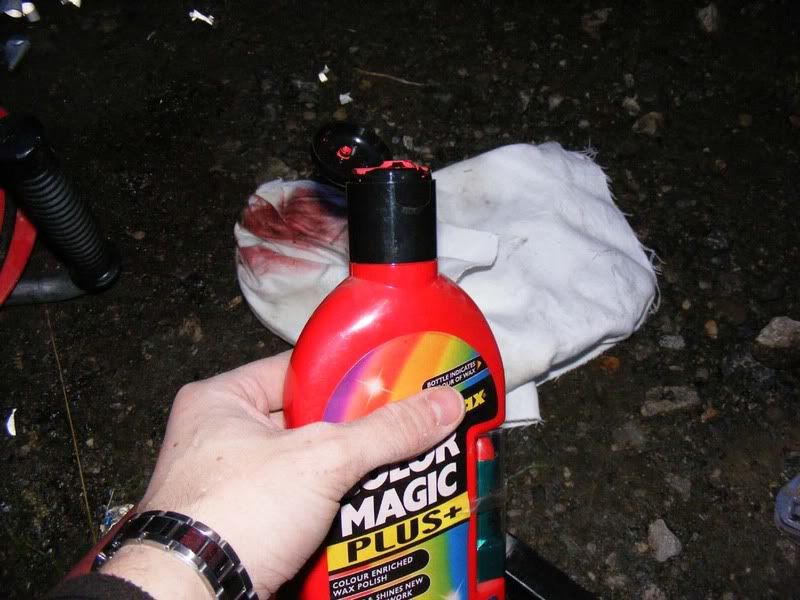
Step 9 - Colour magic, fantastic stuff, T cut or similar could be used - as before, apply with a rag and buff off well to get the desired finish
Enjoy a sticker free car once again, how it was meant to be!
Thanks for this one goes to Paul (Signman) our resident vinyl expert for advice and fluids, much appreciated
Step 1 - Here's what I was faced with on either side of the car and on the front, start by washing the area with a sponge
Step 2 - You need to use a hairdryer to soften the vinyl and adhesive. I tried without heat and it really does make a huge difference. Give it about 5-10 seconds up close as shown
Step 3 - Preferably whilst still applying the heat you need to nip one of the edges carefully with a scalpal (Stanley knife will do). Don't stab at it, apply even slow pressure to peel it back
Try to use a shallow angle on the knife as shown in picture 2 rather than a steep stabbing point which will be more likely to damage the paint as shown in picture 3
Step 4 - Once you've got a piece you can get your fingers to, slowly pull the sticker off and follow the shape as best you can e.g. pull down then up then down then up for my 'W' shape shown. If you just try and yank it off it will break into smaller pieces
When you get into it you may find that you can take off the whole sticker with a scalpel as shown in the second picture
Step 5 - Note that some stickers may leave an adhesive residue behind as shown in the picture. Others might not be so obvious but will most likely leave a gluey surface behind which can cause 'shadowing' where you see an outline of the sticker left in the paint
Step 6 - A really good degreaser/mild cutting agent/adhesive remover is uPVC window cleaner and I highly recommend this stuff although various similar fluids are available. Be careful you don't get anything too agressive that will attack the paintwork
Step 7 - Apply liberally with a rag and firmly rub away any sticky residue. Note it's normal for the rag to turn the same colour as the paintwork as it 'cuts' the surface. Note: Never cut fresh paint, if you're car has recently been sprayed seek professional advice
Step 8 - When you've finished you'll have something like this, you may have a couple of tiny scratches in the paintwork from the scalpel so we'll fix these next
Step 9 - Colour magic, fantastic stuff, T cut or similar could be used - as before, apply with a rag and buff off well to get the desired finish
Enjoy a sticker free car once again, how it was meant to be!