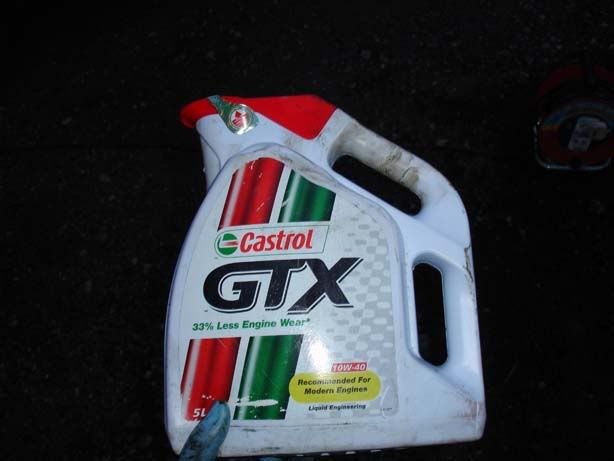
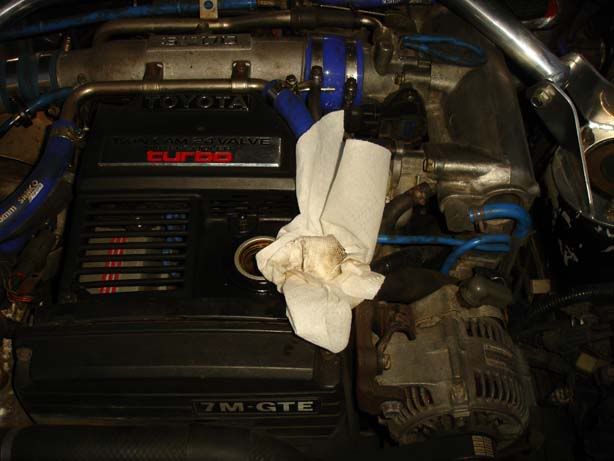
For those of you who don't know, turbo charged vehicles need frequent regular oil changes. Neglect this at your peril - seriously. Don't cut corners when it comes to changes, use a decent oil (No need to get carried away but avoid the £3 chip fat varieties!), always do the filter and use a genuine Toyota for the job. I recommend you do this every 3k miles or 6 months whichever comes first
Step 1 - Warm the car up to normal operating temperature. You should do the oil change on a warm engine to get the best results
Note : If you want to keep a clean driveway then throw some cardboard or something similar down to prevent oil escaping
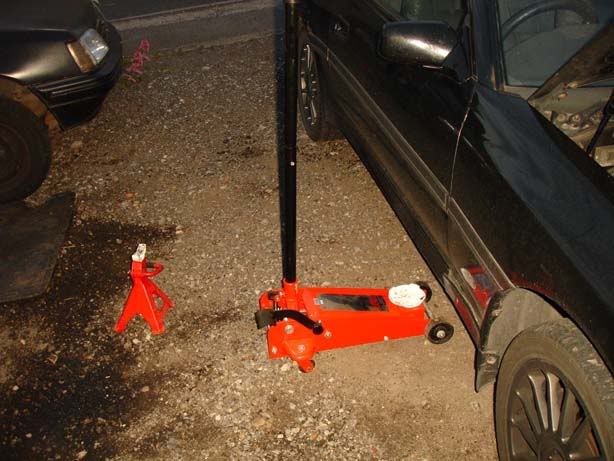
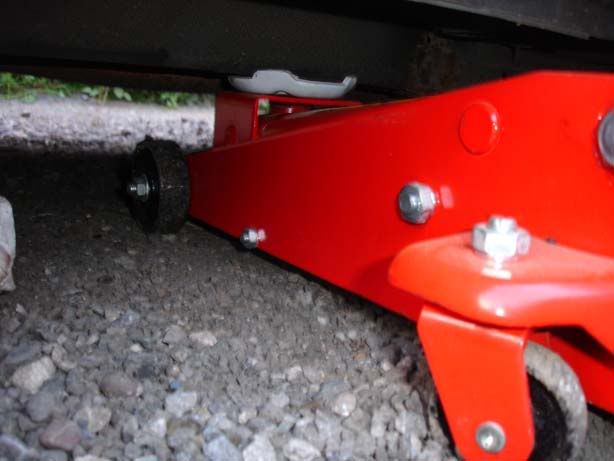
Step 2 - Jack the car up using the long enforced strut shown.
Note: If you jack up the passenger side it will encourage oil to flow out the drain plug better
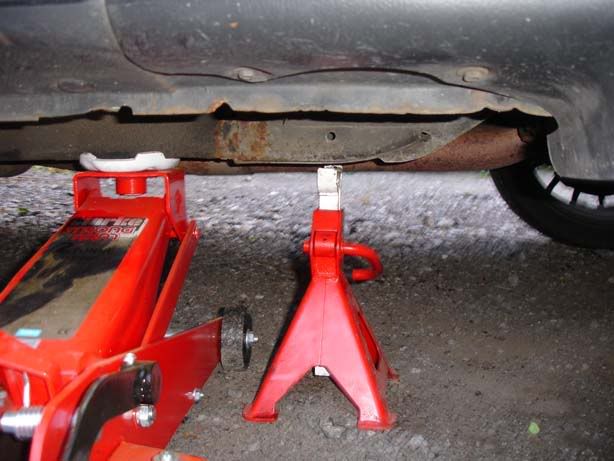
Step 3 - Safety first - stick an axle stand underneath too, lower the jack so the axle stand takes the weight then jack back up so you just take the strain off the axle stand
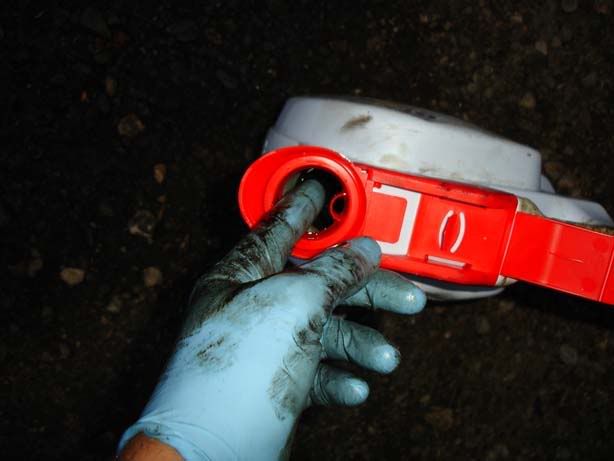
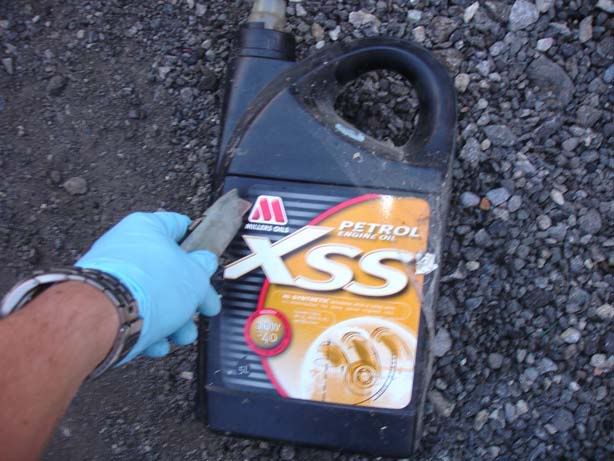
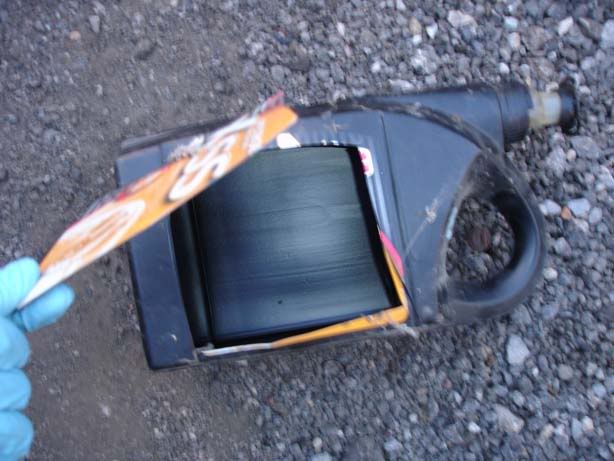
Step 4 - Take an old oil container and cut out a large square as shown. Make the cut as big as you can but don't go too close to the edge of the plastic or you'll make it unstable. This is going to catch the oil coming out from the sump - alternatively get an oil drip tray or similar, just make sur eit can hold 5L!
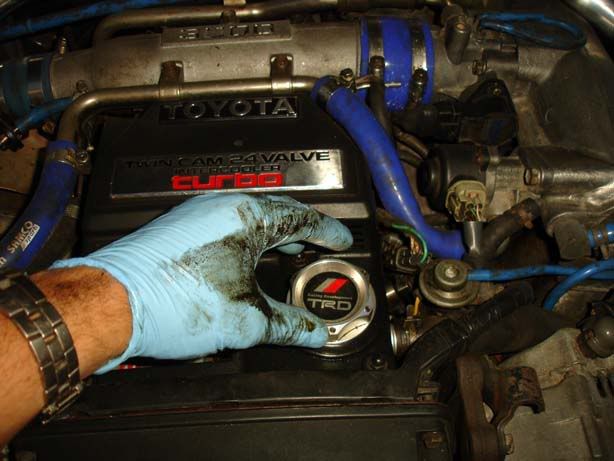
Step 5 - Crack off the sump nut with a 19mm socket/spanner
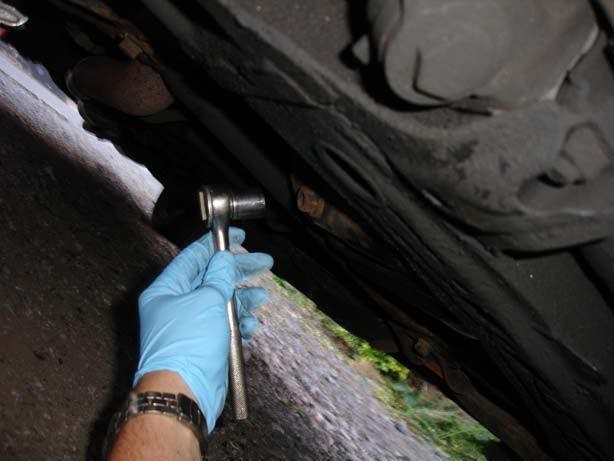
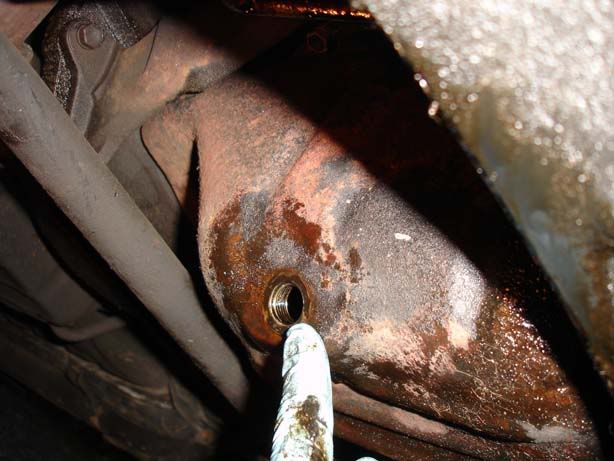
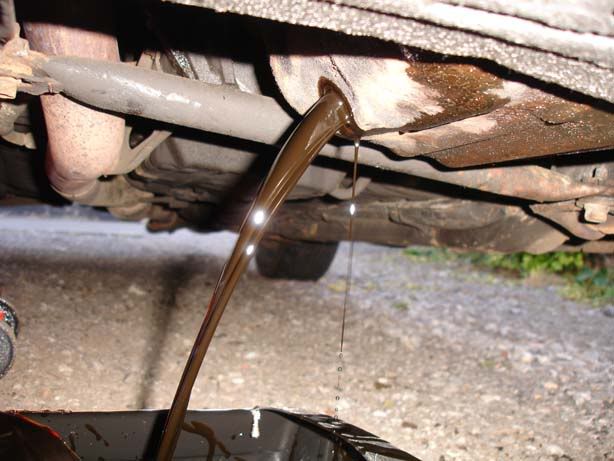
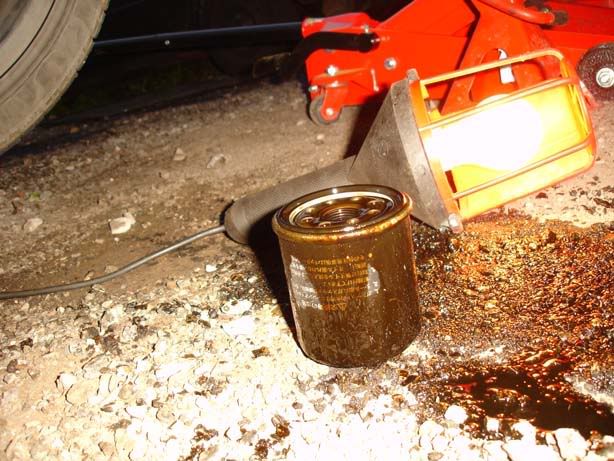
Step 6 - Place your newly built oil retaining device under the sump and undo the nut with your fingers. Note : Warming the engine means the oil is hot, when you remove this nut hot oil is going to escape very quickly (as shown in the second picture). This means three things :
1. You will get a very warm hand if you put it in the oil so don't
2. The flow of oil is going to pull that sump nut straight down into the tub if you let it so get a good grip
3. You're going to make a mess if you put the tub in the wrong place!
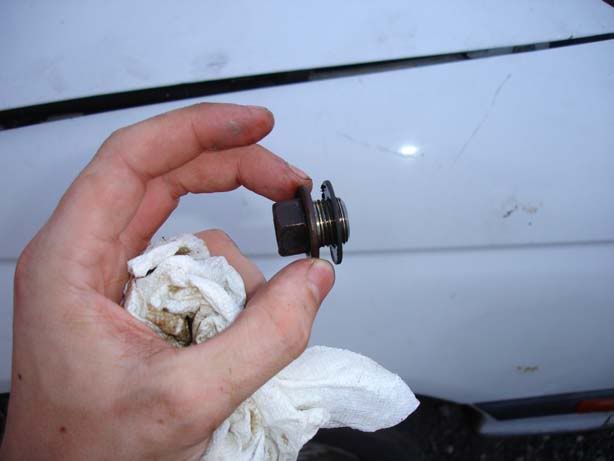
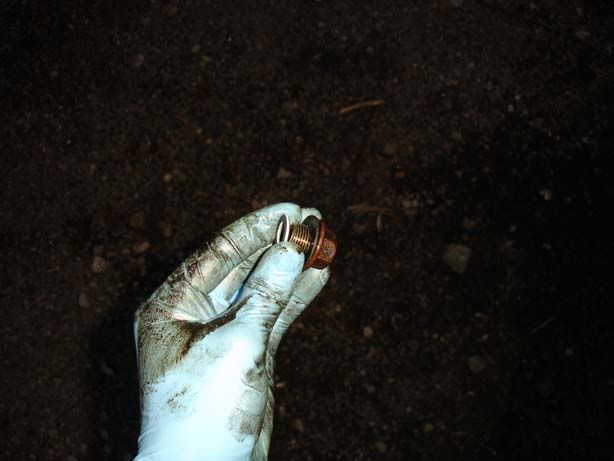
Step 7 - Once you've removed the bolt and started draining the oil, leave the car to drip as much as possible into the tub while you concentrate on other things. Get a rag/some tissue and clean up the sump nut. You will notice there is a washer on this - you should replace it each time you do a change. It allows the nut so seat and seal properly against the sump
Note : It may help to remove the oil cap and dipstick here so the oil can escape easily but this is optional
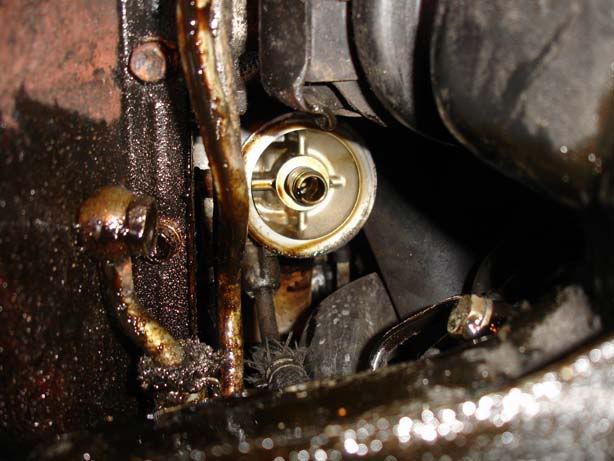
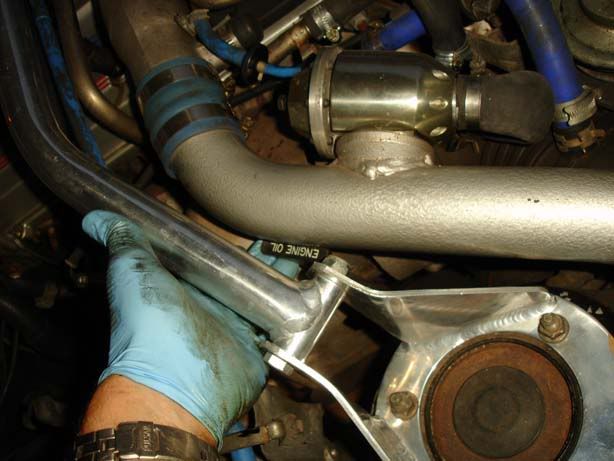
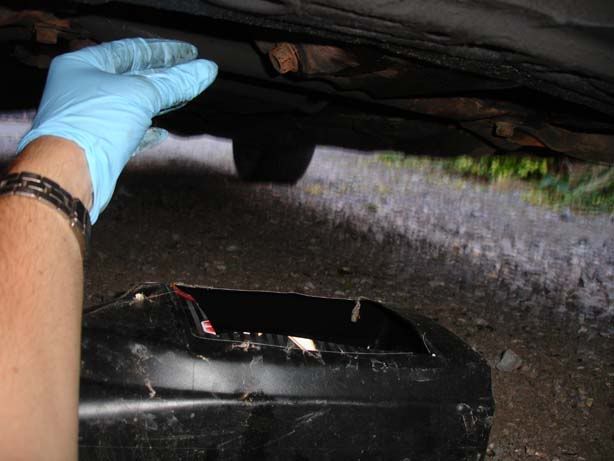
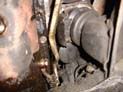
Step 8 - Once the dripping has subsided you can slide under the vehicle and have a look where the oil filter is. It's the black circular thing you can see behind the pipes running along the sump. The top right of the picture has another black thing on - this is the engine mount - don't mistake this for an oil filter") Get yourself situated where you've got good access to the filter - I tend to lie with my feet facing out the offside (driver's side) off the car and don't get my face under the filter. Do it blind and it's easier
Get yourself situated where you've got good access to the filter - I tend to lie with my feet facing out the offside (driver's side) off the car and don't get my face under the filter. Do it blind and it's easier
Step 9 - If the previous owner didn't oil the filter/tightened it up too much/left it for ages without a change (mine looked long over due with dark oil and a burnt smell), you will find it's a bit of a swine to remove the filter. You can buy a neat filter wrench (Such as : http://www.machinemart.co.uk/product.asp?p=040210241) which will help out or you can do it the old fashioned way - use a hammer to tap a dent in the filter (don't try to go through the filter but don't worry if you do). Once you've built up a ridge in the filter, angle the screwdriver towards the rear of the car and lever it back as you tap it with the hammer. This should free up easily and then you'll be able to do the rest by hand - clockwise to do it up, anti clockwise to undo (viewed from underneath that is)

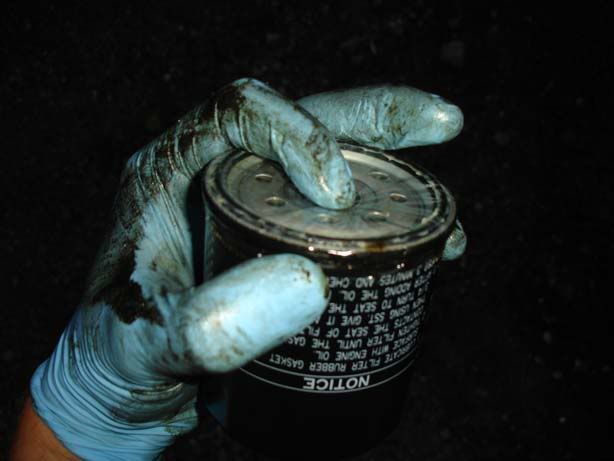
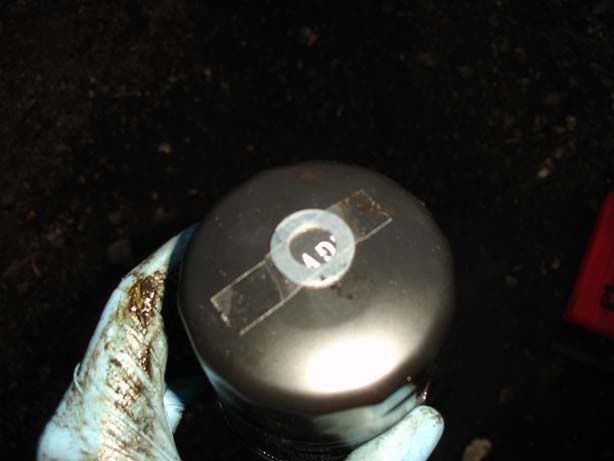
Step 10 - Now you can do the rest by hand, unscrew the filter but be aware that it holds a fair amount of oil and that's going to fall down on your face if you aren't careful. Get well clear and try your best to keep the filter upright (i.e. the way it sits when on the car). Pull it down past the engine mount and out over the back of the crossmember (Big metal bar across the car that's in your way!). Admire your filter
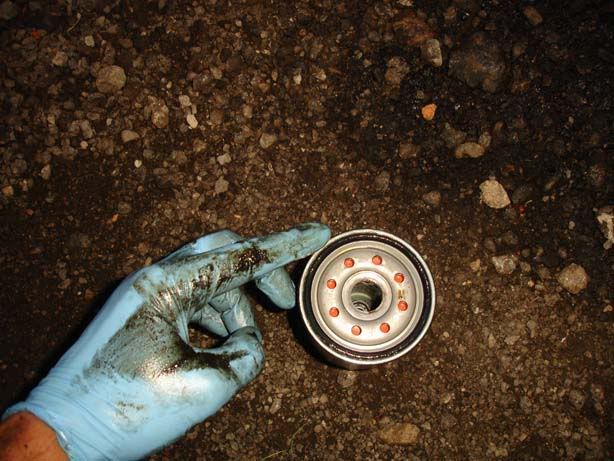
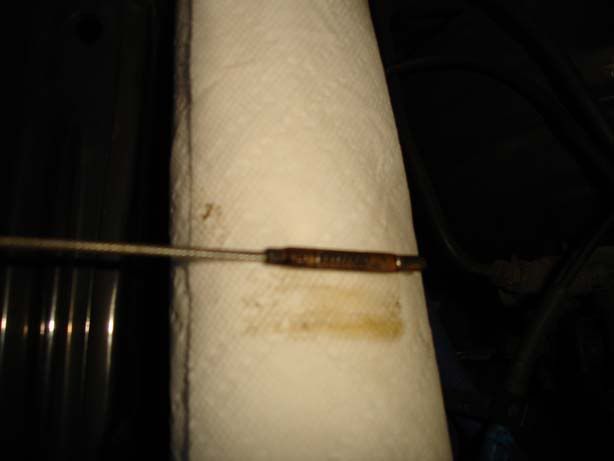
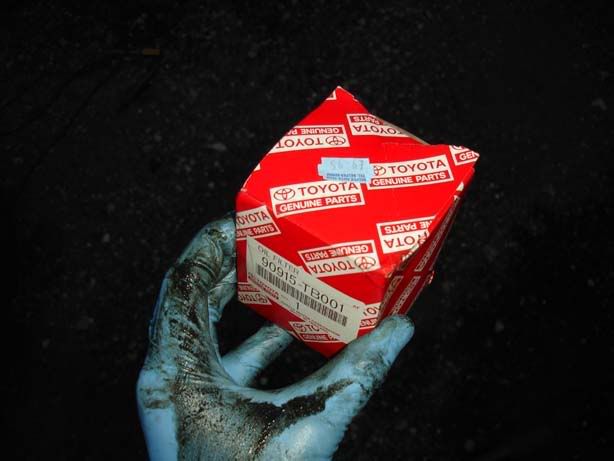
Step 11 - Take one new genuine Toyota filter ~£10, remove from the box and you'll probably find a sump nut washer (second picture), throw it away. It never fits (third picture shows it is too small).
Step 1 - Warm the car up to normal operating temperature. You should do the oil change on a warm engine to get the best results
Note : If you want to keep a clean driveway then throw some cardboard or something similar down to prevent oil escaping
Step 2 - Jack the car up using the long enforced strut shown.
Note: If you jack up the passenger side it will encourage oil to flow out the drain plug better
Step 3 - Safety first - stick an axle stand underneath too, lower the jack so the axle stand takes the weight then jack back up so you just take the strain off the axle stand
Step 4 - Take an old oil container and cut out a large square as shown. Make the cut as big as you can but don't go too close to the edge of the plastic or you'll make it unstable. This is going to catch the oil coming out from the sump - alternatively get an oil drip tray or similar, just make sur eit can hold 5L!
Step 5 - Crack off the sump nut with a 19mm socket/spanner
Step 6 - Place your newly built oil retaining device under the sump and undo the nut with your fingers. Note : Warming the engine means the oil is hot, when you remove this nut hot oil is going to escape very quickly (as shown in the second picture). This means three things :
1. You will get a very warm hand if you put it in the oil so don't
2. The flow of oil is going to pull that sump nut straight down into the tub if you let it so get a good grip
3. You're going to make a mess if you put the tub in the wrong place!
Step 7 - Once you've removed the bolt and started draining the oil, leave the car to drip as much as possible into the tub while you concentrate on other things. Get a rag/some tissue and clean up the sump nut. You will notice there is a washer on this - you should replace it each time you do a change. It allows the nut so seat and seal properly against the sump
Note : It may help to remove the oil cap and dipstick here so the oil can escape easily but this is optional
Step 8 - Once the dripping has subsided you can slide under the vehicle and have a look where the oil filter is. It's the black circular thing you can see behind the pipes running along the sump. The top right of the picture has another black thing on - this is the engine mount - don't mistake this for an oil filter
Get yourself situated where you've got good access to the filter - I tend to lie with my feet facing out the offside (driver's side) off the car and don't get my face under the filter. Do it blind and it's easier
Step 9 - If the previous owner didn't oil the filter/tightened it up too much/left it for ages without a change (mine looked long over due with dark oil and a burnt smell), you will find it's a bit of a swine to remove the filter. You can buy a neat filter wrench (Such as : http://www.machinemart.co.uk/product.asp?p=040210241) which will help out or you can do it the old fashioned way - use a hammer to tap a dent in the filter (don't try to go through the filter but don't worry if you do). Once you've built up a ridge in the filter, angle the screwdriver towards the rear of the car and lever it back as you tap it with the hammer. This should free up easily and then you'll be able to do the rest by hand - clockwise to do it up, anti clockwise to undo (viewed from underneath that is)
Step 10 - Now you can do the rest by hand, unscrew the filter but be aware that it holds a fair amount of oil and that's going to fall down on your face if you aren't careful. Get well clear and try your best to keep the filter upright (i.e. the way it sits when on the car). Pull it down past the engine mount and out over the back of the crossmember (Big metal bar across the car that's in your way!). Admire your filter
Step 11 - Take one new genuine Toyota filter ~£10, remove from the box and you'll probably find a sump nut washer (second picture), throw it away. It never fits (third picture shows it is too small).