
A lot of people who do this job attempt it with the subframe, diff and fuel tank in place and have a great deal of difficulty. It wakes about 1-2 hours to drop a subframe and you can renew all sorts of bushes, easily change diff oil and get excellent access to the fuel filter while you are at it so I'd recommend doing that.
Dropping the diff is also not a major task if you want to try that way. For those die hards who think the easy life is scraping arms and moving spanners a couple of mm before taking it off again - good luck!
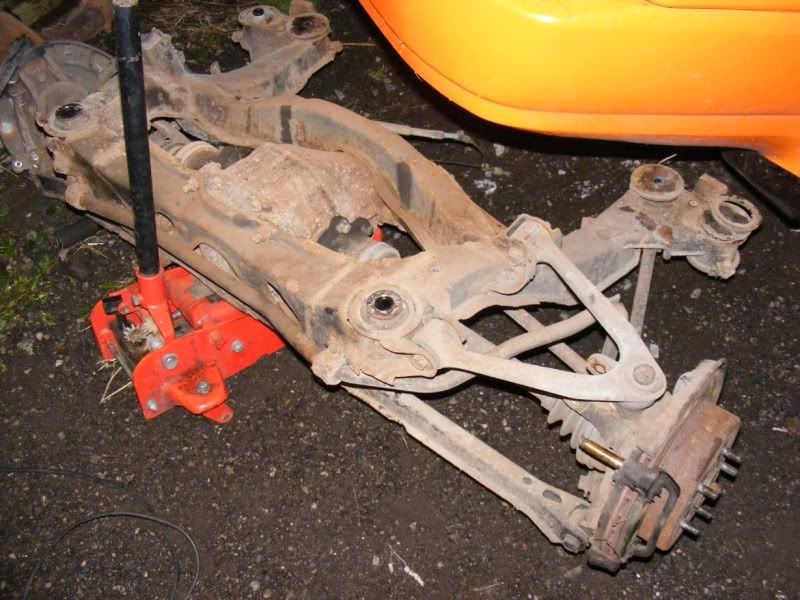
Step 1 - Remove the subframe!
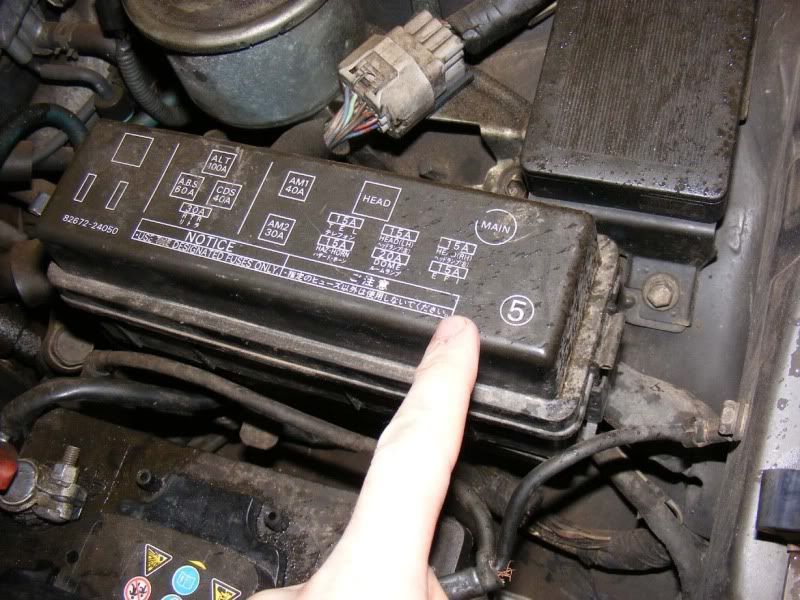
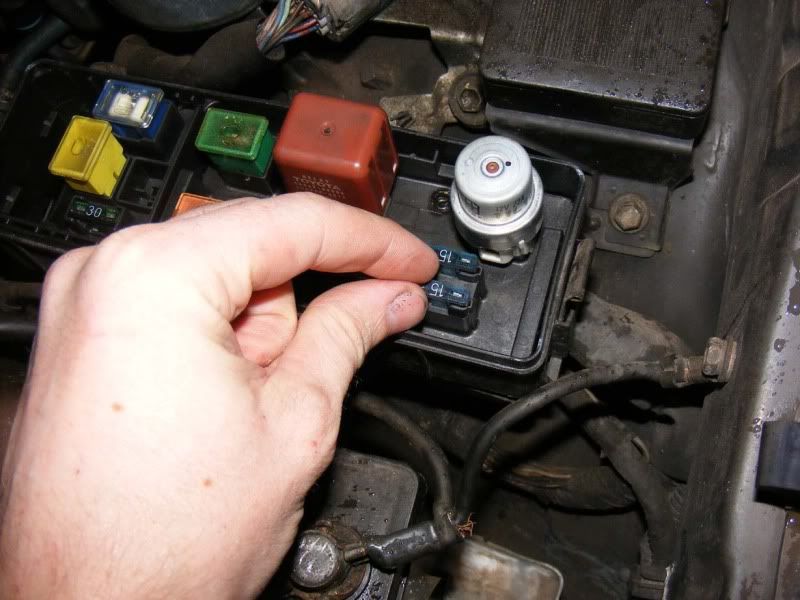
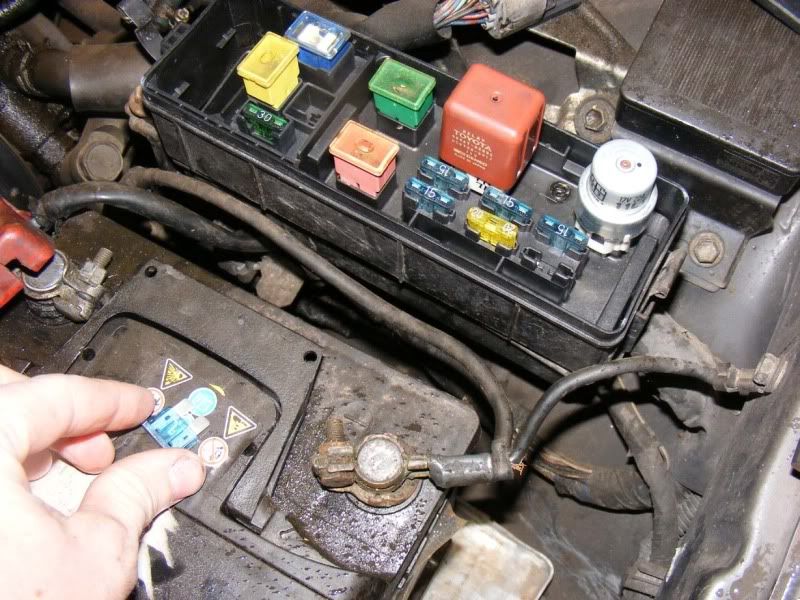
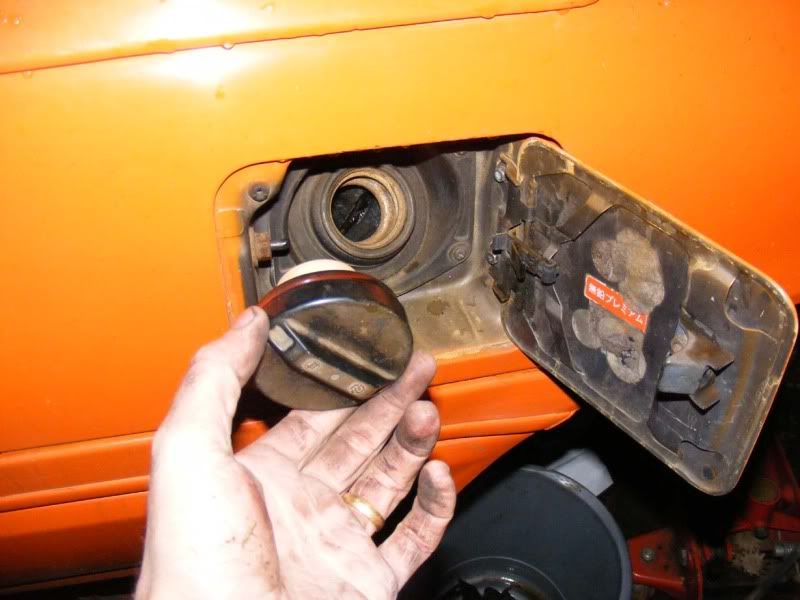
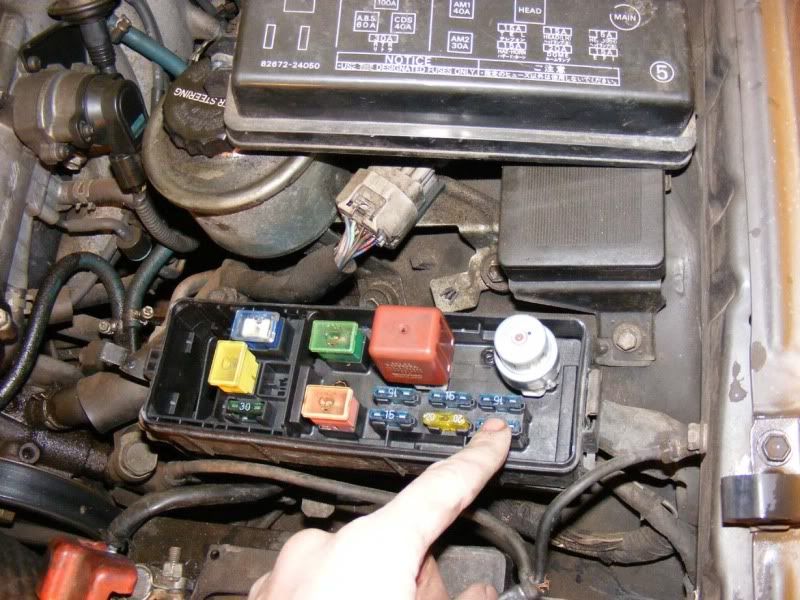
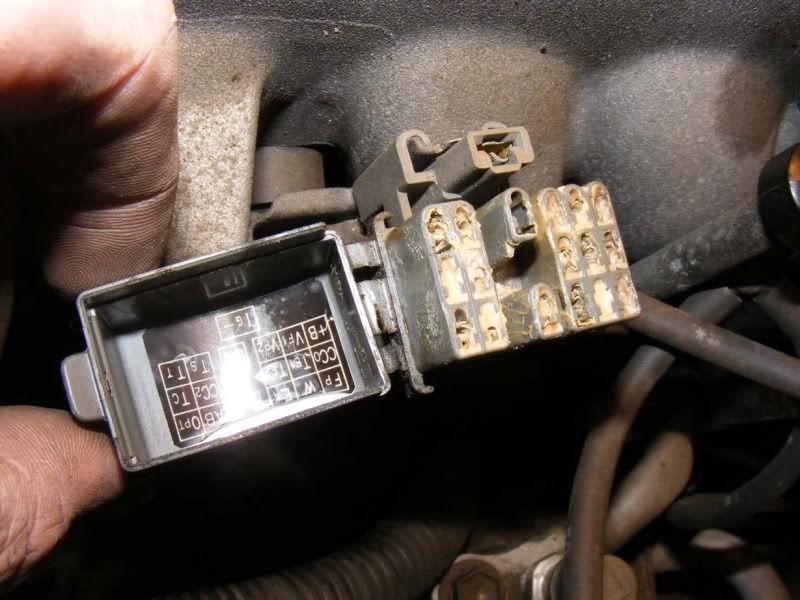
Step 2 - Depressurise the fuel system, I started the car then removed the EFI fuse as shown. Pop the filler cap off too.
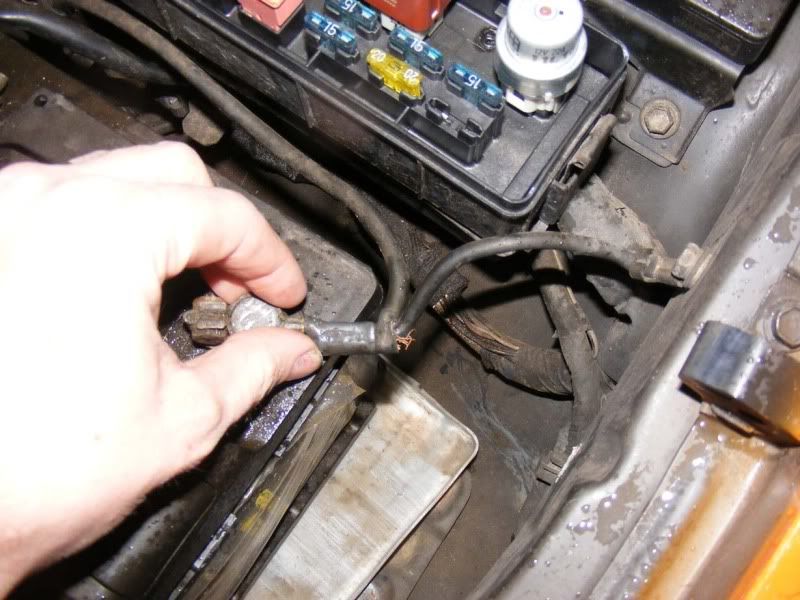
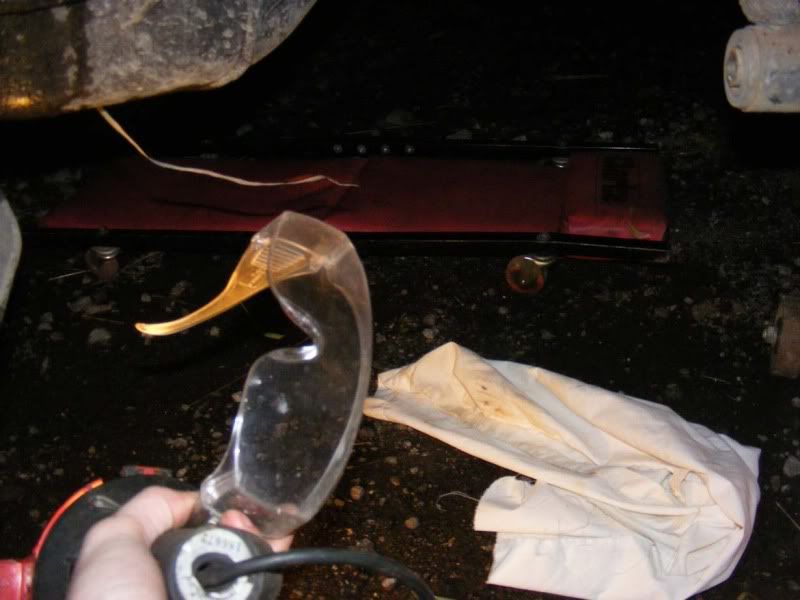
Step 3 - Remove the battery, don't mess about when you've got fuel around it simply isn't worth it. Also, goggles will make your eyes work by the time you finish!
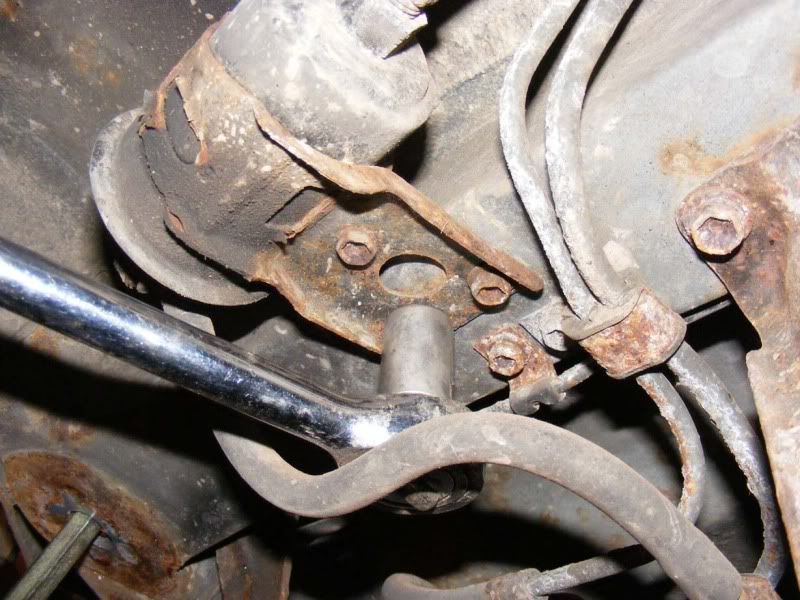
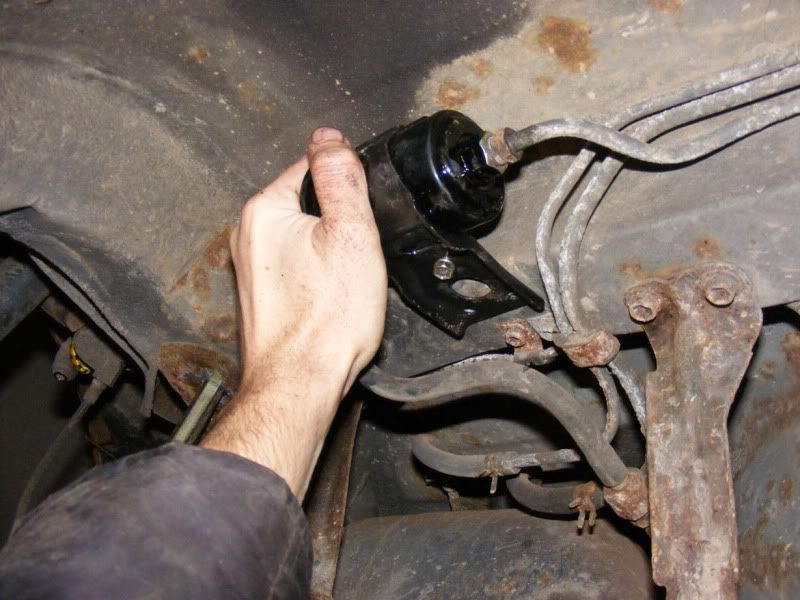
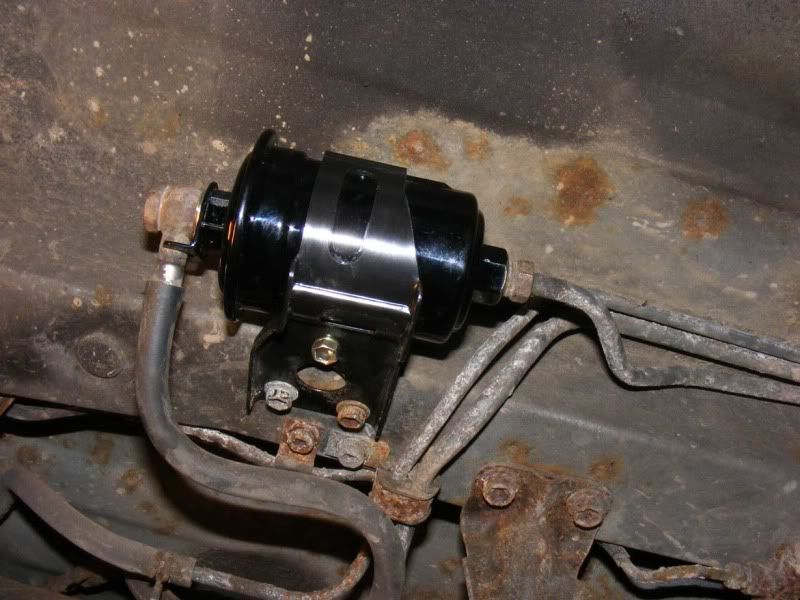
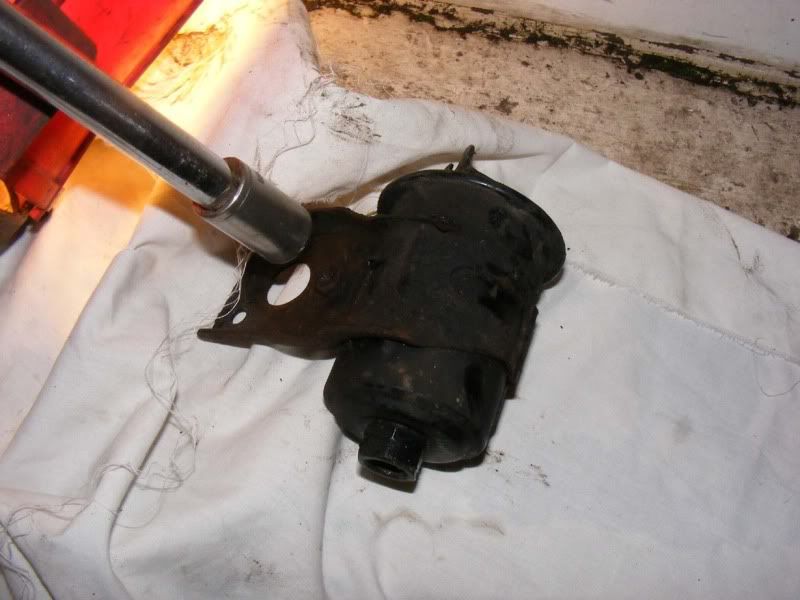
Step 4 - Slacken off the two 10mm nuts holding the bracket in place. Note you can use a long extension to enjoy the fact you removed the subframe")
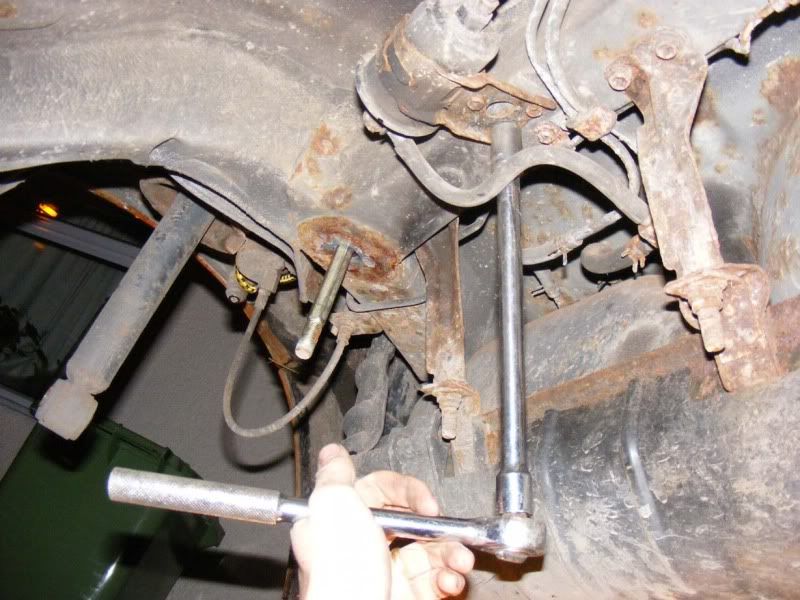
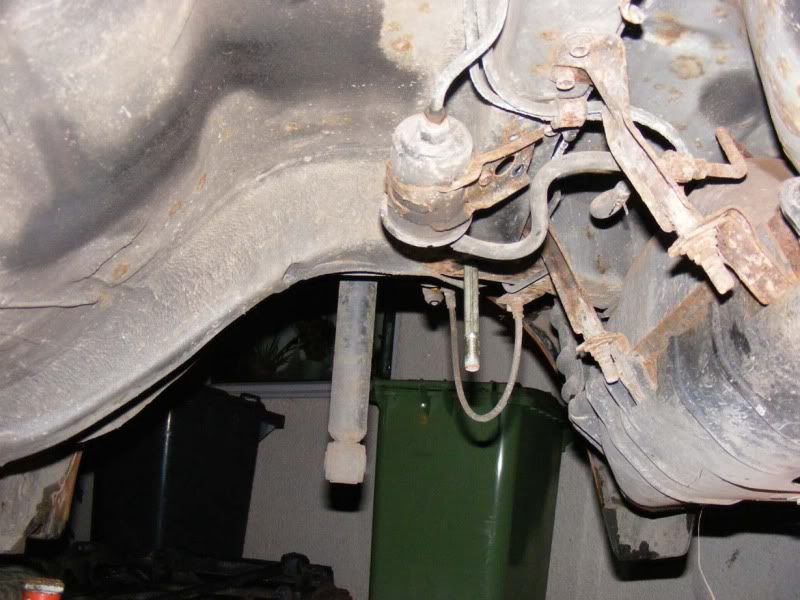
Step 5 - Toyota put 3/4" or 19mm flats on either side of the filter which makes life easy. Start with the flared fitting which needs a 14mm spanner and the 3/4 to hold the filter. Crack off the nut a couple of turns.
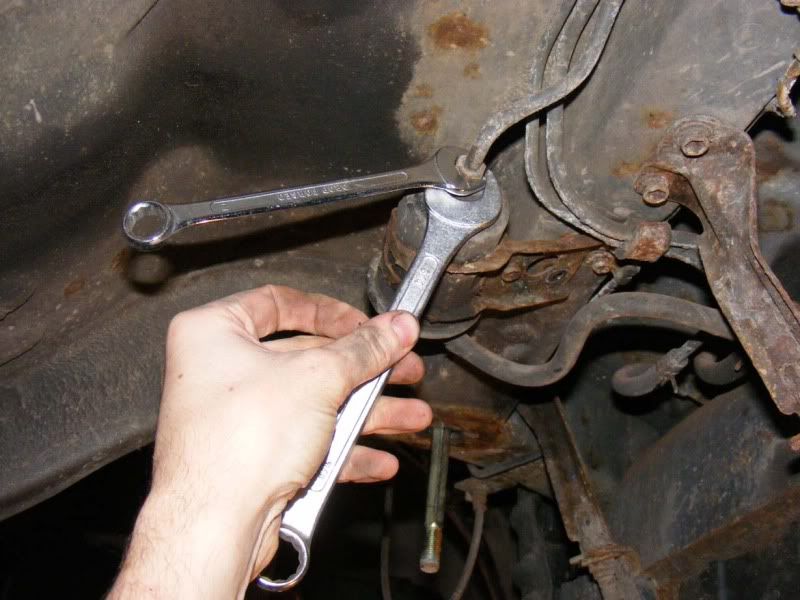
Step 6 - Pop to the other side and you have a banjo bolt which is 17mm, again use the 3/4 and crack this off, only a touch though or it will start leaking fuel (if it does, nip it up a bit)

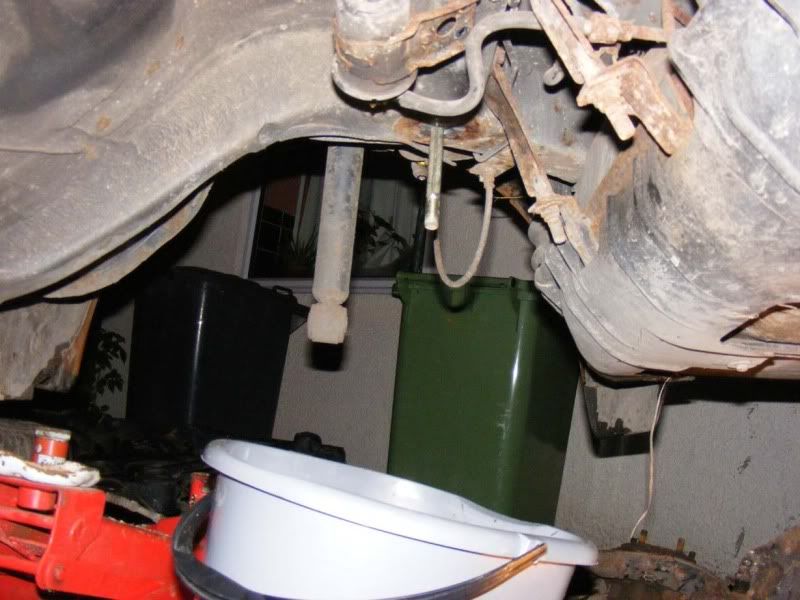
Step 7 - Place a bucket under the fuel filter because we're going to spill a little fuel
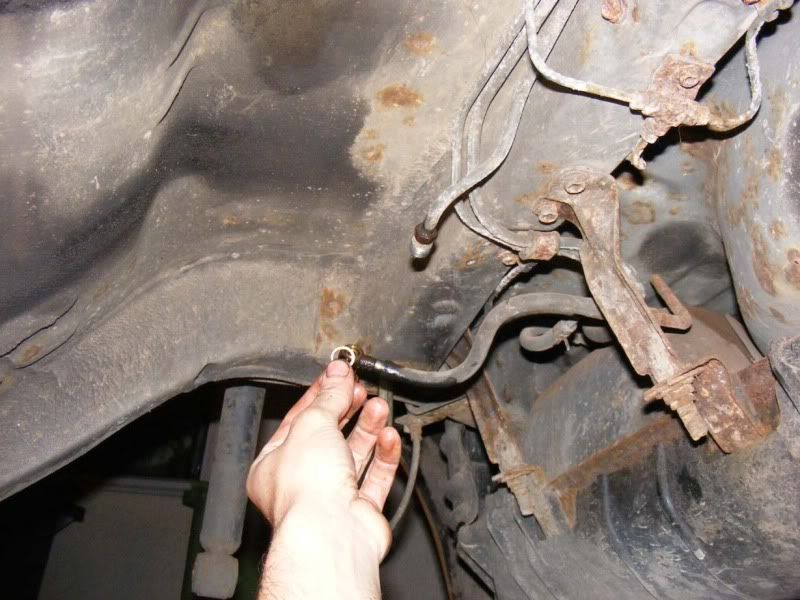
Step 8 - Now we know both sides of the filter aren't seized we can fully remove the 14mm fitting. Note once you have done this you will lose some fuel but if you keep the pipework high up it won't be much (but it'll probably run down your arms so make sure you've got old clothes on and no cigarettes etc!!)
Step 9 - Once you've done the 14mm you can quickly pop the 17mm banjo fitting off. Don't forget to replace the metal washer
Step 10 - Offer up the new filter and make sure you put the banjo fitting pipework through the U-shaped cut out before tightening it up!
Step 11 - Once you've done the banjo up, move to the 14mm flared line and fit this too
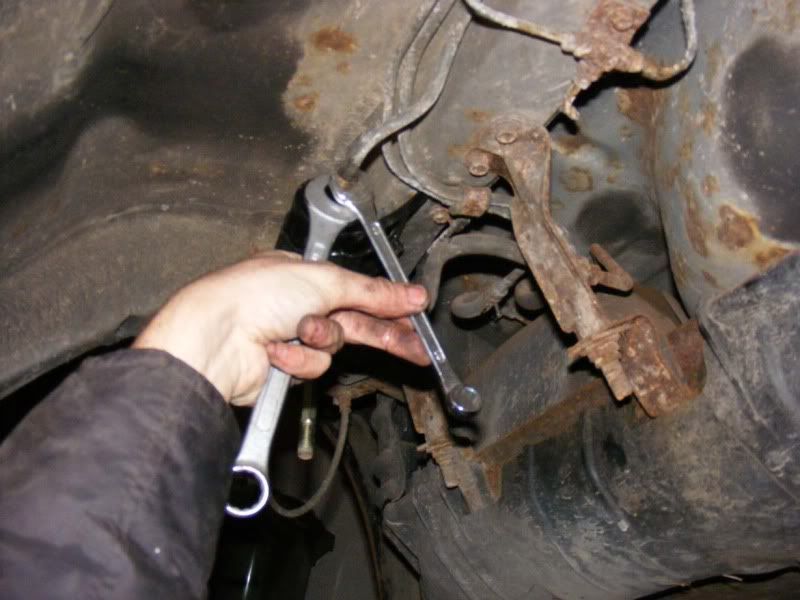
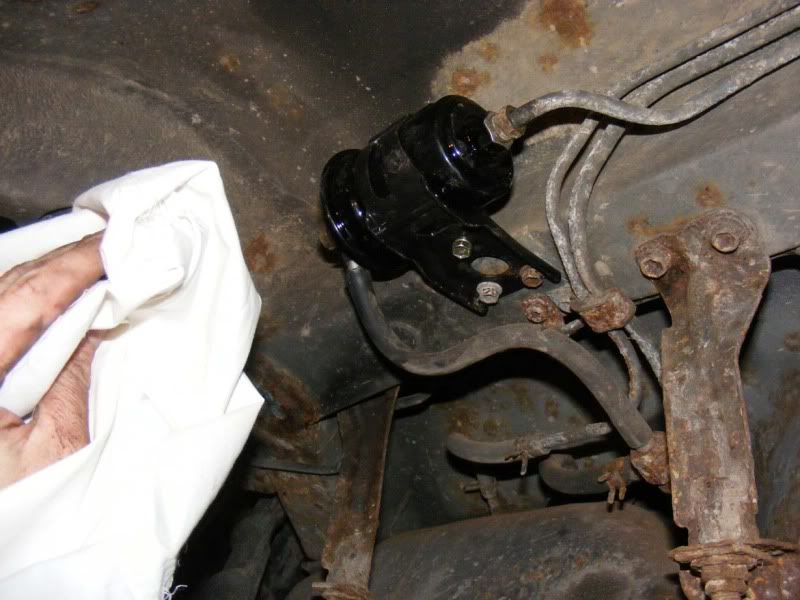
Step 12 - Now fit the bracket back in place with the two 10mm bolts, they don't need to be too tight
Step 13 - Give everything a good clean and make sure there is no fuel around the fittings, you want it totally dry and clean
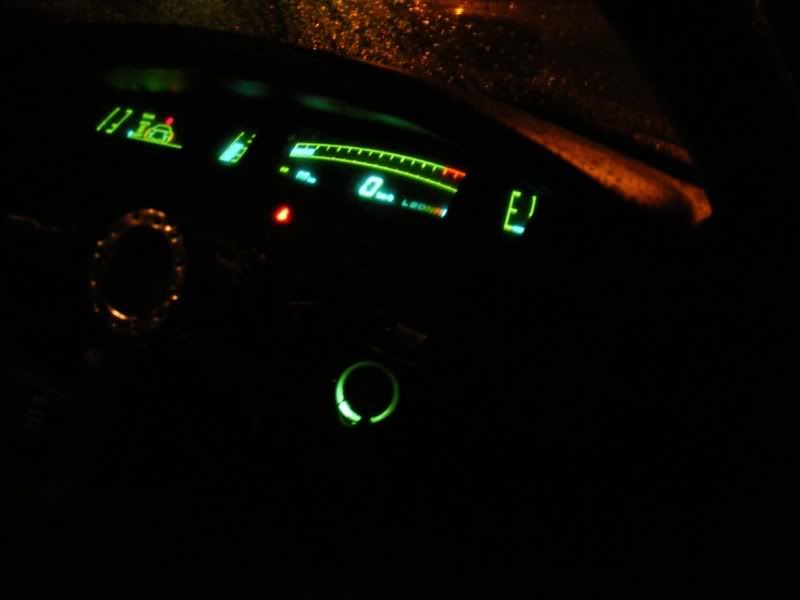
Step 14 - Pop your fuse back in and short FP and B+ in the diagnostics to run the fuel pump
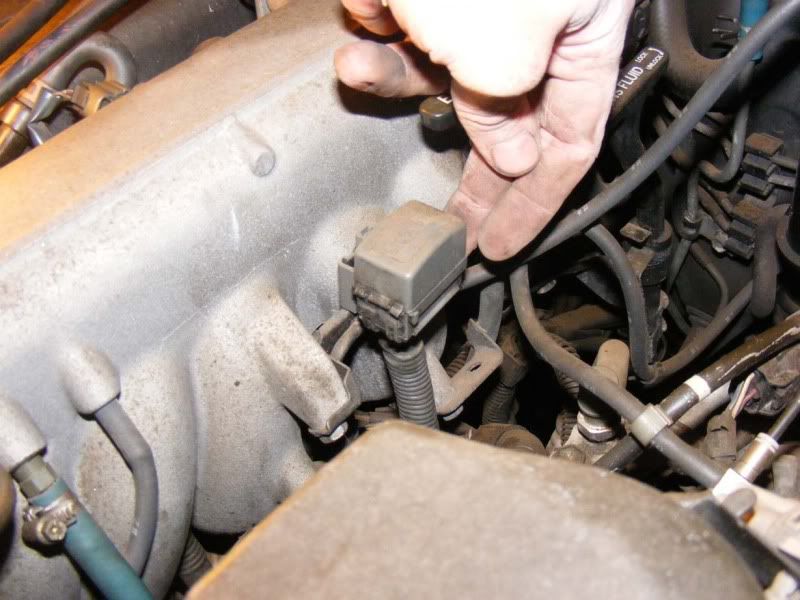

Step 15 - Check for leaks. If there are none, remove the link, fire up the car and give it a minute to make sure there is no fuel coming out at all. If you do see some then nip up the connections a bit more
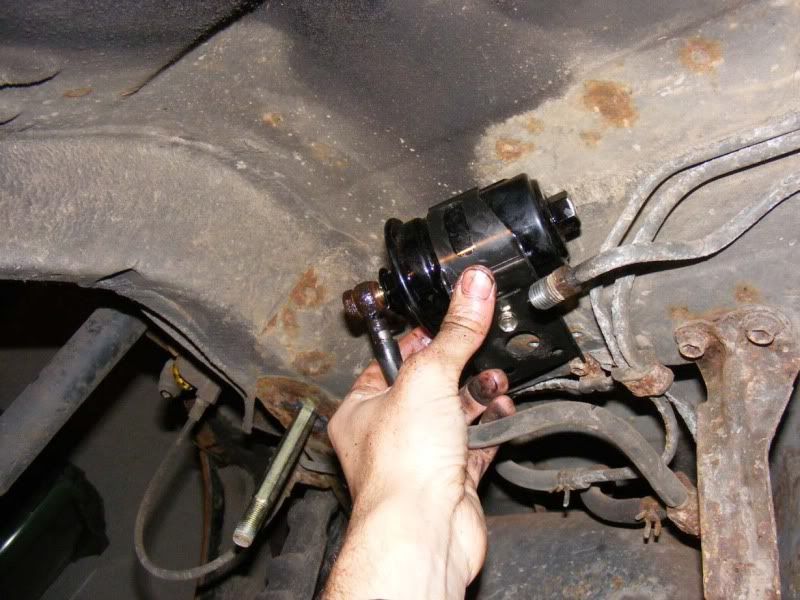
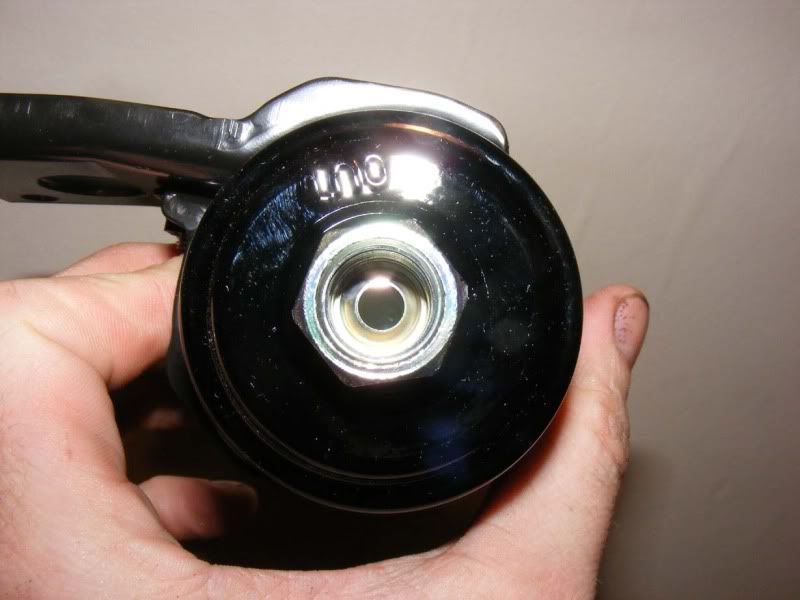
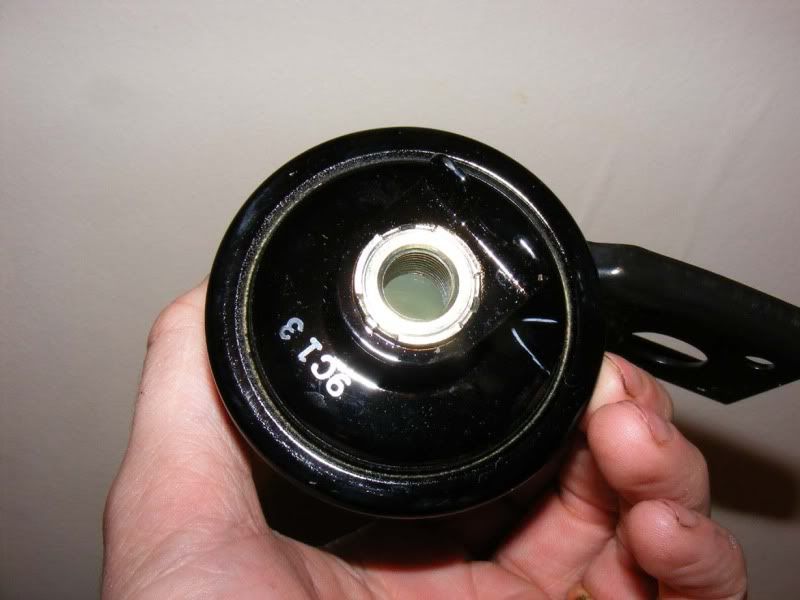
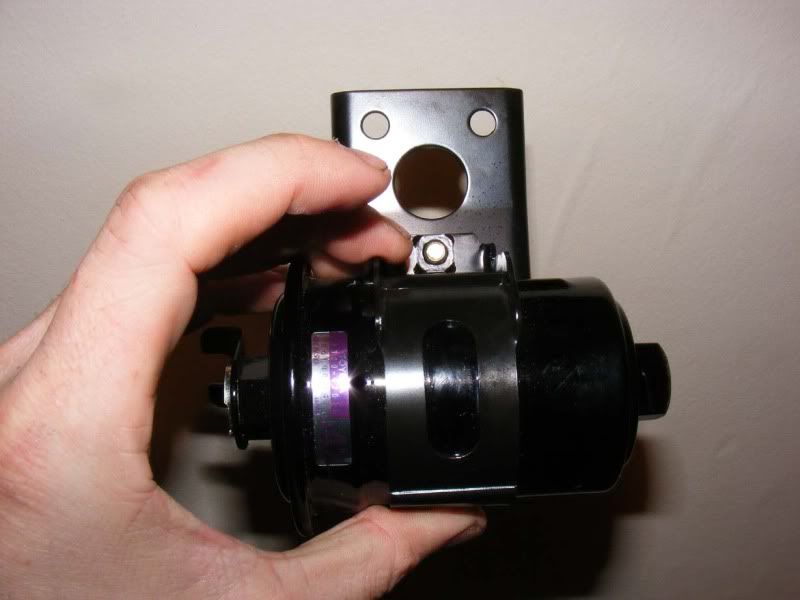
Step 16 - Some pictures of the new filter
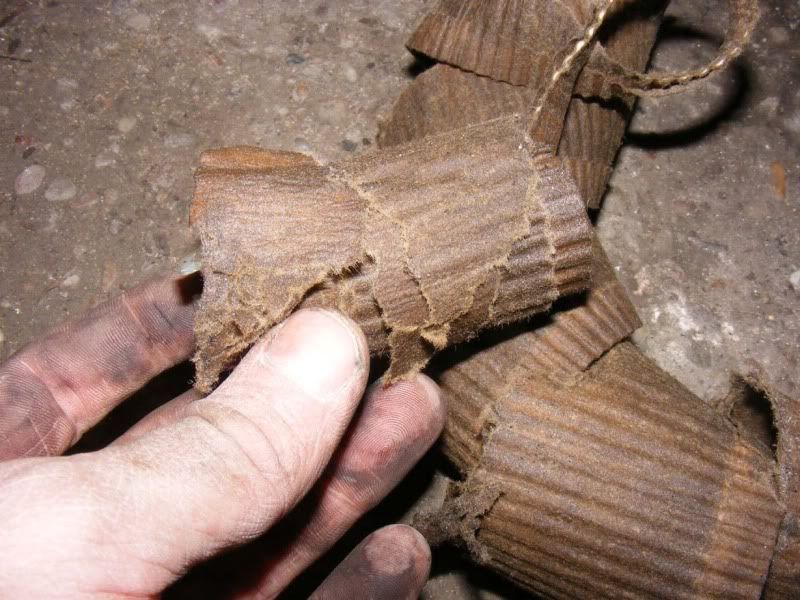
Step 17 - I had to know. Toyota expected the fuel filter to last for something like 300k miles, my car had done about 140k, was it worth it?? No! My filter element looked perfect!
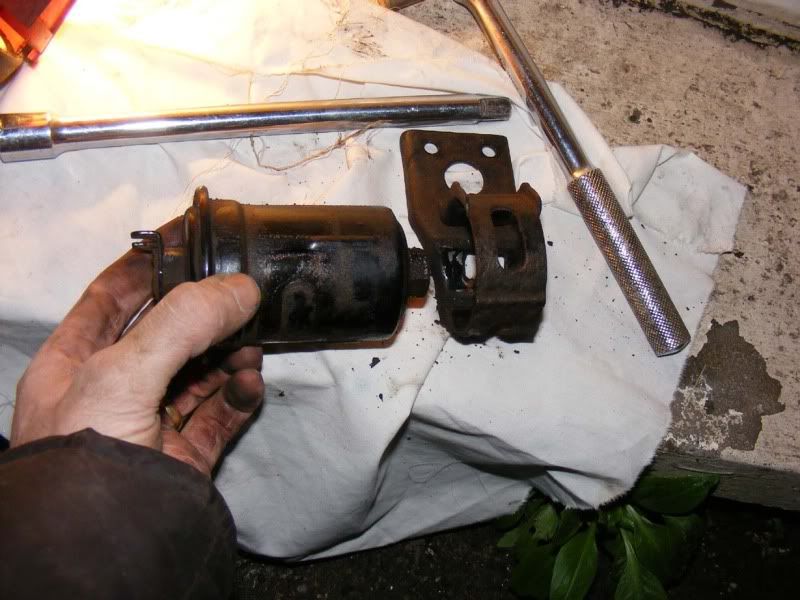
Remove the filter from the bracket (you will need to do this if you don't get the bracket with your new filter). Just undo the 10mm a little and the filter will slide out
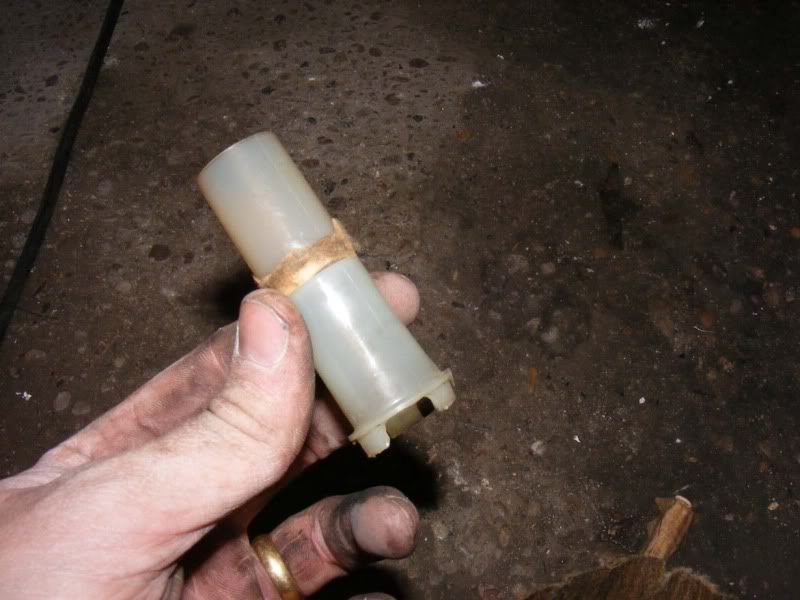
Step 18 - Some pictures of the filter insides:


I'd only recommend you do this if you suspect a problem with the filter, have very high mileage or happen to be doing some other work which involves the subframe coming off
Dropping the diff is also not a major task if you want to try that way. For those die hards who think the easy life is scraping arms and moving spanners a couple of mm before taking it off again - good luck!
Step 1 - Remove the subframe!
Step 2 - Depressurise the fuel system, I started the car then removed the EFI fuse as shown. Pop the filler cap off too.
Step 3 - Remove the battery, don't mess about when you've got fuel around it simply isn't worth it. Also, goggles will make your eyes work by the time you finish!
Step 4 - Slacken off the two 10mm nuts holding the bracket in place. Note you can use a long extension to enjoy the fact you removed the subframe
Step 5 - Toyota put 3/4" or 19mm flats on either side of the filter which makes life easy. Start with the flared fitting which needs a 14mm spanner and the 3/4 to hold the filter. Crack off the nut a couple of turns.
Step 6 - Pop to the other side and you have a banjo bolt which is 17mm, again use the 3/4 and crack this off, only a touch though or it will start leaking fuel (if it does, nip it up a bit)
Step 7 - Place a bucket under the fuel filter because we're going to spill a little fuel
Step 8 - Now we know both sides of the filter aren't seized we can fully remove the 14mm fitting. Note once you have done this you will lose some fuel but if you keep the pipework high up it won't be much (but it'll probably run down your arms so make sure you've got old clothes on and no cigarettes etc!!)
Step 9 - Once you've done the 14mm you can quickly pop the 17mm banjo fitting off. Don't forget to replace the metal washer
Step 10 - Offer up the new filter and make sure you put the banjo fitting pipework through the U-shaped cut out before tightening it up!
Step 11 - Once you've done the banjo up, move to the 14mm flared line and fit this too
Step 12 - Now fit the bracket back in place with the two 10mm bolts, they don't need to be too tight
Step 13 - Give everything a good clean and make sure there is no fuel around the fittings, you want it totally dry and clean
Step 14 - Pop your fuse back in and short FP and B+ in the diagnostics to run the fuel pump
Step 15 - Check for leaks. If there are none, remove the link, fire up the car and give it a minute to make sure there is no fuel coming out at all. If you do see some then nip up the connections a bit more
Step 16 - Some pictures of the new filter
Step 17 - I had to know. Toyota expected the fuel filter to last for something like 300k miles, my car had done about 140k, was it worth it?? No! My filter element looked perfect!
Remove the filter from the bracket (you will need to do this if you don't get the bracket with your new filter). Just undo the 10mm a little and the filter will slide out
Step 18 - Some pictures of the filter insides:
I'd only recommend you do this if you suspect a problem with the filter, have very high mileage or happen to be doing some other work which involves the subframe coming off