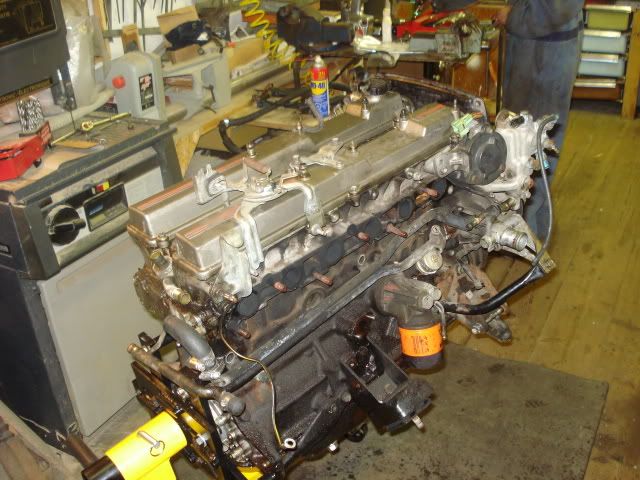
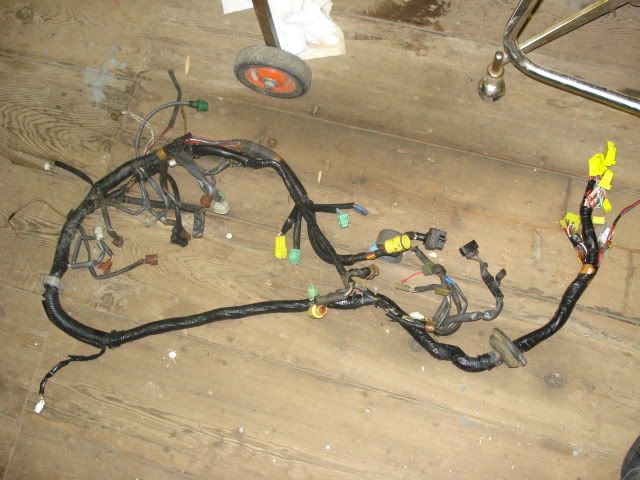
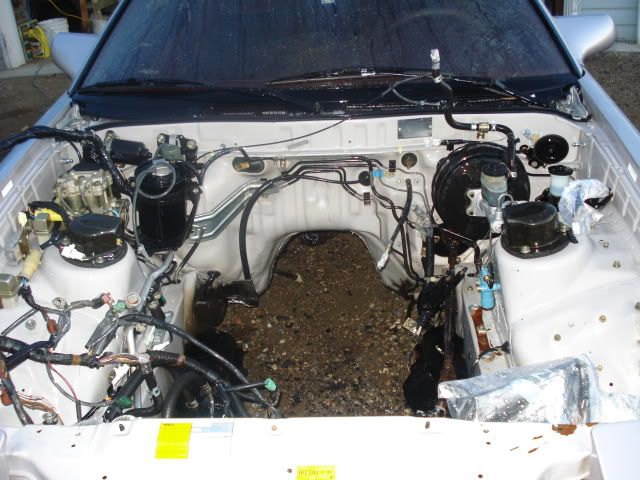
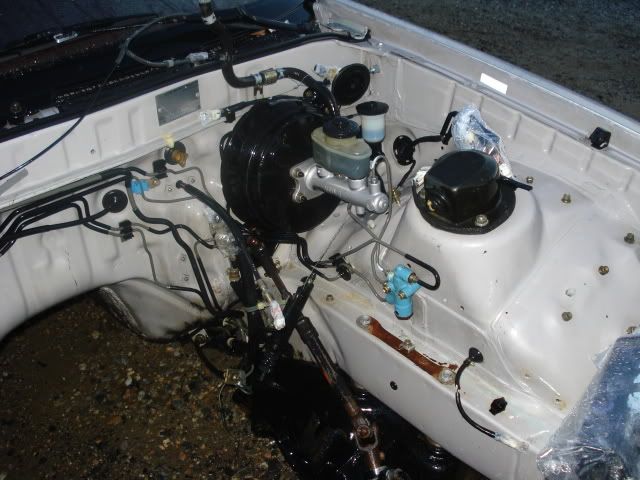
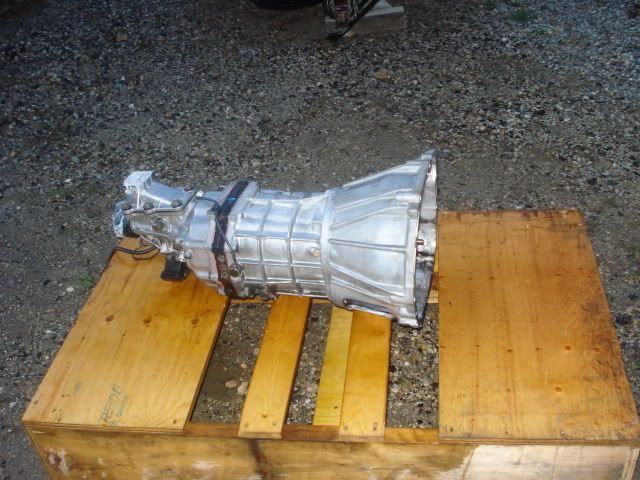
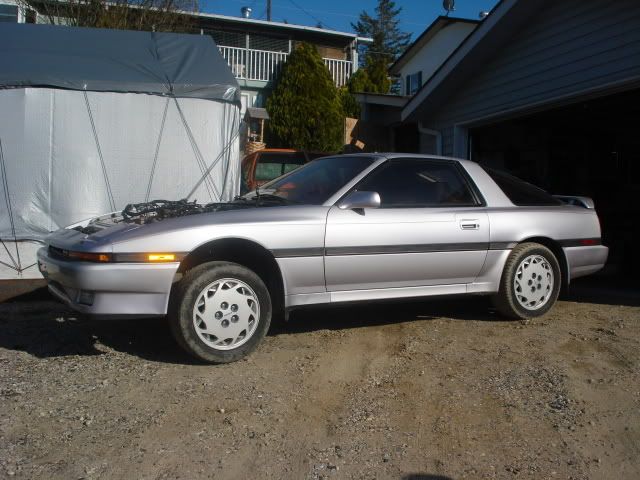
ChrisC's Clean Silver 87 buildup (tons of pics)

ERA

New Member
Jul 31, 2006
1,934
0
0
34
any way the wind blows
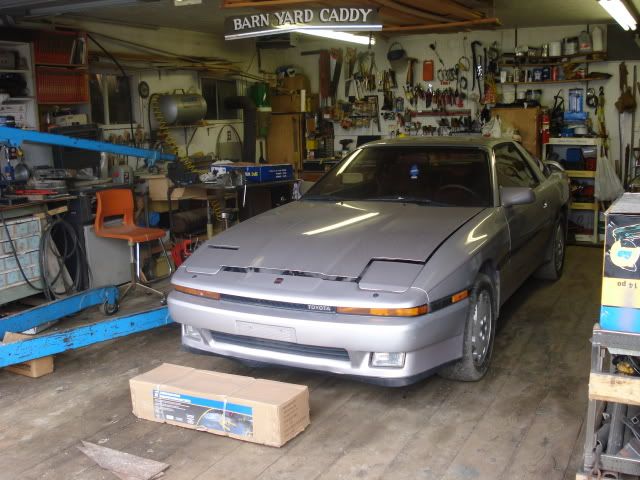
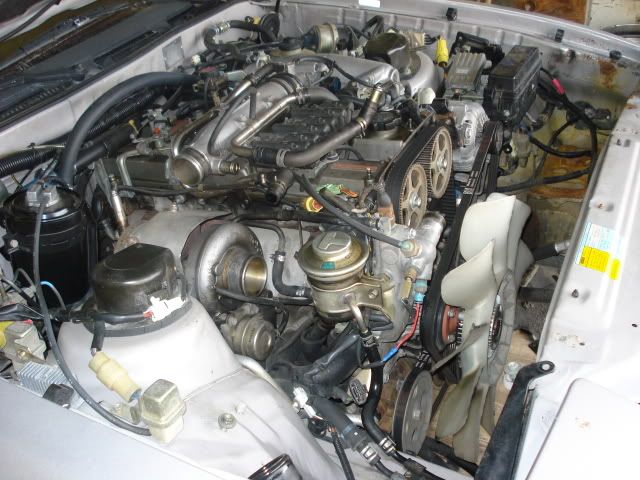
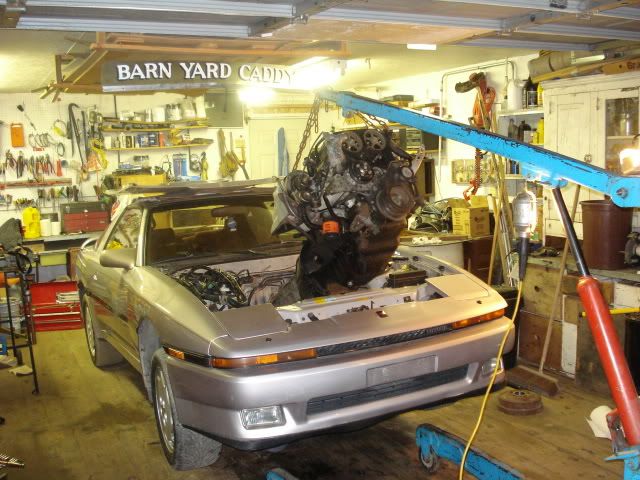
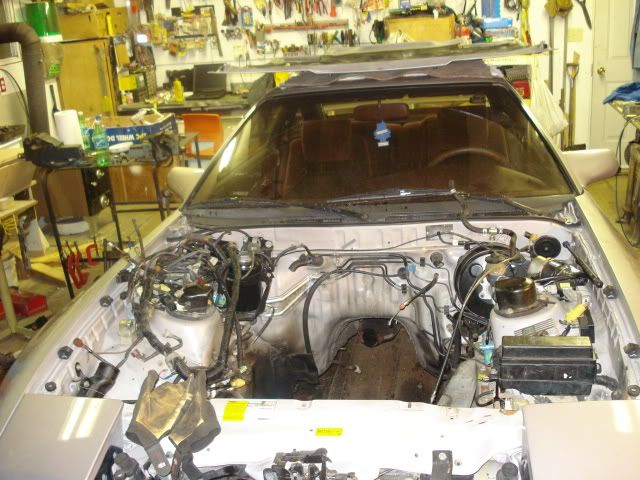
Not my choice in interior color but pretty clean otherwise.
Looks like you've got your hands full with this one :)

Looks like it'll be a fun and beautiful ride when all said and done too.
G'luck.

How many miles?
Given any consideration to an aftermarket set of wheels?
 

enjoi.this

Formerly ChrisC
Aug 18, 2008
674
0
16
Kelowna, BC
p1287769_1.jpg


p1287769_2.jpg


p1287769_3.jpg


p1287769_4.jpg
 
Last edited:

enjoi.this

Formerly ChrisC
Aug 18, 2008
674
0
16
Kelowna, BC
ERA;1287767 said:
Not my choice in interior color but pretty clean otherwise.
Looks like you've got your hands full with this one :)

Looks like it'll be a fun and beautiful ride when all said and done too.
G'luck.

How many miles?
Given any consideration to an aftermarket set of wheels?

The color isnt my favorite either, it does grow on you i guess haha. She has about 120,000 miles on the chassis and I picked up a set of 17" core racing 5 spoke rims not too long ago. just need to get some different size rubber for them.
 

SiLeNcE SuPrA

I keed I keed
Mar 4, 2008
50
0
0
IDK
ERA;1287767 said:
Not my choice in interior color but pretty clean otherwise.

LoL

Should see my car.... Came maroon colored interior from factory, previous owner mixed it with grey....
In front it's all grey and the back it's all maroon :aigo:

And to the maker of this thread, nice, clean car...
 

Ryan

New Member
Mar 22, 2009
125
0
0
Waterford
wow. Wish mine was that clean. Gota few scratches from things rubbing on it in the garage. other than that its good.
You should upgrade to a leather interior. : )
Nice car and good luck.
 

enjoi.this

Formerly ChrisC
Aug 18, 2008
674
0
16
Kelowna, BC
Thanks for the comments guys :biglaugh:
I made some more progress yesterday, im just uploading new pics right now. Going to continue on today prepping for paint of the battery area. Also going to repaint all the cleaned brackets, maybe even pull the dash today if I'm feeling up to it. Need to change a heatercore :3d_frown:.
Im going to try and get all the "not so fun" stuff done while the engine is at the machine shop. If everything goes as planned I will have the engine back for the easter weekend :evil2:
 

enjoi.this

Formerly ChrisC
Aug 18, 2008
674
0
16
Kelowna, BC
I made some more progress last weekend and this week. Heater core is now replaced and ready to rock and roll. :biglaugh:
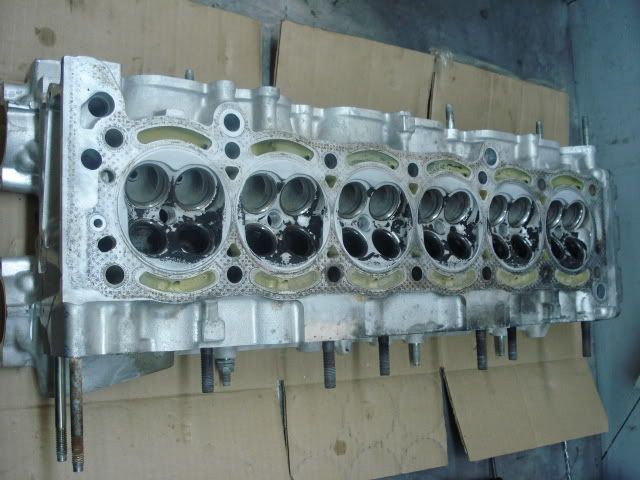
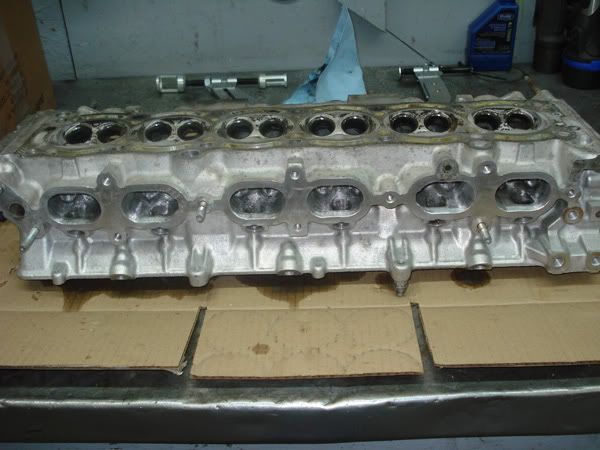
Did some cylinder head porting also, turned out rather nicely.

p1294091_1.jpg

p1294091_2.jpg

p1294091_3.jpg


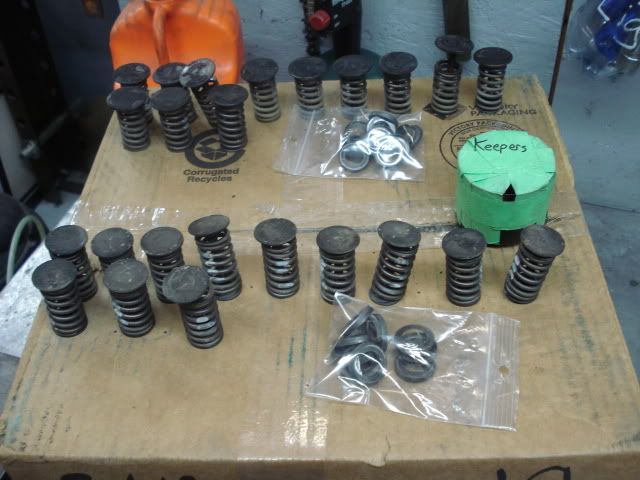
Valves all removed from the head.

p1294091_4.jpg

p1294091_5.jpg

p1294091_6.jpg


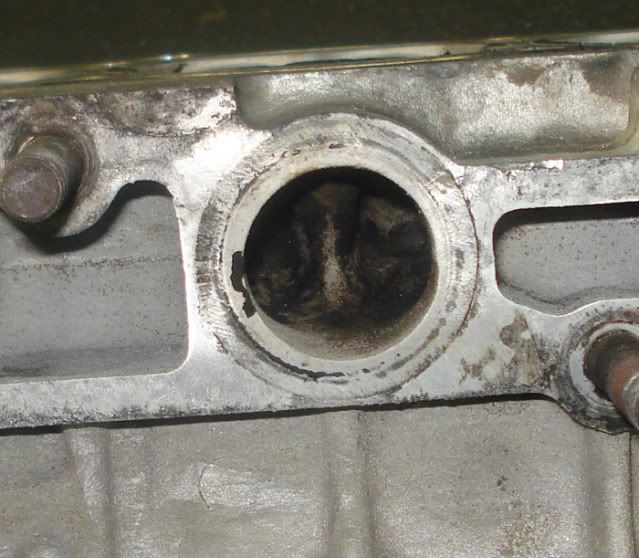
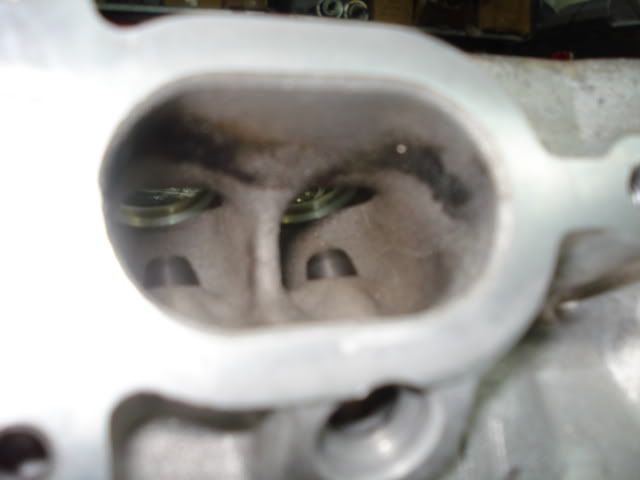
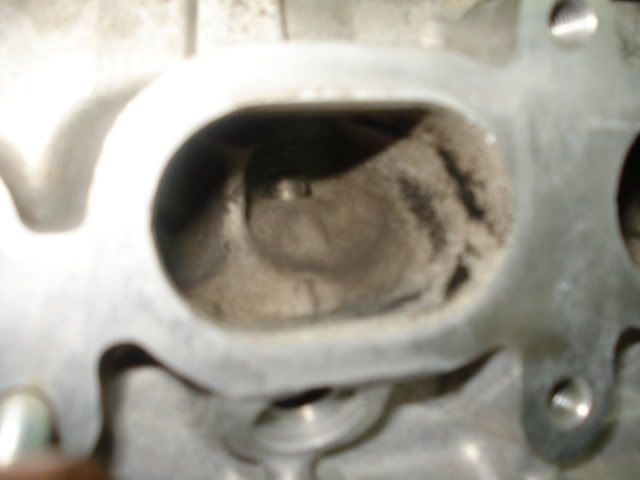
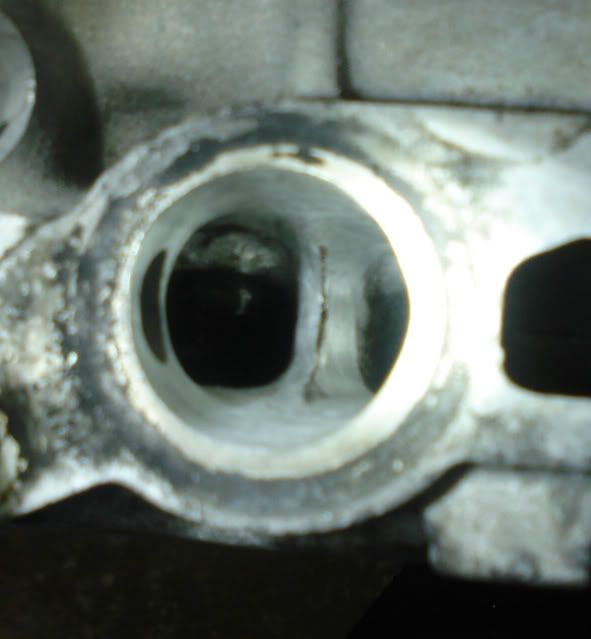
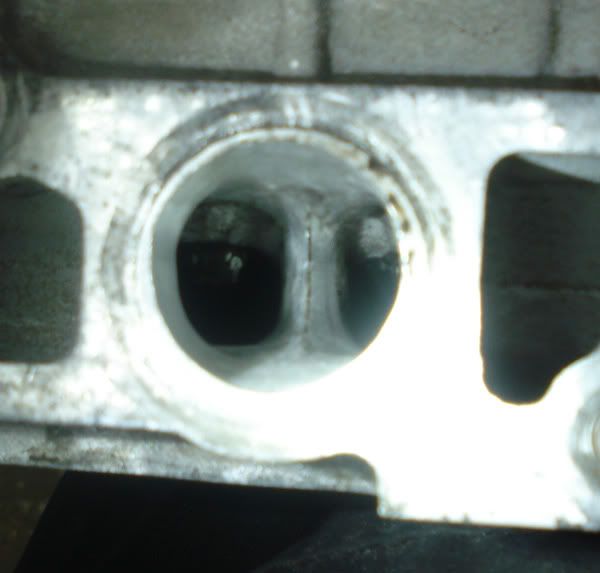
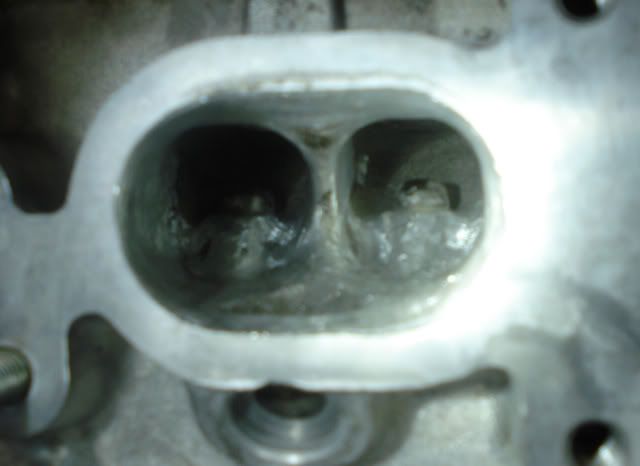
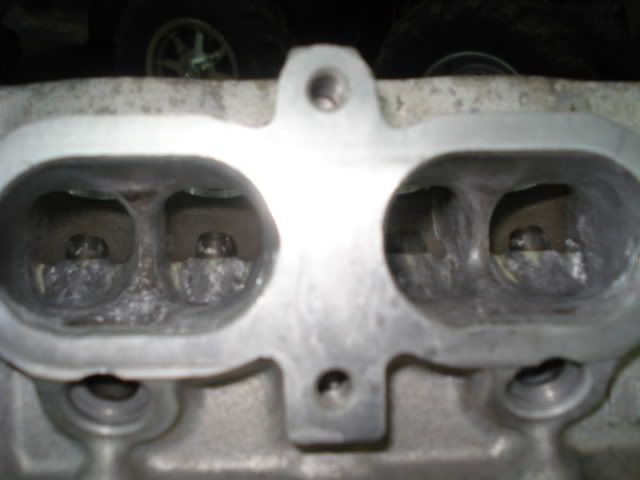
Heres some pics of the ports in stock form. I had troubles taking pictures of the exhaust side (camera wasnt cooperating)

p1294091_7.jpg

p1294091_8.jpg


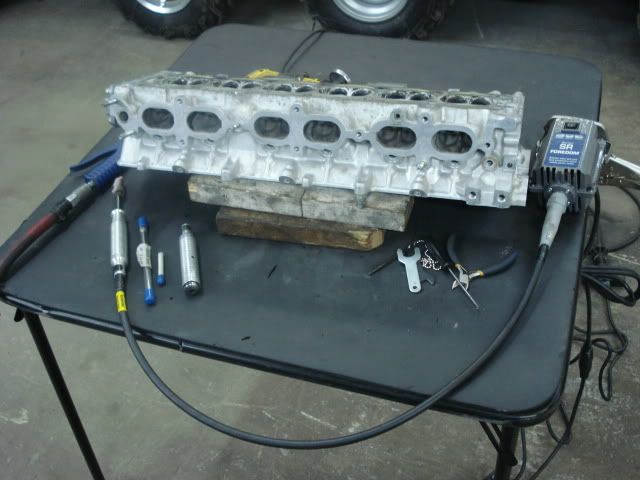
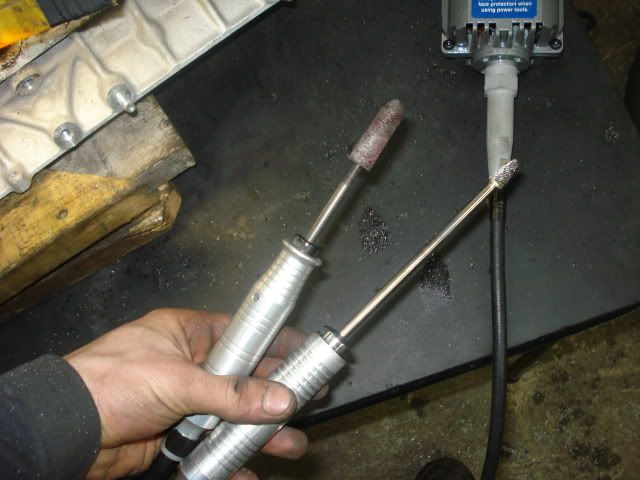
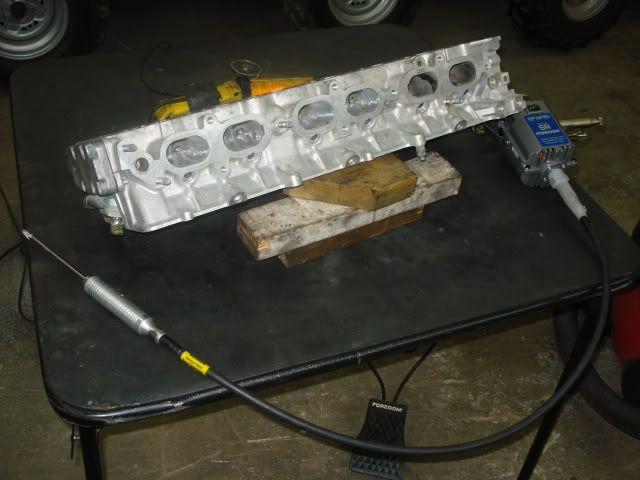
These are the porting tools I used to do work. At my work we use these to do porting work on 2-stroke sleds, works out nicely when my wicked boss lets me work on my own stuff after hours :biglaugh:

p1294091_9.jpg


How much I got done after 2.5 hours.

p1294091_10.jpg


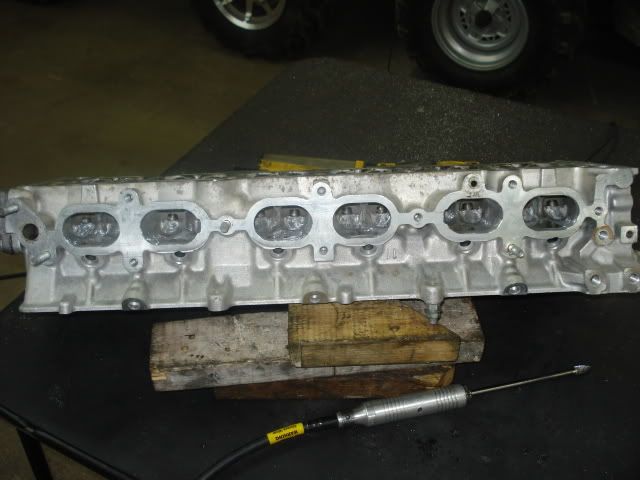
and a little over 3 hours and the intake side port job is done!

p1294091_11.jpg

p1294091_12.jpg


The almost finised exhaust side. Notice the knife edged area where the 2 ports meet.

p1294091_13.jpg

p1294091_14.jpg


Intake side all cut and texturized with 60 grit emery roll.

p1294091_15.jpg


Done for the day.. A little over 5 hours spent on this and my eyes were startin to feel all buggy lol. Basically what my goal was on this port job was to make the head more free flowing but still retain as much of the stock port overall width as I could. Intake side was made slightly larger and made MUCH more free flowing (comparing to stock) then retextured with 60 grit paper roll. On the exhaust, where the 2 ports meet was knife edged and was smoothed out around the guide. I took as little as possible off so not too weaken the guide. Then was polished as smooth as my patience would allow.
 
Last edited:

enjoi.this

Formerly ChrisC
Aug 18, 2008
674
0
16
Kelowna, BC
thanks man :icon_bigg
My next step on the head is to radius the sharp edges on the exhaust ports then do some more clean up around the vavle seat area. Im probly going to end up replaceing all the exhaust vavles and recutting the seats. I had the head pressure tested and it passed but I dont believe it would last much longer before I burnt a vavle..
 

enjoi.this

Formerly ChrisC
Aug 18, 2008
674
0
16
Kelowna, BC
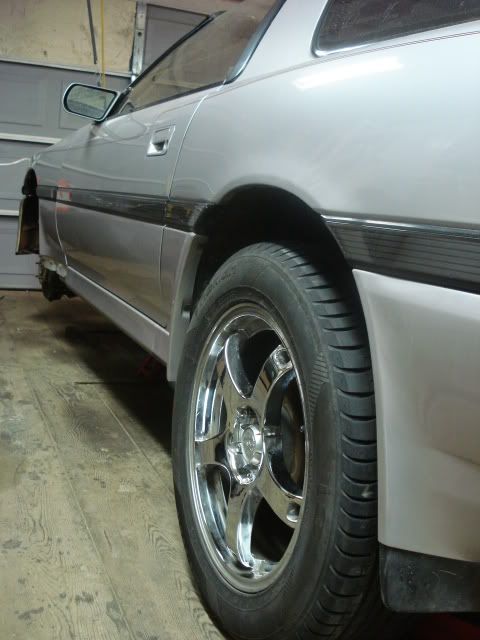
I was getting some what ancy after seeing all the summer cars coming out sportin theyr rims so I just had to see what the ones I purchased for the soup looked like while on the car.. They deff need shorter rubber, tires on rims are 235/55/17. Im thinkin I just might run the 55 tread on the rear and go with either 45 or 50's on the front. The raked out look is appealing to me :biglaugh:

p1296265_1.jpg
 
Last edited:

enjoi.this

Formerly ChrisC
Aug 18, 2008
674
0
16
Kelowna, BC
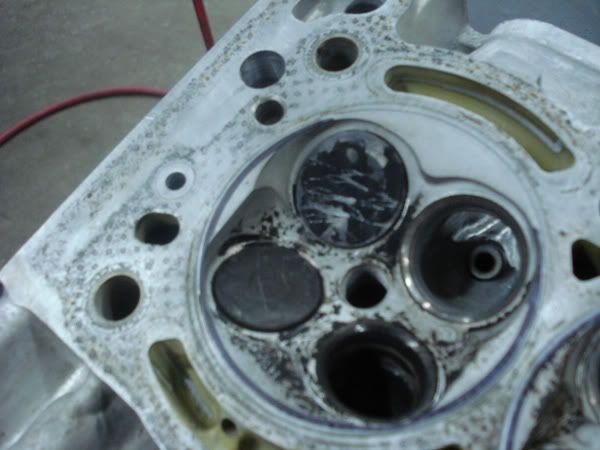
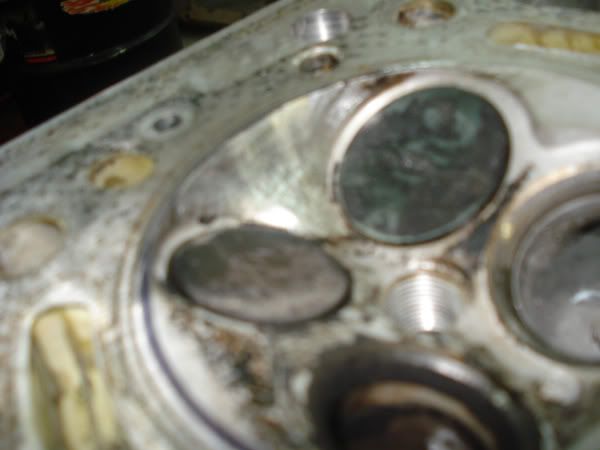
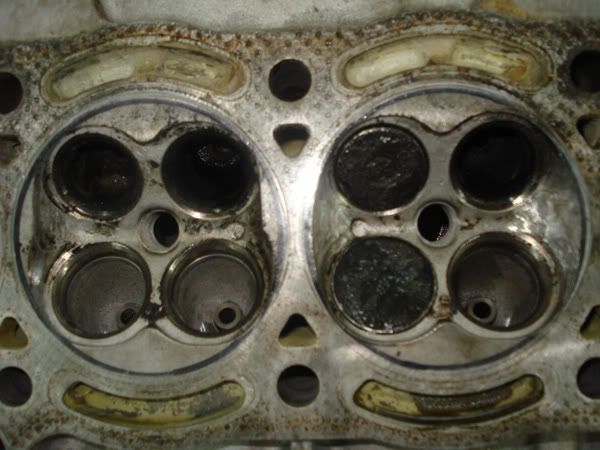
Continuing on with the cylinder head porting, I finished off the exhaust ports (did some more cleaning and radiused some sharp corners) Also did some combustion chamber work. Radiused the sharp squish area on the port sides of the chambers and removed the factory valve shrouding.

With doing this modification more of the valve will be used during intake and exhaust. Take note of how much more the vavles are exposed. I believe about 1 third more of each vavle is now being used.

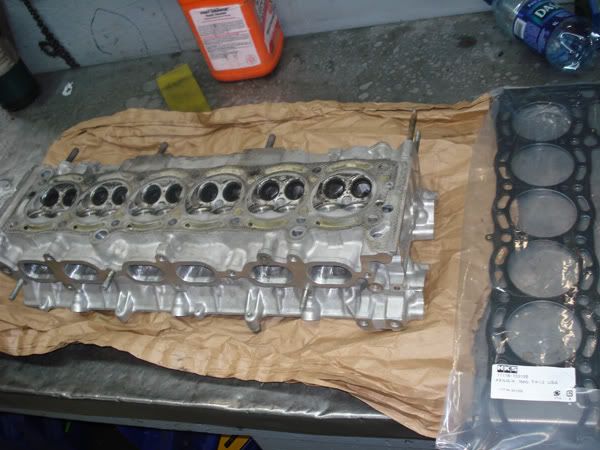
I am lowering the compression ratio, but will be running an HKS 1.2mm MHG (which is thinner then stock) so hopefully I will retain close to stock c.r.

p1300428_1.jpg

p1300428_2.jpg


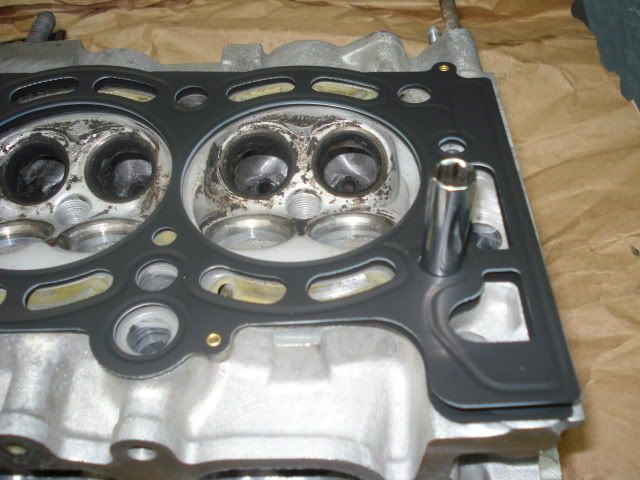
In the first 2 pictures I very carefully handled the MHG and placed it on the cylinder head to mark out where the new gasket will sit around the cylinder. Gives me a basic guide line to where my limits are to cut out material.

p1300428_3.jpg


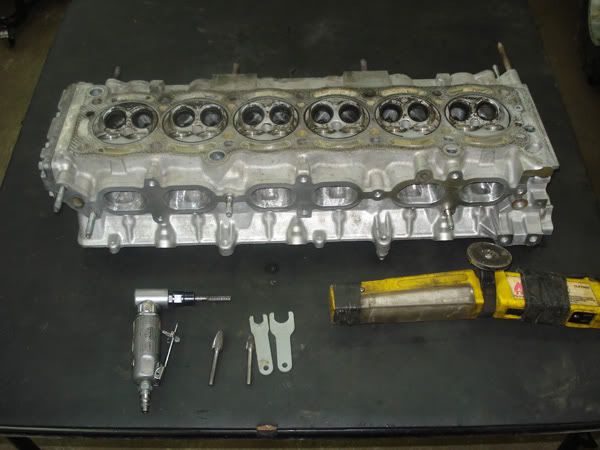
This time around I used more basic tools, just air powered angle drive with 3 different carbid cutting heads. a medium and small rose bud and 1 medium straight cut. You could get away with just using the small rose bud (just takes more time to remove material)

p1300428_4.jpg


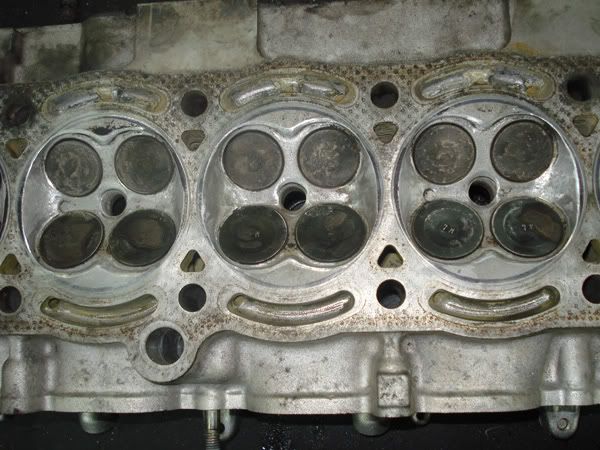
Picture of the stock combustion chamber

p1300428_5.jpg


Starting to remove material on the first cylinder.

p1300428_6.jpg


p1300428_7.jpg


sm_photo_missing.jpg


These last three pictures are fairly self explanitory.

p1300428_8.jpg


This is the finished product after about 2.5 hours of work. Takes much less time to do this mod comparing to port work. All the valves where put into the head and I took a emery roll and texturize and smooth the chambers. Id give this mod a 4 out of 10 on the difficulty level. But GREAT CARE must be taken with enlarging the chamber, you do not want to go past the gasket area! Otherwise you will have a very large paper weight. I gave myself plenty of space not to cut too close to the gasket. (want to be safe here) If knock occurs the gasket wont be exposed as much, could prevent a BHG.
 
Last edited: