Check out this sweet bondo shell

87supramario

Member
Jul 15, 2011
213
0
16
Niagara falls
Shit. The rule of thumb has it - to have it as deep in the oil as much as possible. I guess that way it would pick up the cooless oil to deliver to the head.

Got to love these 240sx kids
 

87supramario

Member
Jul 15, 2011
213
0
16
Niagara falls
Hahah. Their nice cars, I love the S13 and S14 (k's) styles but most of them out there including 240's and 180's are junk. I was hard pressed to find one in good shape for my buddy a while back. Their cars that has been registered through dozens of previous owners, just as bad as your average Civic I say. What do you drive now?
 

Grandavi

Active Member
Sep 25, 2008
2,664
6
38
Calgary, Alberta, Canada
Really nice save.. and very surprised to see the car in that shape (after you unbutchered it) in Niagra...
being a fellow Canucklehead... just having metal on our cars is nice to see after 7 years.. lol.

Confused though... you havent really spec'd the timeline to do all this. When did you start?
 

87supramario

Member
Jul 15, 2011
213
0
16
Niagara falls
Thanks guys :D I started stripping the bondo in 2008 in the fall at some point and only stripped the rear bumper and chopped off the side skirts. Spring of 2009 I found a great deal on a Jdm bumper conversion and ripped the front end off two days after purchasing it. About a month later I got an 89+ tail set and did the conversion and kept stripping the body trim pockets from bondo every other nice day that I had a chance to and I remember driving the car to the paint shop about a week before the city laid out salt on the roads for the first snow fall. The car was driven out of the shop still in multiple pieces and was being assembled as quickly as possible since it was my summer daily.

I was driving it to work when I had the rear bumper ripped off about found the stock bumper under the body kit and tried fixing it. But I ended up getting a new bumper while getting the tail set. Shortly after switching job and ripping off the rear bumper I took it off the road to have it parked until it was painted. I took off at least 180 pounds of bondo.
 

87supramario

Member
Jul 15, 2011
213
0
16
Niagara falls
Grandavi;1899680 said:
rofl.. omg... Was the previous owner the one that murdered the car? as a concept car it would be cool, but omg... I hate bondo...


The previous owner had sent the car to that shop with the attentions that they where going to properally install the bumper and kit to the car. He had no idea they where going to mold the thing on he thought they where going to modify the bumper to fit the car and not modify the car to the body kit. But nothing was mentioned as to why the body trim was deleted though lol.

But after spendings tons of money for the crap work and 30 grand spent on the car for the entire time that he owned it that I have in receipts, he decited to sell it. I guess he got disouraged because he mentioned about getting another with a 1j eventually.

But yeah the car had something appealing about it if it was not a supra. Maybe with a bit bigger wheels it would look better but I can't stand a car that has no body lines that seperates the parts, it just bothers me. But there was more things that I hated about the car. I mean it had no paint code, front custom signal lights where burnt and can find replacement bolbs, the paint was peeling from the bondo crack, if you happen to bump in to something the damage results in body work and paint instead of replacement panels... etc.

The last time previous owner seen it, it had no side skirts and the rear bumper was original. At this point with the side skirts off the front end was level with the side skirts and he already thought it looked better after using a sawz'all to it. Once the 1j is in, I will show up at his door again ;)
 

87supramario

Member
Jul 15, 2011
213
0
16
Niagara falls
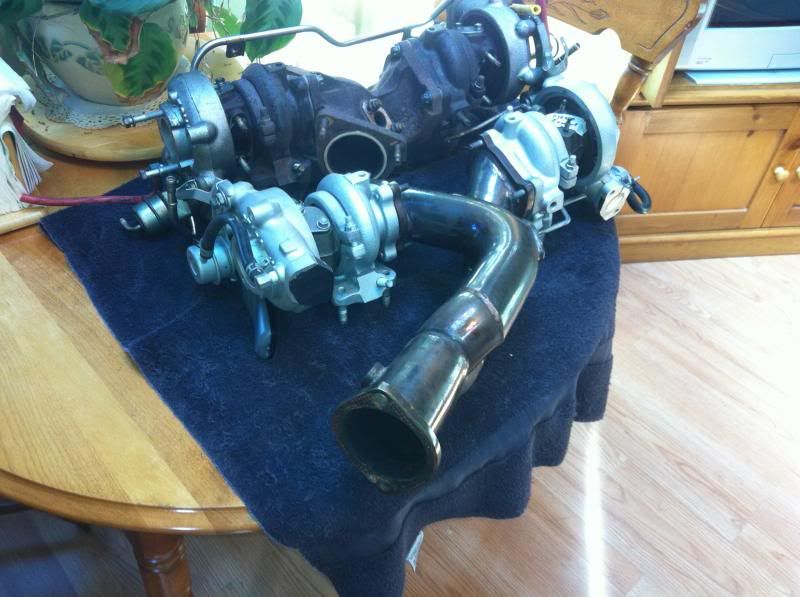
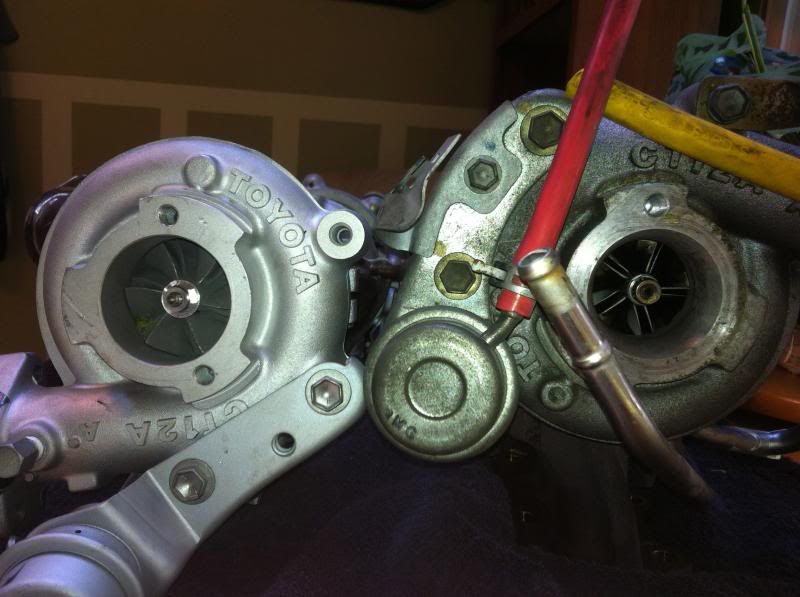
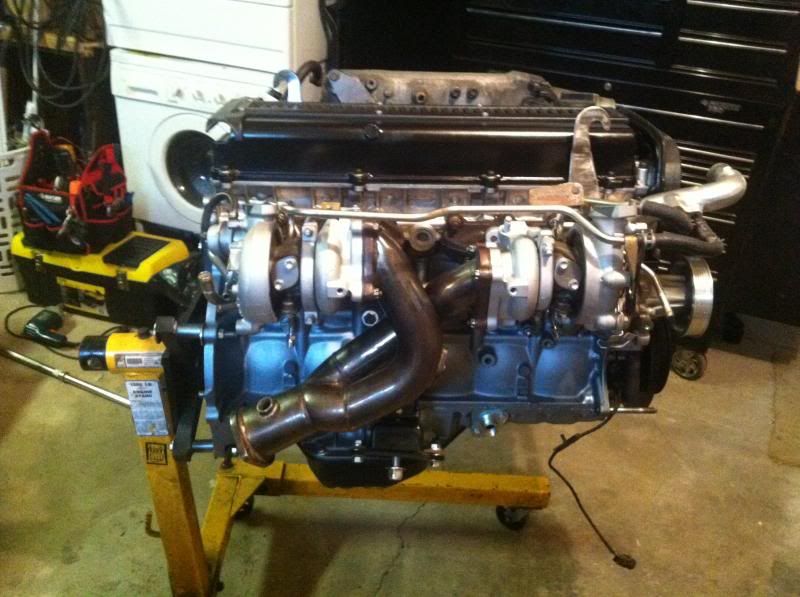
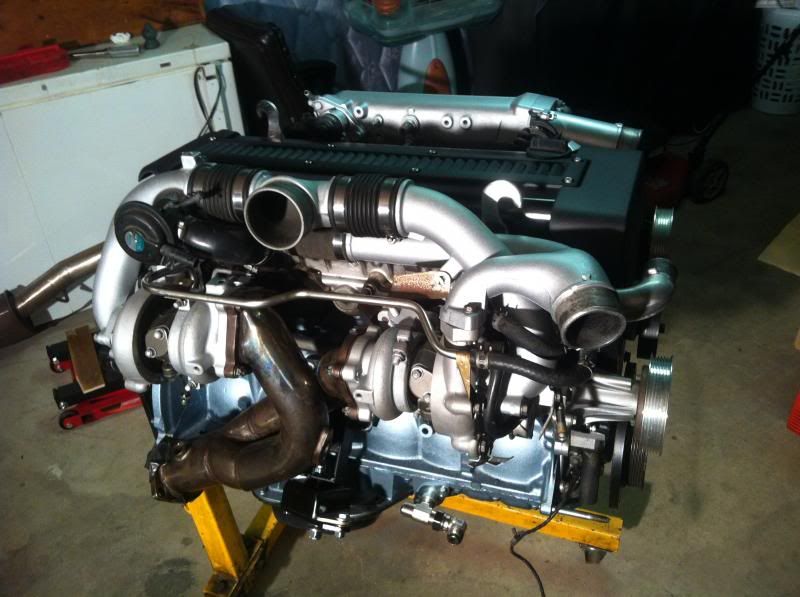
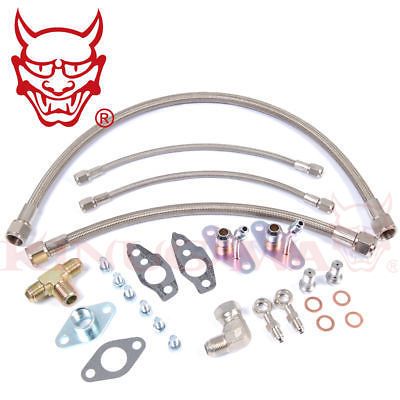
Time for a overdue update. The car went back to stock twins but for a good cause. I ended up selling the Greddy single exhaust manifold and sent the money to a SF member with the T78 turbo to trade for a brand new pair of GT28RS upgraded stock CT12A twins, along with a few AN oil feedline and return line bits, with a chinaman Y-pipe.

Set aside the fact that the Greddy T78 turbo was a very rare set up to come by, I couldn't help to be bothered by the lag of the very obvious big single set up, and the fact that my car will be a summer daily. I want the car to be reliable as much as possible and fun, without being so conspicuous. So this decision helped me come up with a new build theme that I will be pursuing for this car. The build will always remain to compliment the factory design, but it will be equipped with a lot of potential. It will always appear to be stock, so that its potential will surly be underestimated. ;)

The upgraded twins was the first piece. But first, I've sourced a full factory TT kit for $160 locally to complete the kit. Next was the trade.


87supramario

Member
Jul 15, 2011
213
0
16
Niagara falls
More updates on page 5!

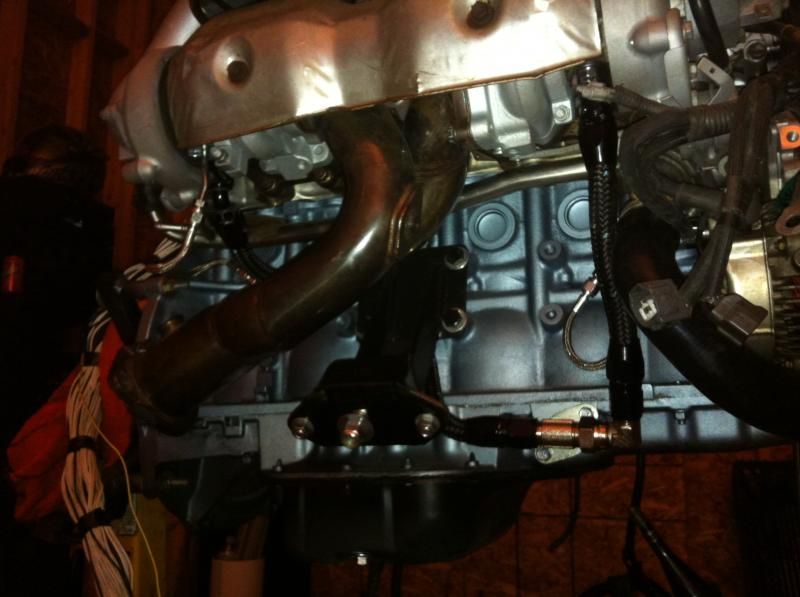
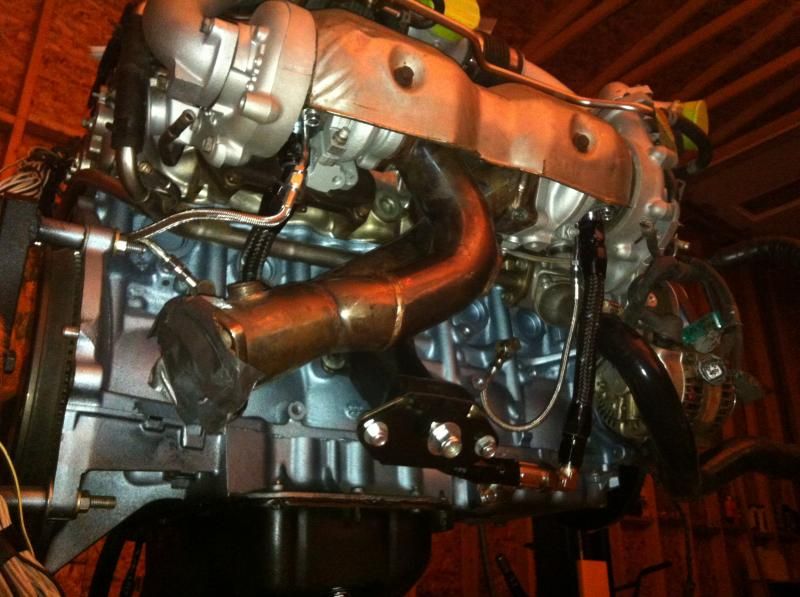
To complete the oil feed and return lines, I've used the ebay kit that was provided to me with the upgraded twins, because the TT kit I've received locally was from a front sump engine. Although I did not mind upgrading the oil lines to An fittings, I've discovered a major flaw in the provided ebay kit and had made some corrections for proper oil feed.

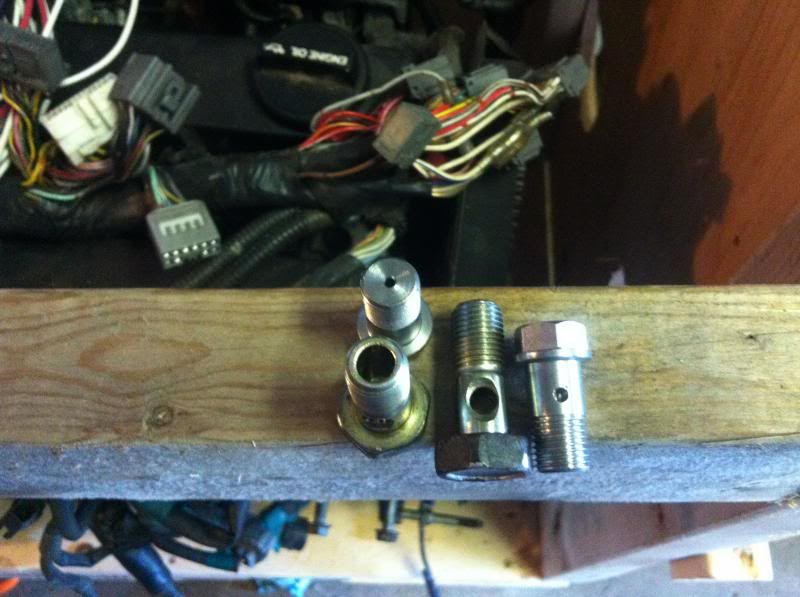
BUYERS BEWARE OF THIS EBAY KIT! Few parts should be replaced with OEM parts, such as the banjo bolts...


For those who are in my position, stealing a pair of banjo bolts from a D, B or H series Honda engine from a local parts yard will be your easiest best. You can find them on one end of their factory fuel rail housing two spare crush washers. These banjo bolts should have tapered journals, perfect for oil feed. Not having the proper amount of oil feed for the turbos could result in blowing turbo seals or starving the twins of oil, insinuating a shorter lifespan, not to mention having some kind of effect against your oil pump's work load.


After dropping another stack just on the AN lines and high pressured brake lines (the ebay kit I received only had the fittings with no lines), the oiling kit was completed and I am pretty happy with the results.
 

87supramario

Member
Jul 15, 2011
213
0
16
Niagara falls
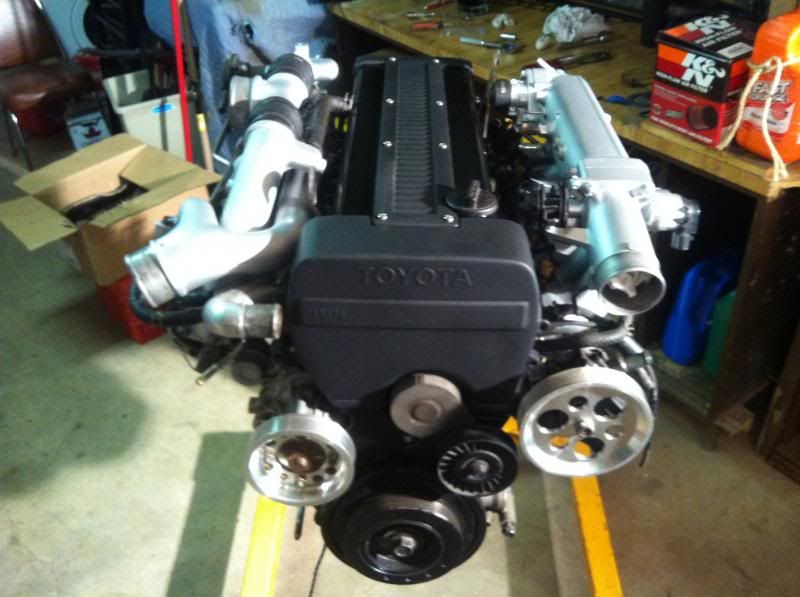
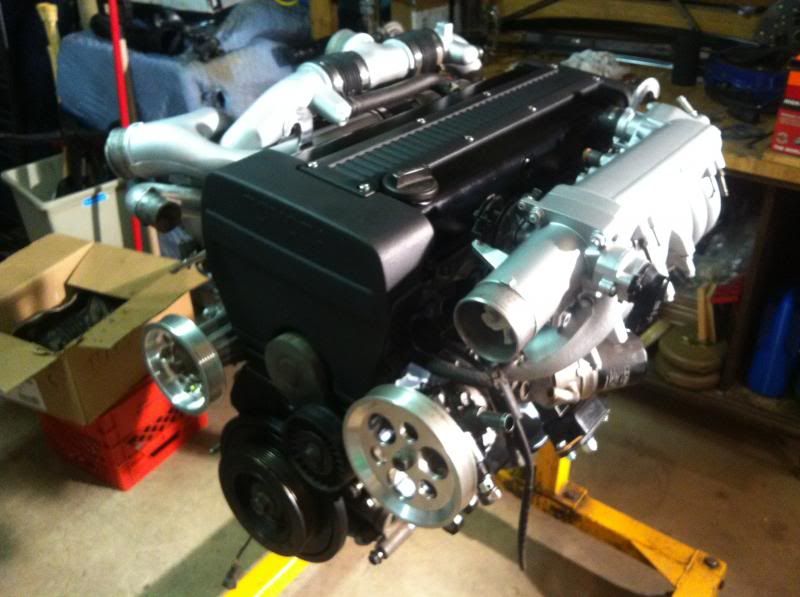
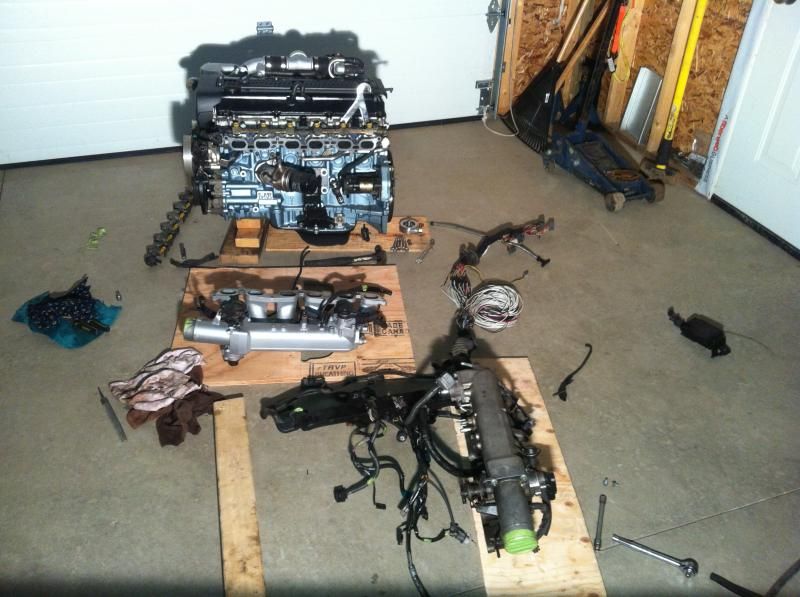
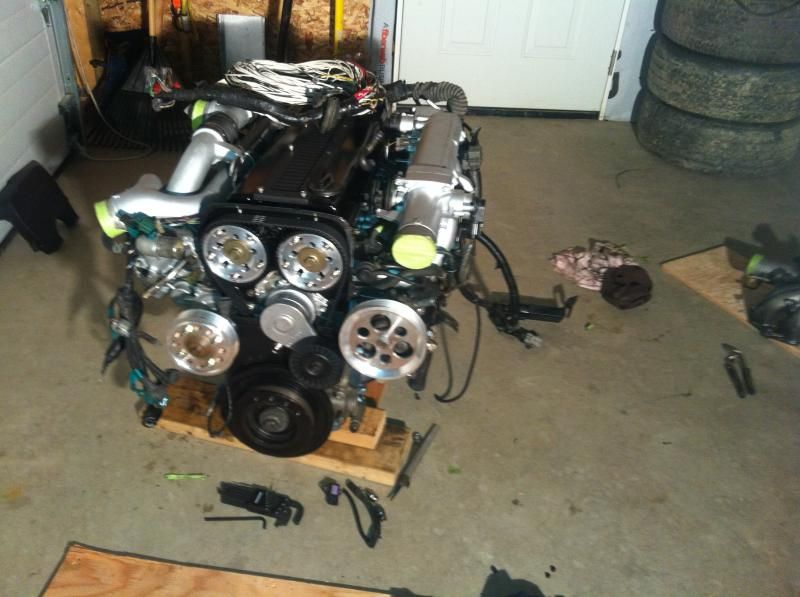
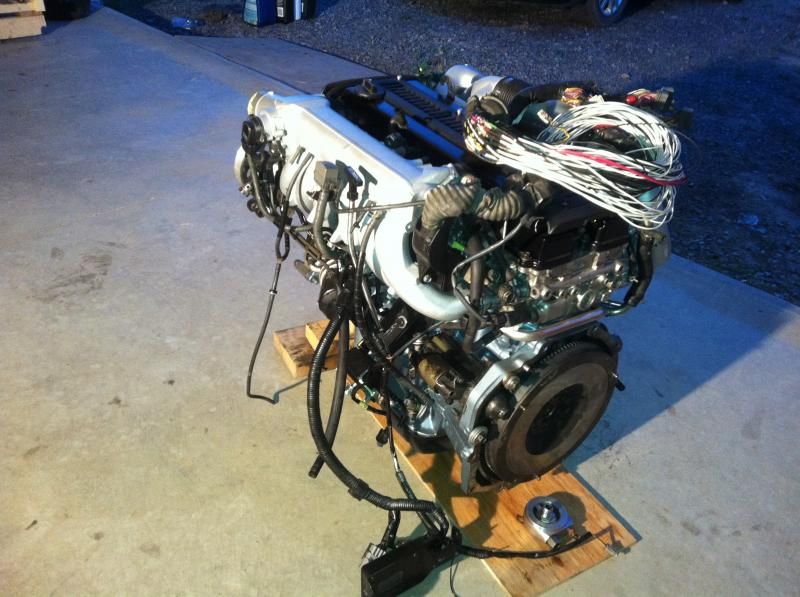
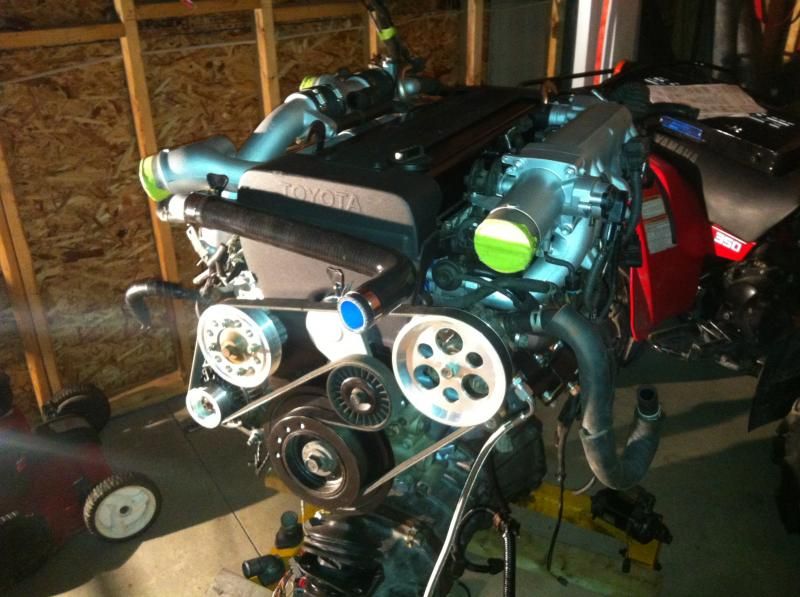
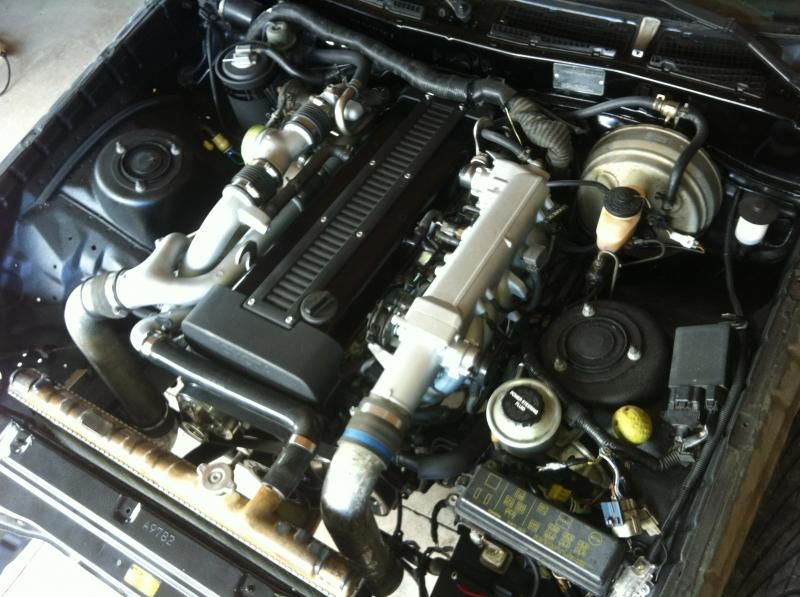
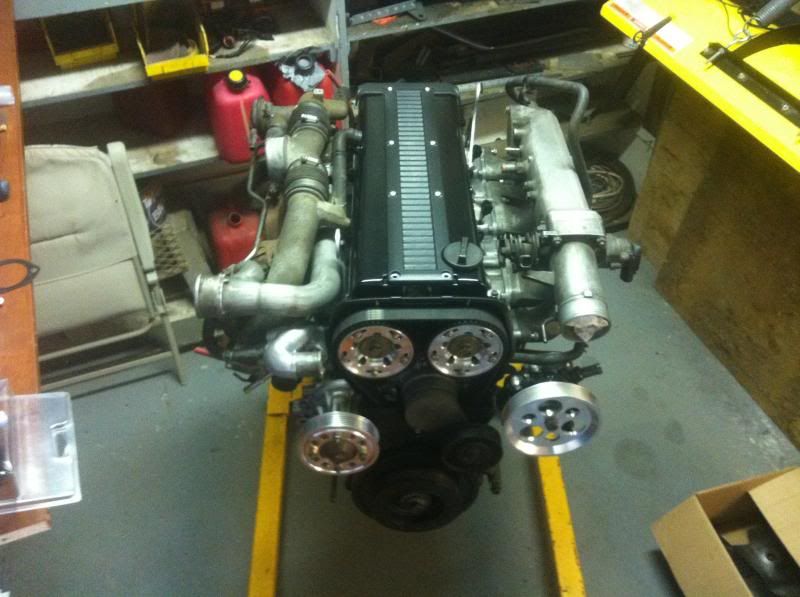
As for wiring, I've sourced a extended JZA70 harness from local who is a electrician by trade. He extended the harness himself using the best methods involving industrial shrink wrap, flux and sadder, all torche on. Came with a engine, full JZA70 HKS intercooler kit and a few other bits for a good trade. I've always wanted a 2JZ but I never thought it would happen like this.


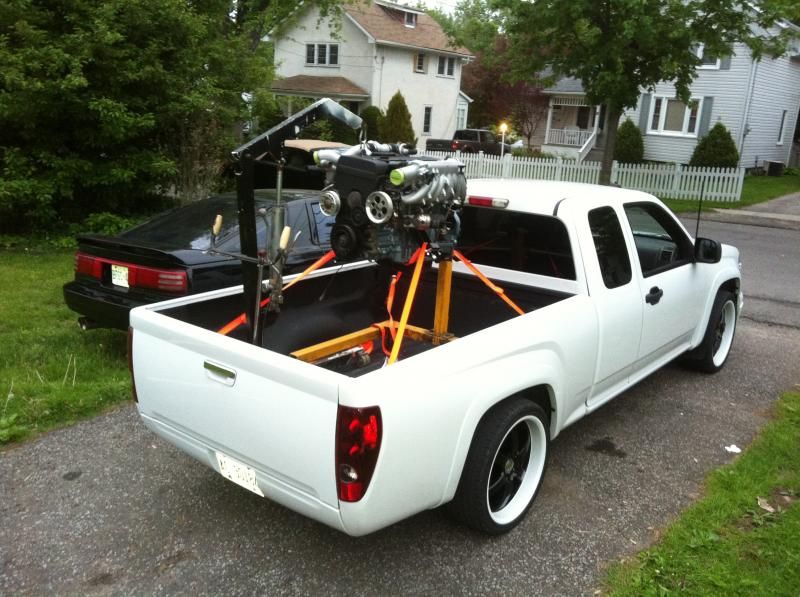
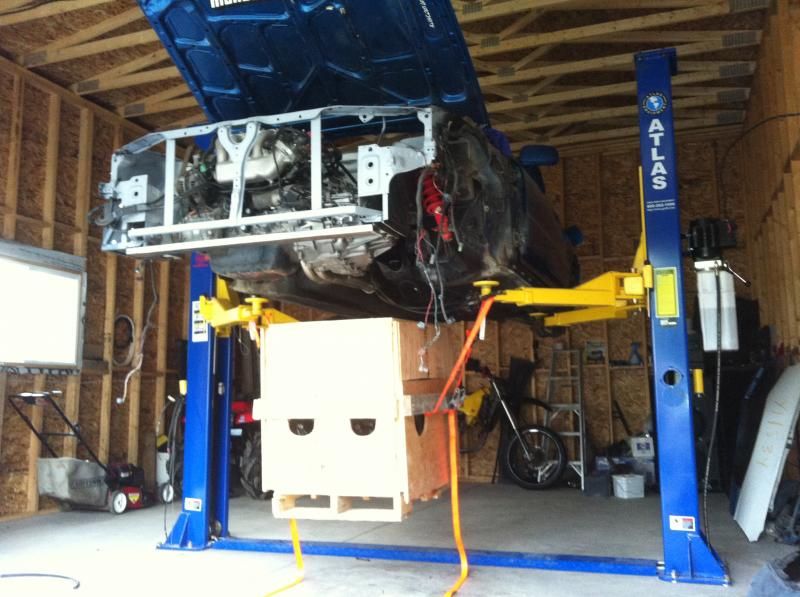
So before the swap happened, every thing had to be transported to my brother's place were the swap was taking place. We've caught a few locals turning their heads at the sight of this rolling in to town, including a BMW M3 owner who later did a ricer fly by after slowing down to take a better look at the hotside and the blacked out Toyota logo of this inline six haha.


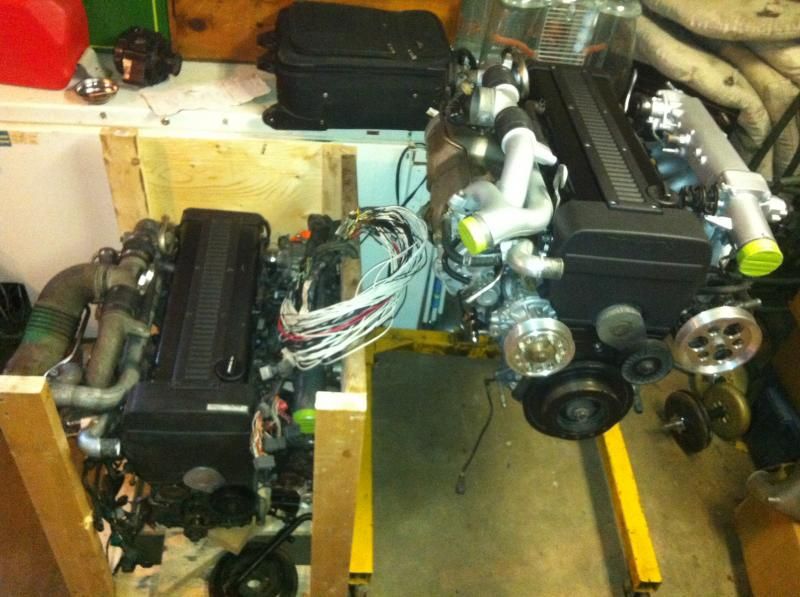
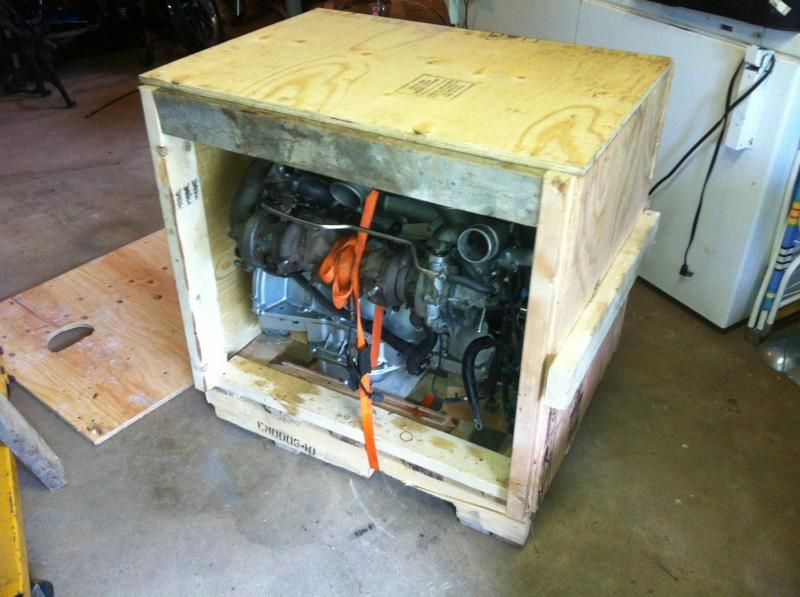
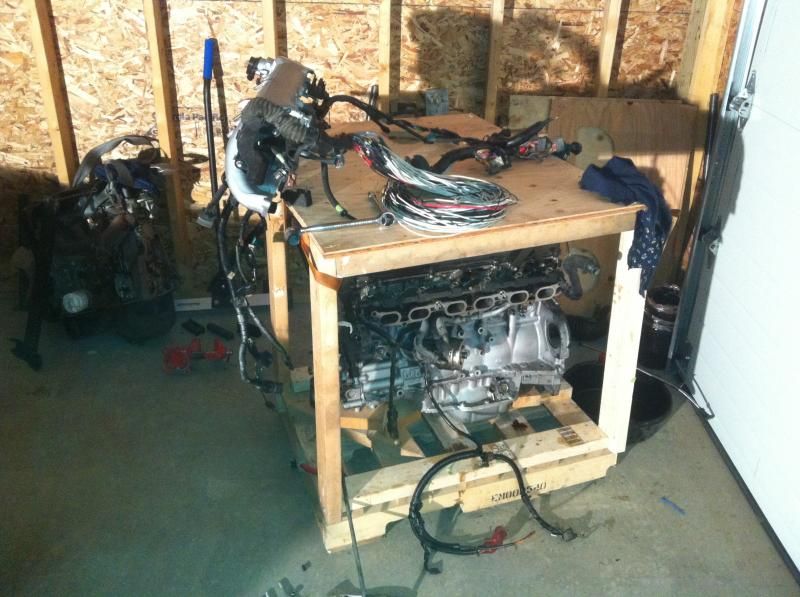
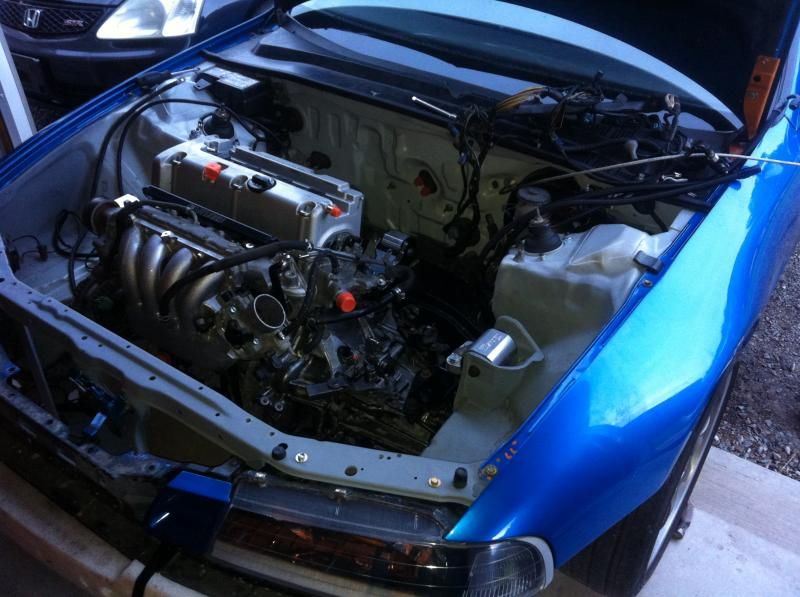
When I picked up the spare engine a few hours away, I had built a quick engine crate with scrap wood since the engine was going to be stored for a while before being picked and sold. It made handling very easy as well. It was hoisted down from the truck. On the hoist was my brother's K24 swapped 93' Honda Prelude, before it was later supercharged and tuned to 300whp. That swap was later removed to be reinstalled another 90 degrees counter-clockwise, mated with a Honda S2000 transmission for a rear wheel drive conversion just this past week. Motivation runs in the family. :)


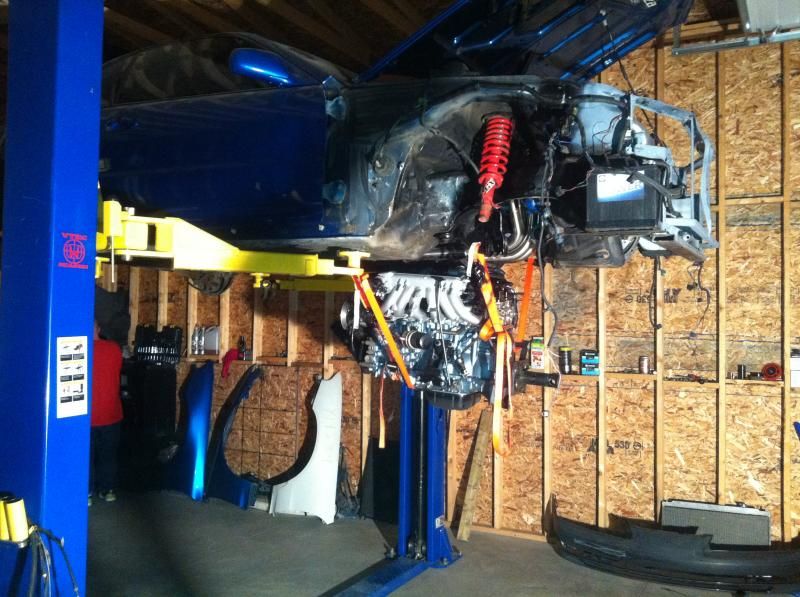
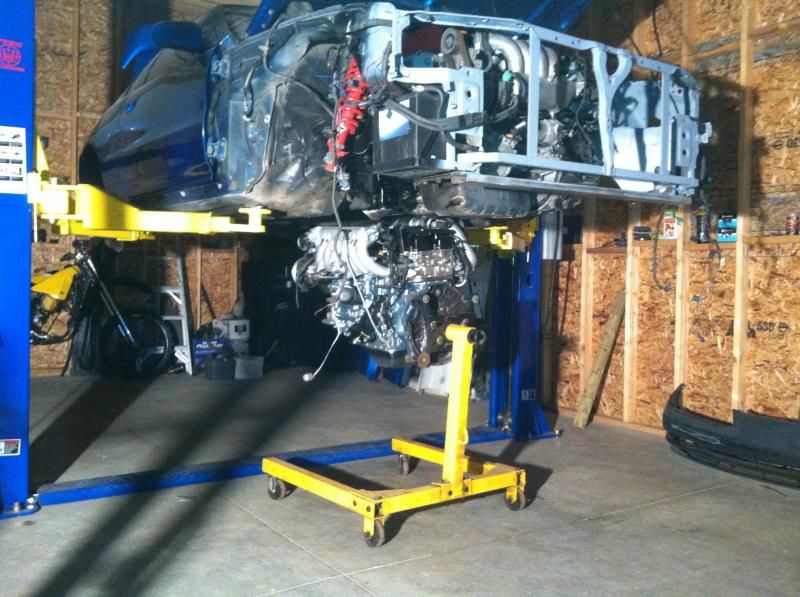
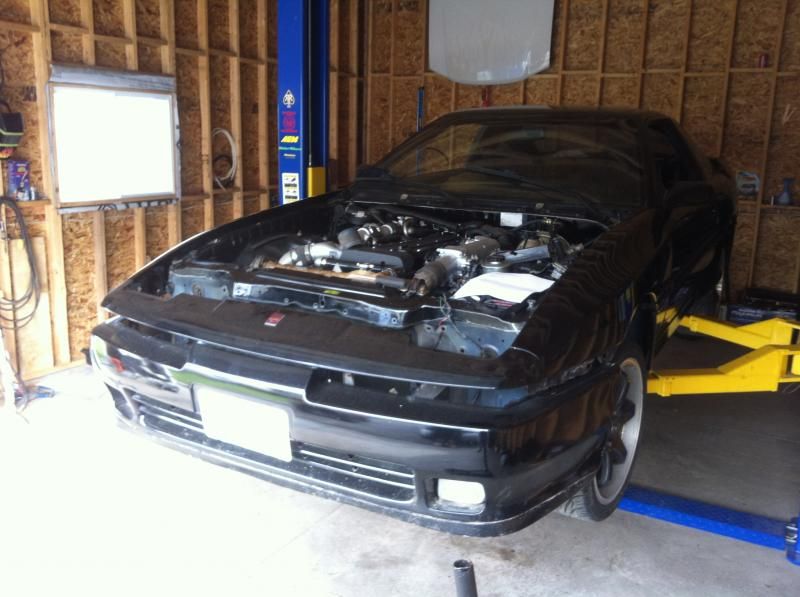
Engine ready to drop. At this point, this was all done in spring of 2014.
 

87supramario

Member
Jul 15, 2011
213
0
16
Niagara falls
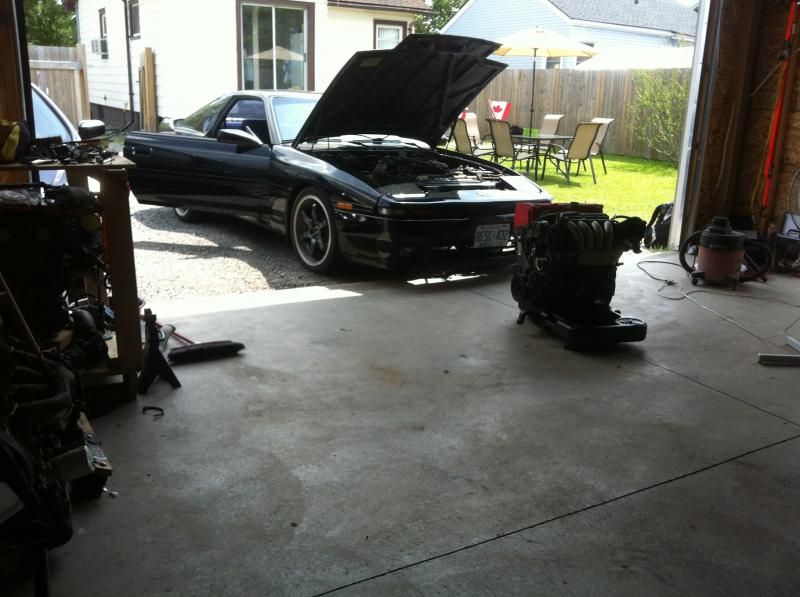
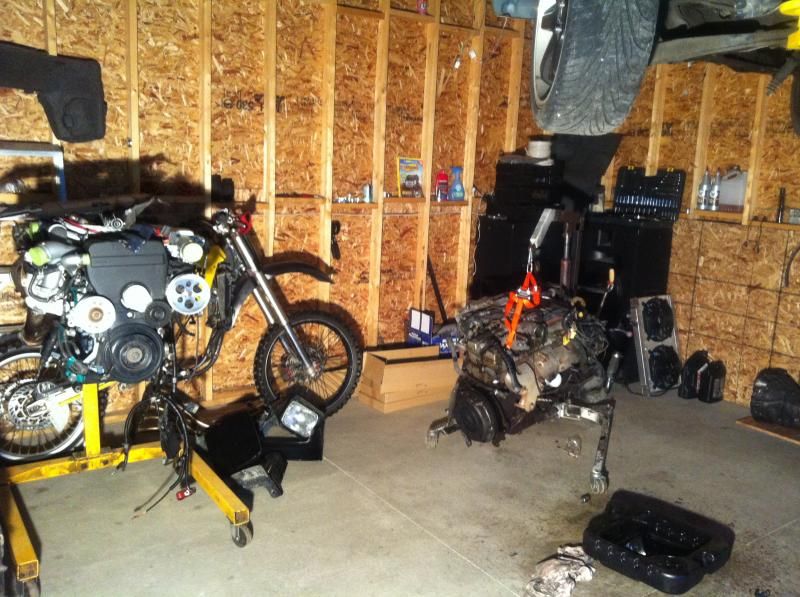
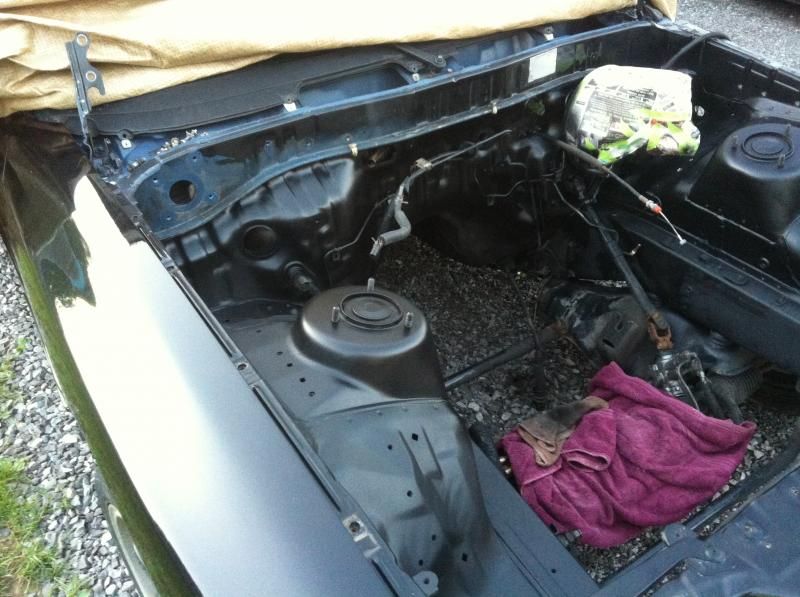
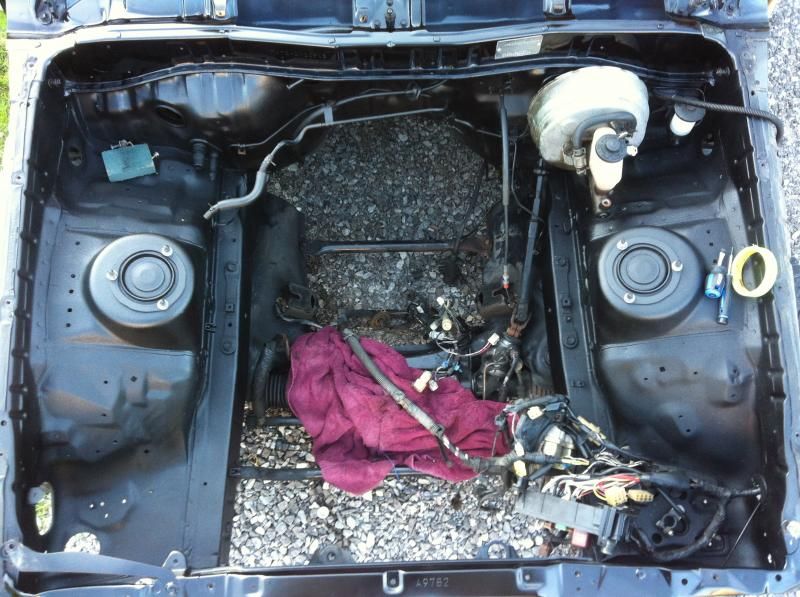
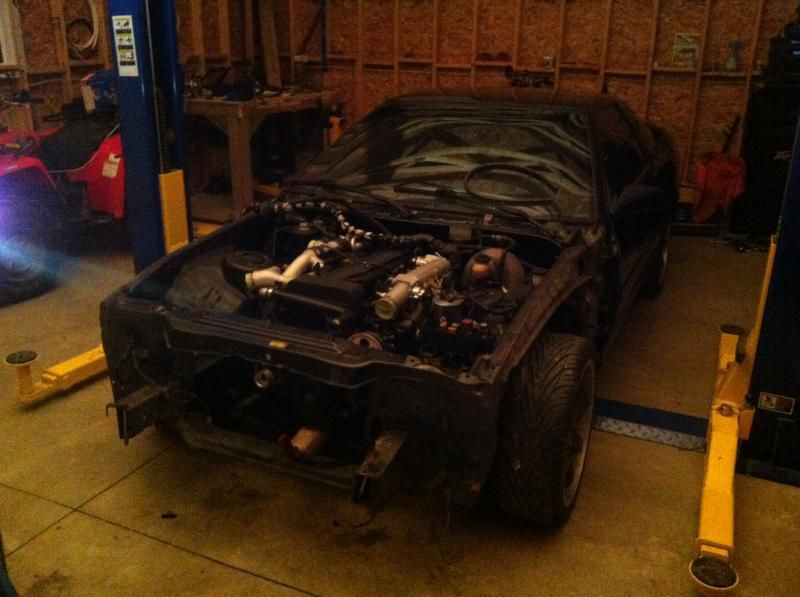
Here is where it all started getting dirty. A nice lovely shot before the first bolts where removed, with my brother's fresh spare K24 engine sitting pretty near my car. For those who didn't know, the K24A engine is the 2JZ for Honda.


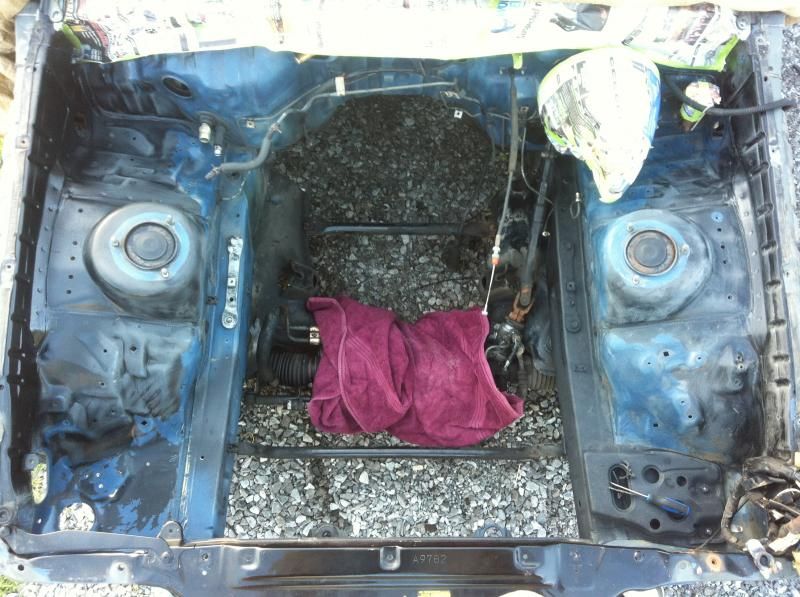
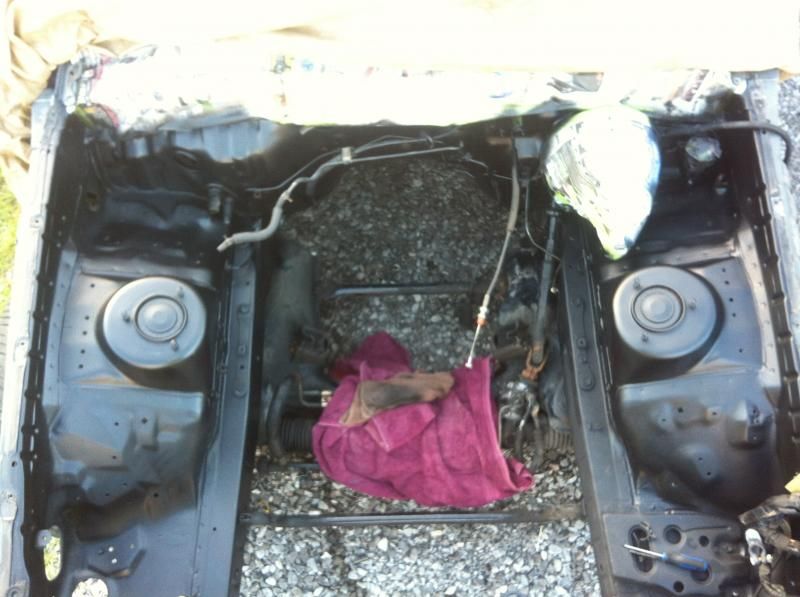
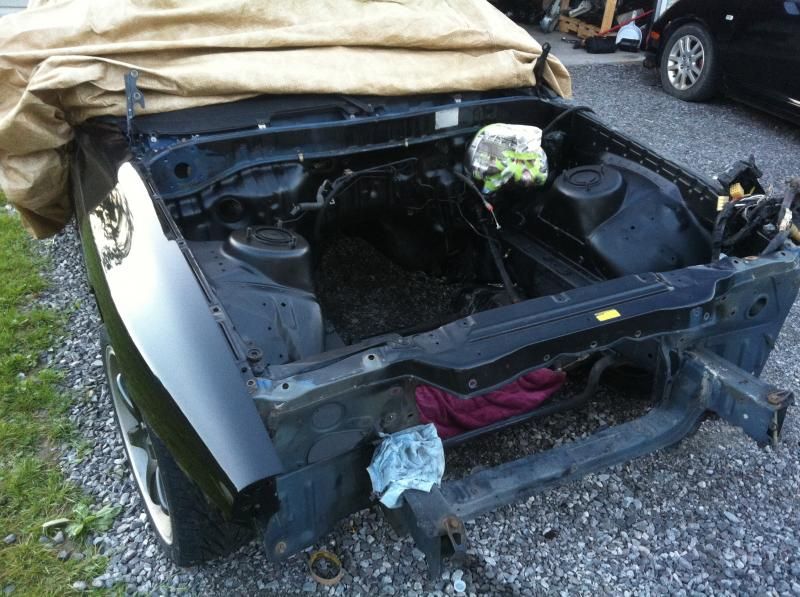
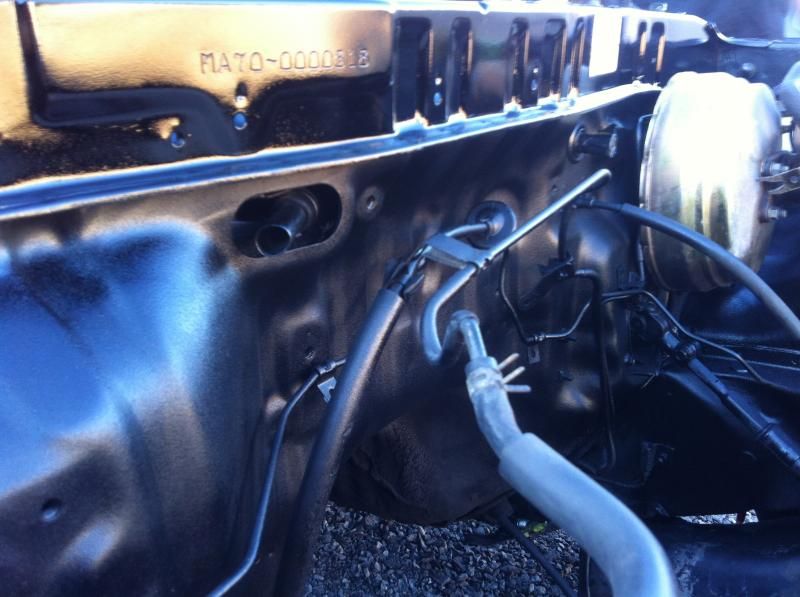
Above is the first layer done. Like I have previously planned a few pages back last year or so, the base layer is bedliner paint with a wrinkle texture. Next layer will be a Toyota 202 top coats for a gloss wrinkle factory finish.


Here you can see the difference in texture between the engine bay and the upper fire wall. Upper fire wall was not wrinkled.


The 7MGE was stripped from its factory engine harness for the body plugs and for the oil pressure sensor and it's wiring harness to be installed on the 1JZ to keep the factory NA oil pressure gauge in proper function. The 7M and the W58 were quickly sold for $100 to two locals who drove 4 hours to pick it up. Since then, the 250k KM 7MGE was installed in a MK2 Supra with GTE electronics and has occasionally seen 15psi of boost and it still runs healthy today, with recently installed new bearings. The old 7MGE usually sees around 10-12psi on the regular. The W58 was installed in a early 80's Toyota Cressida, behind a 7MGTE. You can see both cars in action at the end of this next video;

[video=youtube;fpm0PPK7dhU]http://www.youtube.com/watch?v=fpm0PPK7dhU[/video]

The Donn had installed a home made rev limiter with the 7MGE-T and has since blew out his cat converter.
 
Last edited:

87supramario

Member
Jul 15, 2011
213
0
16
Niagara falls


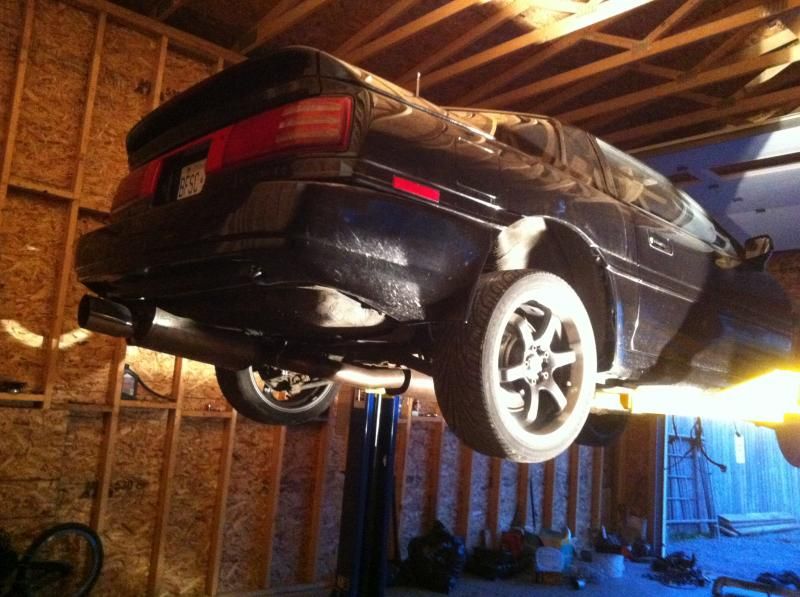
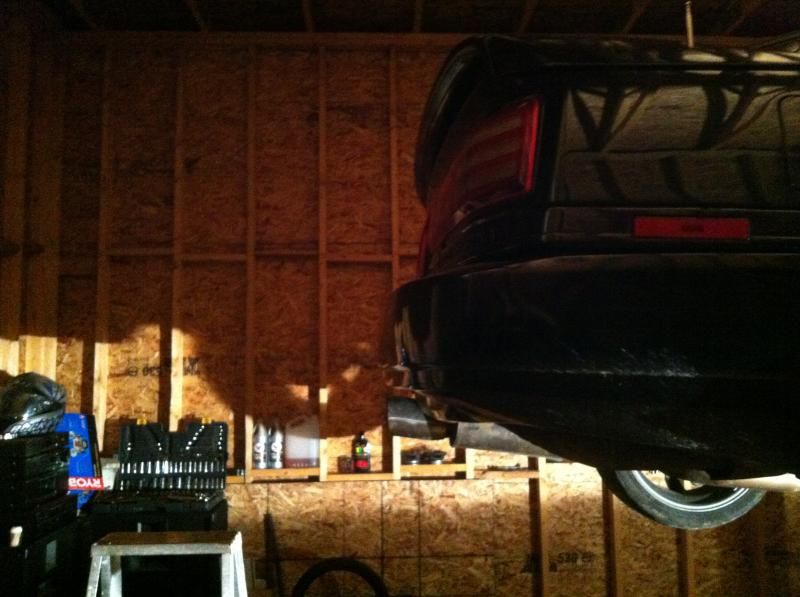
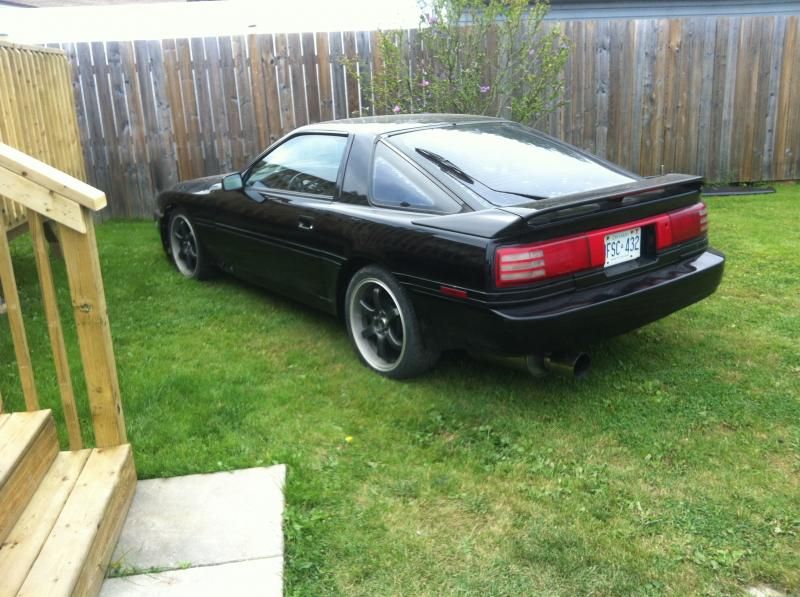
I couldn't be any happier with how well that exhaust sat. Here the single steel driveshaft was installed and as well as the engine and full 3" exhaust. Can somebody tell me what exhaust or muffler I have?

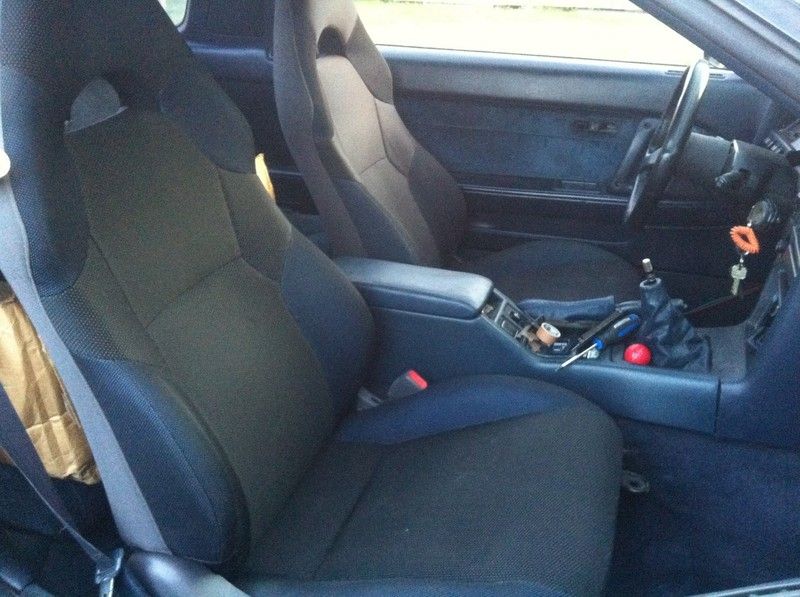
This engine swap was done August of last year, in 2014 and it did not start until August of this summer. Reason being is that I had to move out of town for school and didn't have enough time to prep it for the road. Once it did start, it wouldn't rev right until I had replaced the MAP sensor with a known working one. This summer I also had installed new seats from a 2002 Celica GT to replace my fadded blue seats, and this picture does a lot of justice on how great these seats look in person. They match the interior flawlessly and they are much lighter than factory!


This summer the old MSR wheels were sold and TT MKIV wheels where added, with new brakes, brand new MKIV TT lugs and all new rear studs replaced for the back wheels.
 
Last edited:

87supramario

Member
Jul 15, 2011
213
0
16
Niagara falls
So at some point this summer, I've noticed that my brake lights where all stuck on and they will not turn off, even with the key removed from the ignition. Does anybody know why this is?
 

akito

Keep Laughing.You're Next
Jul 31, 2006
1,568
0
0
Springfield/Va
Is that a pulsar? Just read through the thread and way to save that supra! Any more info on how you install those seats?
 

87supramario

Member
Jul 15, 2011
213
0
16
Niagara falls
Yep! It was set at 14psi and it was a well built car before my buddy sold it. They're pretty neat up close.

You would need to keep the MA70 seatbelt buckles from your factory seats and replace your Celica buckles with them. The factory Celica rails where used. 3 out of 4 Celica paws are positioned horizontally to bolt to the floor, and the last paw (rear center) is positioned vertically. I thought that this last paw was going to cost me some welding time until I had removed the factory MA70 seats and discovered a seat belt rail that was bolted to the tranny tunnel, and that threaded bolt hole was located near the area where the vertically positioned paws will be. Score!

Starting off with the front paws, they needed to be turned in to the right position so that the rings are center-lined with their seat rails. Turning the paws to the right position is done by drilling out their the tack weld, so that the paws could pivot around their pins to be adjusted just like MA70 front paws, to later be modified to drop in to MA70 factory position. The ring holes for the bolts where widened with a step bit only to position the bolts a little further forward, because the two holes on the MA70 floor are a little more spaced apart than the Celica holes by a 1/4" or less. So modifying the rings in the paws wider and turning the oval holes in the floor to circles did the trick. After doing this and hammering the paws to curl to the curvature of the floor, they will bolt up with the OEM bolts. Once they are bolted down nice and tight you can then start working at the exterior rear corners.

The rear outside corners where next. I've purchased some 5/8" thich x 1.5" x 1' steel plate to modify as adapter plates. Note that the plates made for both the passenger rear outside paw and the driver side rear outside paw will be identical. I figured this out the hard way lol. Fist drill a hole for your OEM bolt to drive through freely. After making sure your front paws are straight and tight, bolt the plate to the ground and run the plate under the Celica rear outside paw and use a marker to circle your next bolt hole. Drill that spot, cut 1/4" away from the bolt hole and try it out. Now while using a aftermarket nut & bolt with a lock washer (make sure to buy high grade bolts that can withhold extra torque for added safety) nut & bolt one end of the steel plate to the paws (removing the front bolts will make this easier) then bolt one end of the plate on the existing MA70 seat floor hole. At this point with the 3 horizontal paws bolted down, your seat should be sturdy enough for you to get a first feel of the seat height and look. Then you can simply duplicate this adapter plate to bolt on the other seat.

The final paw. This one is a bit of a pain because it needs to be bolted to a threaded MA70 bolt hole that is vertically positioned and there is no other option than the seatbelt rail holes that are located on your tranny tunnel. Similar to the last step, nut & bolt the rest of your steel plate to the paw and line it up with the MA70 hole and mark your new hole. With the help of spacers positioned between the steel plate and the tranny tunnel you will need to purchase a longer bolt to replace the OEM one that was originally used to fashion the said seatbelt rail that is no longer needed. Reminder, the location of the threaded MA70 tranny bolt holes are not mirrored to the other side of the tunnel, meaning you cannot simply copy the plate (like in step 2) you've made for one seat and use it for the other seat. They will be different lengths. The best bet for spacers is to use sleeved and hatted bolts and to find steel tubing with the perfect ID & OD to cut to length. That would be the cleanest solution for a fast car with a heavier driver to help prevent failure without having to modify the inside rails to be directly bolted to the floor.

The seats costed me $100 for the pair at any yard, spent a few bucks on high rated stainless hardware and steel plates, not to mention a few drill bits... The Celica seats don't have lumbar or heat, however they weigh I believe ~34lbs each vs. the MA70's 74lbs drivers seat alone. I never had the chance to weigh the factory MA70 passenger seat. I can't really post a total weight loss figure but almost half of the weight is gone. This took me about 4 hours because of drilling time mostly. The only stiff problem with this is that your seat rails may not be exactly perpendicular to each other, causing a friction or a lot of resistance to the front and back sliding motion of your seats. Other than the wish of using adjustable sway bar end links as spacers to free the sliding resistance I am very happy with the swap.
 

Beals

JZA70 TT-R
Feb 3, 2009
591
0
16
Alberta, Canada
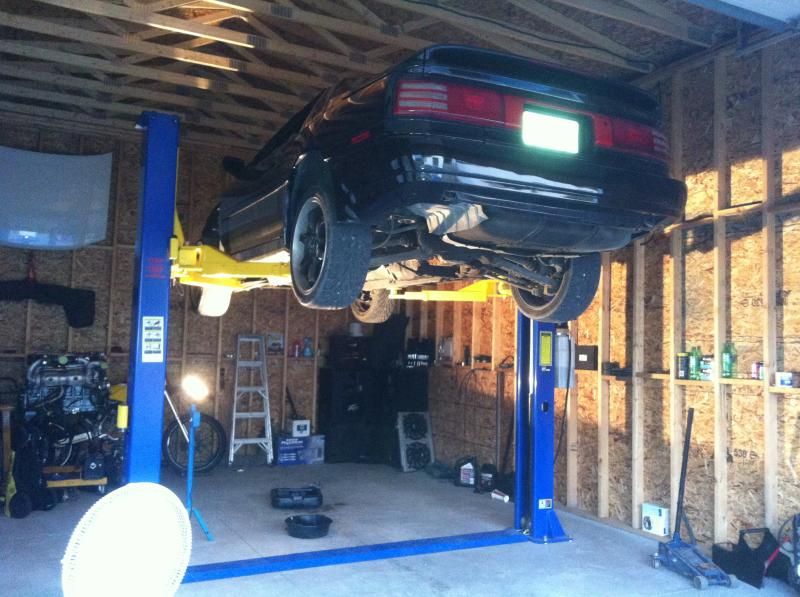
I must say I wish I had a lift like that in my garage haha and I would also be double taking that engine stand in the back of the truck. keep up the good work, I wish I made a more detailed build up of my car but I'm impatient for such things.
 

87supramario

Member
Jul 15, 2011
213
0
16
Niagara falls
Beals;2062209 said:
I must say I wish I had a lift like that in my garage haha and I would also be double taking that engine stand in the back of the truck. keep up the good work, I wish I made a more detailed build up of my car but I'm impatient for such things.

Thanks! I like your My brother who owns the hoist says the same thing about being too impatient to take pictures, but he deeply regrets it because he can barely remember dates as to when he did certain things. He only started documenting his swap when he did the Supercharged K24, now he is covering the whole process of his RWD conversion. Don't be lazy and live to regret it, just snap even one nice clean pic of the work and automatically you will remember the details that had happened prior to the picture. You got a very clean TT-R sir! A lot of Supras in Alberta?