Ok, the reason I did these Helicoils was because the bolts were spinning freely, and i didn't feel comfortable leaving it like that, only clamping on one side of the cap.
Yeah, this ain't your regular exhaust stud coil
Helicoiling your cam cap bolts
Step 0
We assume for space purposes that you have already gotten the crap off the top of the engine and are looking at your cams with or without the caps installed still.
Step 1
Remove the problem cap and drill out the hole. Before you drill take the little steel ring out of the hole, it's the thing that sits at the top and helps alight the cap. Use a 21/64th bit as said on the Helicoil box to drill.

Step 2
Use the tap provided in the kit and tap the hole. I used the blue shop towel to keep aluminum pieces from sticking to the oily surfaces in and around the cam journals. Small metal pieces here = super bad.

Close-up, albeit a shitty one.

Step 3
screw one coil onto the insertion device and screw it securely into the new hole. Once you reach the bottom, use a pik to break off the little tab at the bottom of the coil. A sharp strike with a hammer helps.
This pic is me screwing the coil in.

Step 4
Admire your handywork. Put the little alignment ring back in and tap with a hammer.

Step 5
Clean up any debris left in the cam area, and re-install the cam, followed by the caps. Begin torquing them down in the correct sequence.

Step 6
Realize that the other bolt you knew was stripping has completely stripped now. Take the cam caps back off in sequence and follow that with the removal of the cam. :icon_razz
Step 7
Repeat the first few steps, drilling, tapping, and coiling your second hole. Don't forget to break off that little tab after installing that coil!

Both holes, coiled and strong. Why did these 2m so close together, fail? WHo knows.

Step 8
Re-torque the cam caps again, after installing the cam. ***Be sure to place some toyota silicone along the sides of the front cam cap as illustrated in the tsrm. One strip along the whole side to help seal in the oil. THEN you can install the cap and begin torquing.***

Step 9
Install the cam seals. I put a light grease on it to slide it with ease over the cam.

Both seals installed. Make sure they are facing the correct way. The flat side is facing outward.

Step 10
Re-install the cam backing plate using all 6 of your brand new toyota anodized bolts :icon_razz Failing that, use your regular old bolts.

Step 11
Re-install the valvecovers. Be sure to put some silicon in the front corners by the first cap as illustrated in the tsrm to prevent oil leakage. Secure the covers with the new hexhead bolts you bought to prevent stripping the stoch ones.
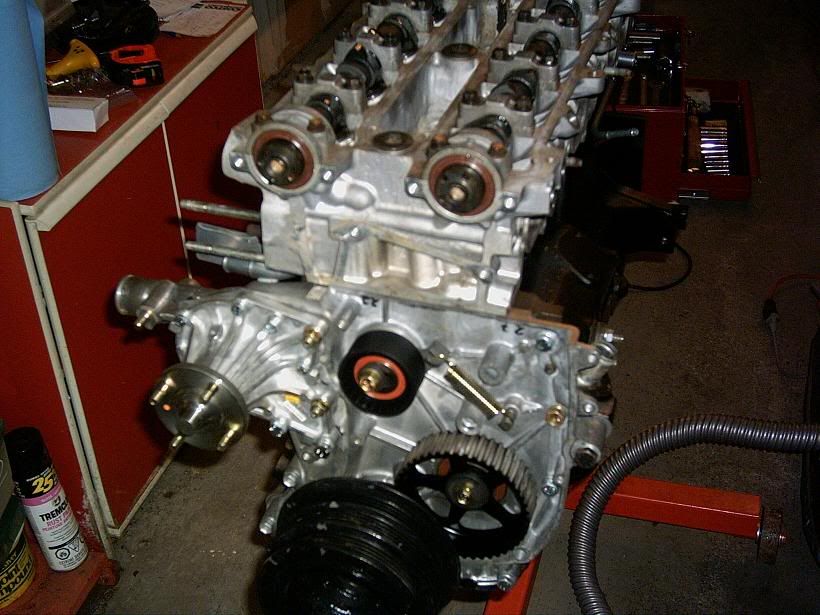
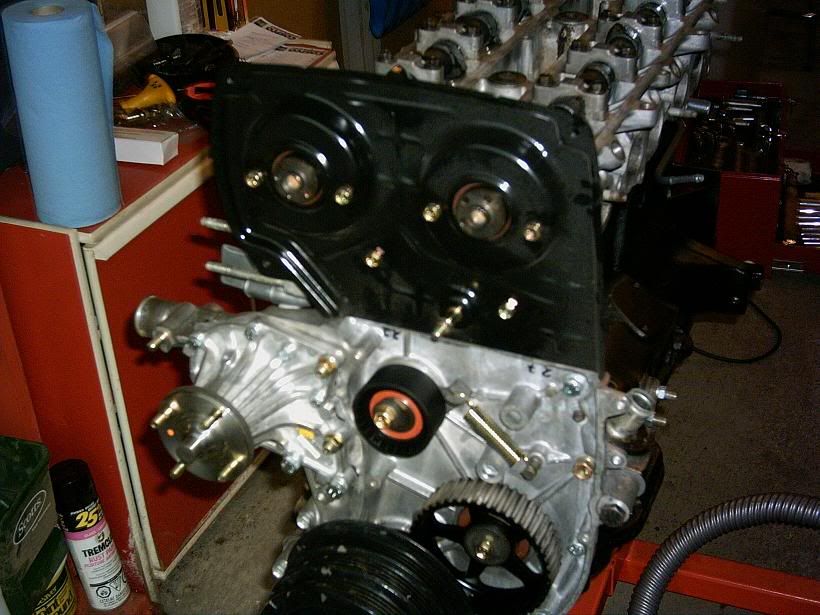
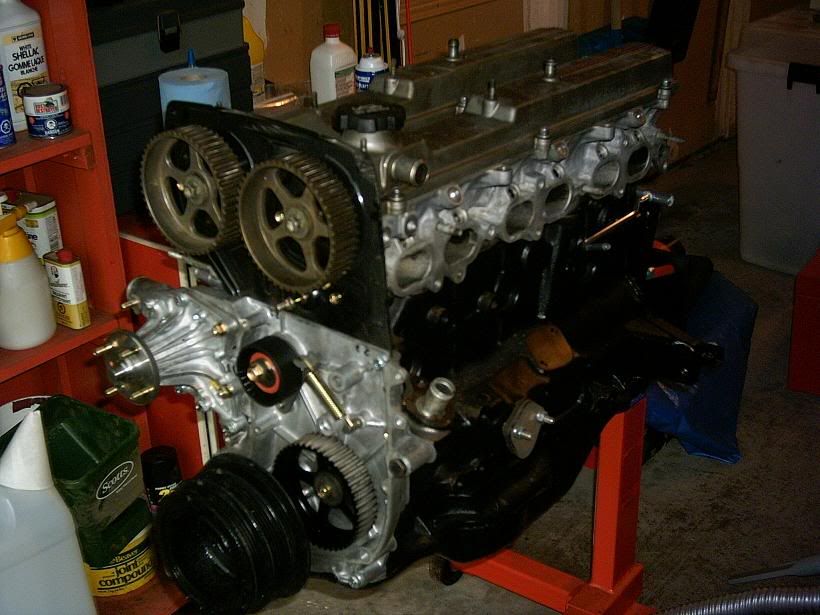
Install the cams and bolts. Take a picture of your engine for the soon to follow write-up.

Here's the kit I used

**Note of interrest: I had just picked up my idler pulley and spring today so those items which are visible are brand new also! I love finally getting them. the idler I got for $80 and the spring was $10. Those prices were why I hadn't done it sooner.
eric
Yeah, this ain't your regular exhaust stud coil
Helicoiling your cam cap bolts
Step 0
We assume for space purposes that you have already gotten the crap off the top of the engine and are looking at your cams with or without the caps installed still.
Step 1
Remove the problem cap and drill out the hole. Before you drill take the little steel ring out of the hole, it's the thing that sits at the top and helps alight the cap. Use a 21/64th bit as said on the Helicoil box to drill.

Step 2
Use the tap provided in the kit and tap the hole. I used the blue shop towel to keep aluminum pieces from sticking to the oily surfaces in and around the cam journals. Small metal pieces here = super bad.

Close-up, albeit a shitty one.

Step 3
screw one coil onto the insertion device and screw it securely into the new hole. Once you reach the bottom, use a pik to break off the little tab at the bottom of the coil. A sharp strike with a hammer helps.
This pic is me screwing the coil in.

Step 4
Admire your handywork. Put the little alignment ring back in and tap with a hammer.

Step 5
Clean up any debris left in the cam area, and re-install the cam, followed by the caps. Begin torquing them down in the correct sequence.

Step 6
Realize that the other bolt you knew was stripping has completely stripped now. Take the cam caps back off in sequence and follow that with the removal of the cam. :icon_razz
Step 7
Repeat the first few steps, drilling, tapping, and coiling your second hole. Don't forget to break off that little tab after installing that coil!

Both holes, coiled and strong. Why did these 2m so close together, fail? WHo knows.

Step 8
Re-torque the cam caps again, after installing the cam. ***Be sure to place some toyota silicone along the sides of the front cam cap as illustrated in the tsrm. One strip along the whole side to help seal in the oil. THEN you can install the cap and begin torquing.***

Step 9
Install the cam seals. I put a light grease on it to slide it with ease over the cam.

Both seals installed. Make sure they are facing the correct way. The flat side is facing outward.

Step 10
Re-install the cam backing plate using all 6 of your brand new toyota anodized bolts :icon_razz Failing that, use your regular old bolts.

Step 11
Re-install the valvecovers. Be sure to put some silicon in the front corners by the first cap as illustrated in the tsrm to prevent oil leakage. Secure the covers with the new hexhead bolts you bought to prevent stripping the stoch ones.
Install the cams and bolts. Take a picture of your engine for the soon to follow write-up.

Here's the kit I used

**Note of interrest: I had just picked up my idler pulley and spring today so those items which are visible are brand new also! I love finally getting them. the idler I got for $80 and the spring was $10. Those prices were why I hadn't done it sooner.
eric
