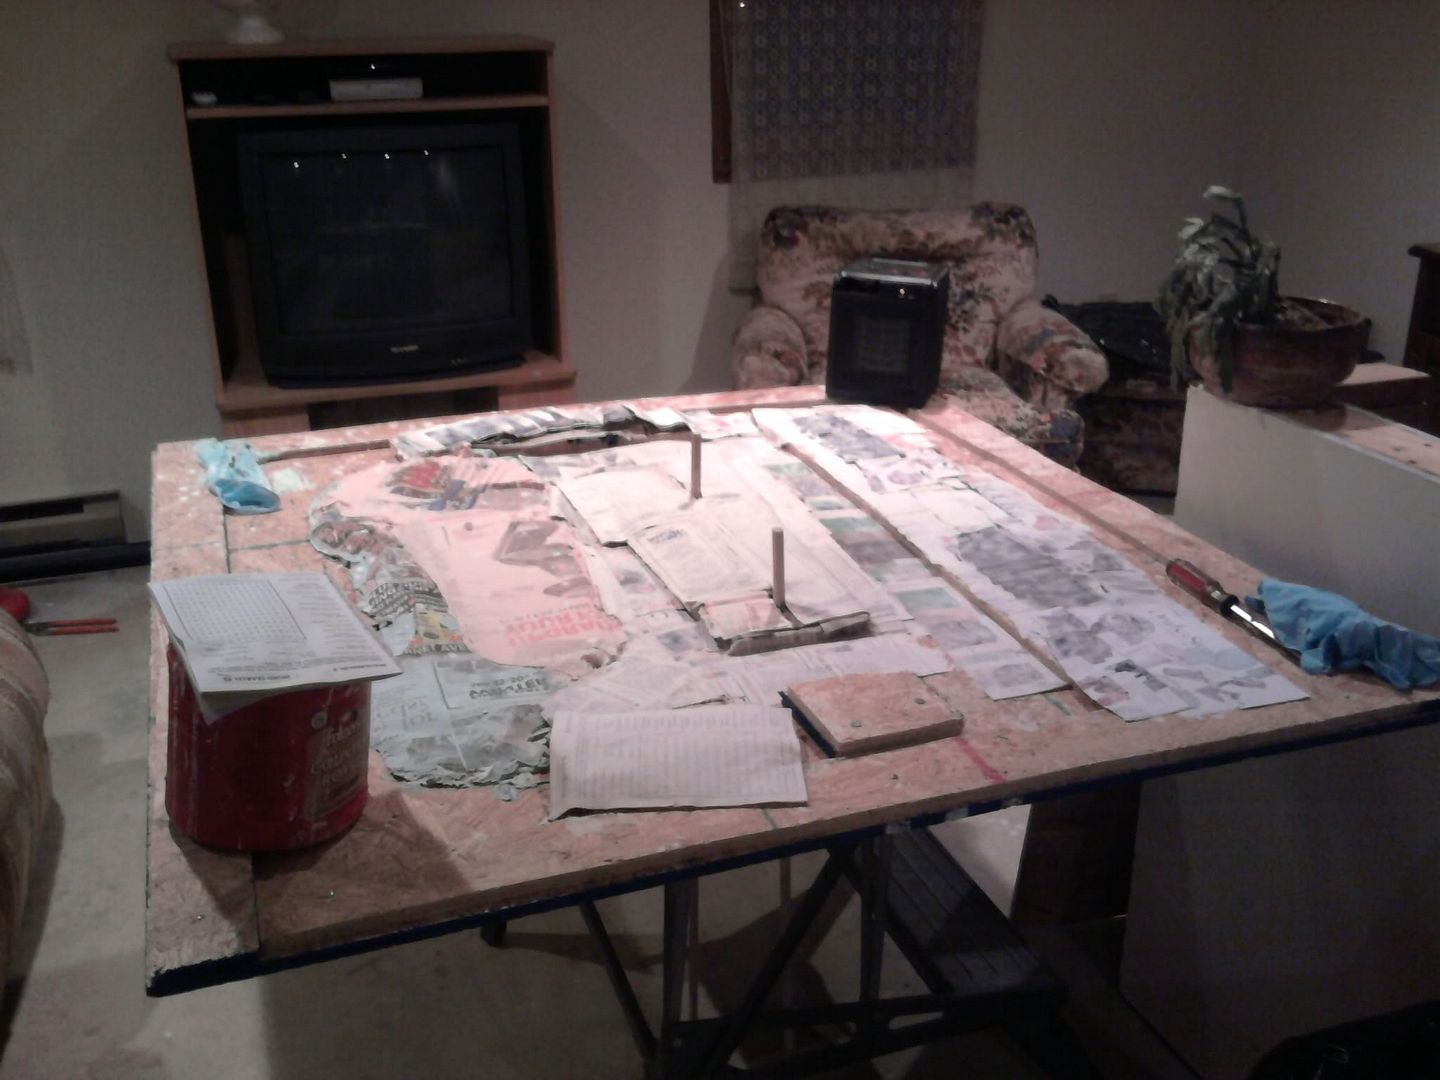
Here's the picture I didn't upload of the paper mache stuff:

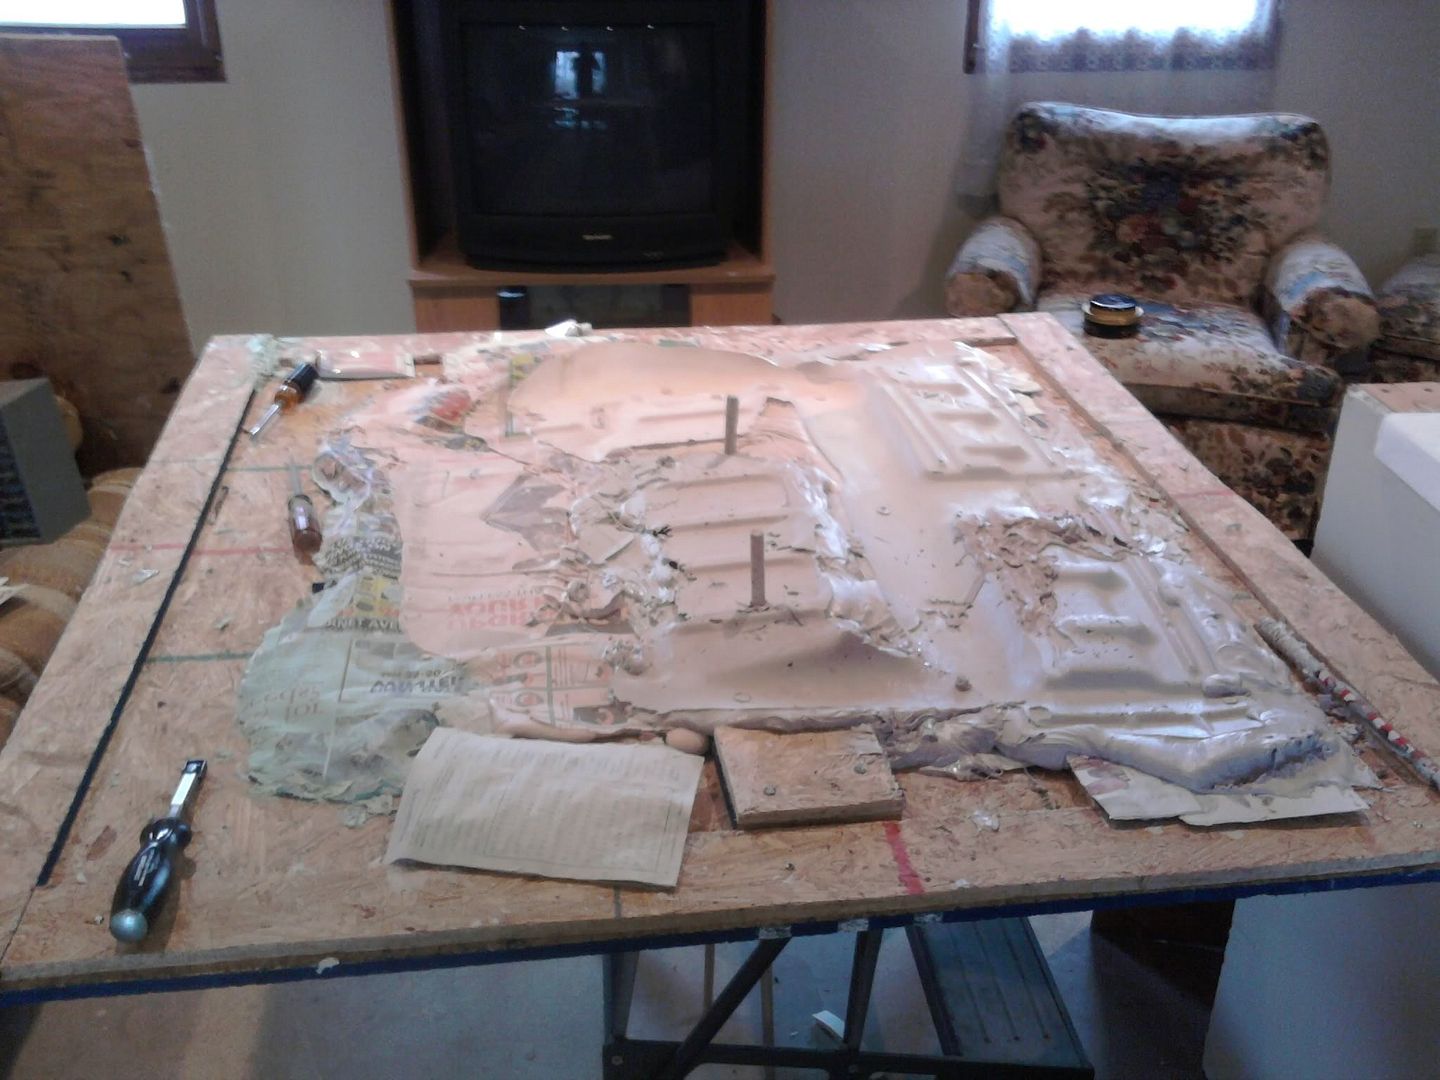
Here's what I did this weekend:

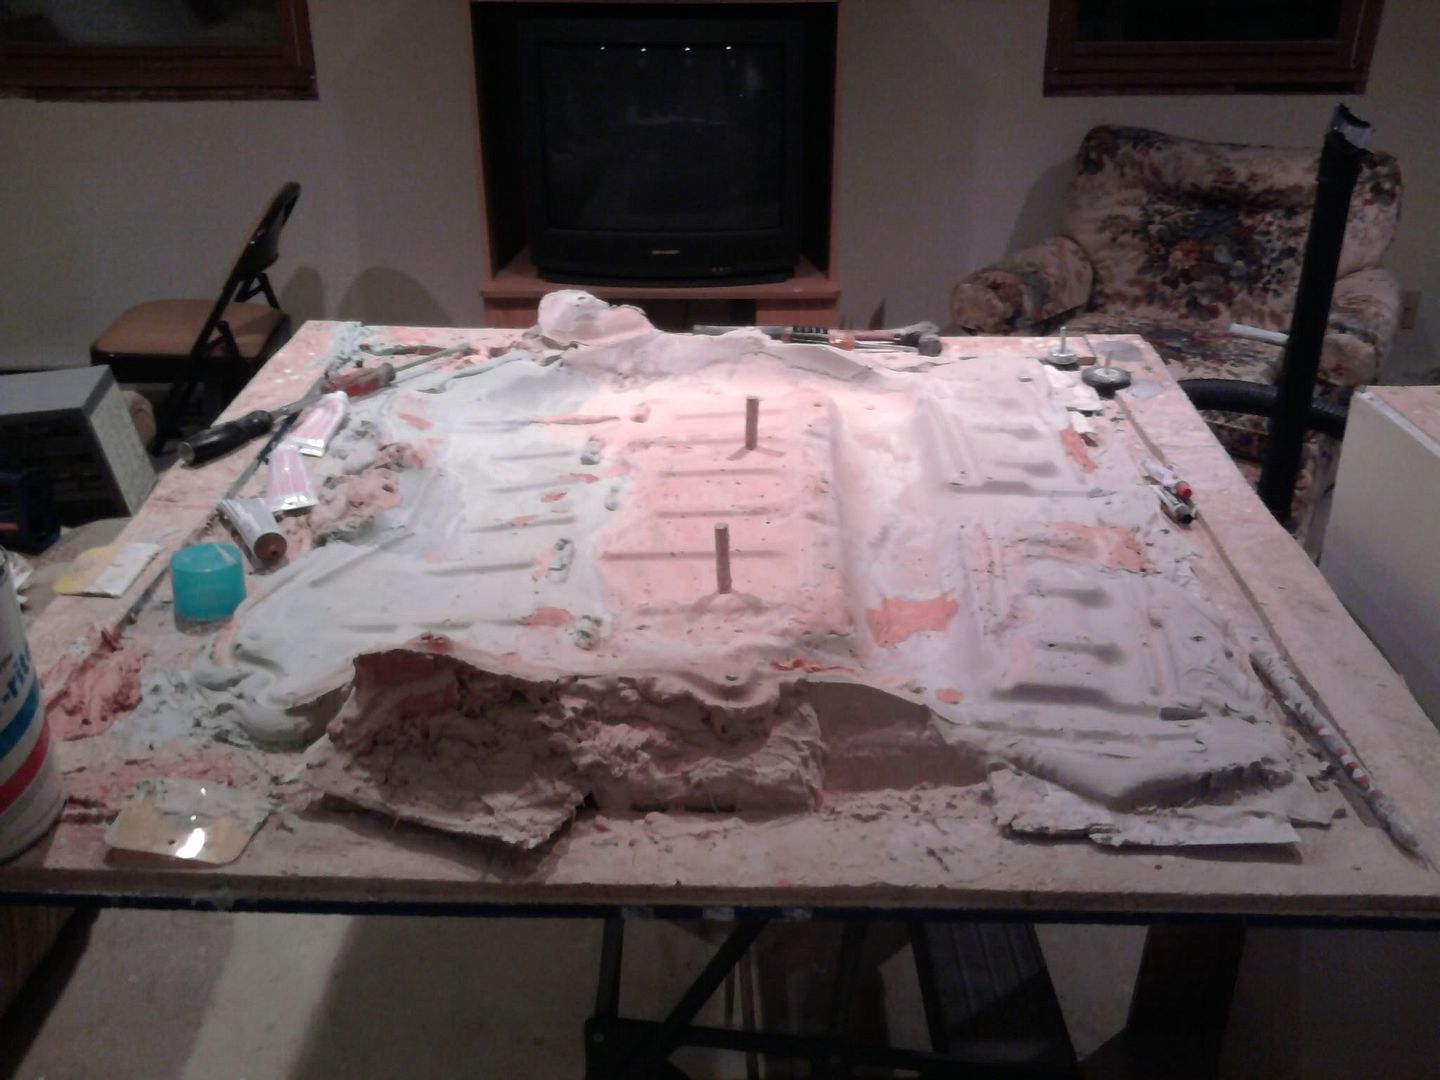
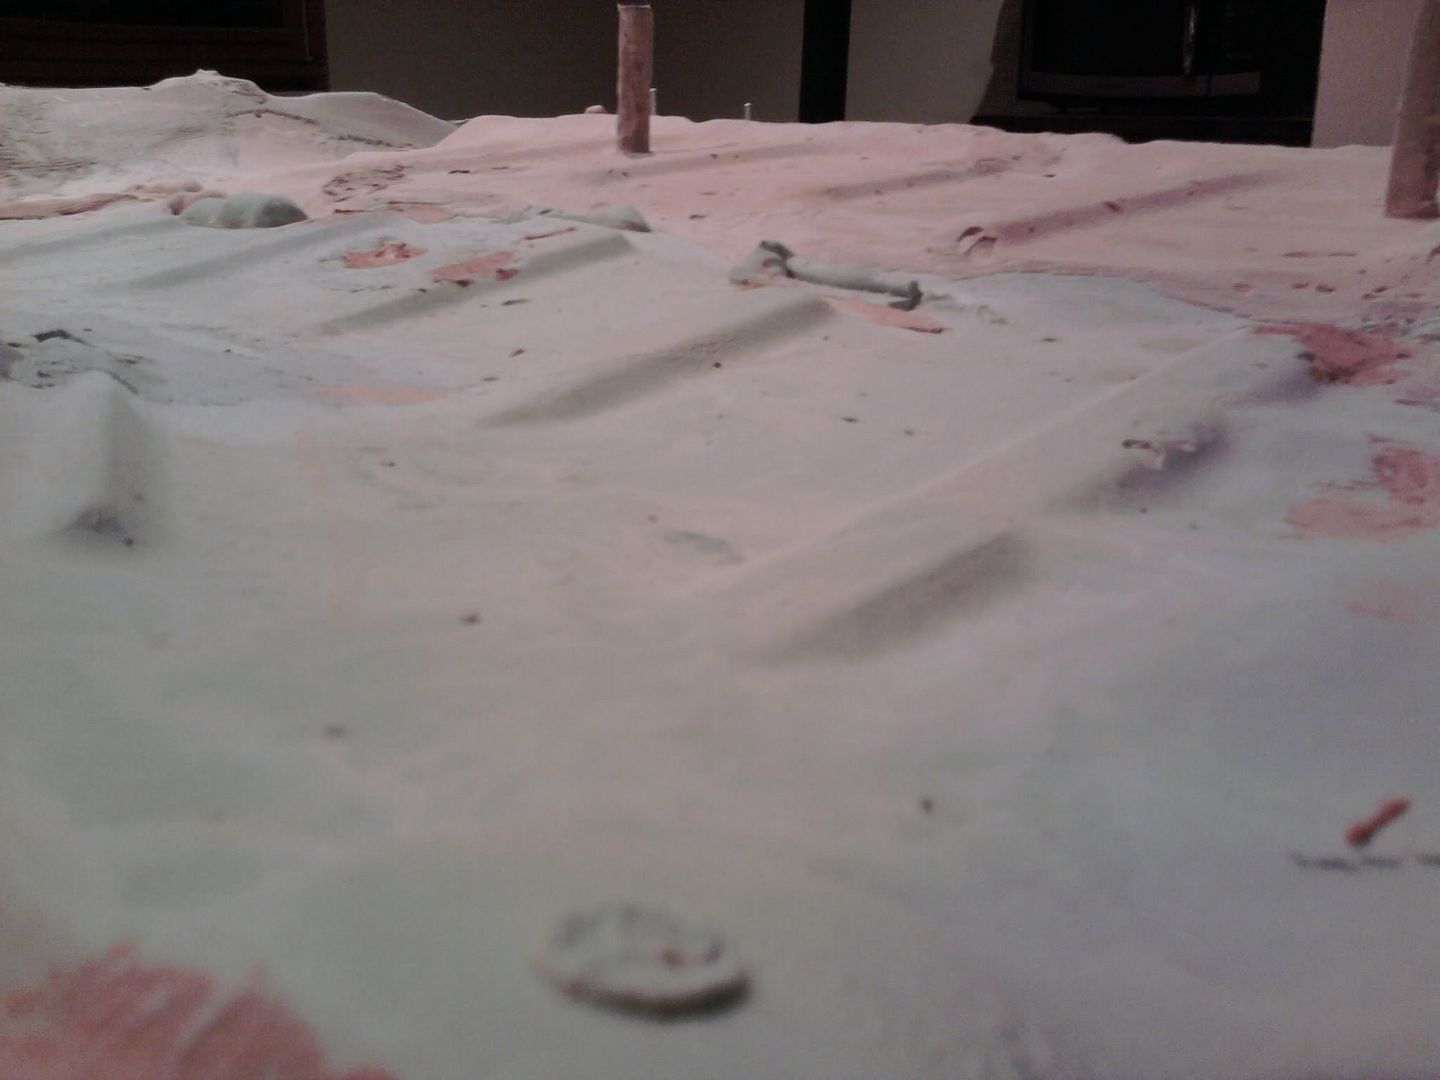
As you can see it's almost done, I need to touch up some areas and put in more filler, and sand down some other areas for smoother transitions. Laying down filler next to dried filler creates a 2 mm step or so that I need to sand down, but that's not too bad.
The splotch over on the right needs to be touched up, the high point in the center of the piece needs to be done, and the left-ish needs to be touched up with more filler so it's consistent. Tiny holes will be filled in once the entire piece is laid down to my satisfaction. Then the flappy ears, which shouldn't take long at all once everything else is done.
I've been using a little chisel while the filler is still hardening to chip away the edges of the mold, and also expand the area around the bolt holes that are prone to breaking.
Taking longer than I expected but I'm trying a different process now which is turning out a lot better!

Here's what I did this weekend:

As you can see it's almost done, I need to touch up some areas and put in more filler, and sand down some other areas for smoother transitions. Laying down filler next to dried filler creates a 2 mm step or so that I need to sand down, but that's not too bad.
The splotch over on the right needs to be touched up, the high point in the center of the piece needs to be done, and the left-ish needs to be touched up with more filler so it's consistent. Tiny holes will be filled in once the entire piece is laid down to my satisfaction. Then the flappy ears, which shouldn't take long at all once everything else is done.
I've been using a little chisel while the filler is still hardening to chip away the edges of the mold, and also expand the area around the bolt holes that are prone to breaking.
Taking longer than I expected but I'm trying a different process now which is turning out a lot better!


