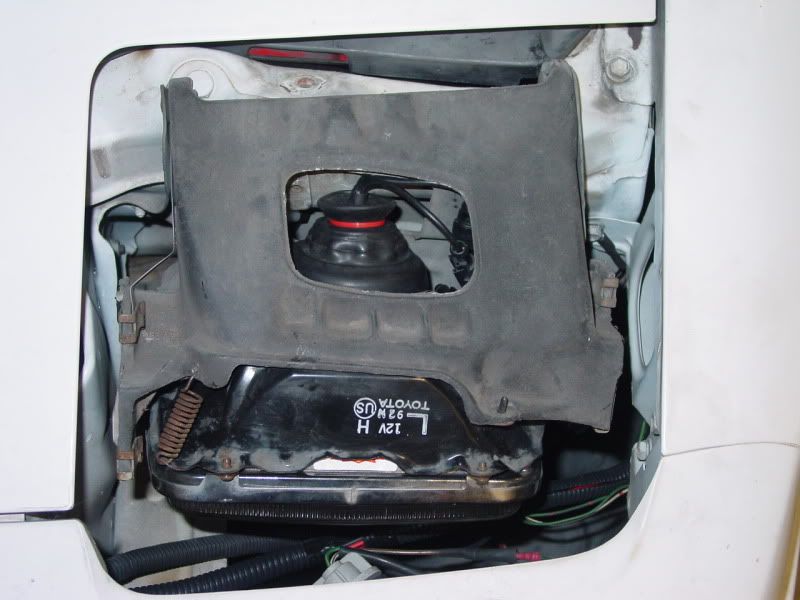
I also post this setup on Hidplanet forum
After driving this car for 17 years, now it's time to improve its lightning. Completed
LED all around. Now I'm upgrading the car main lightning system, the headlight from halogen seal beam to HID.
Problem: it's a 80's retractable 7x6 with a very limited room to work without altering the light mounting assembly (cutting radiator support bracket).
Part: Projector and bulb are from TRS
- Projector: Morimoto Mini D2S
- Bulb: Morimoto D2H (D2S) will NOT fit without cutting radiator support.
- Ballast: DDM slim digital 35W. (DDM is 5 min from my place)
- Headlight housing: Pilot WI-HL11 $10 at Big Lot few years back.
- Shroud: Home Depot bathtub shroud ring
- Harness: Dual relay custom made.
- Mounting Disk: 1.5" Chrome lavatory pipe cover from Home Depot.
Total Cost: Around 200.
Goal if the result is better than factory seal beam, I'll be darn happy. I pick DDM simply because it's cheaper. DDM offer good warranty and I live 5 min from their HB office. To me, the quality of the product is ONLY good if the company that make/sell it stand behind its products.
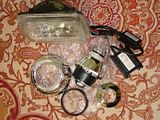
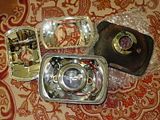
HL Housing, Projector, Ballast, Chrome mounting disk, Apollo Shroud, and Shroud Centric Ring. Apollo Shroud and Shroud Centric ring are not use because it's too big for the HL housing.
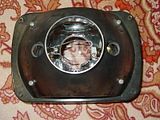
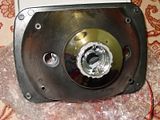
HL Housing from behind.
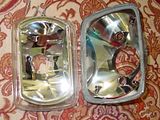
Heat oven to 300F turn OFF, bake for 8-10 minutes and this is what it look like.
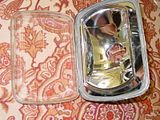
This particular housing also have a reflector bow inside. There are 2 holes for "city light"
---------- Post added at 09:54 AM ---------- Previous post was at 09:52 AM ----------
I have to grind down the 2 "city light" holes for the projector screw to "sit" on. The HL housing has a 3" opening on the back so I don't have to do any cutting on the housing.
Test fit the projector using 1.5" lavatory chrome pipe cover.
Have to cut the reflector bow.
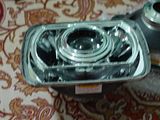
Test fit with the "Bath Shroud"

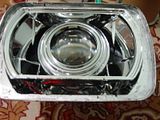
---------- Post added at 09:54 AM ---------- Previous post was at 09:54 AM ----------
Because the Mini D2S is open, so I need to block the light from hitting the reflector bow.
Using 3" tube from my wife craft ribbon roll (craft store ..)
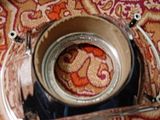
With light blocking tube.
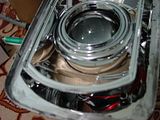
Cover the tube 5 layers inside (projector) and 3 layer outside (reflector bow) with 3M aluminum tape.
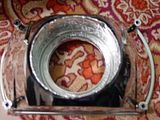
Light blocking tube cover with 3M aluminum tape.

Put it all together
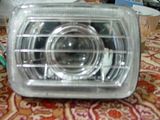
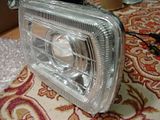
Using original boot cover from the light housing.
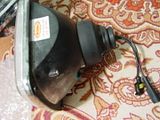
---------- Post added at 09:57 AM ---------- Previous post was at 09:54 AM ----------
In the car. Again, there is no modification to the HL mounting assembly.
Head light UP (looking down)
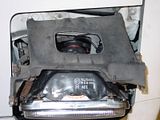
Headlight DOWN (looking down)
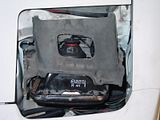
Headlight DOWN (looking in front)
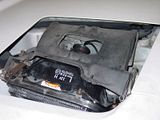
Wires/cables are all clear from retractable mechanism.
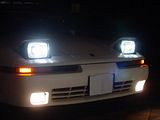
Completed.
Light not ON
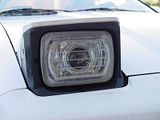
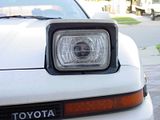
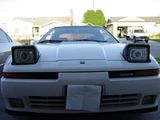
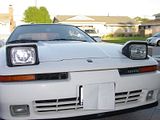
Is it getting dark here?
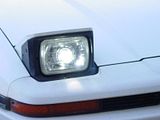
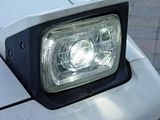
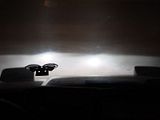
In driver seat wall shot
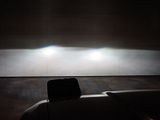
Out driver door wall shot
This is how I setup my relay harness to switch on the light.
Using 2 relays. One use to switch Negative (-) and one to switch Positive (+) from the battery.
The relay that switch (-) is turn on by marker light. So the HL will NOT turn on if marker light is NOT on.
The relay that switch (+) turn on by the Common + wire. This car is H4 GROUND switch. When the light stack turn to Low Beam OR High Beam, it switched both the common + and LB Ground or HB Ground.
Bi-xeon selenoid is connect to Common + and HB Ground.
Ok I'm happy with the outcome.
After driving this car for 17 years, now it's time to improve its lightning. Completed
LED all around. Now I'm upgrading the car main lightning system, the headlight from halogen seal beam to HID.
Problem: it's a 80's retractable 7x6 with a very limited room to work without altering the light mounting assembly (cutting radiator support bracket).
Part: Projector and bulb are from TRS
- Projector: Morimoto Mini D2S
- Bulb: Morimoto D2H (D2S) will NOT fit without cutting radiator support.
- Ballast: DDM slim digital 35W. (DDM is 5 min from my place)
- Headlight housing: Pilot WI-HL11 $10 at Big Lot few years back.
- Shroud: Home Depot bathtub shroud ring
- Harness: Dual relay custom made.
- Mounting Disk: 1.5" Chrome lavatory pipe cover
Total Cost: Around 200.
Goal if the result is better than factory seal beam, I'll be darn happy. I pick DDM simply because it's cheaper. DDM offer good warranty and I live 5 min from their HB office. To me, the quality of the product is ONLY good if the company that make/sell it stand behind its products.
HL Housing, Projector, Ballast, Chrome mounting disk, Apollo Shroud, and Shroud Centric Ring. Apollo Shroud and Shroud Centric ring are not use because it's too big for the HL housing.

HL Housing from behind.

Heat oven to 300F turn OFF, bake for 8-10 minutes and this is what it look like.

This particular housing also have a reflector bow inside. There are 2 holes for "city light"

---------- Post added at 09:54 AM ---------- Previous post was at 09:52 AM ----------
I have to grind down the 2 "city light" holes for the projector screw to "sit" on. The HL housing has a 3" opening on the back so I don't have to do any cutting on the housing.
Test fit the projector using 1.5" lavatory chrome pipe cover.

Have to cut the reflector bow.

Test fit with the "Bath Shroud"


---------- Post added at 09:54 AM ---------- Previous post was at 09:54 AM ----------
Because the Mini D2S is open, so I need to block the light from hitting the reflector bow.
Using 3" tube from my wife craft ribbon roll (craft store ..)

With light blocking tube.

Cover the tube 5 layers inside (projector) and 3 layer outside (reflector bow) with 3M aluminum tape.

Light blocking tube cover with 3M aluminum tape.

Put it all together


Using original boot cover from the light housing.

---------- Post added at 09:57 AM ---------- Previous post was at 09:54 AM ----------
In the car. Again, there is no modification to the HL mounting assembly.
Head light UP (looking down)

Headlight DOWN (looking down)

Headlight DOWN (looking in front)

Wires/cables are all clear from retractable mechanism.
Completed.
Light not ON


Is it getting dark here?


In driver seat wall shot

Out driver door wall shot

This is how I setup my relay harness to switch on the light.
Using 2 relays. One use to switch Negative (-) and one to switch Positive (+) from the battery.
The relay that switch (-) is turn on by marker light. So the HL will NOT turn on if marker light is NOT on.
The relay that switch (+) turn on by the Common + wire. This car is H4 GROUND switch. When the light stack turn to Low Beam OR High Beam, it switched both the common + and LB Ground or HB Ground.
Bi-xeon selenoid is connect to Common + and HB Ground.
Ok I'm happy with the outcome.


