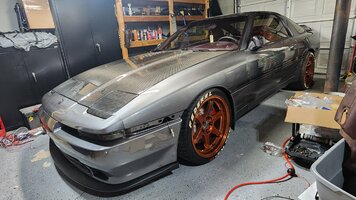
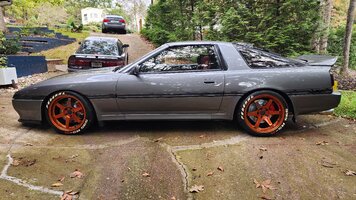
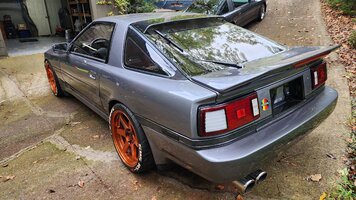
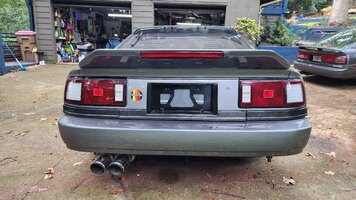
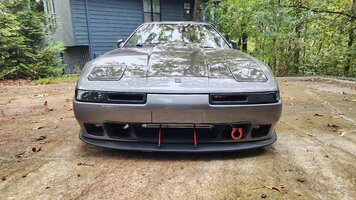
1986.5supra_kid
Rice? No its Corn (E85)
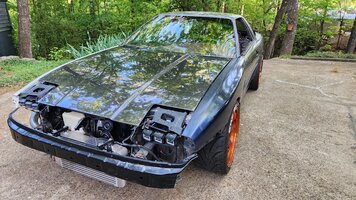
Wishing you luck!!! I'm surprised you are still hard at this <3So a little update; more like, 1 step forward, 8 steps back...
Ever since I rebuilt the engine back in 2012, I've always had an issue with oil burning. I thought that maybe it was a drain backup on the turbo, so I bought a better one- no luck. Then I thought, maybe I idled it too much, without putting a proper load on it, causing a poor seating of the rings. Perhaps it is. But I also thought that maybe it was that I didn't seat the valve stem seals in place properly, so recently, I tried replacing those with the head in the car, since I also had a new pair of BC cams and springs to install. After putting it all together, she still burned oil, and made the usual smoke screen. So a few months ago, I decided to pull the head, and check the head gasket, because after using a borescope, it seemed that there was a trail of burned oil coming from the mating surface on most of the cylinders.
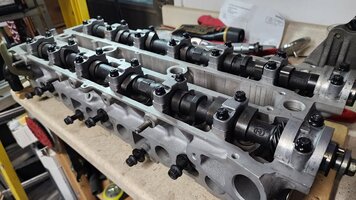
Well, after pulling the machined, 0-mile head, I measure it and discovered that although the mating surface was dead-straight, the cam surface was .025" warped. Basically 3 times the limit. Apparently when I sent it to the shop, they decked it without ever checking it for straightness. So.... after finding a good used head, I sent it to the machine shop to have it checked, and got a three-angle valve job. I ordered a fresh set of valves for it from an online seller, but when I tried to install them, I found that most of them were going to require a shim thickness of 3.3-4.2mm!! WAY over the norm. Looking at the valves more closely, I finally realized none of them were fully seating; They're oversize valves; .5mm larger than stock, lol.
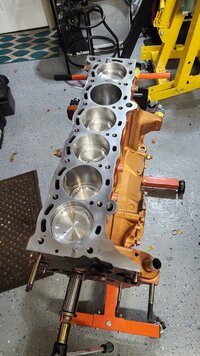
SO....I took the head to a different shop, had them cut the seats to accommodate the new valves, and ordered a fresh 2mm head gasket.
Finally time to reinstall the head, right?
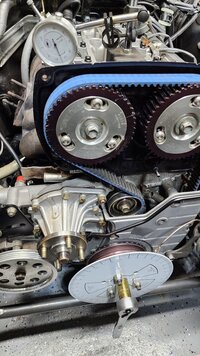
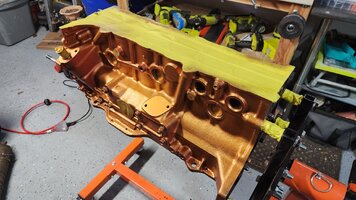
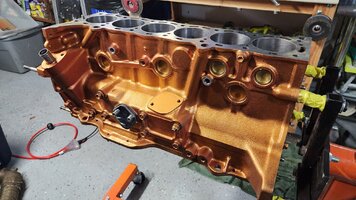
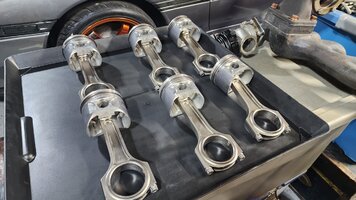
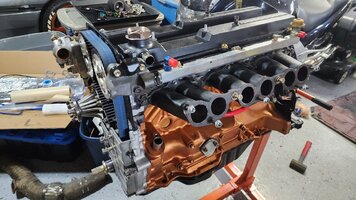
Well, just before I tried to lay the head back on the block, I decided to reach down and verify that the oil pump driveshaft wasn't doing anything weird, since a number of people on FB lately have had issues there... Sure enough, my driveshaft pulley moves in and out by over 3mm. So now, the entire block has to come back out, to check for oil pump/ driveshaft damage, and do the necessary upgrades. So this weekend, I'll be pulling the motor and starting a full tear-down of the zero-mile block. I'll post pics soon, wish me luck.
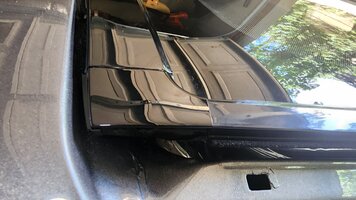
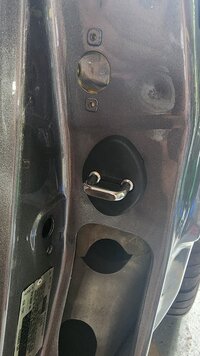
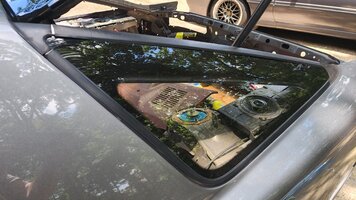
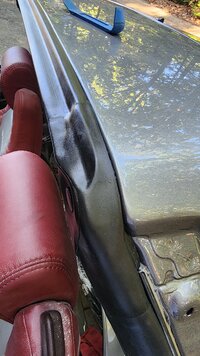
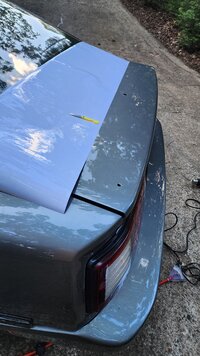
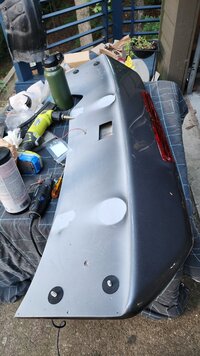
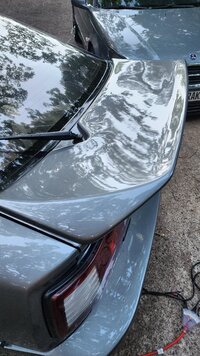
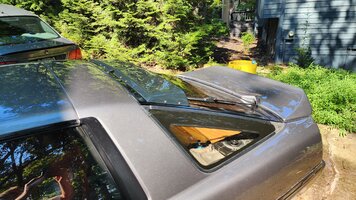
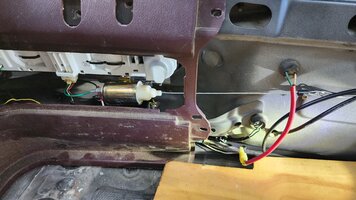
Also do you remember how the trunk release cables go?

