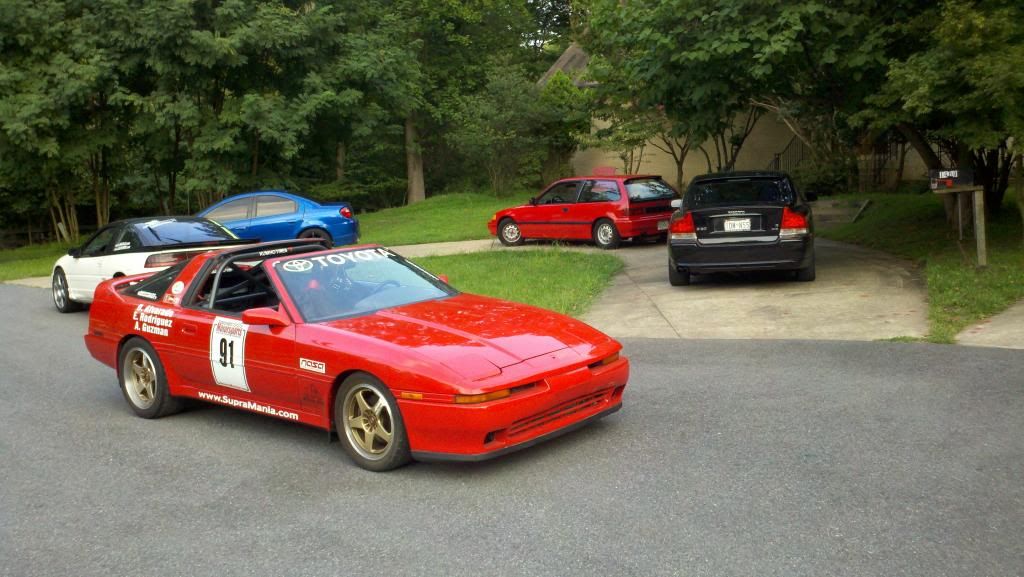
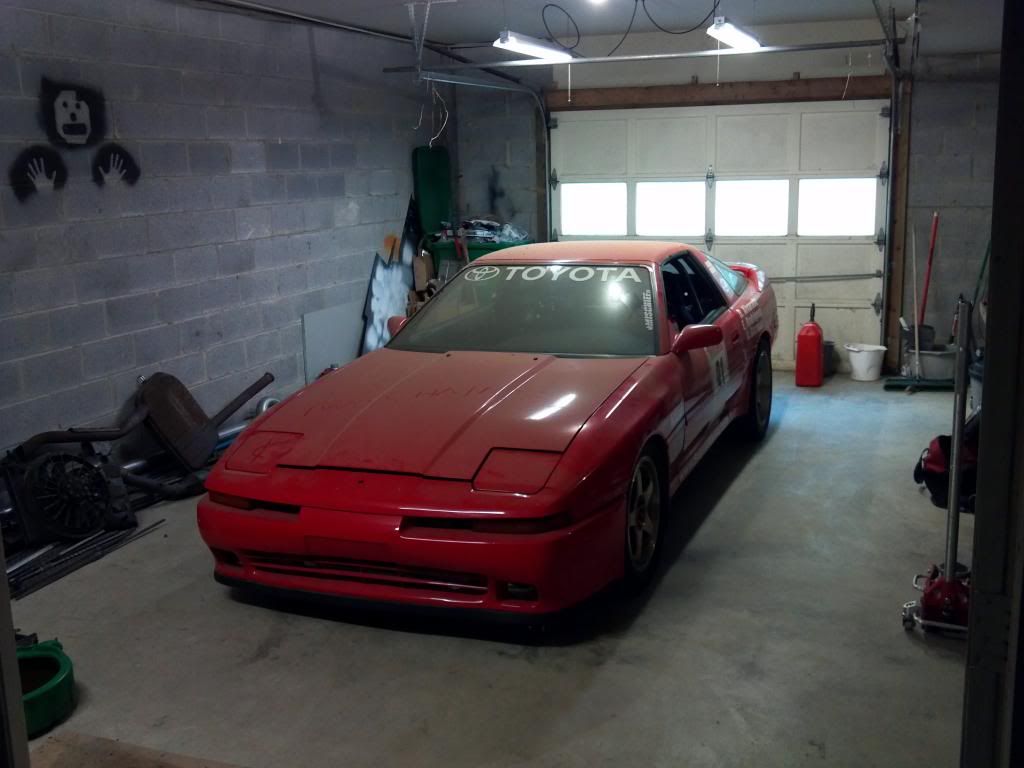
This has got to be the quickest start to finish build thread ever, lol.
Ok, so for tonight, real quick, here's what I got, March 22nd 2014:
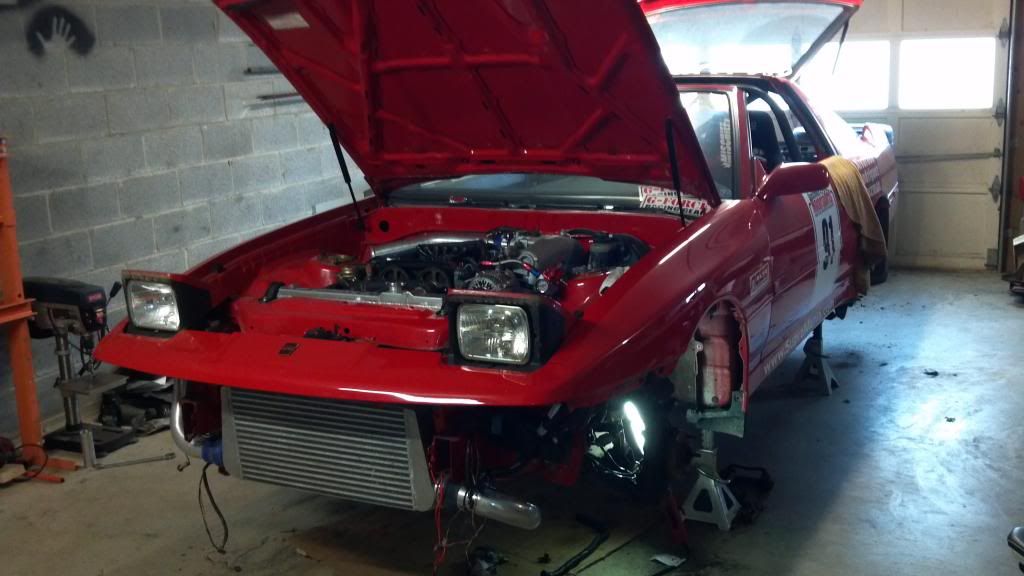
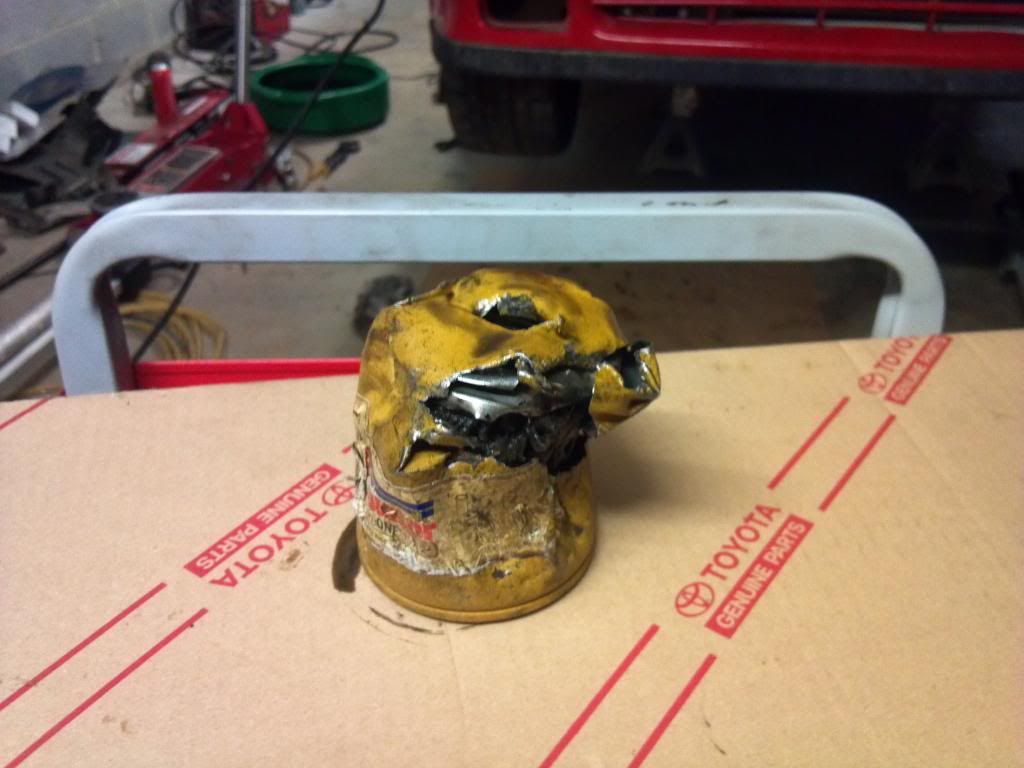
There was a lot of updating I needed to do. Like I said the electrical was kinda messy, so i tried to clean it up the best I could. Originally, we had mounted the fuse box upside-down in the FL wheel well. It's pretty much the only place the wiring harness would allow it to reach after all the tucking we did. The only problem with that, was that we had no wheel liners. So at some point along the line, water got in and corroded a lot of the connections. I had to replace the main relay, the headlight relay, and the 100A fusible link, which were all very corroded, and the headlight one straight up didn't work. I cleaned all the connections, stole a bunch more stuff from the AllTrac, did a lot of re-soldering and heat shrink wrapping, and redid all the grounds. I also swung the fuse box around to the front of the little metal divider between the wheel well, and the FL headlight area. So now the fuse box is directly under the headlight. Still mounted upside down, but it's the best I could do. I did spray all the open-air connections with a product I had called Rustore, which forms a waxy coating over metal, and is meant to keep it from rusting out in the stockyard. I also drilled a hole in the fuse box "bottom", to drain out any water just in case. Although I honestly don't ever plan on driving her in the rain/wet.
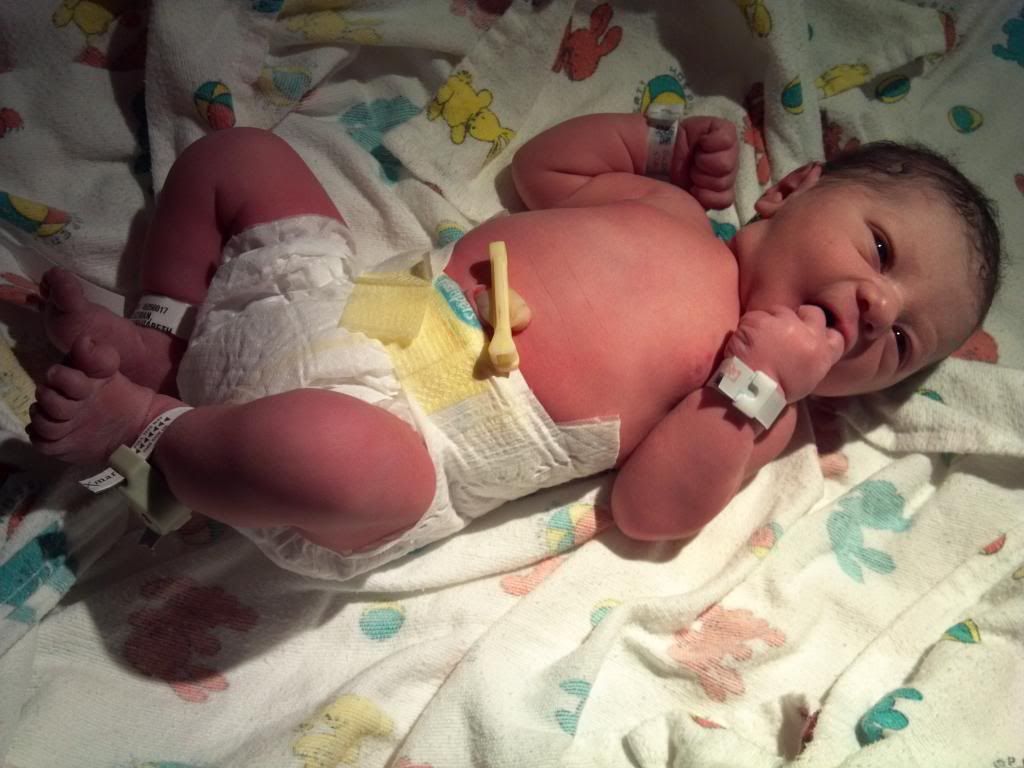
Here's what the boy looks like now (March 23rd):
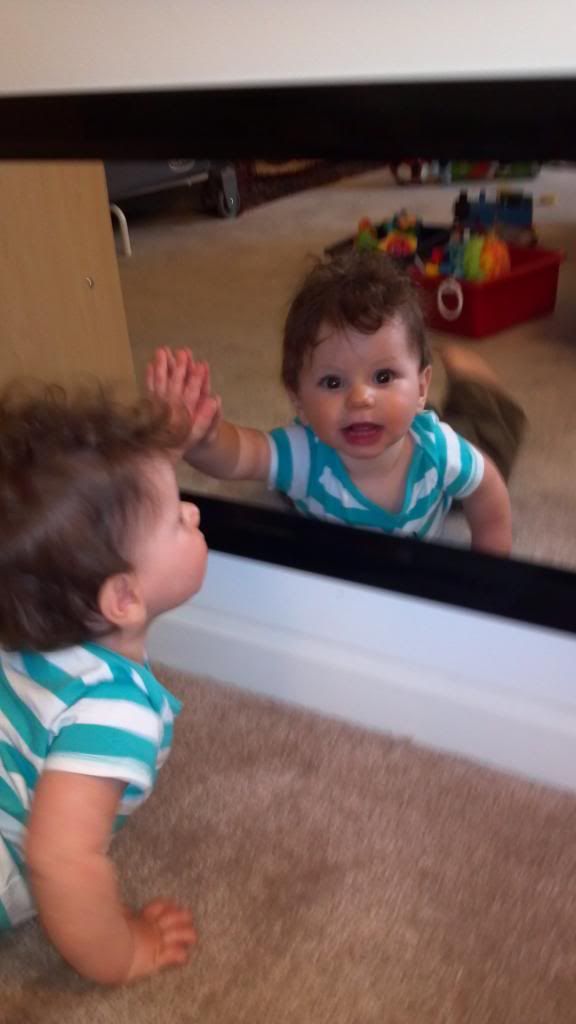
Now you can get an idea of how quick time flies when you have a kid! Nothing makes you realize how quickly you're getting old, as watching your child grow. He's a really happy kid, and my wife and I have been extremely blessed to have such a happy and healthy kid. Whereas before I would look at any random baby and not blink twice, now I stop and look at them, and realize how special they are to somebody, They are someones pride and joy, and that makes me happy.
Ok, enough of the baby stuff, I realize nobody really cares about looking at other peoples kids, that's just the way it goes, haha. Sorry bout forcing you guys to look, but it's part of the Supras story!! lol. He's keeping me from working on it more! hahaha
Here's a picture of what the center console area looks like now:
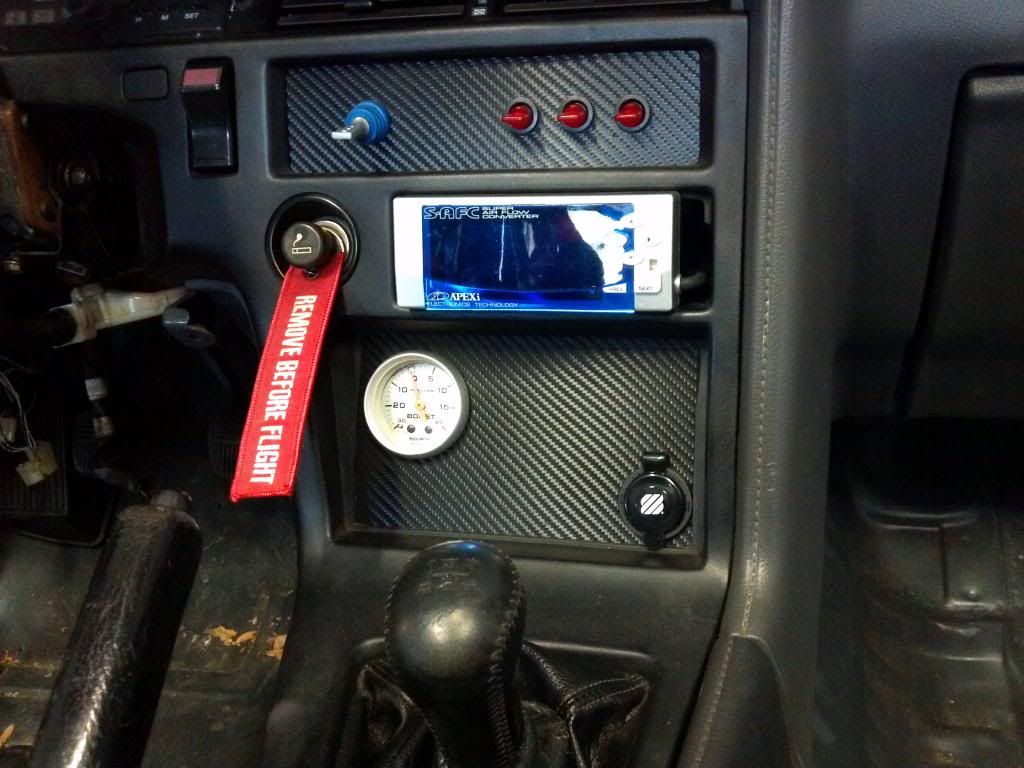
Before it was just the switches up top, and a blank plate below. The Boost gauge was flopping around to the left of the steering wheel zip-tied to the heater duct, lol. When we first made the switch panel, we just drilled some holes willy-nilly in the plate, and they ended up all crooked. This time I made the plate out of aluminum, and used the mill at work to drill the holes in a precisely straight line... Did I mention I'm a perfectionist? lol. I mounted to boost gauge proper, and added a second power port because believe it or not, the stock cig lighter is the engine start button, lol. It's wired up to a relay to power the starter. It's kind of my "key", and I have to take it with me when I leave the car, because there is no more ignition switch/column lock. I wrapped both the plates with that carbon fiber lookalike vinyl, and I'm super happy with the results. at least it gives it a uniform look. I wrapped my snowboard with the same vinyl, and I got a compliment on my board for the first time in my life, by the ski-check guy, lol. he was like "I've never seen a board like it!! It rocks!"
I also had to source a new shift boot and center console from a forum member.
Jonoturbo, thanks a bunch, dude! I also needed to find a new mounting bracket for the center console, because I forgot we tossed it when we gutted the car (shout out to
Tubbie for that one!) I'm trying to revert the car back to a streetable state, it's just way too bare and tinny sounding right now. It... sounds like a bare bones race car, basically, but I want it to be at least semi comfy.
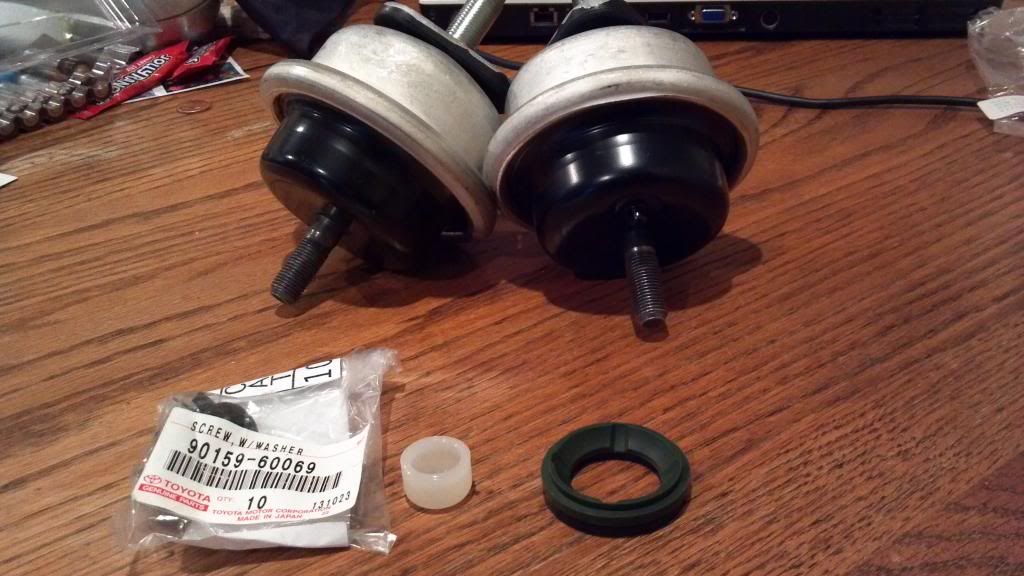
Oh, a couple things I did do, found another front bumper beam and foam at the junkyard, and snagged a set of front wheel liners from a local guy, whom I actually don't know, a mutual friend found them for me. I ordered all new hardware for the wheel liners, and a needed to order a bunch of hardware for random trim pieces. One of my absolute favorite new items I ordered, is the new targa weatherstripping. I hated to shell out the dough for them, seeing as how I don't ever plan on driving it with the targa on; It was basically just for cosmetics, cuz the old shit was nasty and half painted red, lol.
Hmmm... what else we got...
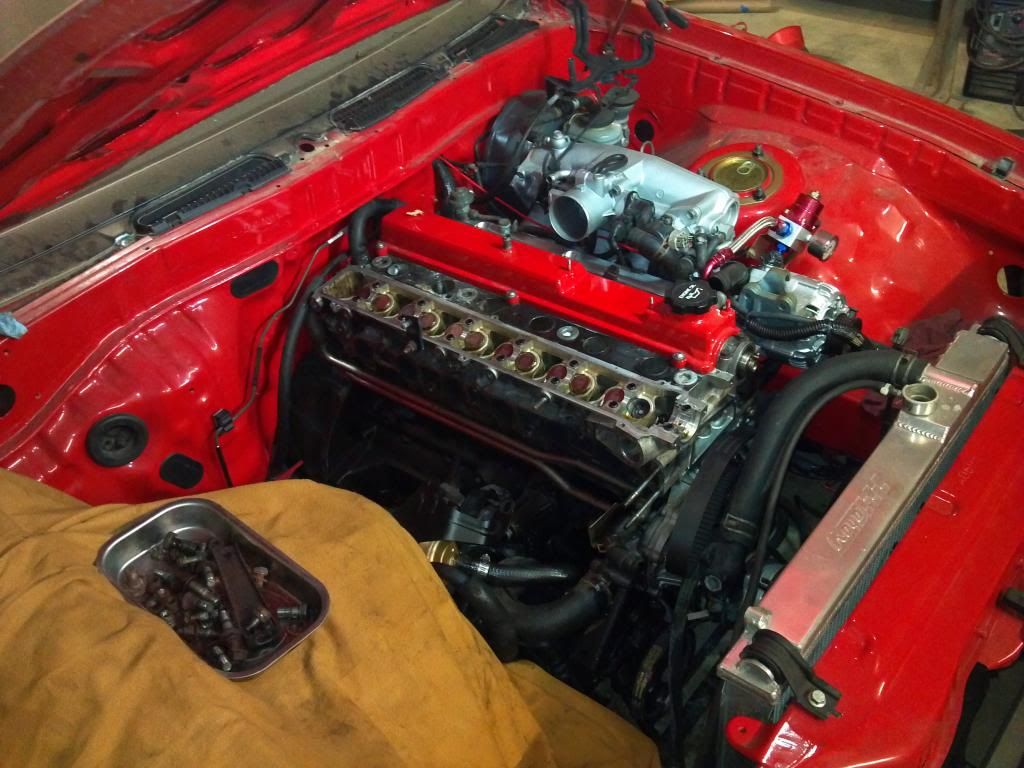
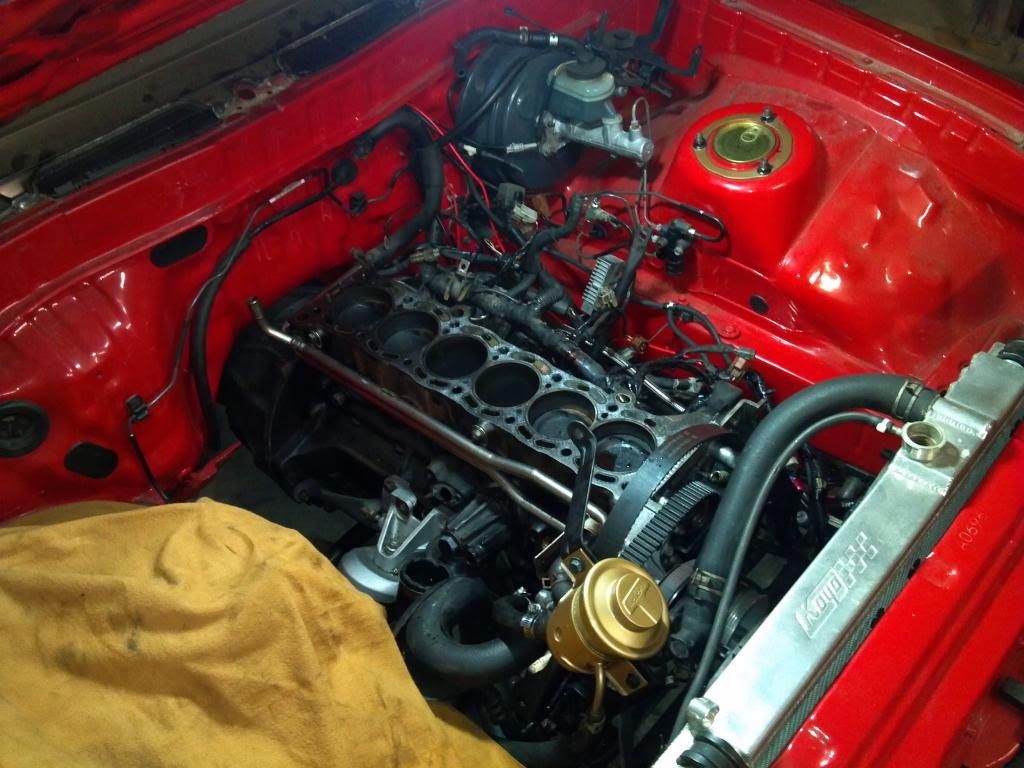
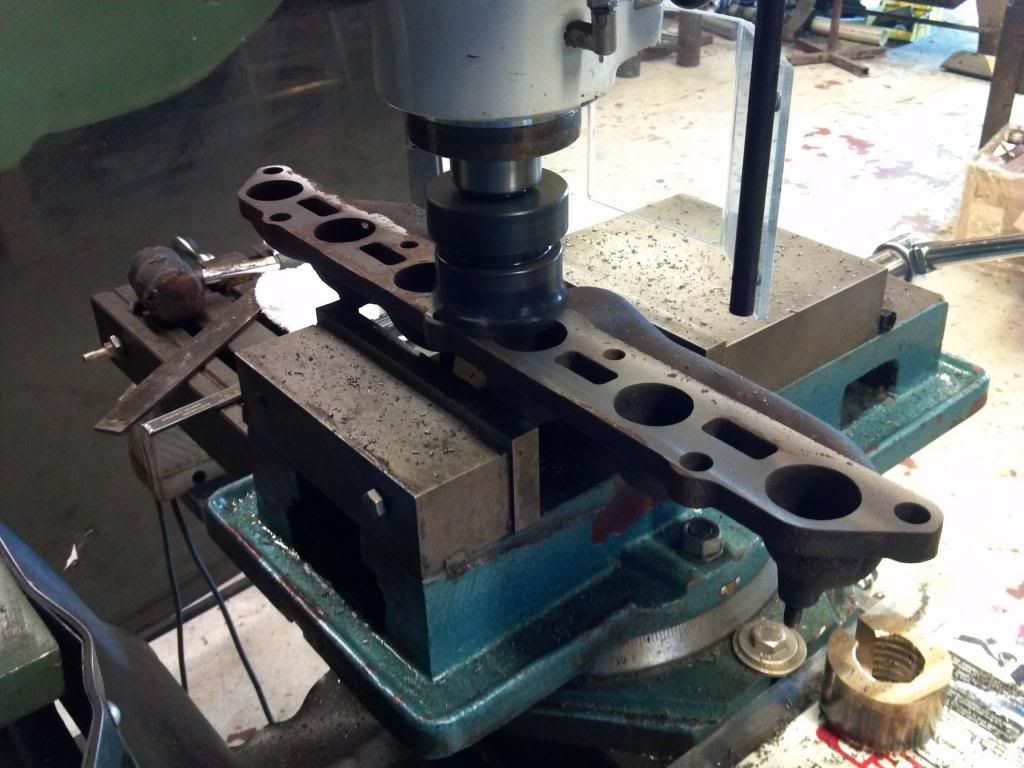
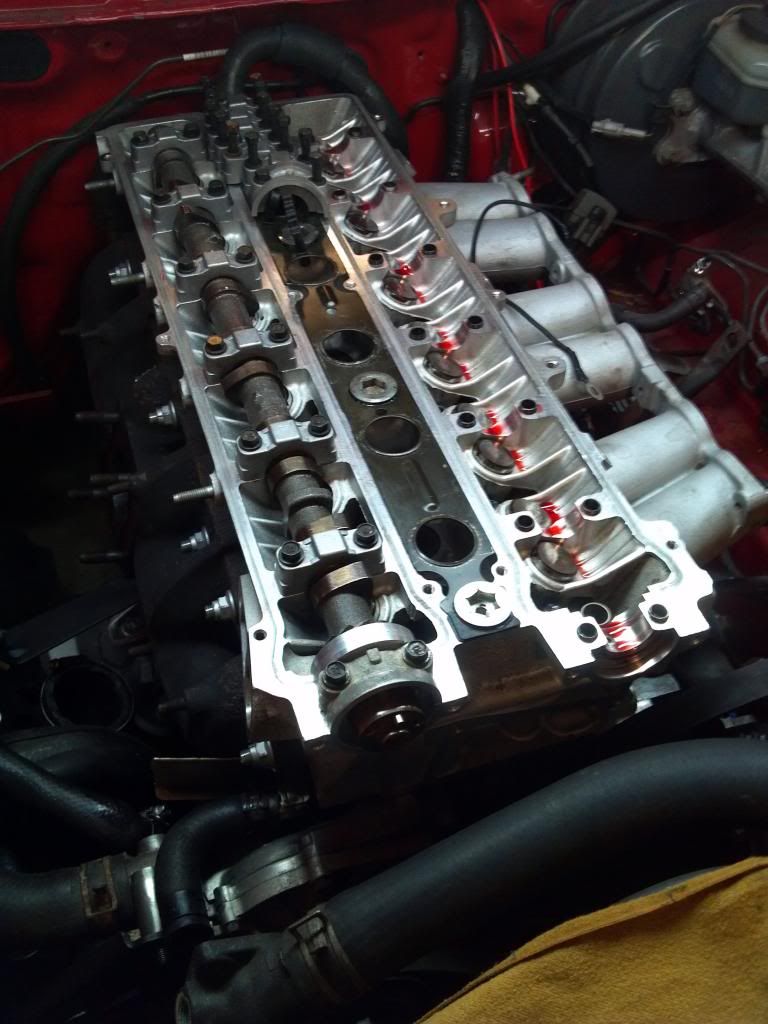
Ok, if you look at some of the older pics, you will see the the FPR is just kinda hanging off the side of the intake manifold. Yes it worked, but it really bugged me. Not only that, but it shared a vacuum source with the boost gauge and the BOV. I wanted it to be mounted solid, and also have a dedicated vacuum source. I took off the throttle body, used a vacuum cleaner to catch shavings, and drilled/tapped the manifold. I used swagelock fittings which I had to kind of piece together from the parts bin at work, but I'm super happy with the result. I'm not sure how long that capillary tubing will last before it becomes brittle, but it works for now.
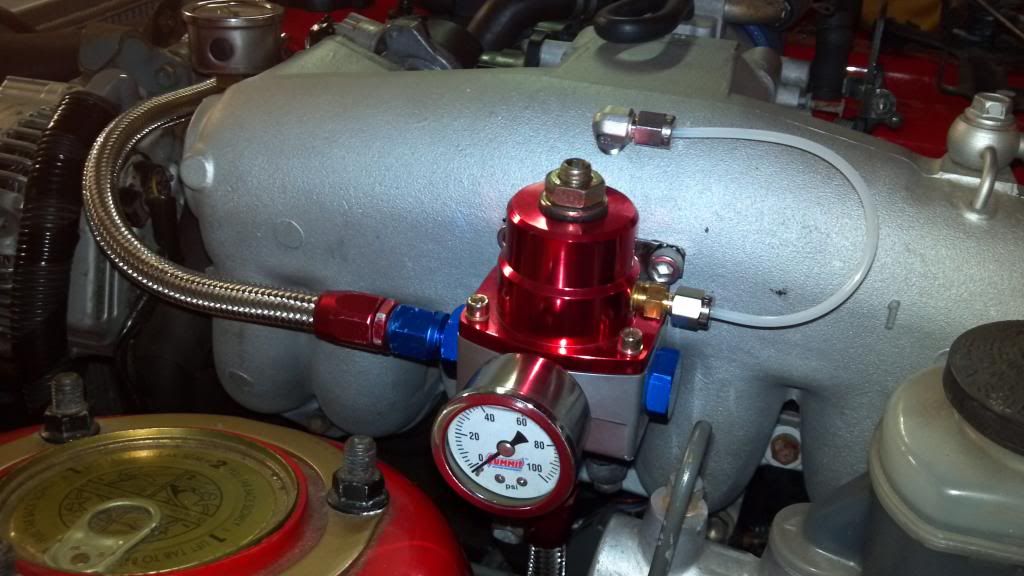
Something else I did -because I needed a third dedicated vacuum source for the new BOV mounting location, and because I wanted a maintenance type gauge under the hood when checking for vacuum leaks- was cut off the large hose fitting on the plug at the end of the intake manifold, and drill/tap three 1/8"NPT holes.
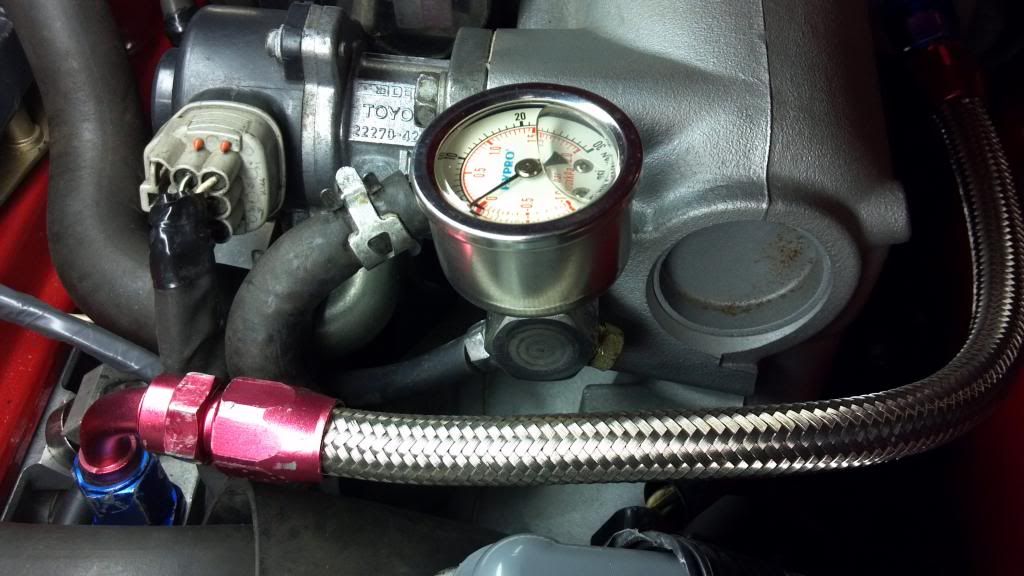
The gauge was mostly just a fun add-on, I know I don't really NEED it. It will make boost leak tests a lot easier, though :icon_bigg
Here's the new BOV mounting location:
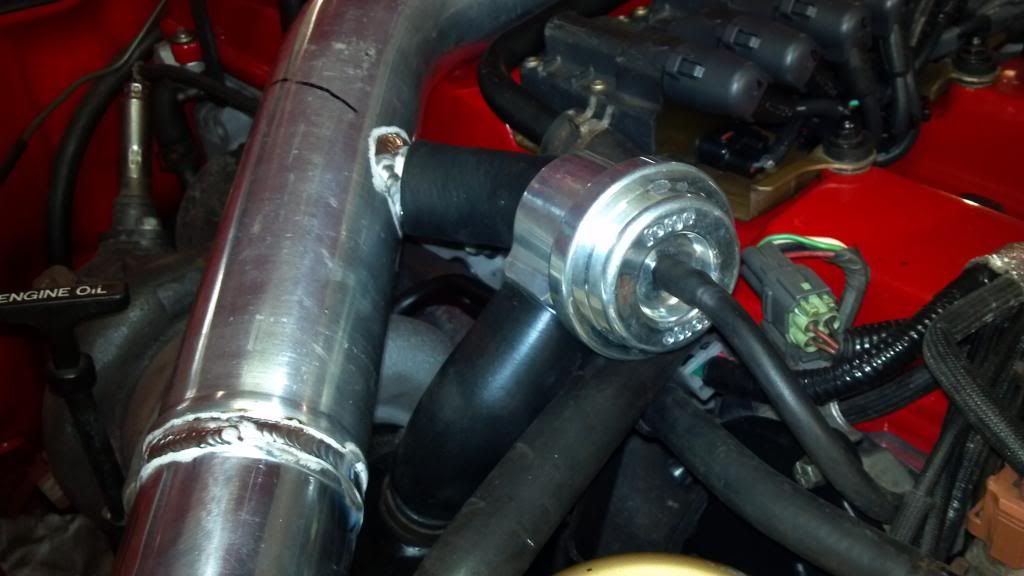
I pretty much had to wing this one because I was short on time. I really wanted to recirculate the BOV, because I'm not fond of the idea of discharging metered air and causing a rich condition. However temporary it may be. I'm pretty sure that's what was causing the car to stall at stop signs. So I machined an aluminum adapter to take the discharge diameter of the Forge, down to the diameter of the OEM accordion intake hose for the stock BOV location. Then I machined another aluminum hose fitting to weld onto my intake pipe. I was scrambling for aluminum pipes for the intake, so I could try and make a meet last weekend -which I didn't make- so I just welded up whatever pipes I had, you can see some of the bead rolled ends welded together in the pic.
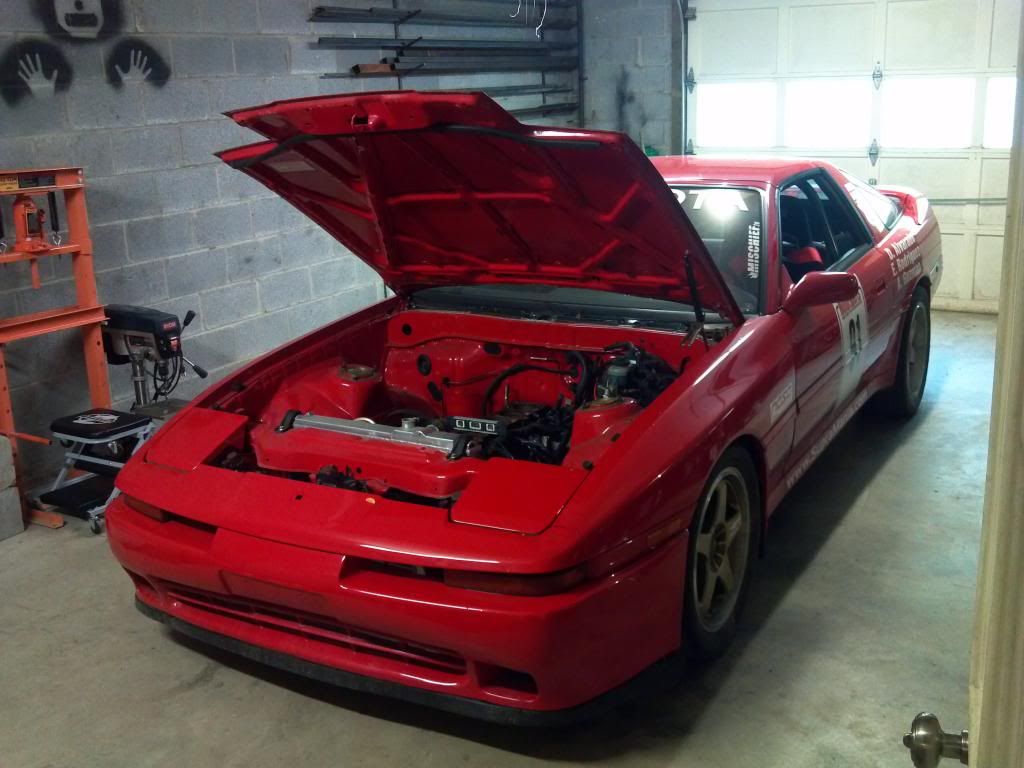
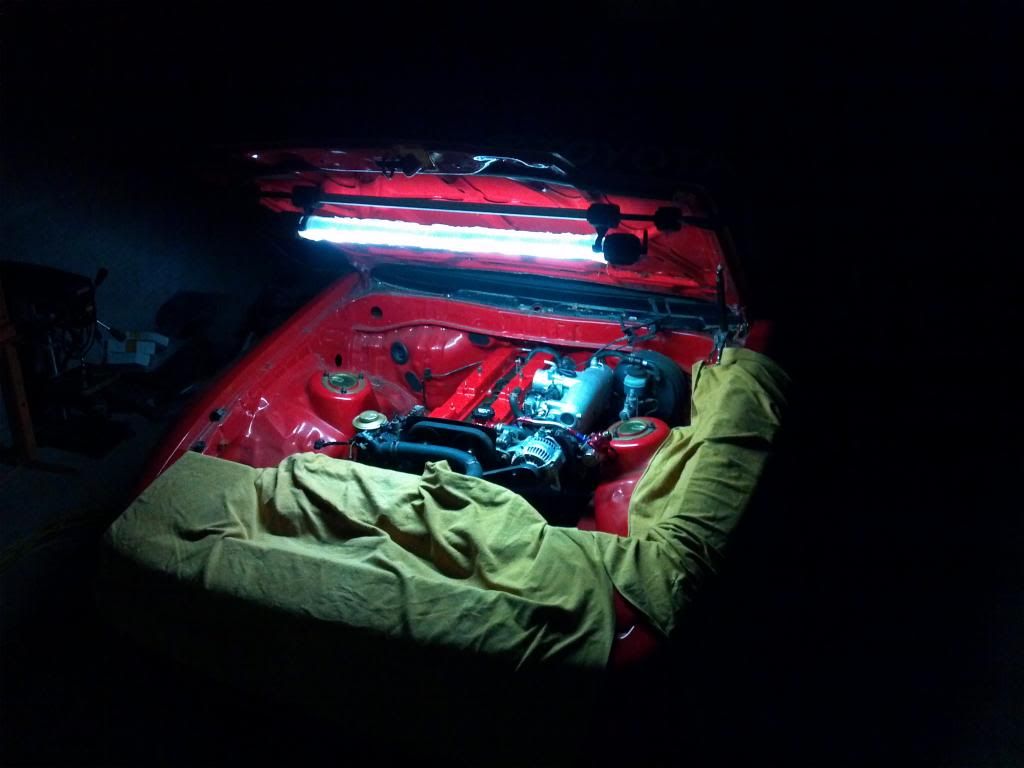
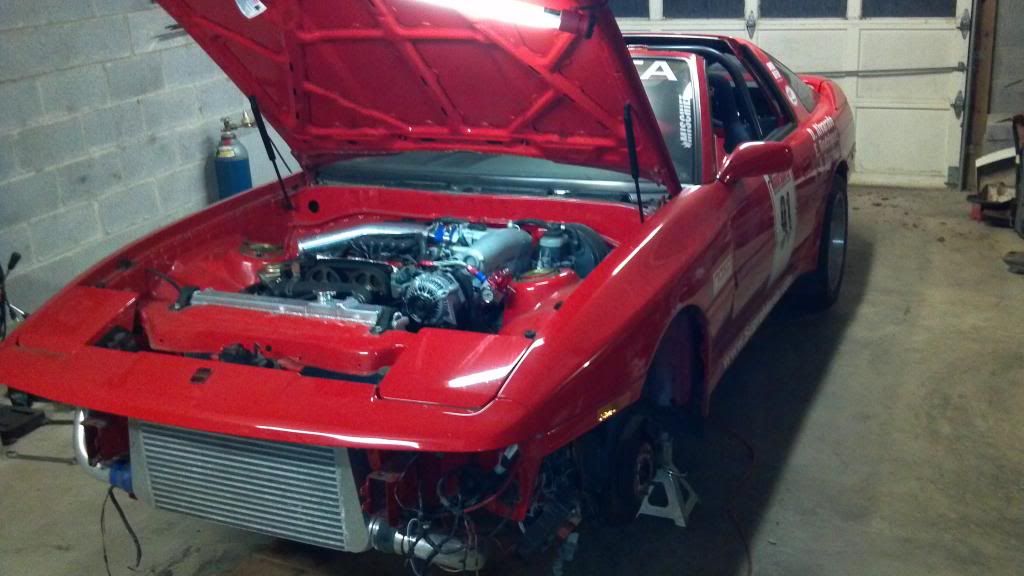
Here is the most recent engine bay shot:
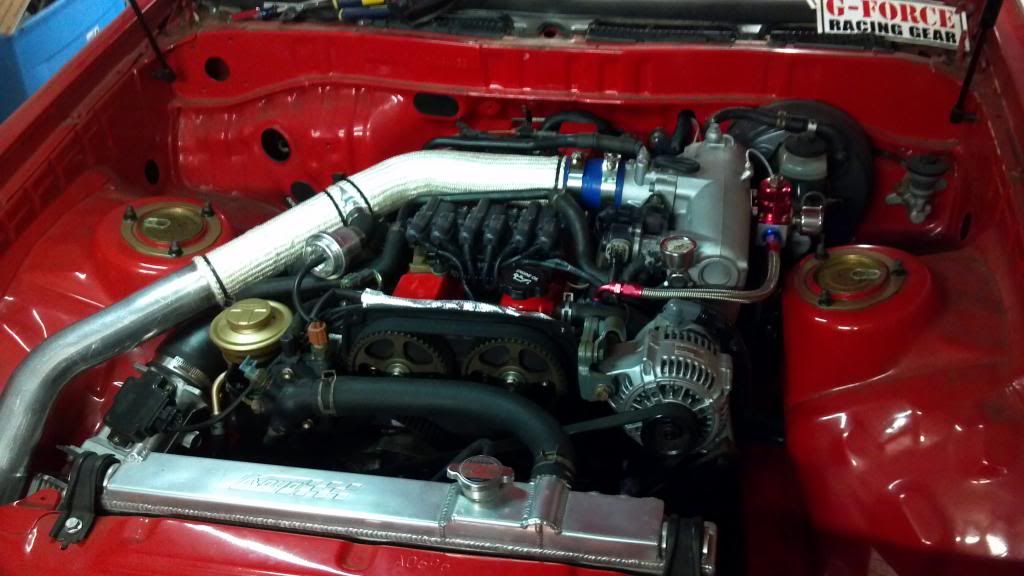
It still needs to be washed, but there it is. The sleeving over the intake tubing is this stuff:
http://www.mcmaster.com/#sleeving-insulation/=rgud72
I might have screwed up on that sleeving purchase, because although it's pretty sweet looking, and yes it withstands flame, I never thought about paying attention to R-values. So truthfully I have no clue if it's really "insulating" anything. I'll probably come up with some other solution eventually, or yes, a FFIM... maybe.
Well that's all for tonight, I'm 31 and back in school to try and not spend my life as a welder (although I do love my job). So yeah, I got an exam next Tuesday, and need to hit the books. I was a shitty student back in the day, but these days I have this insane desire to annihilate everyone, by getting the highest grade in the class! Truthfully I had absolutely zero clue what I wanted to do when I was in college the first go round, but I can tell all you guys who are still in school now, try and tough it out, because it sure as hell doesn't get any easier when you work full time and have a kid. You don't realize it, but you've got it fuckin made. BUT...these are life lessons which everyone's gotta learn on their own. So just... do whatever the hell you want, I don't care, lol
Till next time.
