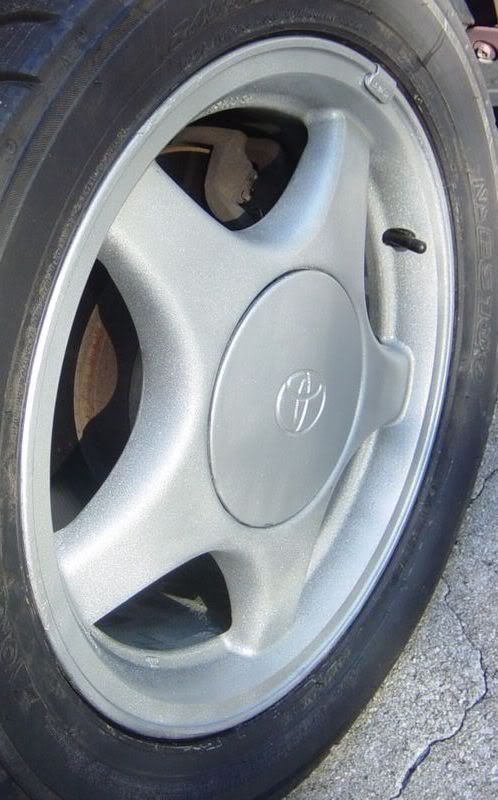
Finally! Finished repainting my wheels- guide and pics

mkthree92

Supramania Contributor
Jan 21, 2007
163
0
0
AL
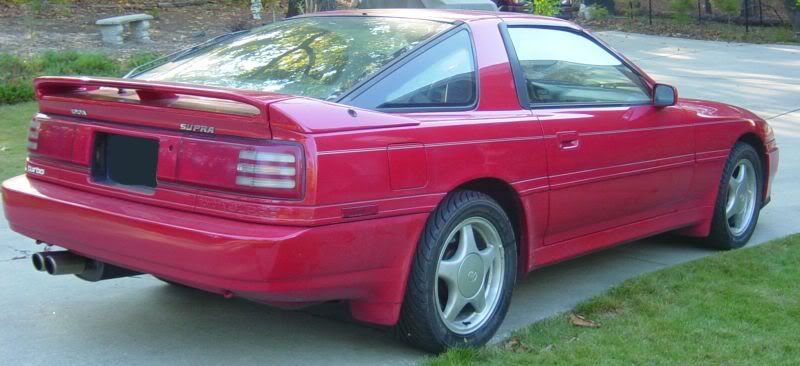
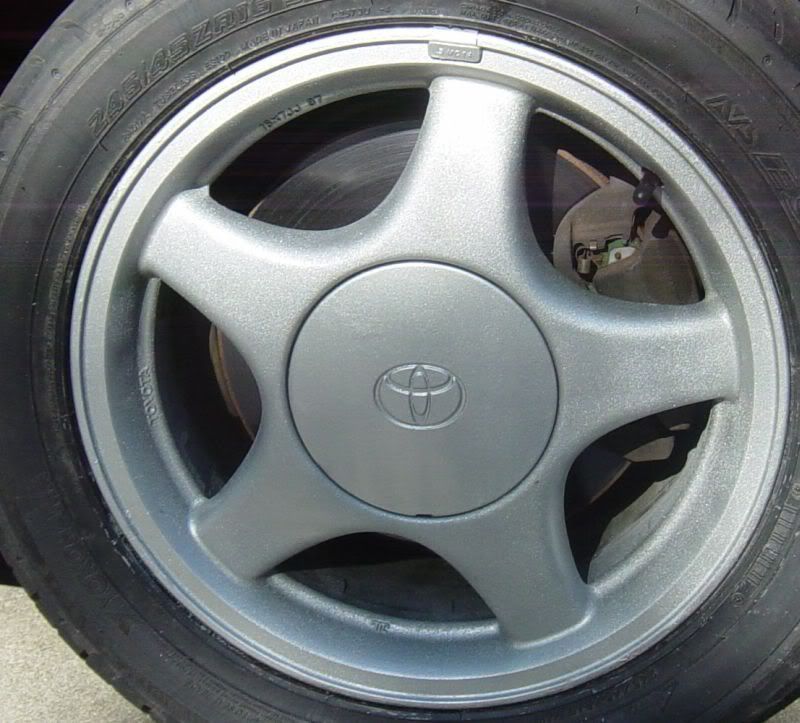
Finally, after several months, this project is complete! This turned out to be a pain for a while, but it has all come together and was worth it. Since a few people have asked about DIY painting in the past, I thought I'd throw this guide together and show some pics of the results.

I used Duplicolor Silver wheel paint for this project. Initially, the paint did not turn out well so I had to strip everything down and start over again. The second time around, it has come out great! If you want to read my guide, I'll post it in the next post so those who just want to see the guide or pics can do so.

Thanks for reading/looking.


p814482_1.jpg


p814482_2.jpg


p814482_3.jpg


p814482_4.jpg


p814482_5.jpg


p814482_6.jpg


p814482_7.jpg
 
Last edited:

mkthree92

Supramania Contributor
Jan 21, 2007
163
0
0
AL
Supplies:
Sandpaper- 120, 150, 180, 220, 400
Aircraft Paint Stripper (3 cans)
Duplicolor Self-Etching Primer (2-3 cans)
Duplicolor Sandable Primer (2 cans)
Duplicolor Silver Wheel paint (3 cans)
Duplicolor Clear Coat (3 cans)
Respirator

I used 2 layers of Self-Etching, 2 layers of Sandable, 4 layers of Silver Wheel Paint, and 3 layers of clear coat.


Initially, the wheels were really dirty, had paint peeling off, with some curb rash. My first attempt at painting these wheels didn't turn out well. The stock paint came off very easily (You may have a harder time with other paint as you will read). I took a lot of time to sand down the wheels with 120, 150, and 180 grit which made them nice and smooth. I then used some Bondo putty to fix the curb rash which made them look great after being sanded down and painted. They were great through the primer stages. Afterwards, I smoothed them down with 400 grit. Then, it all went to crap with the paint. It ended up being streaky and not smooth. I spent several weeks at this point only for them to turn out badly. I really liked the color of them, just hated how they turned out, so I took a little break and started over again.

Stripping the Duplicolor paint was a lot harder than stripping the stock paint. The clear, paint, and sandable primer came off quickly, but the self-etching primer was a real pain to get all of it off. I ended up having to use 4 cans to strip the paint off this second time, most of that used to get the self-etching off, so keep that in mind when stripping off non-stock paint. Went through the whole process again, repainted them, and was ready to have them mounted.

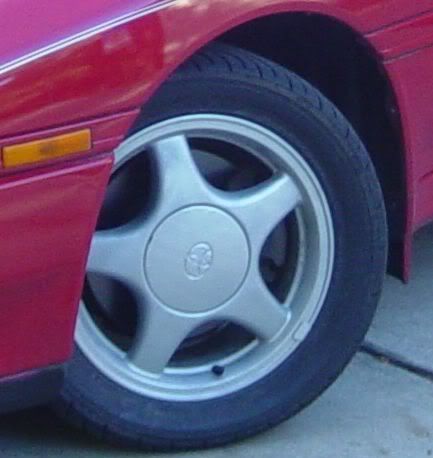
I ended up putting on another layer of paint and then used the clear coat after having the tires put on and wheels balanced. Afterwards, I masked off the tires with masking tape and notecards, covered up the brakes with trashbags, and covered the body of the car around there with trashbags. I ended up putting on another layer of paint, cleared it, and was finally finished.

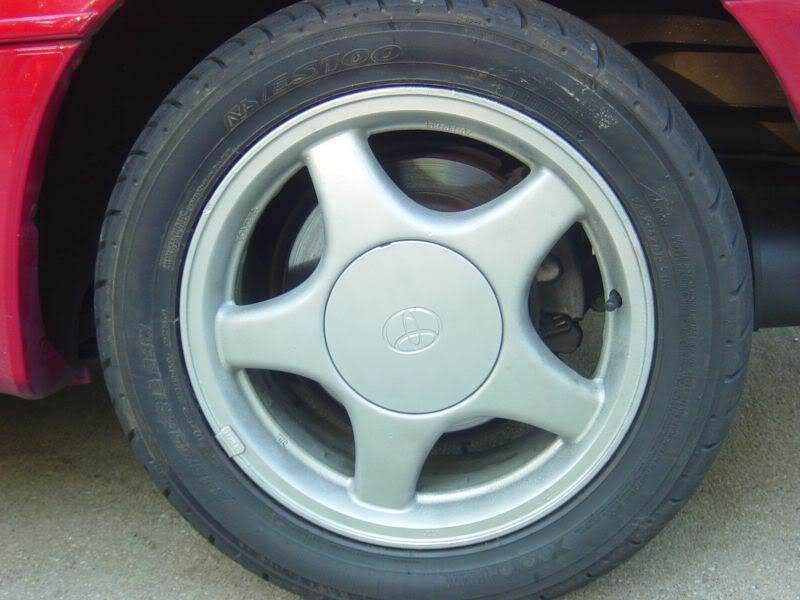
The color is a very nice metallic silver color that really shines and sparkles in the sun, a lot better than what the pictures will show.

Other tips, just some helpful things along the way:
1. When painting, paint in light coats across the wheel vertically and then horizontally (or vice versa). This will help reduce any "bubbles" in the paint where it has not been filled in all the way.
2. Get a respirator. Bite the bullet and get one for 30 bucks at Home Depot. It's not worth breathing in the fumes. The first time I was painting, I did most of the project without it and let's just say I'm glad I got one eventually.
3. Just take your time and you should get some good looking wheels at a price a lot less than shops will charge.

I don't know how long the paint will hold up. I've read where some have had it start peeling and cracking rather soon, and I read another where it had been over 3 years and the wheels were still looking good. But, it should not be too big of a problem fixing little areas should they start to peel. For the cost and results so far, I recommend this paint to anyone interested.

Good luck to any who repaint their wheels, hope you guys enjoy and thanks for reading.
 

MK3.0dudeman

brian L.
Mar 12, 2007
1,628
0
0
North Jersey
Sawbladz said:
Ummm...why didn't you take the rims off the car?

I mean realy all that work and you can't jack your car up and take some lug nuts off.

any ways I have done a whole bunch of "back yard rims repair/paint" but first I start with taking off the tires,wheel weight and air nossels.I would say for the most part for all you people out there that he did do this right and you could go out and do this I'm not sure on how long it will last I have seen friends of mines rims that I have done have bin driving around more than a year and they still look new But DO NOT CURB THEM the paint will come off.

You don't have to use "wheel paint" just as long as it's high heat but the dupli color wheel paint dose work great just make sure if you do want to use a clear coat you don't use any kind but the dupli color wheel paint any other kind will ture yellow after about a week of driving ask me how I know

Also if it's curb sand it down and use jb weld and a lot of sand paper just don't put to much on and don't be afraid to use your fingers to make it flush.

Hope this helps a long with mkthree92 right up.
 

mkthree92

Supramania Contributor
Jan 21, 2007
163
0
0
AL
Guys, did you read the whole thing? I painted the wheels off the car with no tires. That pic of when I was painting with them while on the car was only during the fix up stage, and I only put it up to show the shine and the color, but I will just take it down since most people won't read all of it and just look. After I finished painting them, then they were put on. The paint got a little messed up when they were being balanced, put on, so I went back after they were put back on and fixed it.
 
Last edited:

jugodegolf

Supramania Contributor
Apr 5, 2005
2,369
2
38
Phoenix,AZ, United States
Congrats on you project. It may seem like small project compared to alot of builds but I think you did well.

I would of done the following different though. I noticed the wheel balance thingamagiggy's are on the rim, make sure they use the sticky ones that go on inside of rim that way rim edges stays nice and clutter free.

Looking good.
 

Sawbladz

Supramania Contributor
Mar 14, 2006
1,727
0
0
Oshawa, ON, CA
mkthree92 said:
Guys, did you read the whole thing? I painted the wheels off the car with no tires. That pic of when I was painting with them while on the car was only during the fix up stage, and I only put it up to show the shine and the color, but I will just take it down since most people won't read all of it and just look. After I finished painting them, then they were put on. The paint got a little messed up when they were being balanced, put on, so I went back after they were put back on and fixed it.

The problem with painting wheels on the car is not only the poor results (as you probably found out), it's the overspray you most likely get on the car and in the wheel wells. With only ~1-2 feet of the car masked off around the wheel wells there is still alot of the car exposed. This poses a problem because paint particles from aerosol cans tend to stay in the air for a long time and can get on the paint. Also, unless you masked off the entire inside of the wheel well, hubs, brakes etc. they will all have overspray on them now. Also, since the wheel face is not laying flat, the paint will tend to run if you apply too thick of a coat.

I would suggest clay baring the whole car to remove any contaminants that may have stuck to your paint.

The finished product with the wheels painted off the car looks great. I intend to try the same paint on a spare set of track wheels. Your pics look very similar to that of Dylan Wiggins (I think that was his name). He used a similar green etching primer and similar steps. However, he was not satisfied with the Duplicolour results and repeated the whole process with paints and materials from an auto supply store.
 

mkthree92

Supramania Contributor
Jan 21, 2007
163
0
0
AL
Jugodegolf, for the comments. Yes, this is not supposed to be a build by any means, rather just the "Gallery" side of this forum, and just some helpful tips to those looking to fix up their wheels. And since a lot of people post here for pictures, I thought it would go in here. The outside part of the wheel weights don't really bother me, but I will keep that in mind about the inside ones for next time as it would look nice.

Sawbladz, The paint on the wheels looks 1000x better than it did before. The bottom line is to take the necessary steps to do it right and you will not have a problem. I only recommend painting while on the car for fix ups. And like you said, the wheel is not laying flat, and not only that, but it makes it a lot harder to make sure to reach those areas like the part of the spokes that are facing downwards.

With these spoke wheels, it is very easy to fix up any chipping/dullness/etc. while the wheels are on the car without any problem if you take the time to do it. Obviously, it might not be the case with other style wheels. Since the lugs are all covered up, there is not a problem there. It is very easy to cover up the hub, rotor, anything else under there with some trash bags. I took the time to make sure it wasn't spraying anything other than what it was supposed to and there is no overspray at all. Mask the edge of the tire off with masking tape, and then tape notecards onto those. Cover the area around the wheel with trashbags as well and that will prevent any paint from going anywhere it shouldn't.

And no, I do not recommend painting wheels that are on the car unless to "touch up" which is what I did. When I originally did the clear, it didn't stay on right because of moisture but I had to get the wheels put on the next day, so it wasn't done under ideal circumstances. When they came back they had been chipped around the edge when being balanced/put on and were dull. So I went back to fix the edges and pop out the color. Otherwise, I wouldn't have done anything while on the car. If you're doing any more, you're just making it harder on yourself,having a bigger window for error, and asking for something to go wrong. If you're going to take the time to buy all the supplies and the time do a good job, you need to strip, sand, etc. which is just asking for trouble doing the whole process while on the car, making it harder on yourself, and just plain is not smart. But as far as fixing up an already done job while on the car, why not if you take the necessary steps to prevent overspray, etc.

I followed several guides, including the one by Dylan Wiggans, while doing this. Thank you for the comment as well. I think you will have good results with it, and hopefully this paint lasts a reasonable amount of time.

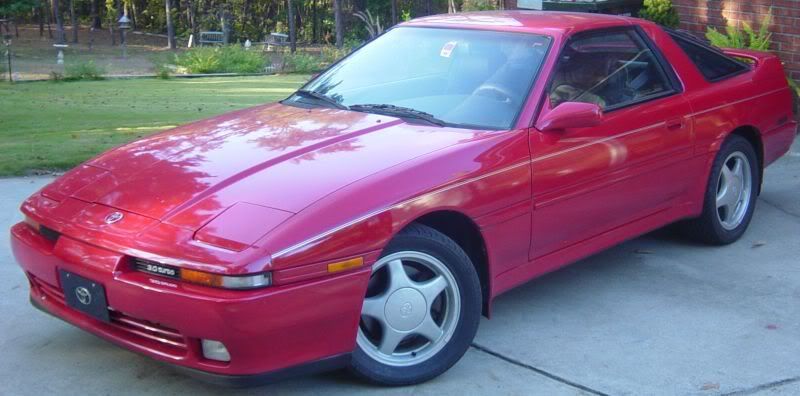
The paint looks so much better than the dull stock silver.

p815420_1.jpg
 
Last edited: