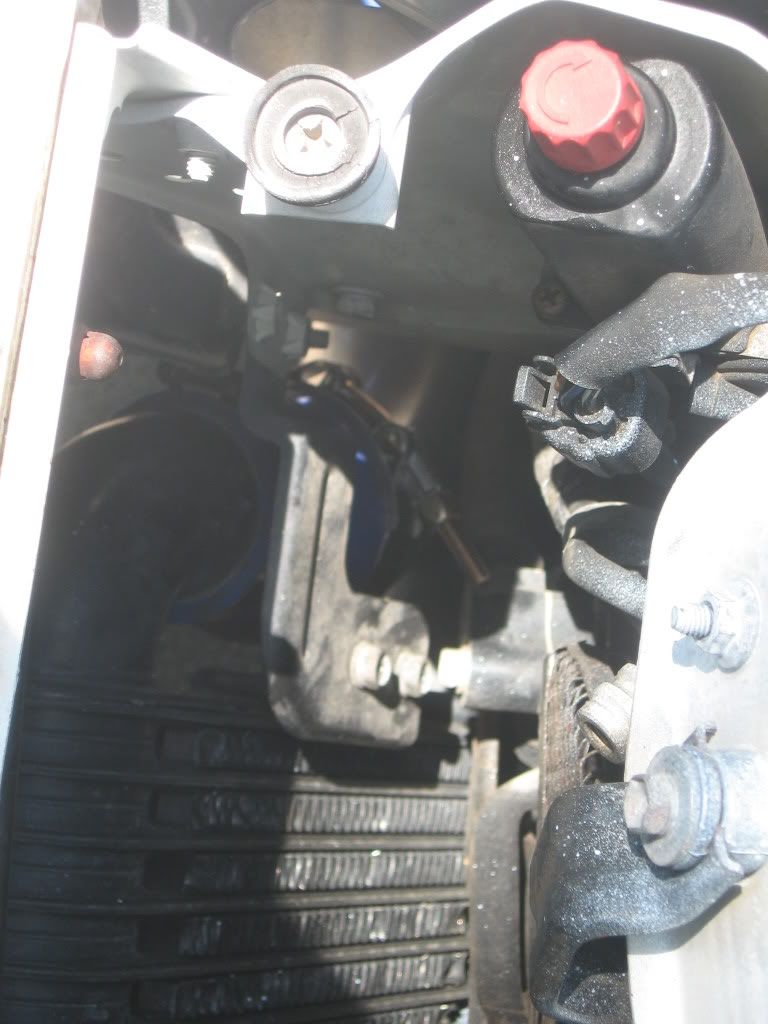
Amontgomery's Leviathan White Package

Amontgomery

not so sad 10psi
Apr 1, 2008
166
0
0
Cleveland, MS
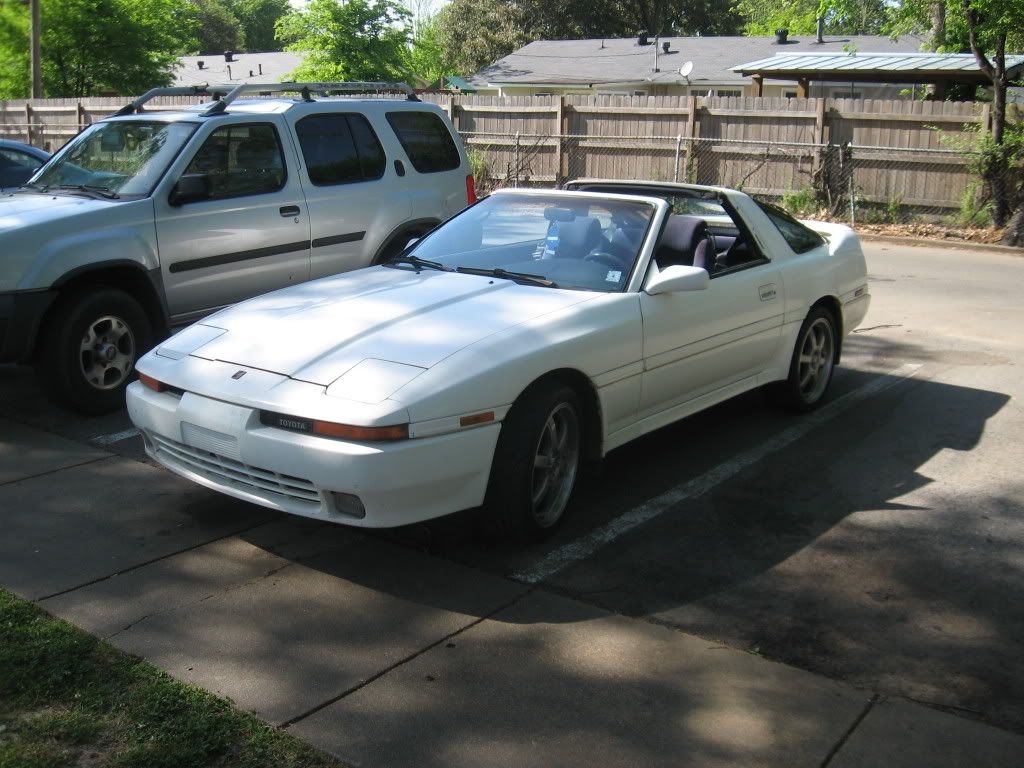
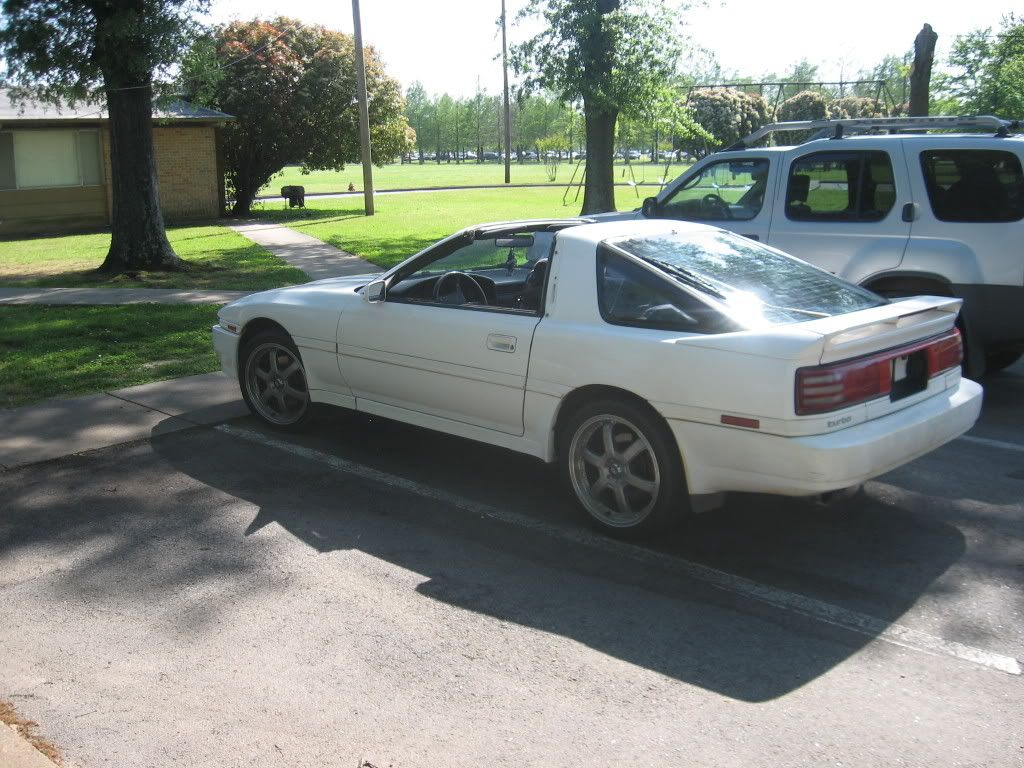
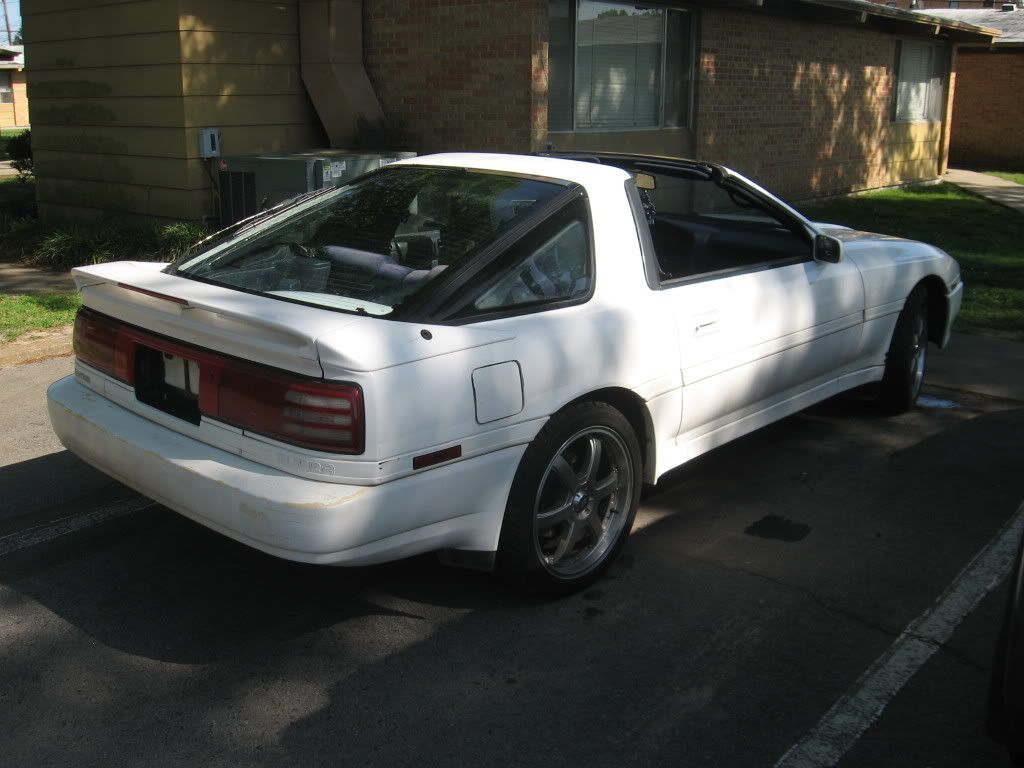
Its an 89 White Package Turbo Targa Automatic
So far it has had
Block rebuilt with 6M crank and factory pistons, rings, rods
ARP fasteners
HKS MHG
Port and Polished Head w/o Oversized Valves
Full 3" exhaust with Divorced Downpipe and test pipe
Intake converter for AFM to 3" with filter
JDM CT26 rebuilt
2700rpm Stall converter
Shift kit
Enkei PK6 rims w Dunlop Sport tires 235/40/18 F&R

To come shortly(next few weeks)
Aluminum 2.5" Hardpipes for the intercooler
Trim pieces repainted
Seals repaired

To come within the next year
Electronic Boost Controller
Engine Management(MAFTpro? EManage Ultimate? MAP ECU 2?)
Non progressive lowering springs
Illuminas
Sway bars

To come
57trim CT26
Larger Intercooler (Spearco?)
550cc Injectors
wider tires
Shaved trim
More open but clean front facia
body repainted completely back to original 043 Superwhite

Here are some pics as I got the car
p1005994_1.jpg

p1005994_2.jpg

p1005994_3.jpg

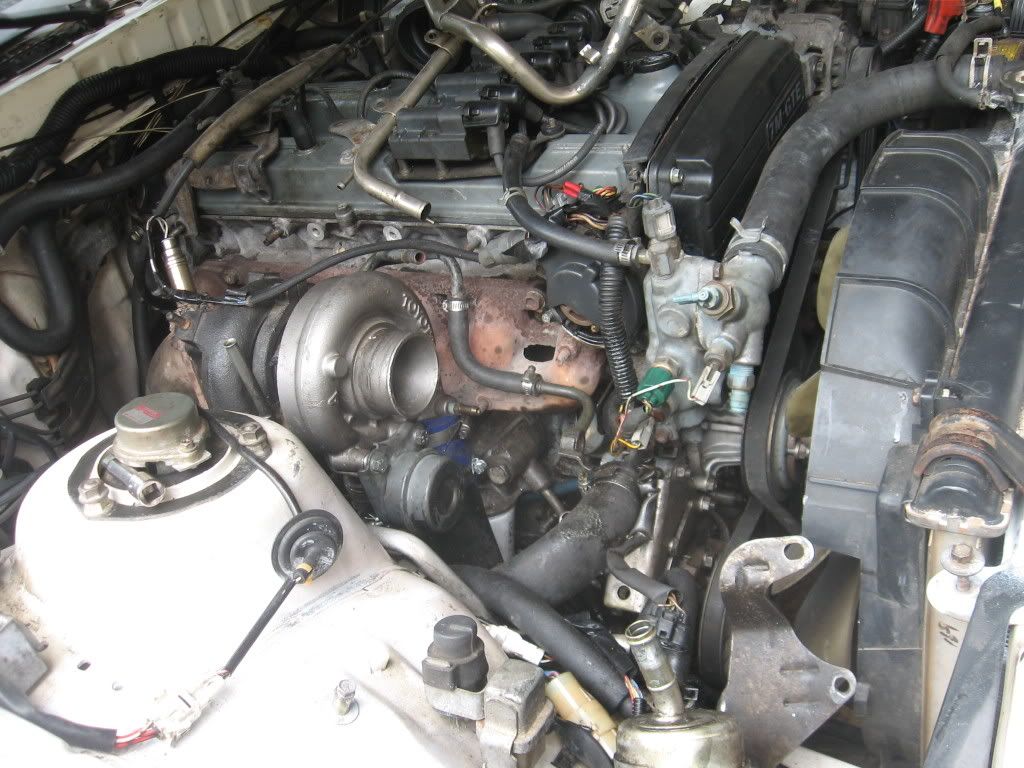
And of the Engine Bay before I started cleaning
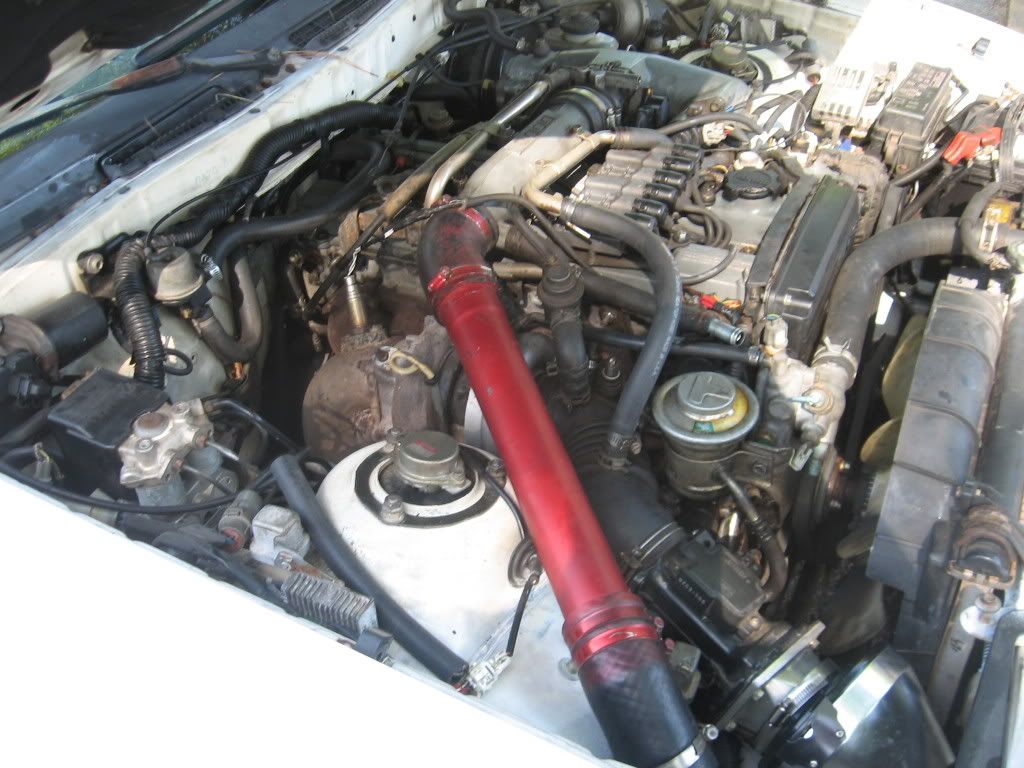
p1005994_4.jpg

During the Turbo Swap
p1005994_5.jpg


Expect more within a few weeks as I finish the custom intercooler piping
 

Amontgomery

not so sad 10psi
Apr 1, 2008
166
0
0
Cleveland, MS
Yeah, I saw that and plan on replacing it ASAP but my first order of buisness is to figure out why my wastegate isn't openning and the car is running up to boost cut. The actuator works fine with pressure applied from a pump but when I drive it it refuses to open and just boosts right on up to 13psi or so.

BTW. Thanks for the compliments.
 

Amontgomery

not so sad 10psi
Apr 1, 2008
166
0
0
Cleveland, MS
Aluminum hardpipes on the way and will be here Friday so goodbye maroon pipe.

Chris is focusing all of his attention on the MKIV. And believe me, there is a lot wrong with that car that neither he nor I knew about until he started tearing into it. And now the trans went out in it so it is just not going his way, but he is thinking of a MKIII Turbo 5spd trans so its not that bad. Just from experience though, MKIVs are money pits.
 

Amontgomery

not so sad 10psi
Apr 1, 2008
166
0
0
Cleveland, MS
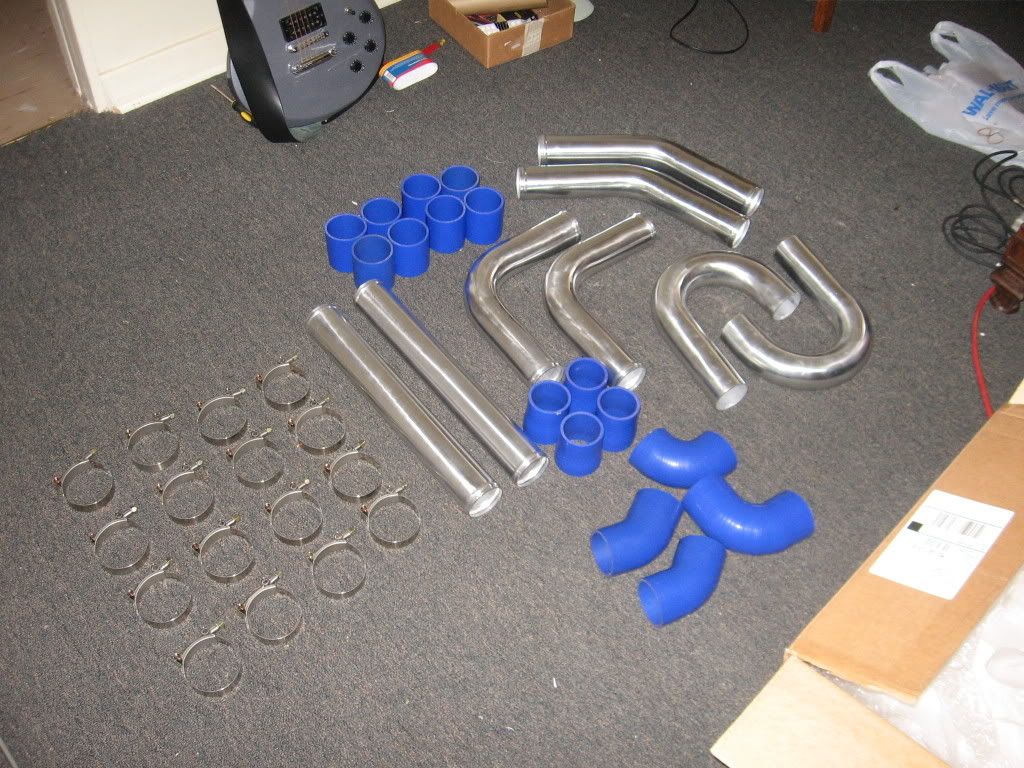
Update, hardpipe "do-it-yourself" kit arrived today

p1009579_1.jpg


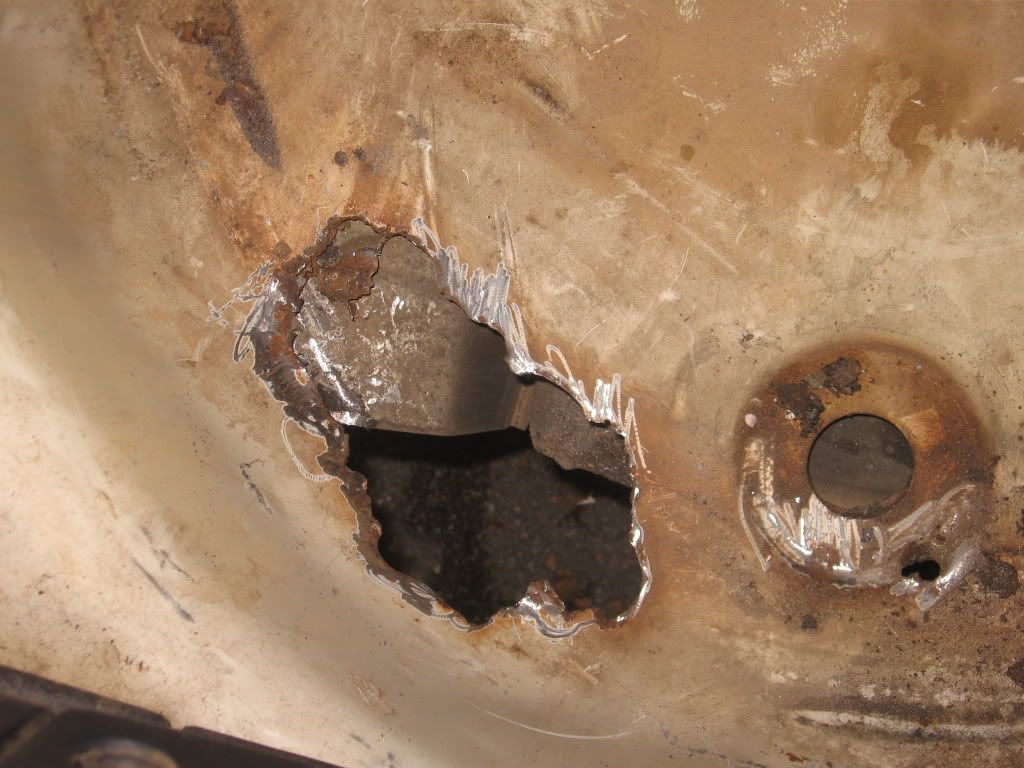
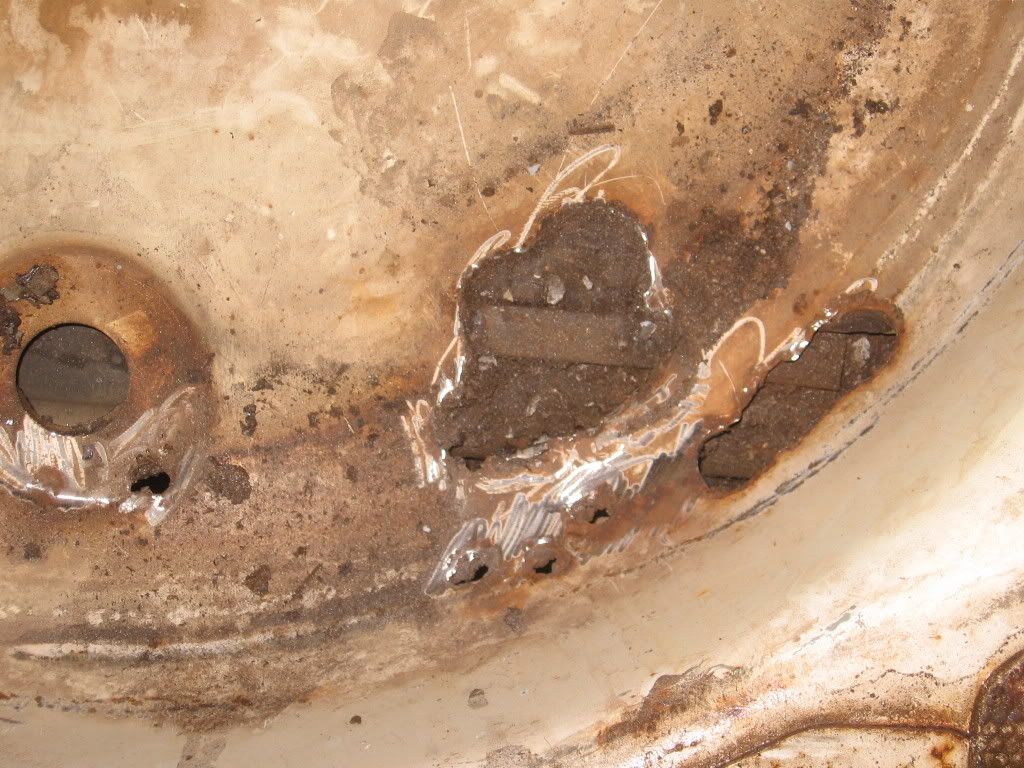
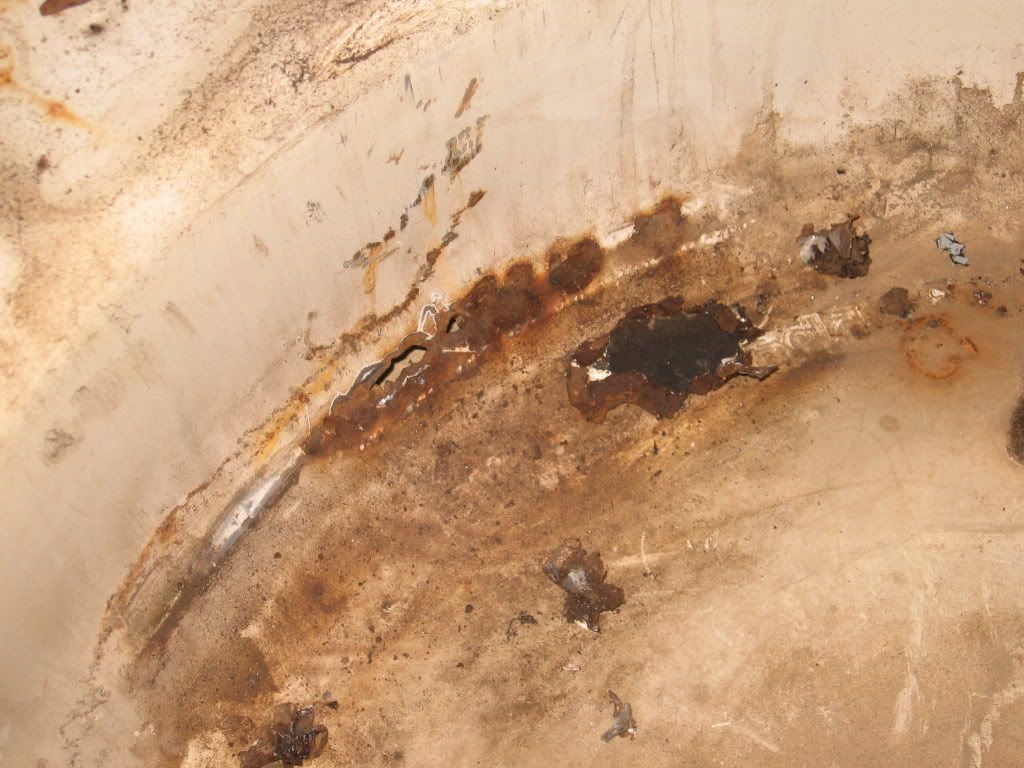
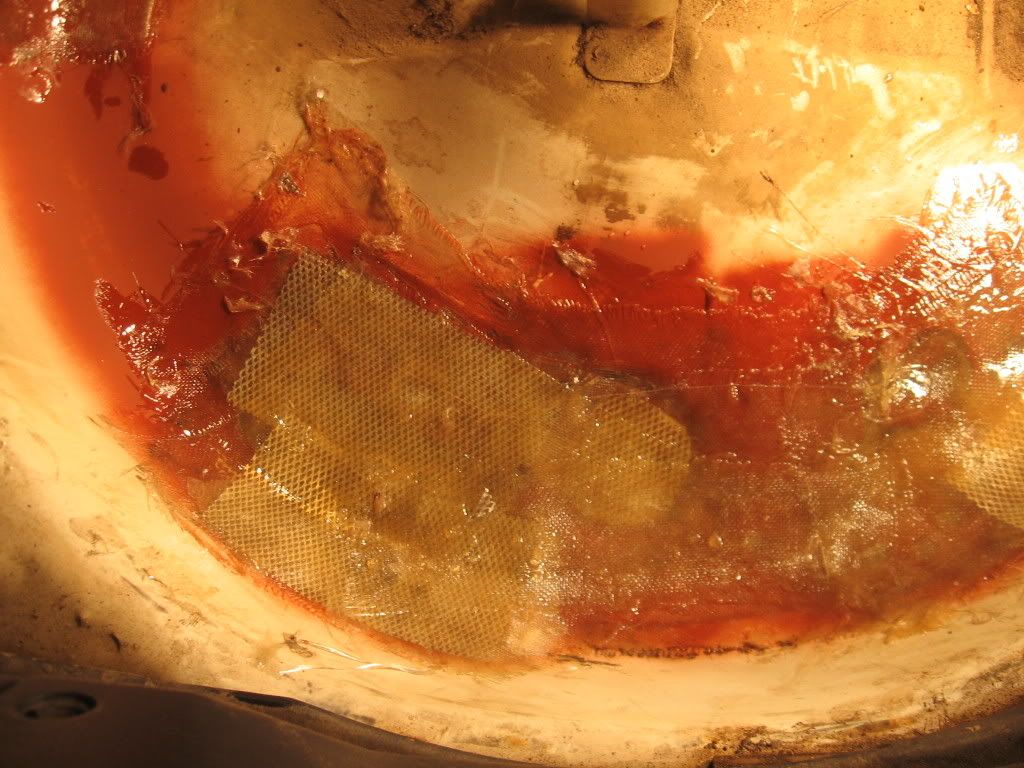
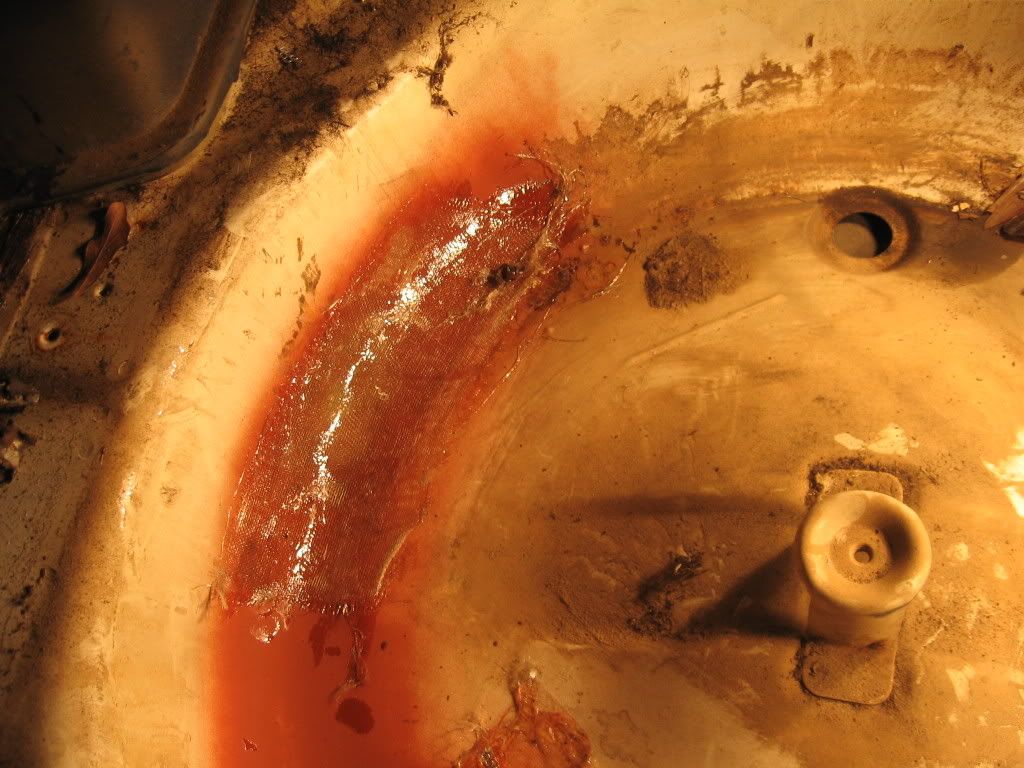
And the trunk, under the spare, was rusted out.

p1009579_2.jpg

p1009579_3.jpg

p1009579_4.jpg


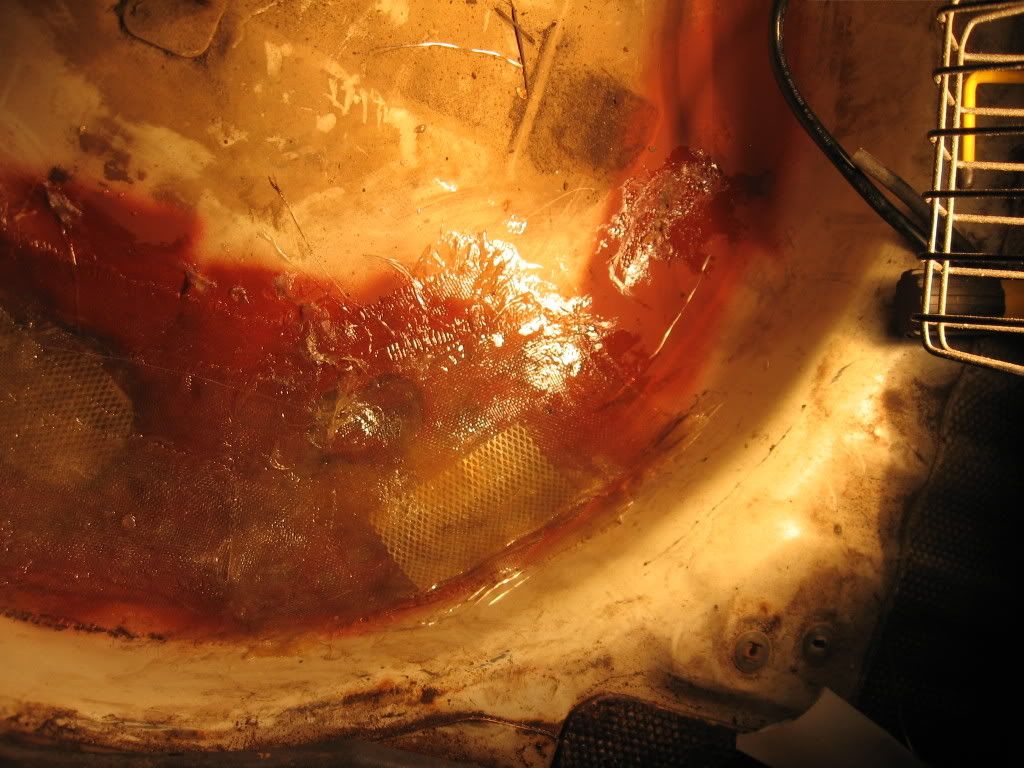
So I fiberglassed it until I have time to drop the tank and weld in new sheetmetal.

p1009579_5.jpg

p1009579_6.jpg

p1009579_7.jpg


It looks like crap in the pics but I did use some filler to smooth it out and painted it flat white, unfortunately, no pics yet.
 

Amontgomery

not so sad 10psi
Apr 1, 2008
166
0
0
Cleveland, MS
New intercooler pipes installed.

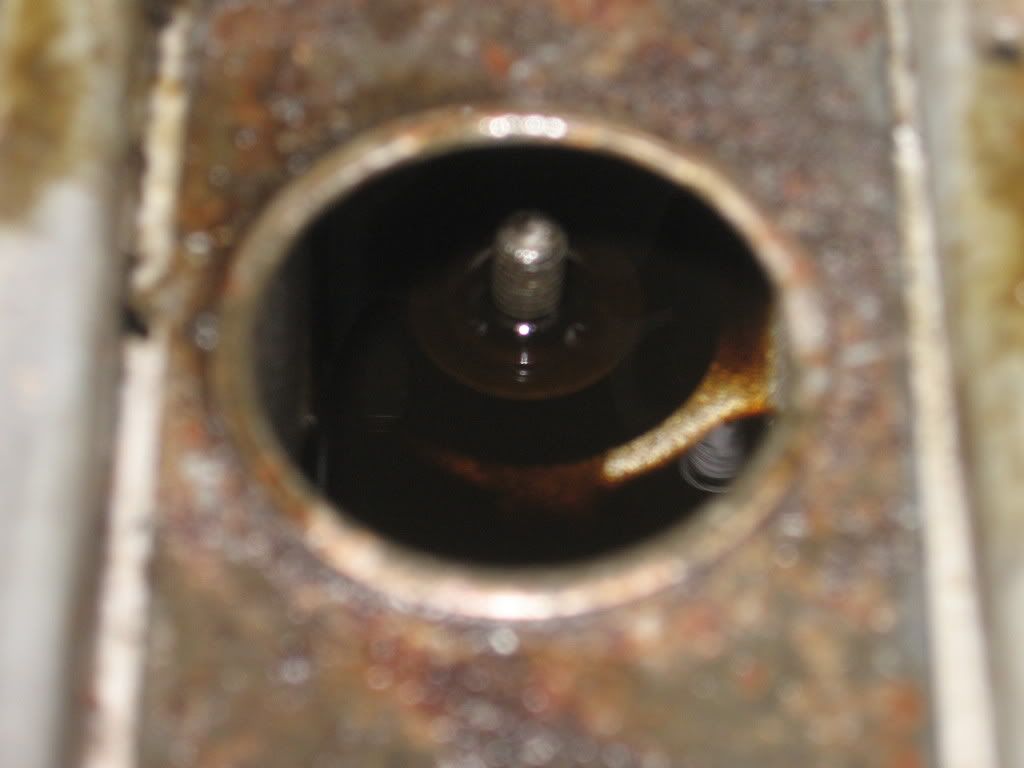
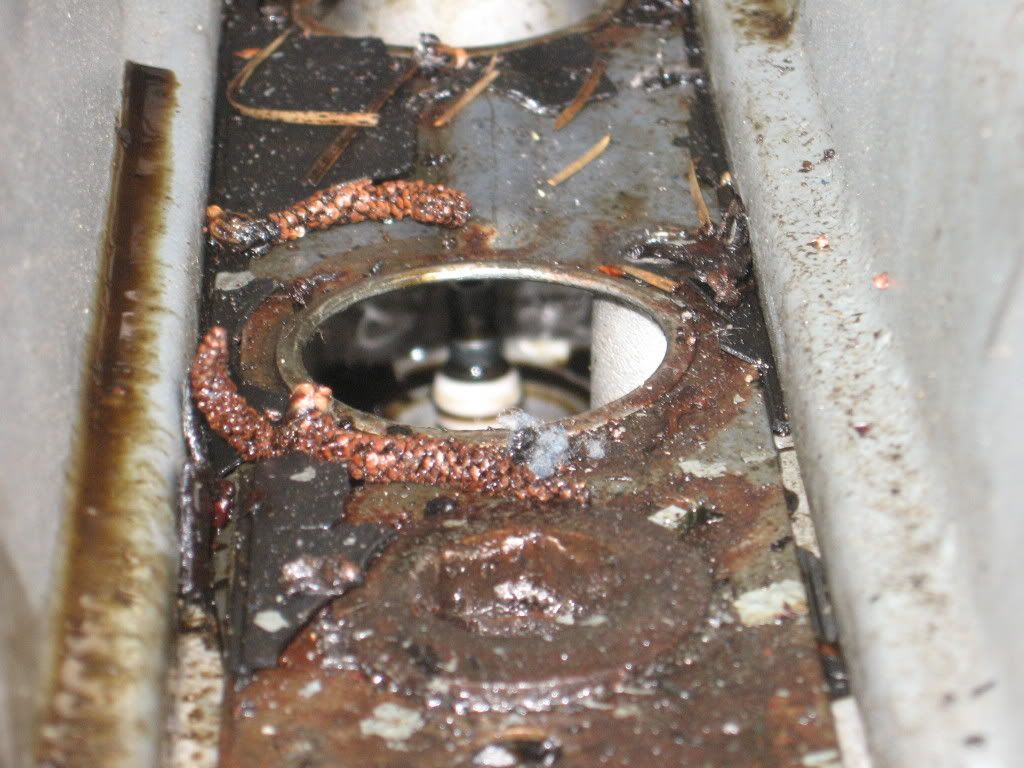
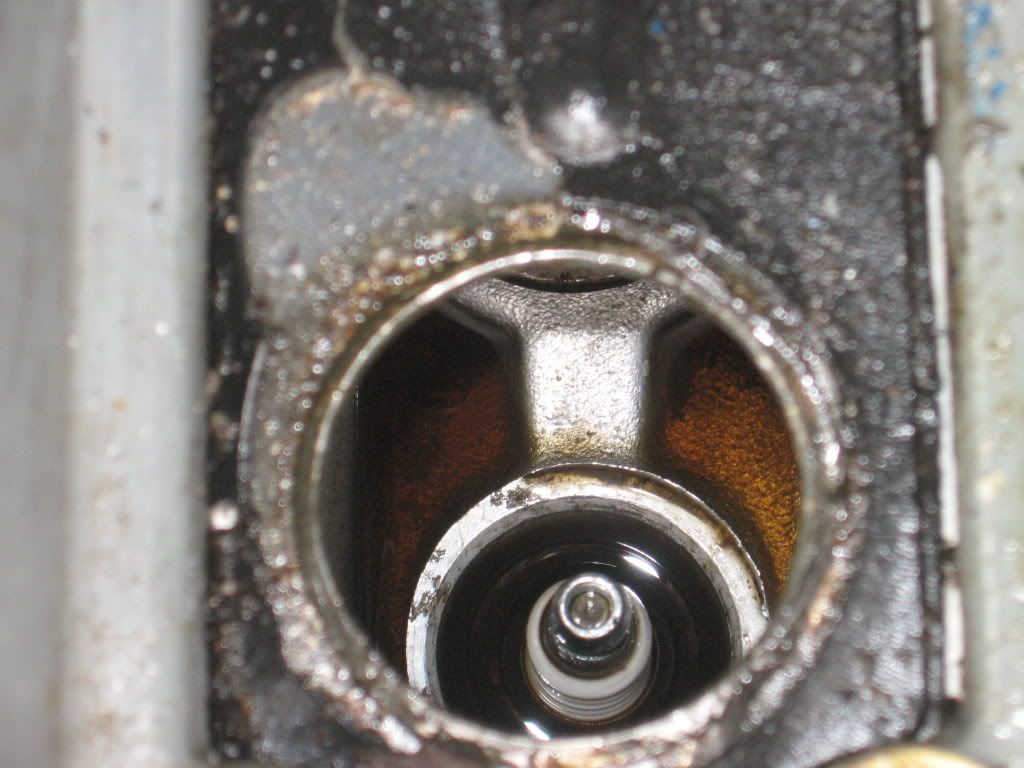
Had some problems over the weekend though. I began checking the engine as I was installing new pipes and spark plugs. The spark plug valley was filled with oil on cyl 3 and 4 with just the tips of the plugs exposed. Upon inspection I realized it was from the valve covers which were missing bolts and the ones that were installed were either hand tight or no even long enough to contact the threads. Upon further inspection I realized that the oil line that runs from the side of the block up to by the fill cap was split and taped together with electrical tape and was leaking badly.

I removed the valley cover and soaked up all of the oil with towels then pulled the plugs, which were not even gapped correctly, I would estimate somewhere around .80" instead of the recomended .31". On a few the tips where the plug wires contact them were loose and came off when I pulled the plug. A plug wire was also trapped underneath the bracket holding the coils and was tightened so tightly that it had worn away the insulation. New coils, plugs, and wires were all installed even though the stock coils were in good condition.

I ordered the valve cover gaskets and pulled the valve covers. The valley cover was in pathetic shape with the coating coming off of it but yet still reinstalled with hi-temp silicone gasket maker. Upon pulling both the valve covers and the valley cover I cleaned them up on a bench grinder with a wire wheel and reinstalled the gasket and sealled the valley cover all tightened down with matching bolts on grommets.

The oil hose posed a problem. I couldn't find a suitable replacement anywhere. I tried numerous hose and hydrolic shops in the area and all they had was either 3/4 or 1" not the 7/8 that was needed. Temporarily the old hose was patched with a coupler and a short length of heater hose that stretched easily over the fitting on the cover with the metal coupler and the fitting touching to minimize leakage. All held together with numerous worm gear hose clamps. AN fittings to come sometime during the summer for a permanent solution.

The CPS cover has also been replaced but for the time being without the seal. The seal is on its way from Toyota.

The taillights were also pulled and the surfaces of the lights as well as the body were cleaned and new factory gaskets were installed in an effort to fix the leak in the hatch of the car.

A new drivers side window trim should be coming soon as well.

The piping went on well and was welded up by a local welder with a TIG who did a great job and was very reasonable with his pricing, about 60 bucks for 2 hours worth of work.

I am just now getting home from my week long trip to see my parents and in-laws and will have pics to post tomorrow. Unfortunately I don't have any before pics other than of the oil on the plugs. I will snap some of the finished install tomorrow when I get a chance.
The car runs much better now with no misfires and a smooth powerband all the way up until the next shift.
 

Amontgomery

not so sad 10psi
Apr 1, 2008
166
0
0
Cleveland, MS
As promised.

Some of the oil on the plugs

p1028145_1.jpg

p1028145_2.jpg

p1028145_3.jpg


You can see how bad of shape the valley cover was in as well in these pictures.

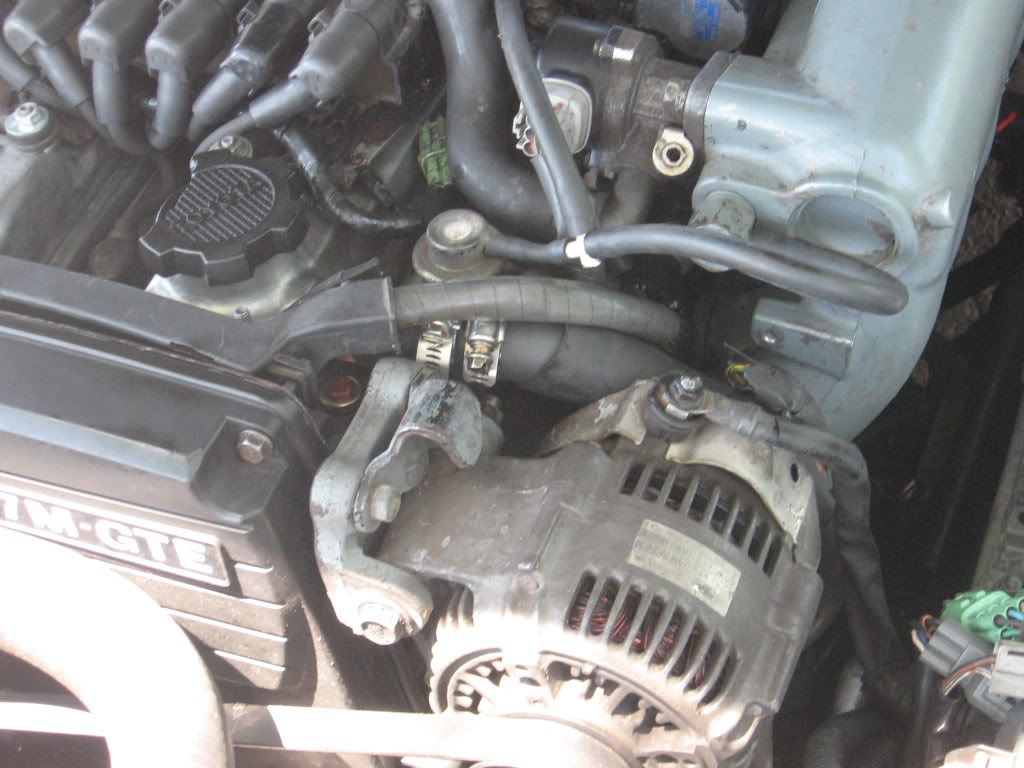
One of the hose that was split and taped up after it was patched.

p1028145_4.jpg


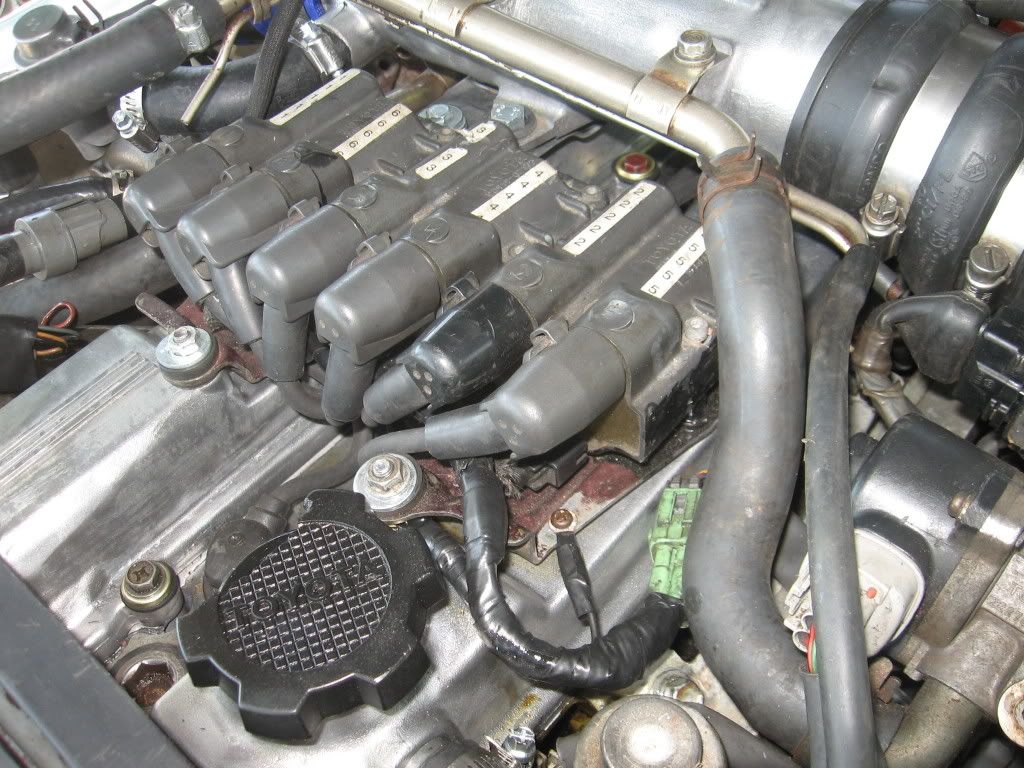
One of the coils after I cleaned up the wiring.

p1028145_5.jpg


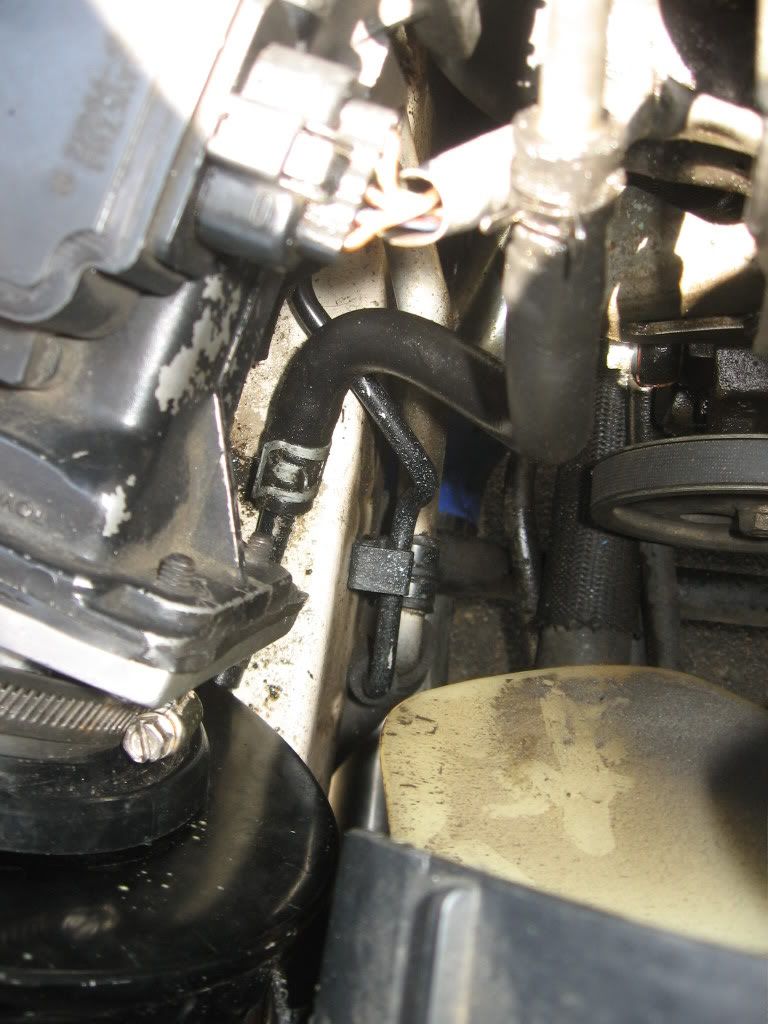
One of the lower intercooler tube

p1028145_6.jpg


One of the out-side of the intercooler and its hardpipe and coupler.

p1028145_7.jpg


And finally one of the engine with everything installed.

p1028145_8.jpg


Sorry about the light in the pics.
 

Amontgomery

not so sad 10psi
Apr 1, 2008
166
0
0
Cleveland, MS
We used the grommets that came in the gasket kit. They have a brass upper and rubber lower. When we tightened them down the bolt head dug into the brass and locked it on so to speak. I am checking them every hundred miles or so. I haven't had a problem yet but if I do I will loctite them.
 

92nsx

Supramania Contributor
Sep 30, 2005
2,957
0
0
Clearwater, MN
Your intercooler piping looks like it came out well, way to go. That there just saved you some $$. Keep up the good work. We like to see lots of pics here on SM.
 

Amontgomery

not so sad 10psi
Apr 1, 2008
166
0
0
Cleveland, MS
Thanks, I worked on getting it fitted all night before I took it to the welder. There will be plenty more pics to come, though I don't know when the next update will be.
 

Amontgomery

not so sad 10psi
Apr 1, 2008
166
0
0
Cleveland, MS
Would definitely make it look cleaner. I was kind of hurried putting it back together and I had some people waiting on me to get done so I didn't take the time when I did my initial install. I'll straighten it up and snaps a picture in better light. The ones on the lower tubing are set at particular angles for a reason though.