AFRAID - Built, GT42, hidden wiring, smoothed bay, ricey bling + more pointless stuff

deathsminion

New Member
Jan 17, 2010
9
0
0
Melbourne, Australia
Thought I'd put up some pics of my long term, still ongoing project.
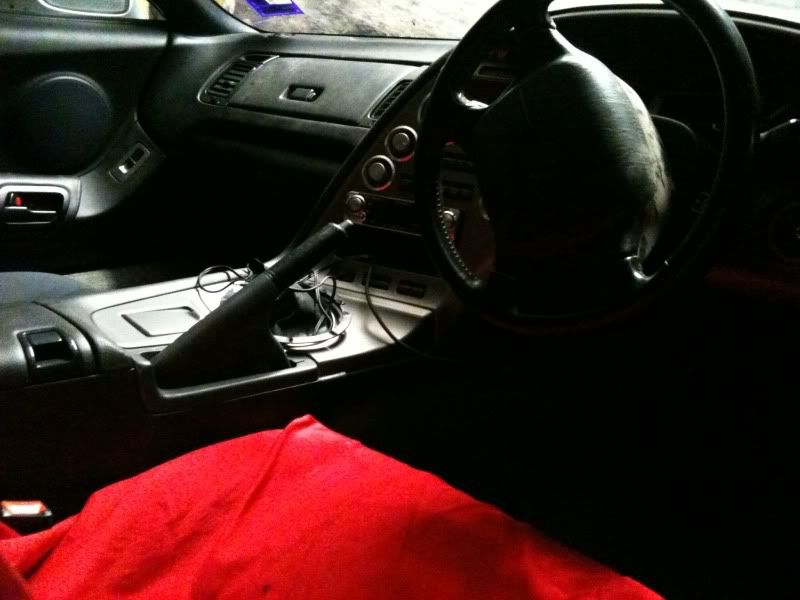
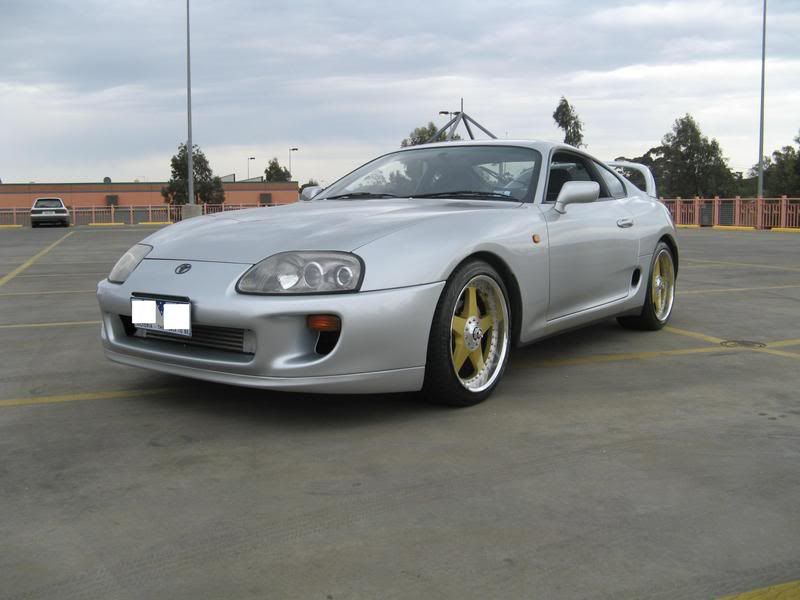
The car started as an October 1993 JDM 6 speed TT RZ. It was at BPU level with an Apexi AVC-R, HKS FCON-V Pro Gold, and a dodgy 2 pot/2 pot brake setup to clear the Veilside Andrews.
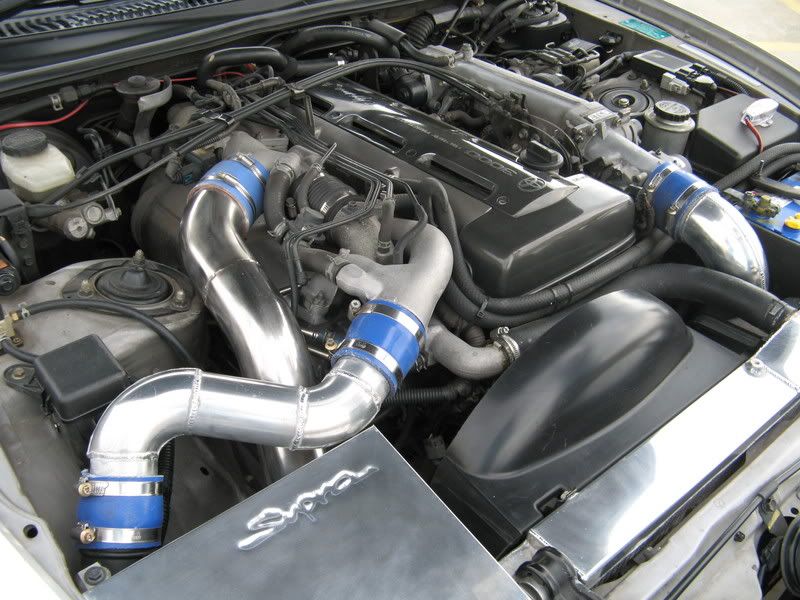
p1497741_1.jpg

p1497741_2.jpg


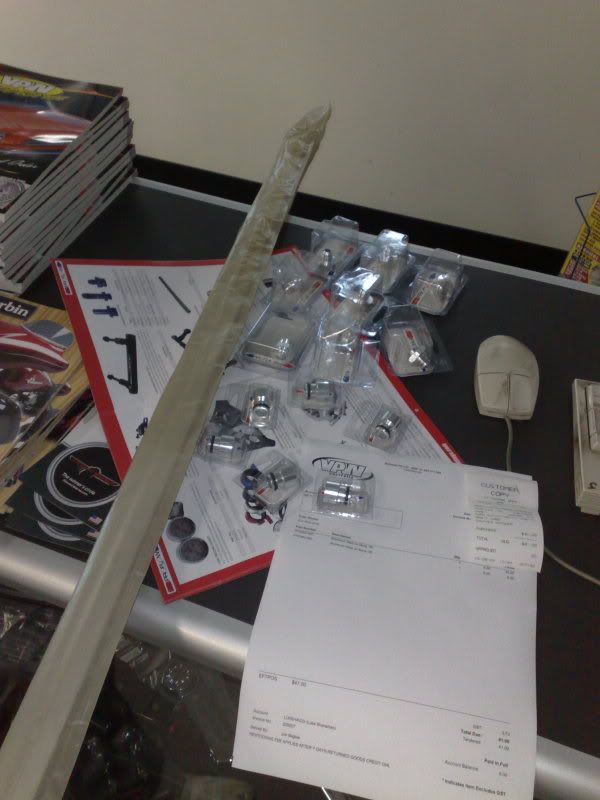
The upgrade back to 4 pot/2 pot brakes meant that I had to revert to stock wheels. Unfortunately the only set that were available at the time were polished ones with chromed centrecaps. Definitely not my choice, but I had to get the car roadworthy so that it could be driven.

From this point I guess I was high on cheese or something, because I thought airbrushing would have been the coolest thing ever, and started doing this;

p1497741_3.jpg


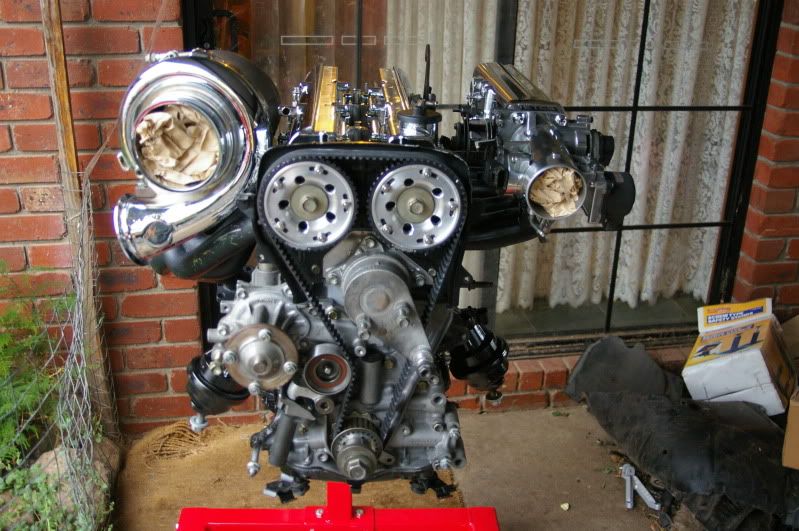
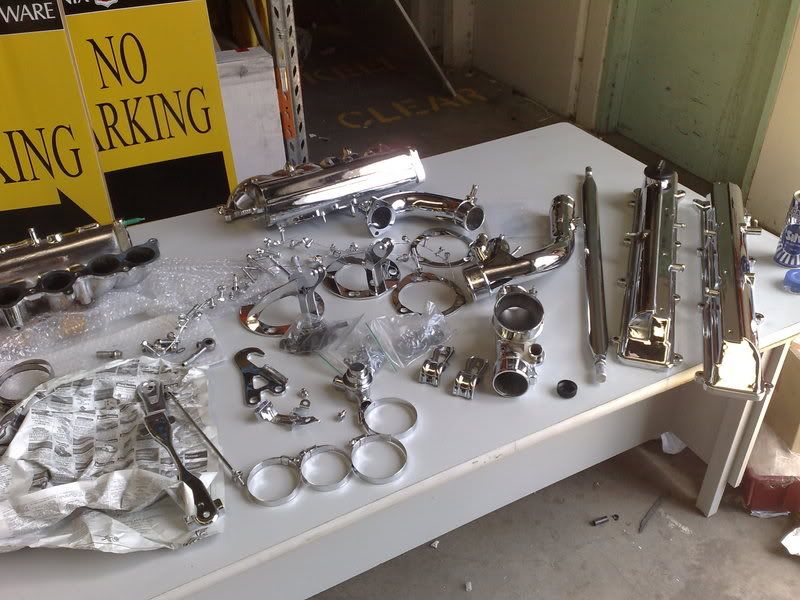
Thankfully I came to my senses not too long after. Which, unfortunately, was about the time that I had the motor stripped down to have various parts chromed and polished. Stupidly I left the battery plugged in.
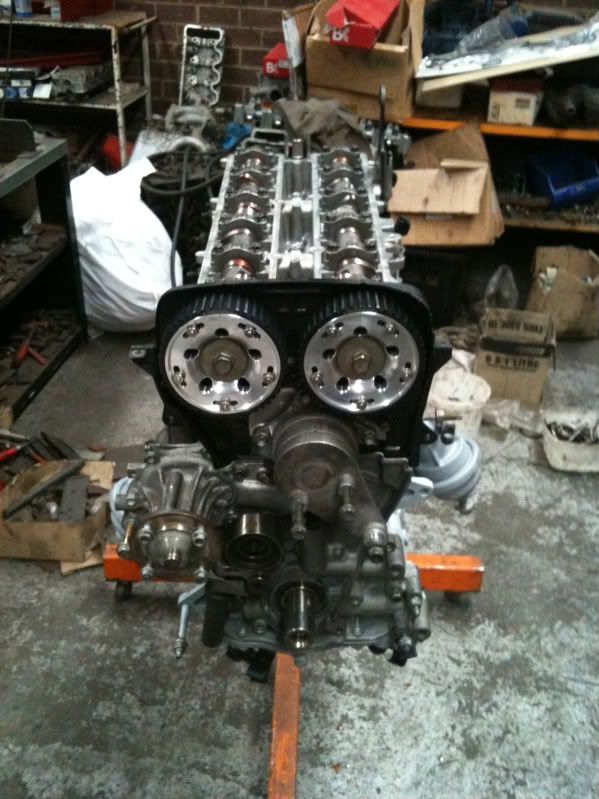
Did you know that a 2JZ will start and run with no cam covers amongst various other things? Yep, it sure will, but not for long. Thanks, dad.

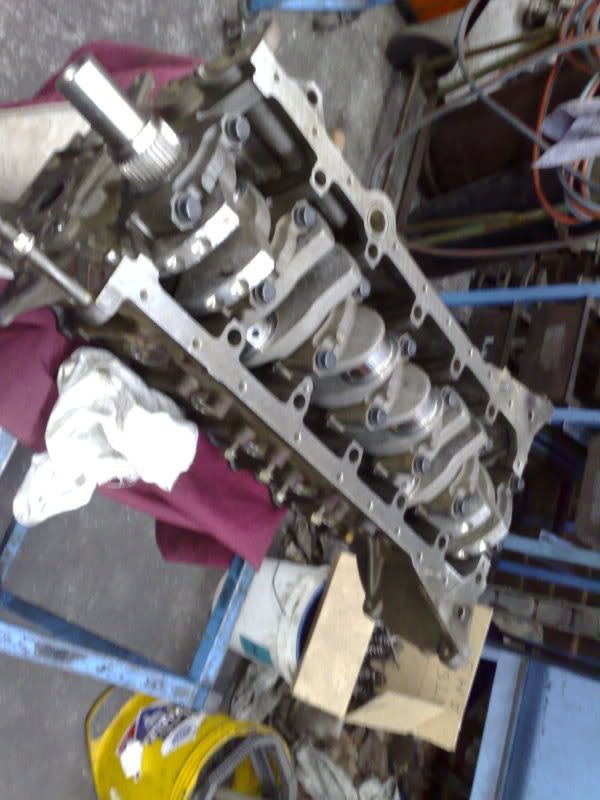
These are all the things that were off the motor, and yes, it still ran;
p1497741_4.jpg


The end result was a blown headgasket on cylinder 1. This started the ordeal that has become my project. The date was June, 2008.

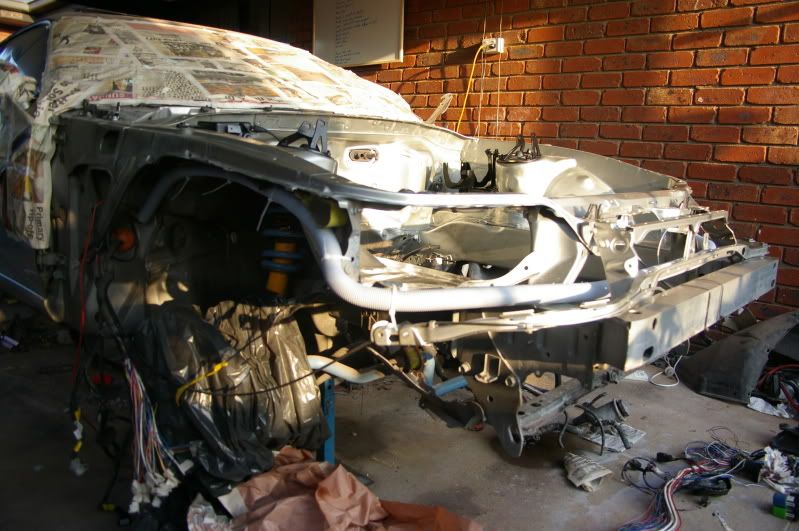
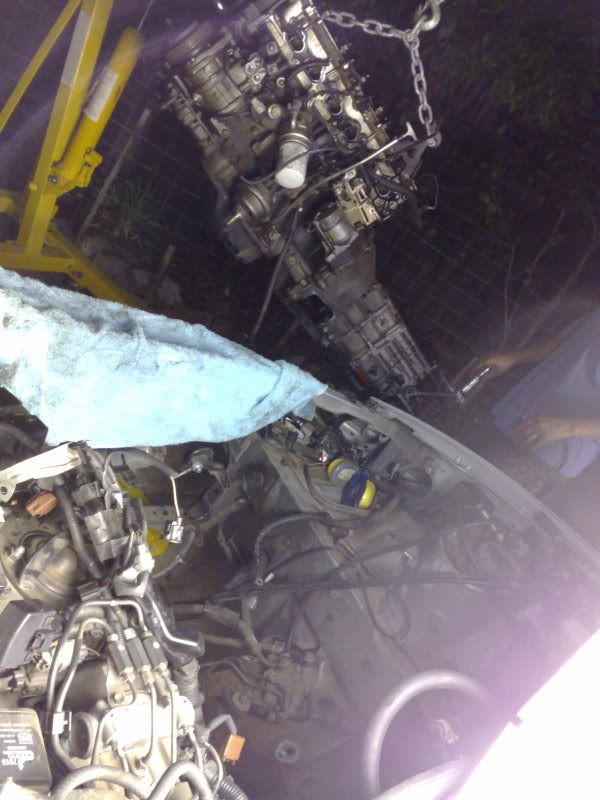
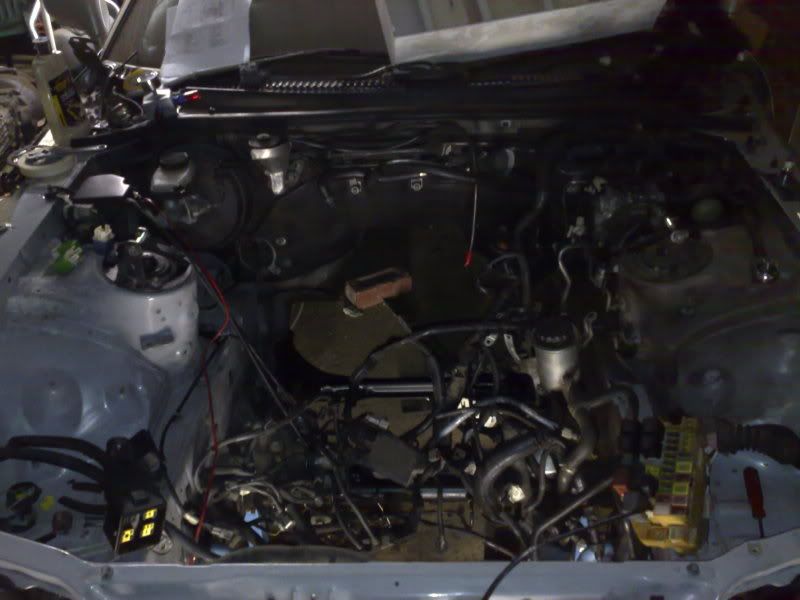
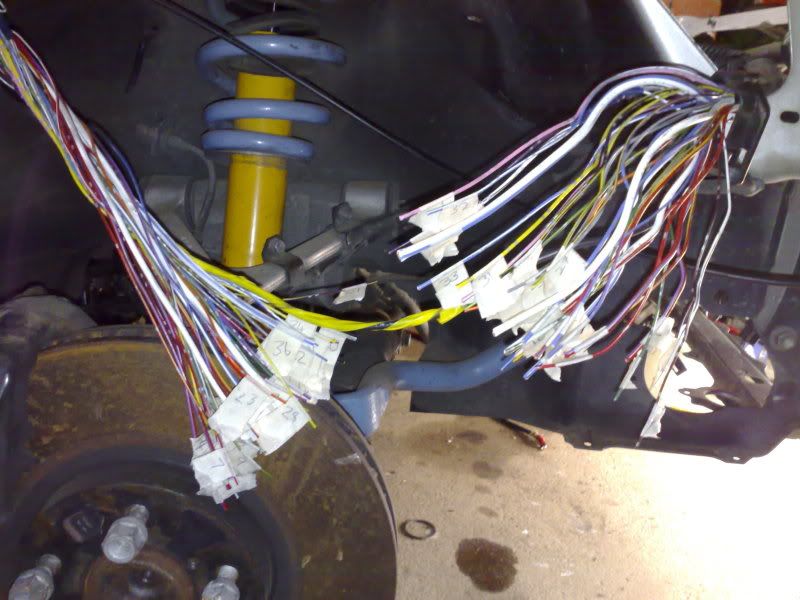
Things pretty well took off from there. The motor came out to be rebuilt, leaving me with a fancy looking door stop with a really ugly engine bay and spaghetti wiring everywhere;
p1497741_5.jpg

p1497741_6.jpg


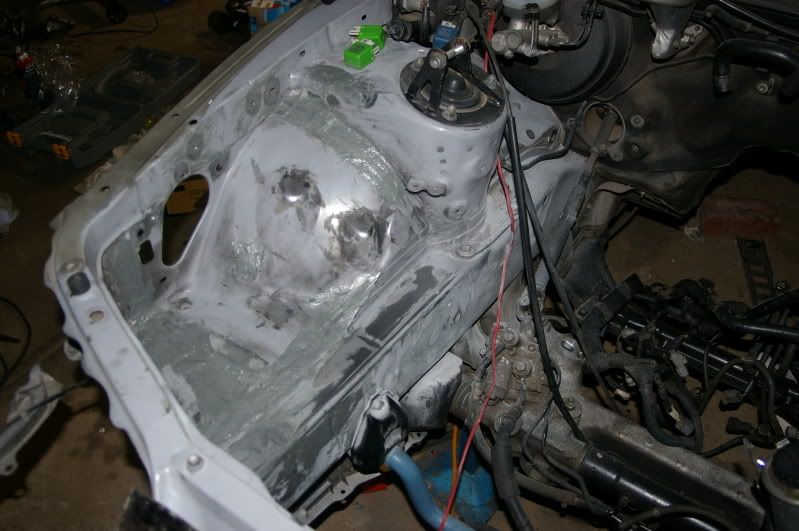
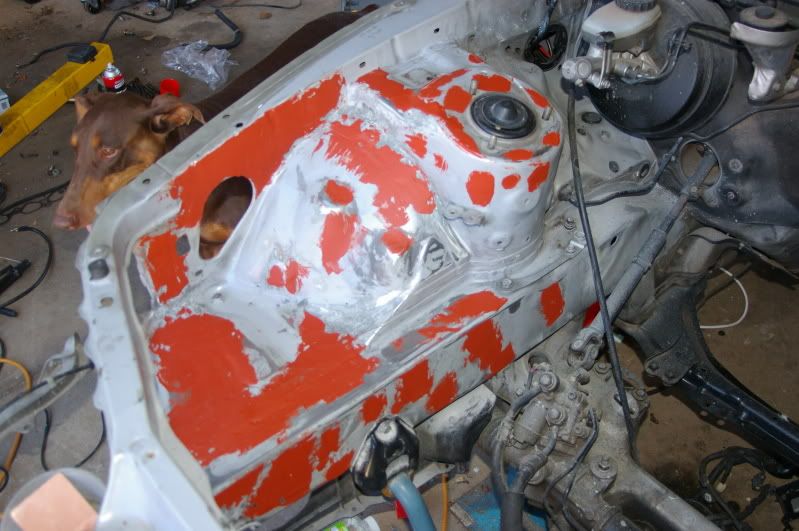
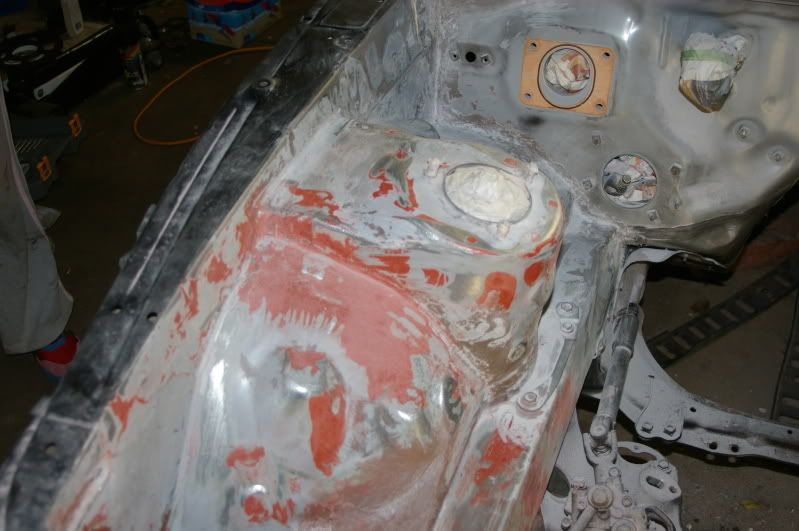
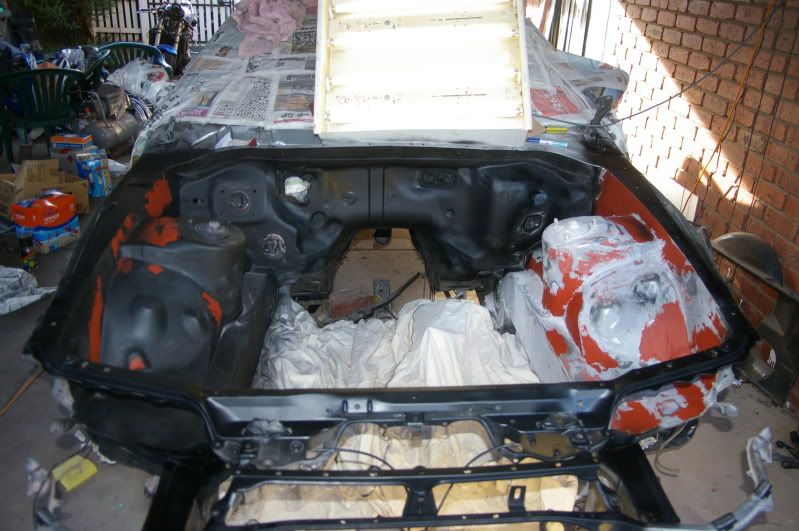
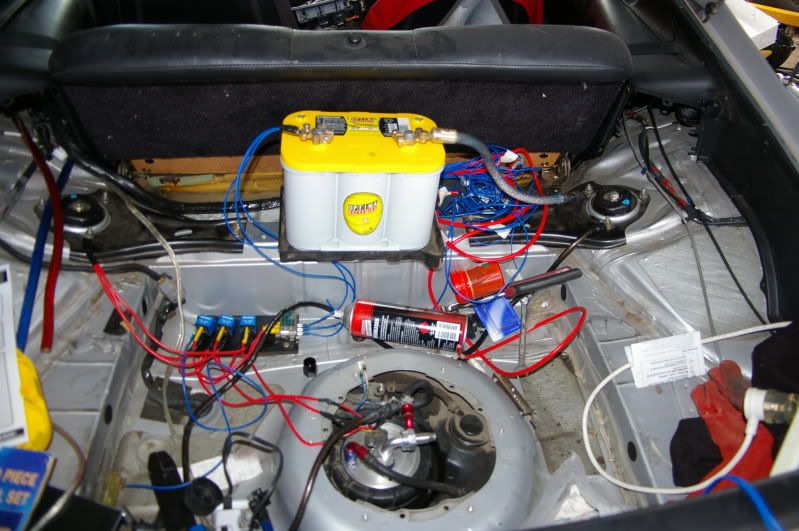
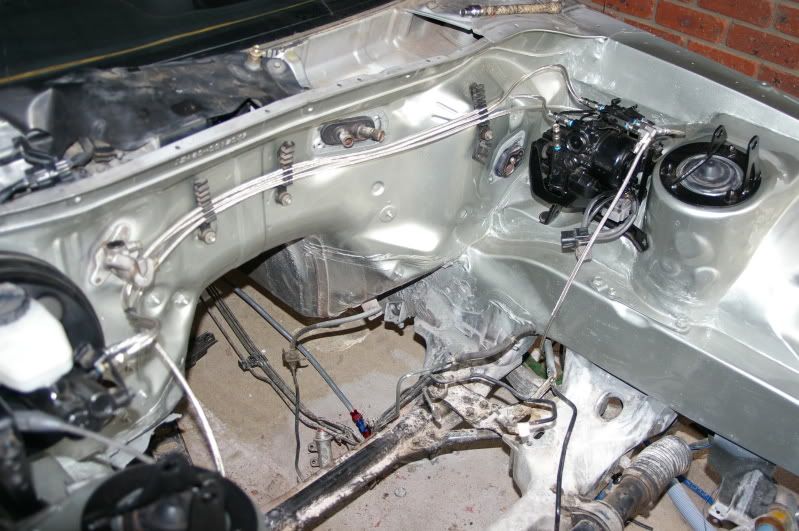
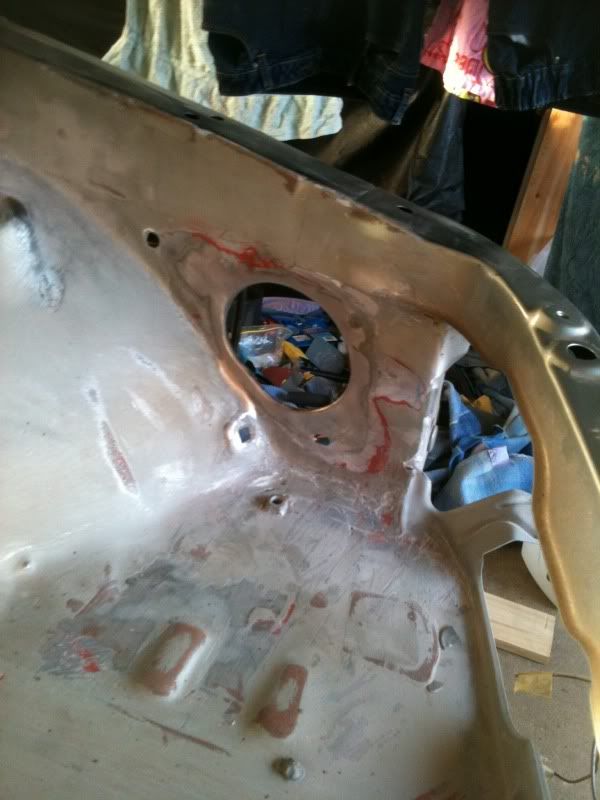
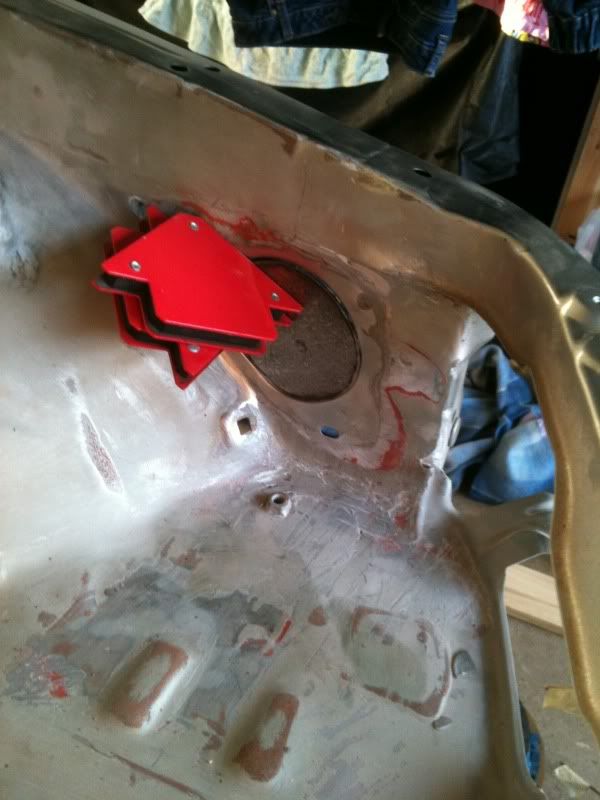
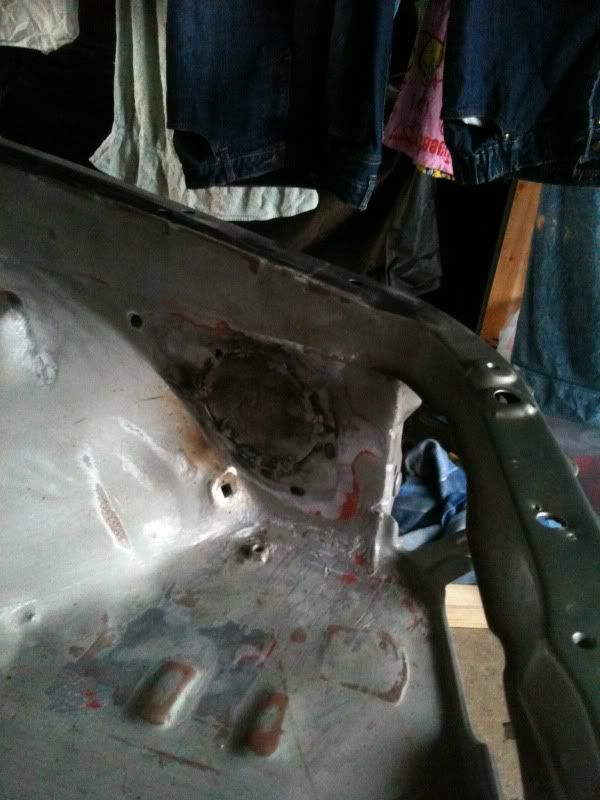
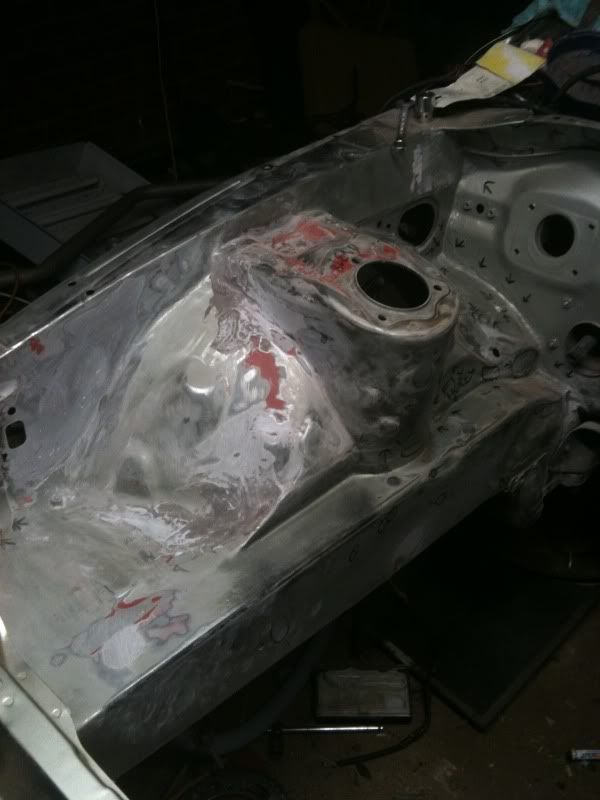
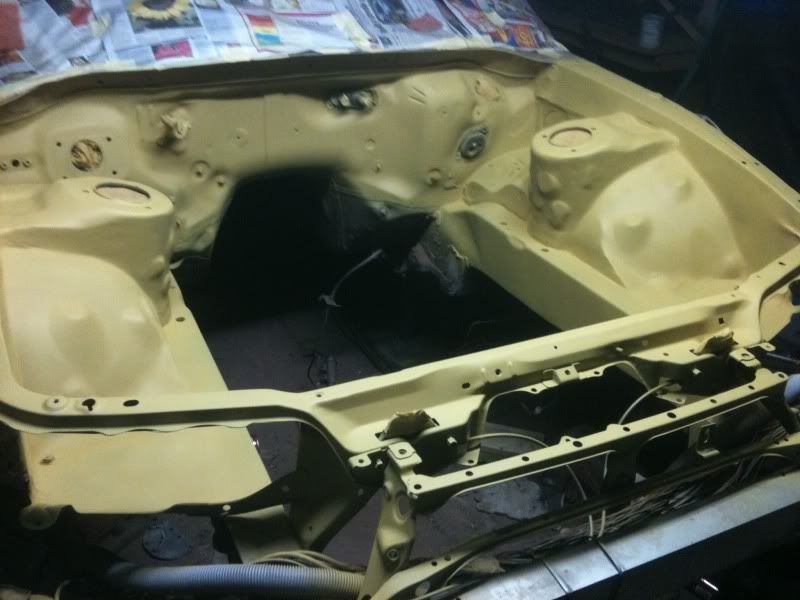
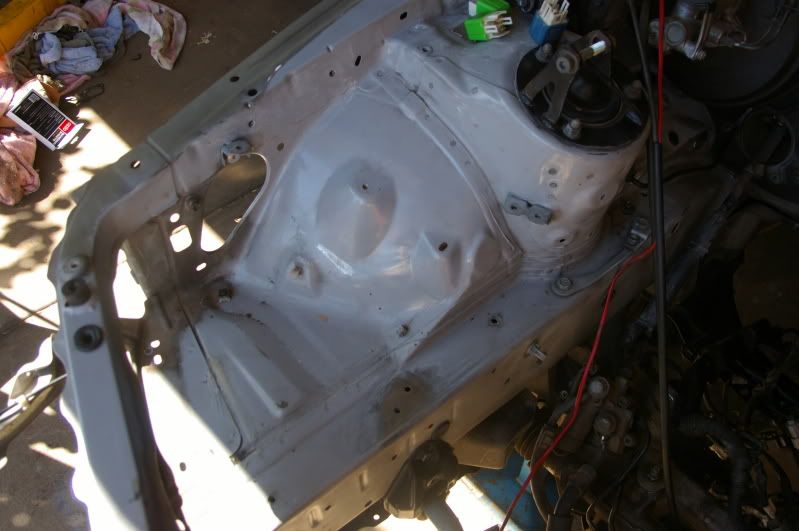
I decided that it would look much nicer with the wiring hidden and the bay smoothed and painted. The plan was to run the fusebox and battery into the boot and clean the bay up.
p1497741_7.jpg

p1497741_8.jpg

p1497741_9.jpg

p1497741_10.jpg

p1497741_11.jpg

p1497741_12.jpg

p1497741_13.jpg


The colour was Lexus Millenium Metallic.

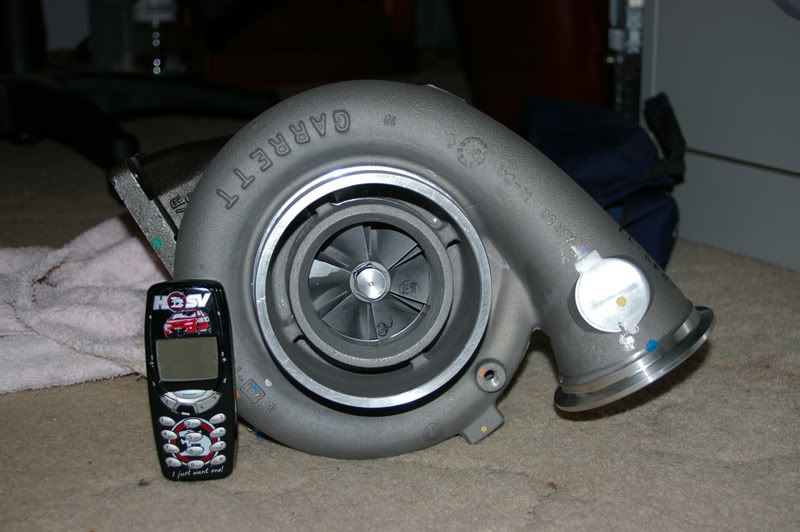
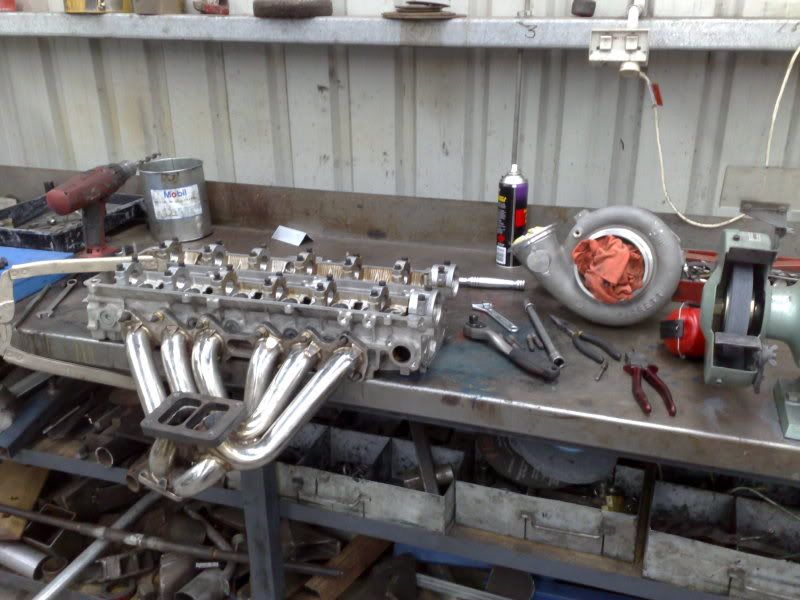
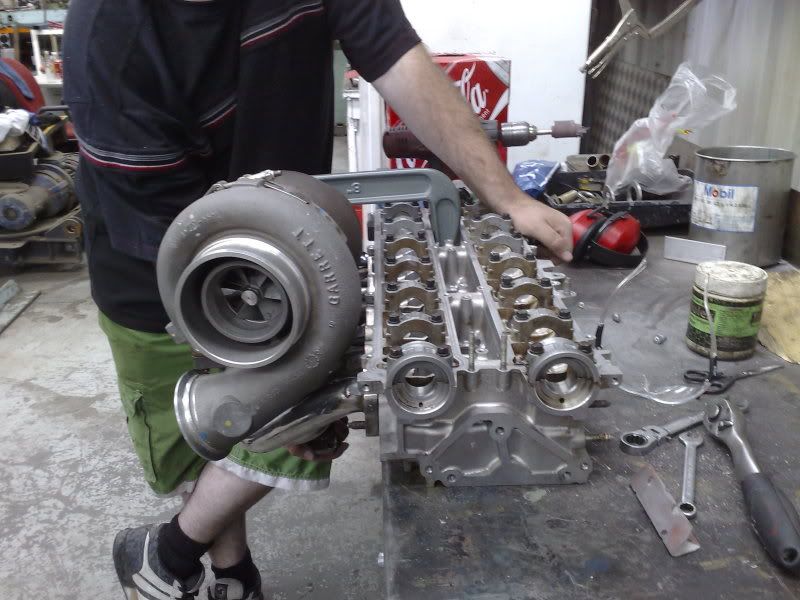
The plans for the engine were also kicking along at this time. A GT42 was selected as the turbo (after many an issue with the vendor)
p1497741_14.jpg


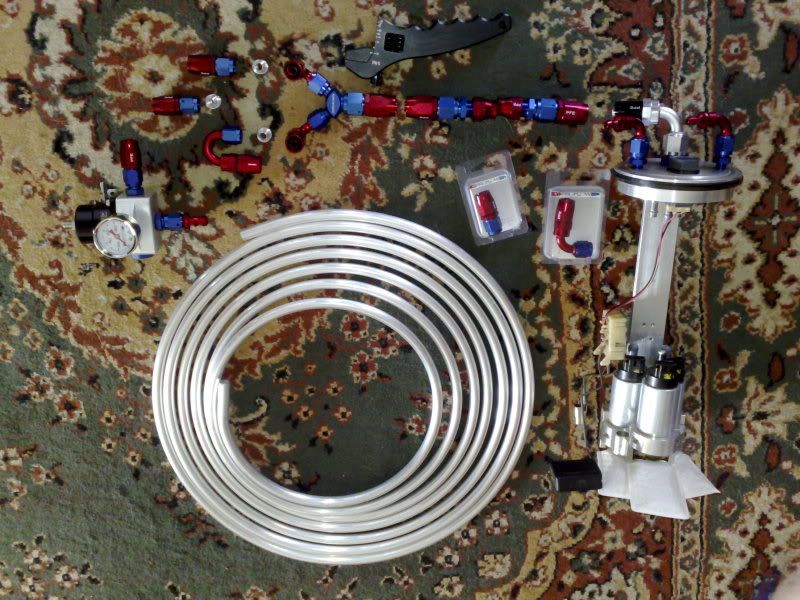
This of course meant that an upgraded fuel system would be required.
p1497741_15.jpg

p1497741_16.jpg


As the turbo was a T6 flange, it also meant a custom manifold would have to be made, courtesy of my friend who is a ticketed welder.
p1497741_17.jpg

p1497741_18.jpg
 

deathsminion

New Member
Jan 17, 2010
9
0
0
Melbourne, Australia
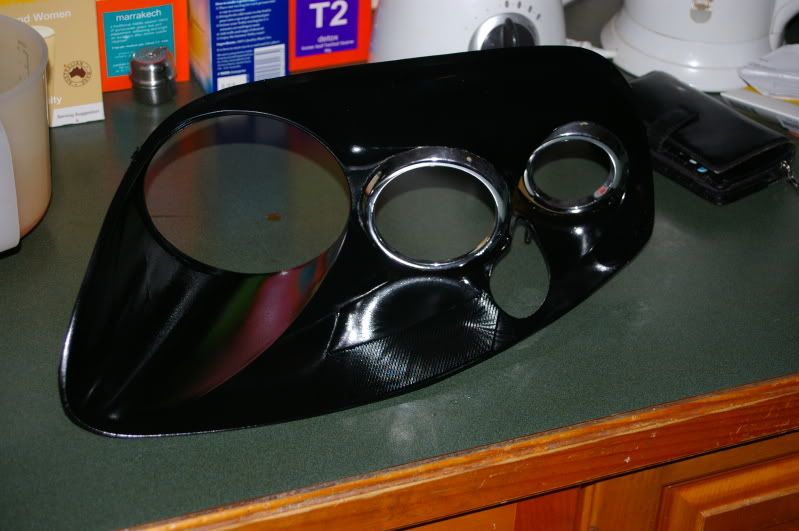
I also decided to start with a few aesthetic changes.

p1497743_1.jpg


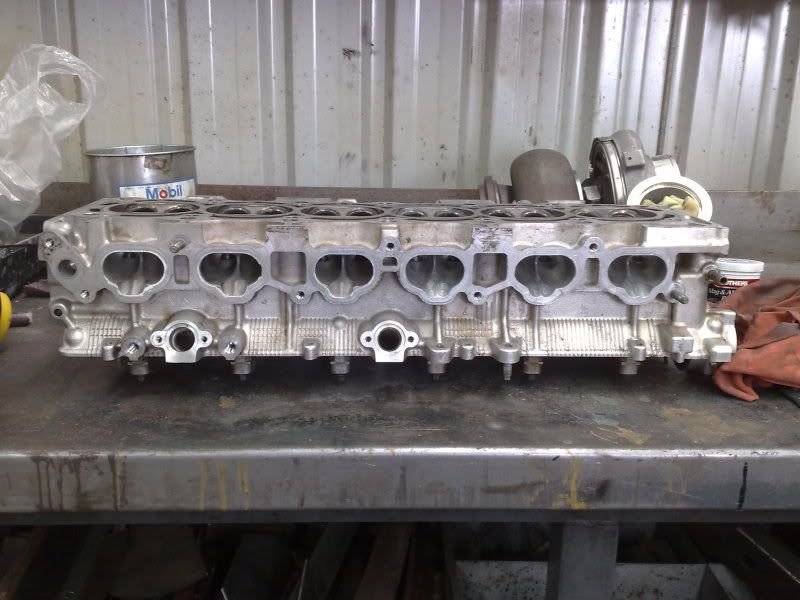
The head was also to be ported to promote the best flow possible.

p1497743_2.jpg


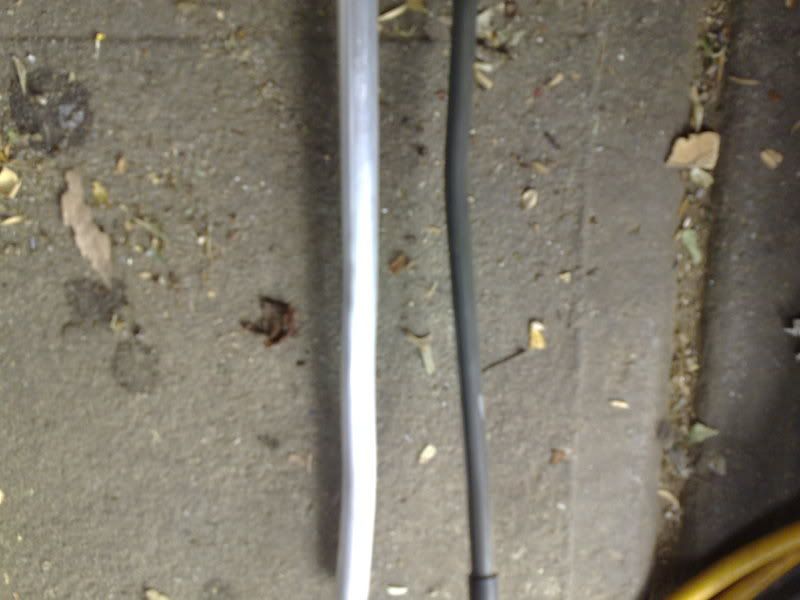
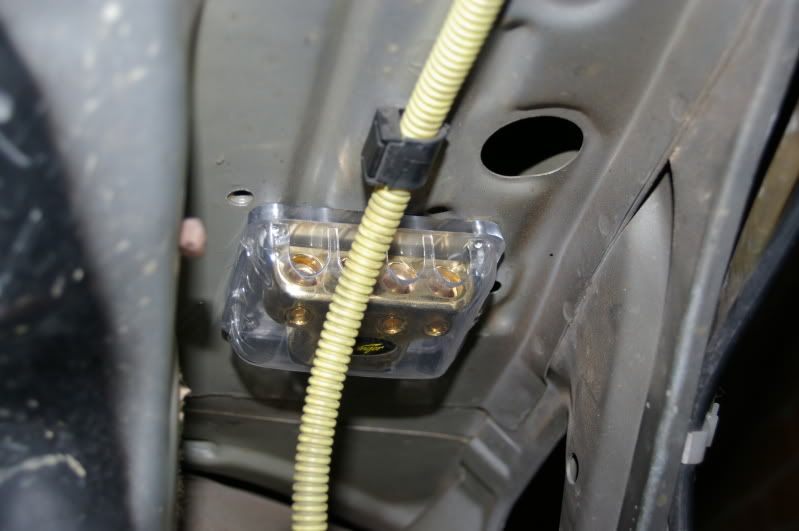
Then the wiring nonsense began. I opted for vacuum cleaner tube to run as conduit.

p1497743_3.jpg

p1497743_4.jpg


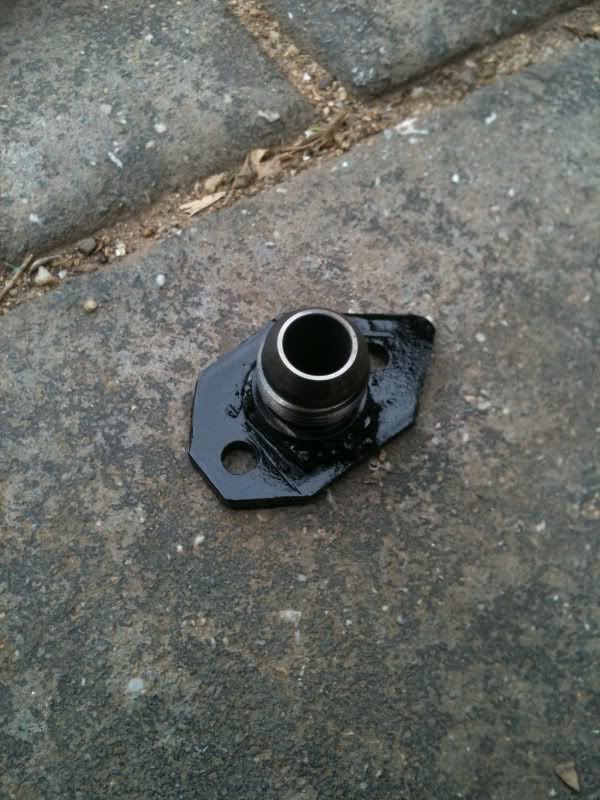
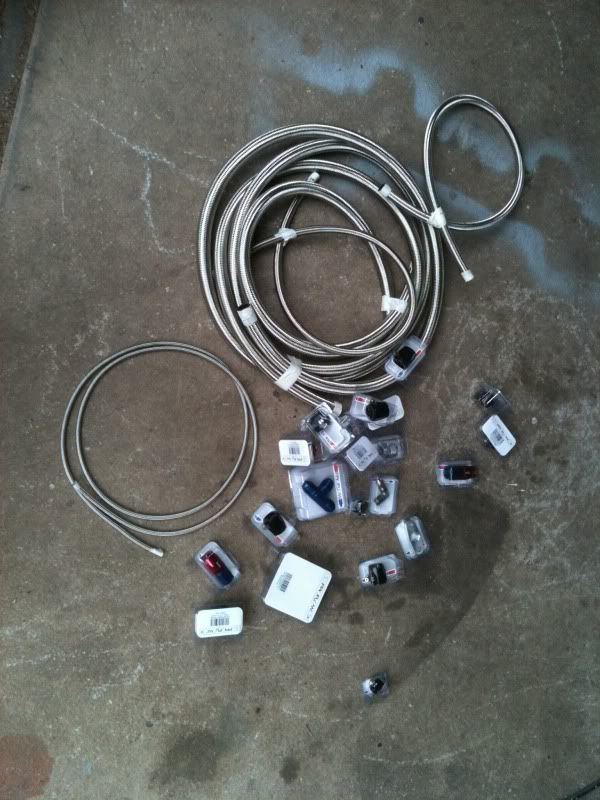
I also decided to redo all of the lines in braided.

p1497743_5.jpg


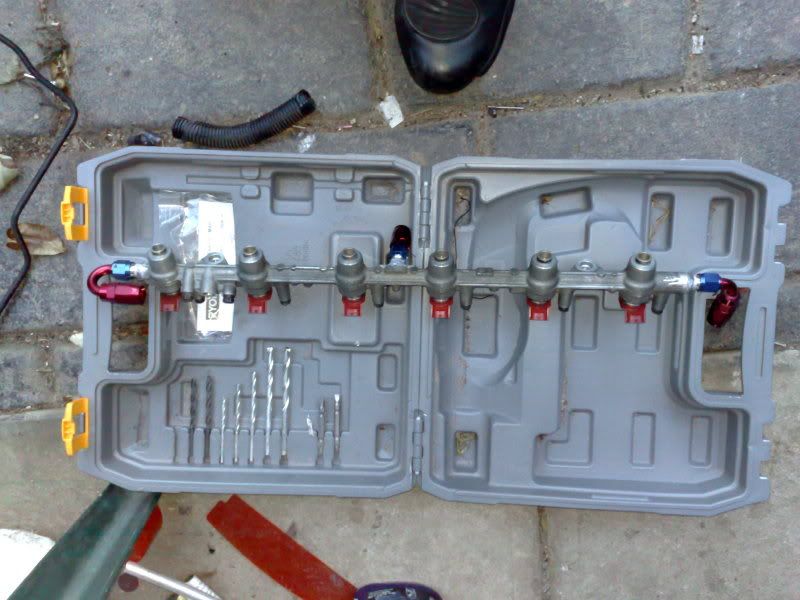
And made a twin feed, single return stock rail with SARD 850CC injectors.

p1497743_6.jpg


The battery relocation meant that I would still need a power source near the bay. A distro block was mounted under the passenger guard.

p1497743_7.jpg


It's now May 2009 and the engine is still at the builders.

p1497743_8.jpg

p1497743_9.jpg


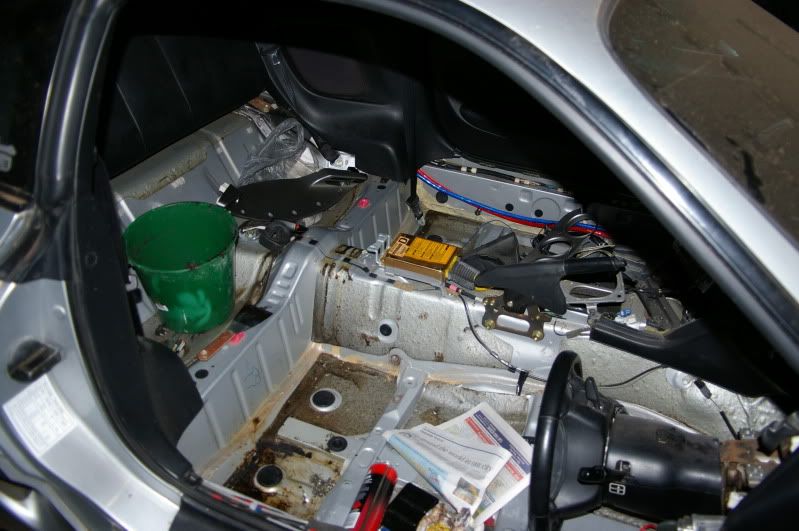
The interior came out for some removal of sound deadening and to run all of the new wiring conduits.

p1497743_10.jpg


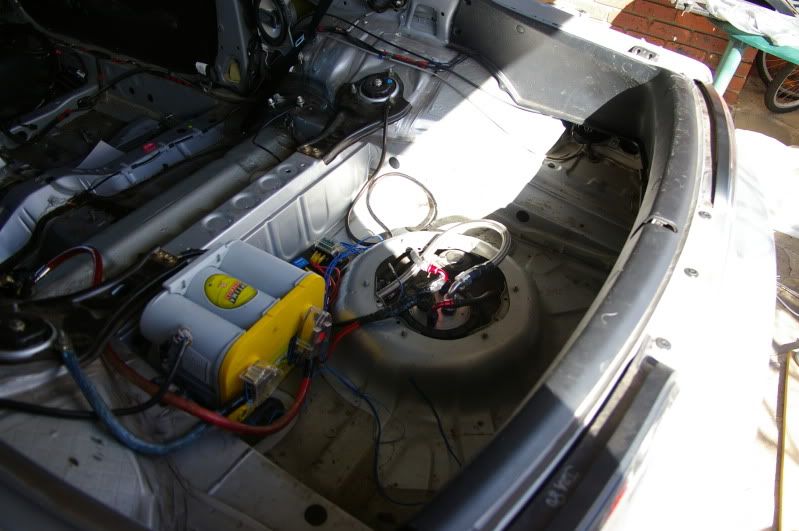
I decided I didn't like the layout of the boot and redid it.

p1497743_11.jpg


It was also decided to run a secondary rail with large (1000cc+) top feed injectors to allow for the use of E85, as all lines had been upgraded to braided.

p1497743_12.jpg


Right about this time another issue occurred with my reground stock cams. They had massive clearance issues, even with large shims.

p1497743_13.jpg


For some reason that I can't quite remember, I also decided to drop the front subframe.

p1497743_14.jpg


The remediation to the issue of the cams was to upgrade to Brian Crower 272 on both the intake and exhaust.

p1497743_15.jpg


The suspension was cleaned up a little as well. This is Whiteline;

p1497743_16.jpg


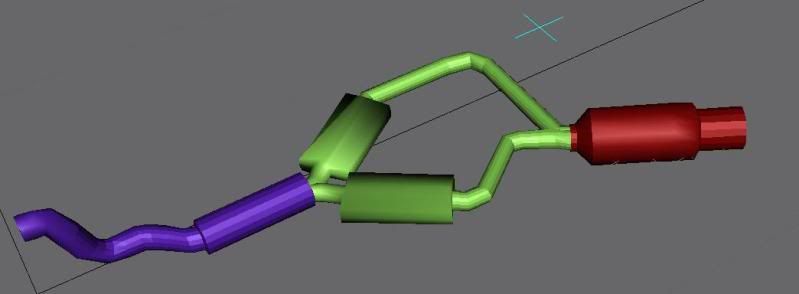
I wanted the car to be engineered, so here is the CAD design for a legal exhaust.

p1497743_17.jpg


Motor was coming along as well.

p1497743_18.jpg


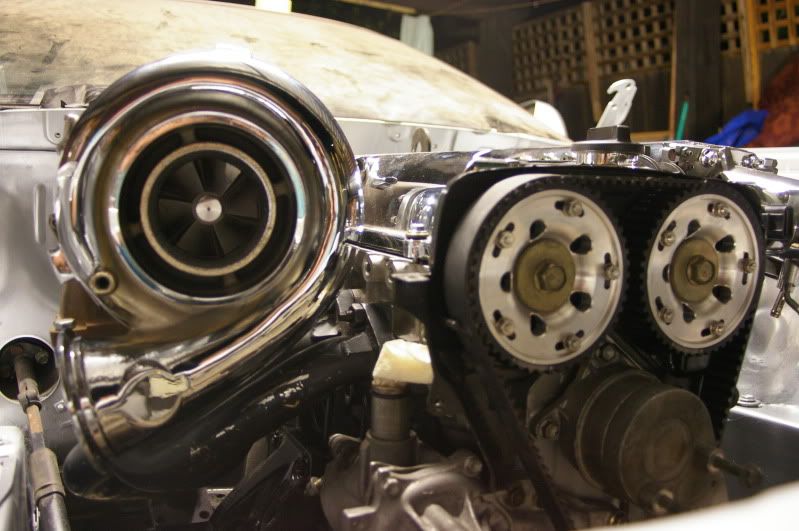
I ended up getting the motor back 8 months and 29 days after it went to the builder.
p1497743_19.jpg


The final specs;

Brian Crower 272 Intake/Exhaust
Brian Crower valve springs with titanium retainers
Brian Crower 1mm oversize valves on exhaust and intake
Ported head
ACL race series headgasket
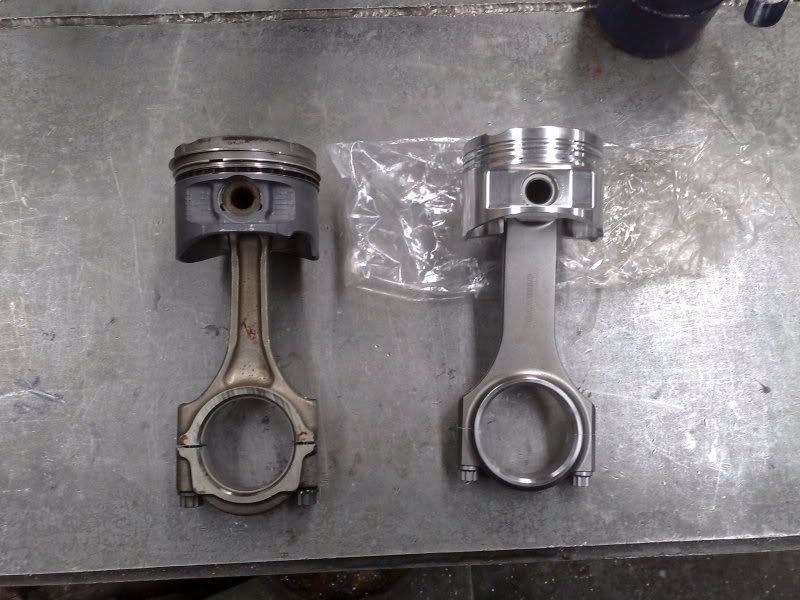
JE 20thou over pistons
JE rings
Carillo rods
Balanced crank
ACL diamond black bearings
 

deathsminion

New Member
Jan 17, 2010
9
0
0
Melbourne, Australia
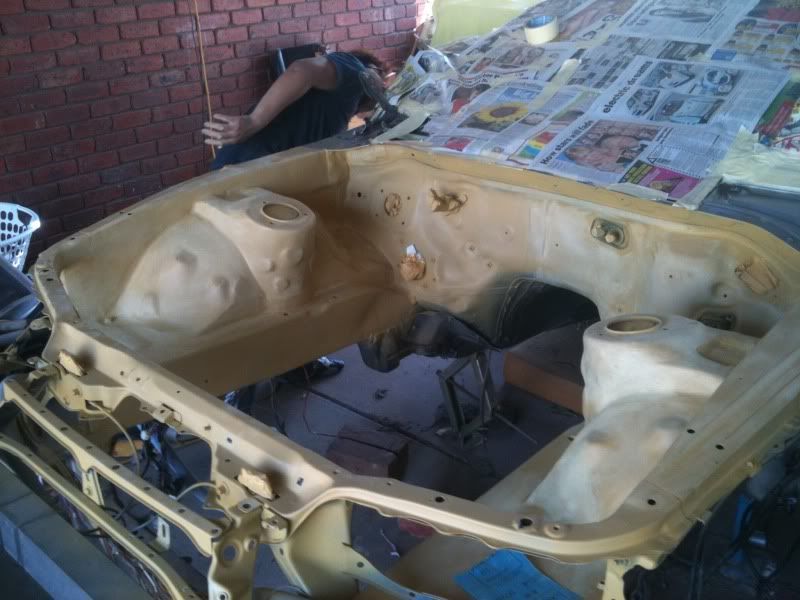
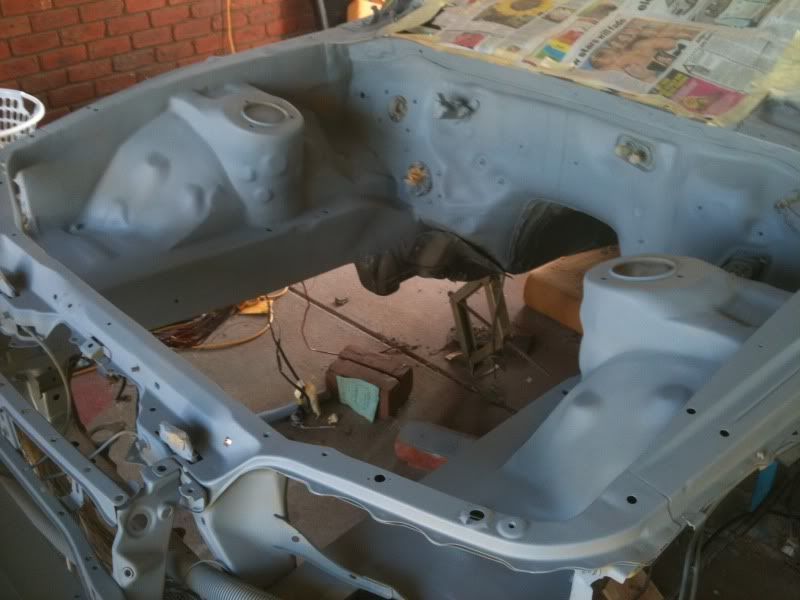
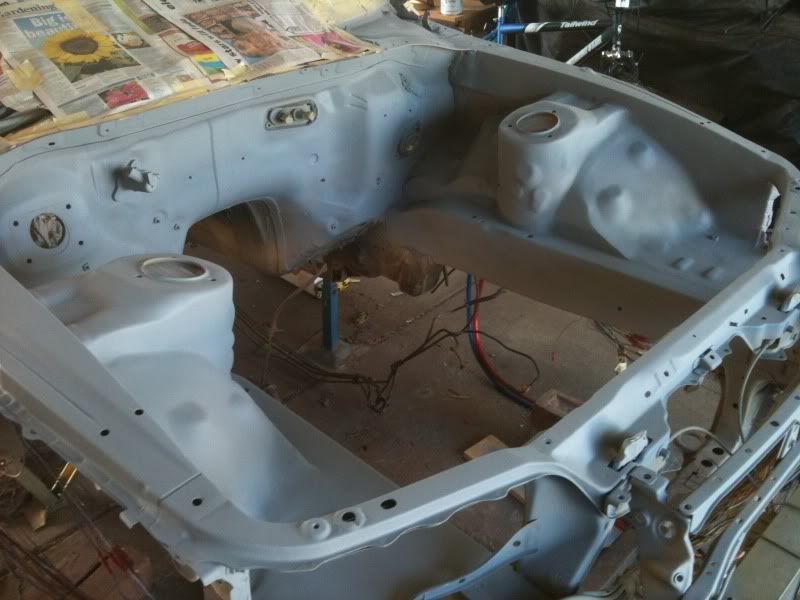
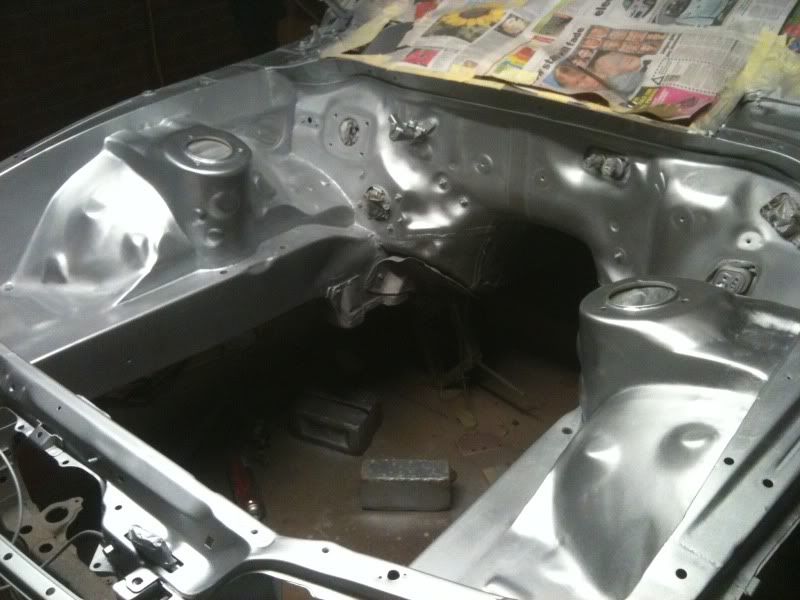
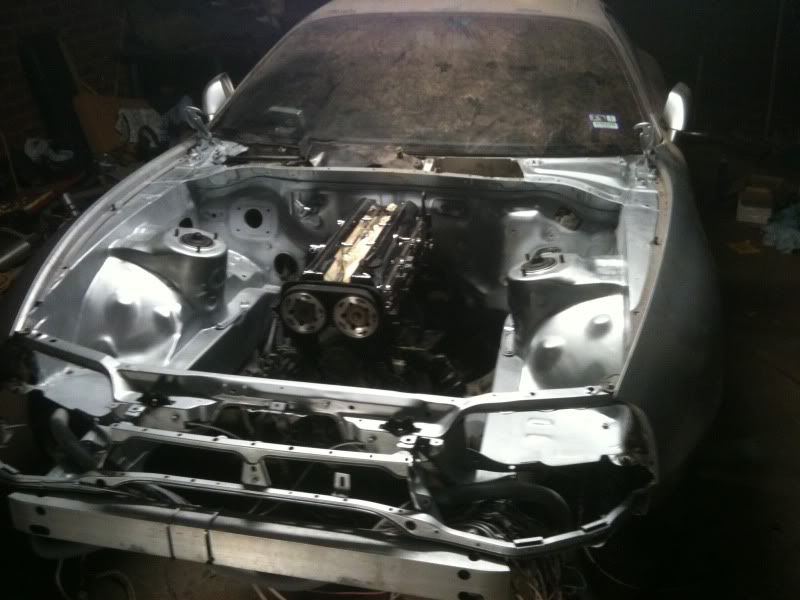
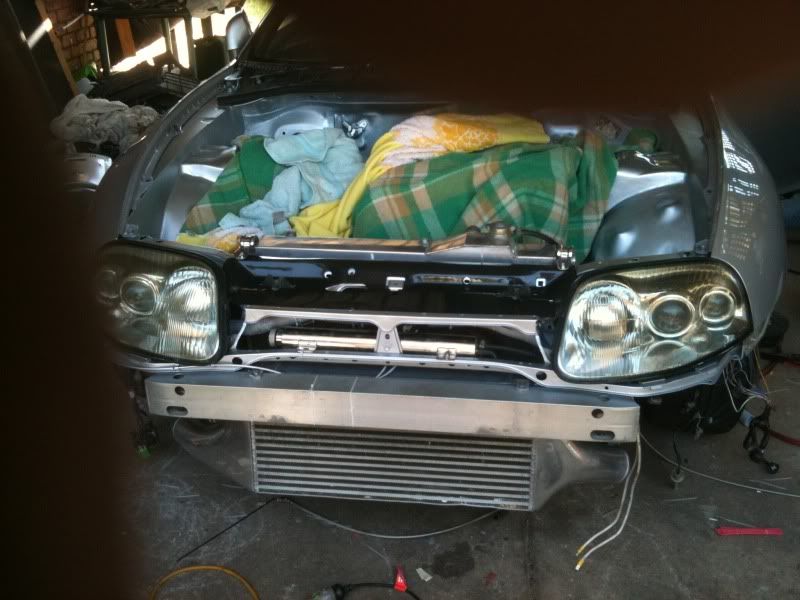
At this point I decided I wasn't happy with the engine bay and decided to go back to the now-rare-in-Victoria Alpine Silver.
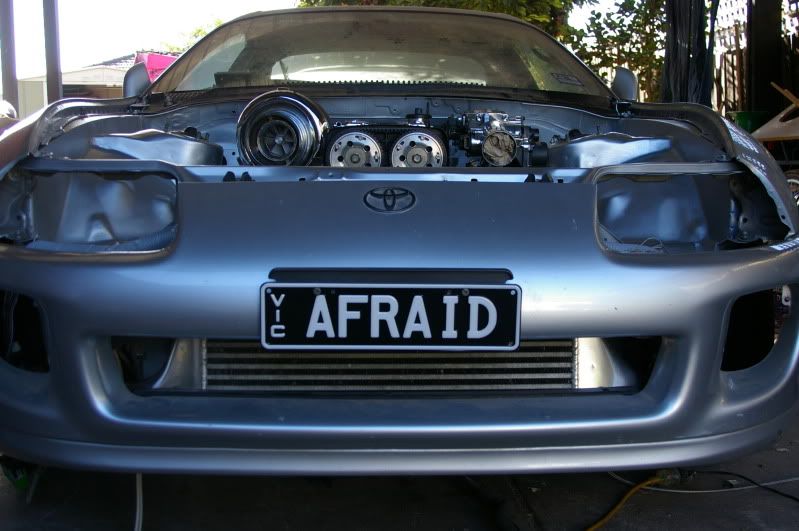
I also decided to weld everything this time;

p1497744_1.jpg

p1497744_2.jpg

p1497744_3.jpg

p1497744_4.jpg


I also opted to paint it myself, rather than get a pro this time. This meant the entire job was a DIY (I ended up building 90% of the motor).

p1497744_5.jpg

p1497744_6.jpg

p1497744_7.jpg

p1497744_8.jpg

p1497744_9.jpg

p1497744_10.jpg


We were on fire that day, so we decided to keep going into the night.

p1497744_11.jpg

p1497744_12.jpg

p1497744_13.jpg


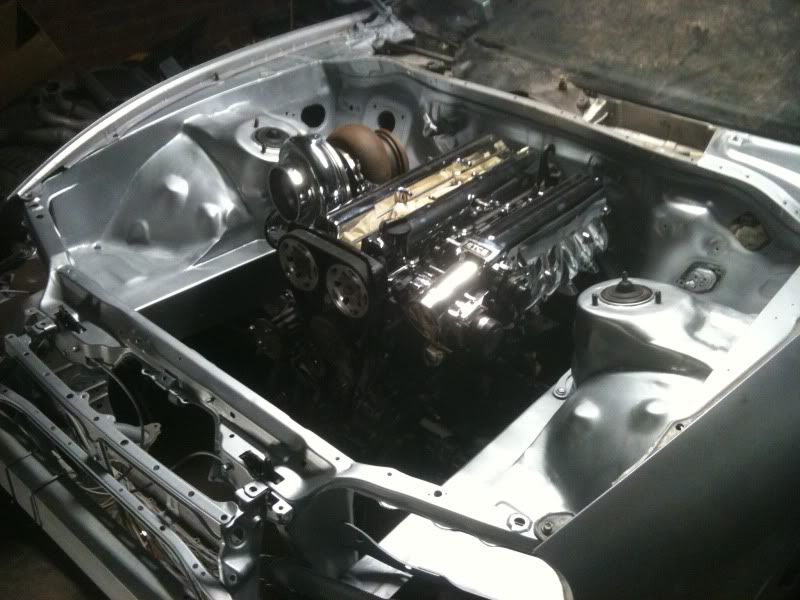
To get our spirits up again, we pieced it together to get a rough idea of how it would look;

p1497744_14.jpg


It was around now that we noticed that the turbo sat wayyy too high.

p1497744_15.jpg


I had some time off, so we did a marathon day to get a lot of the stuff together.
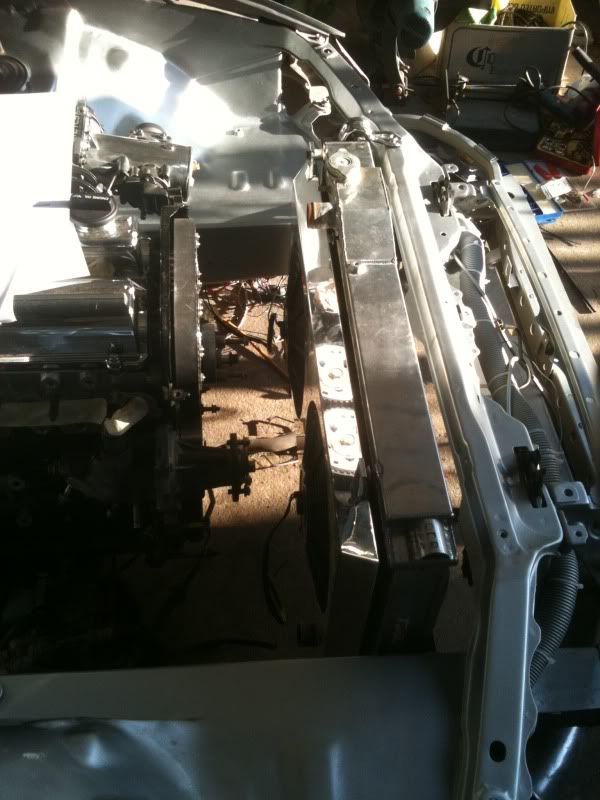
PWR radiator with AAP thermofans;

p1497744_16.jpg


Wiring;

p1497744_17.jpg


Titek cover and borrowed series 1 lights;

p1497744_18.jpg


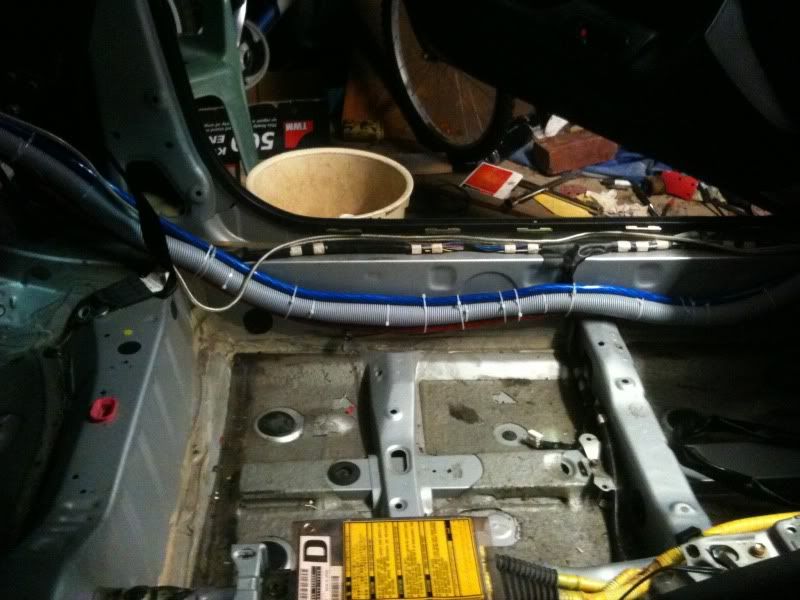
Wiring conduit run in car;

p1497744_19.jpg
 

deathsminion

New Member
Jan 17, 2010
9
0
0
Melbourne, Australia
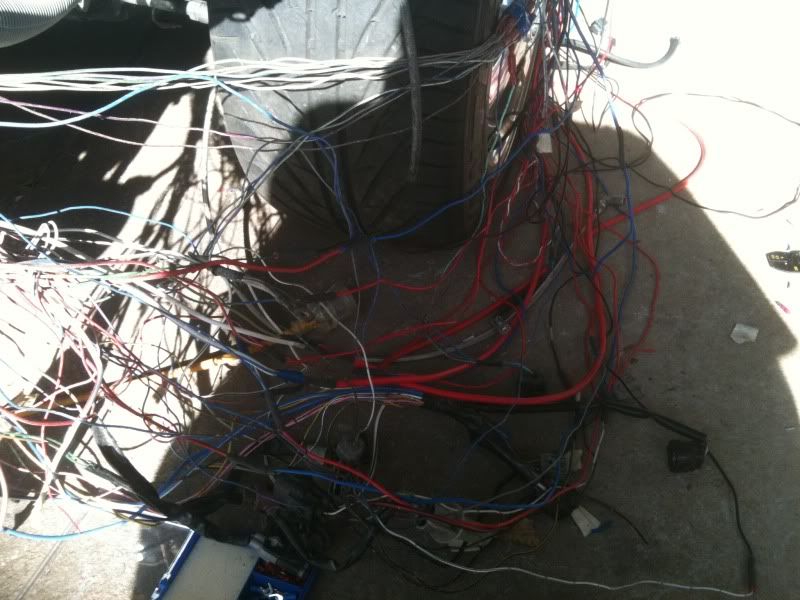
Testing wiring;

p1497746_1.jpg

p1497746_2.jpg


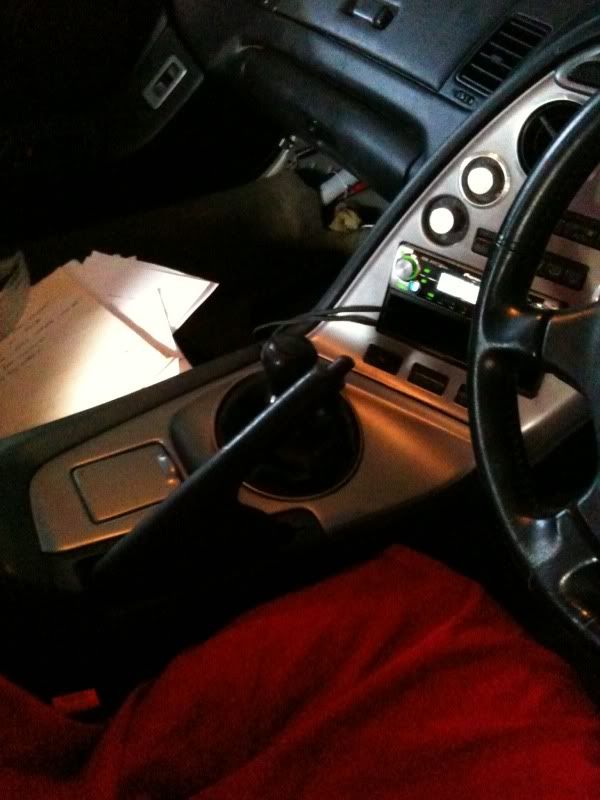
Interior back in;

p1497746_3.jpg


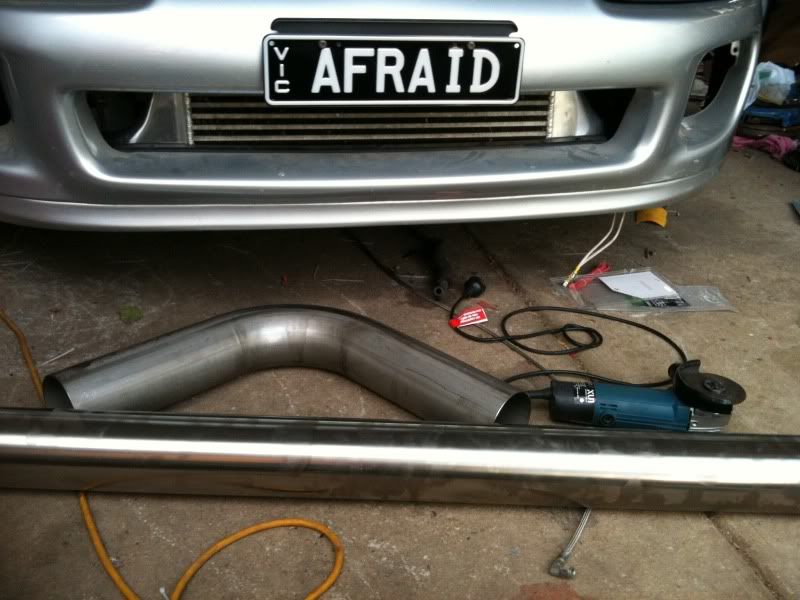
Getting piping for the exhaust;

p1497746_4.jpg


Wiring up the fusebox in the boot;

p1497746_5.jpg


Thankfully everything worked without issue.
Gearbox also went back in with the RPS Stage 3 clutch.

p1497746_6.jpg


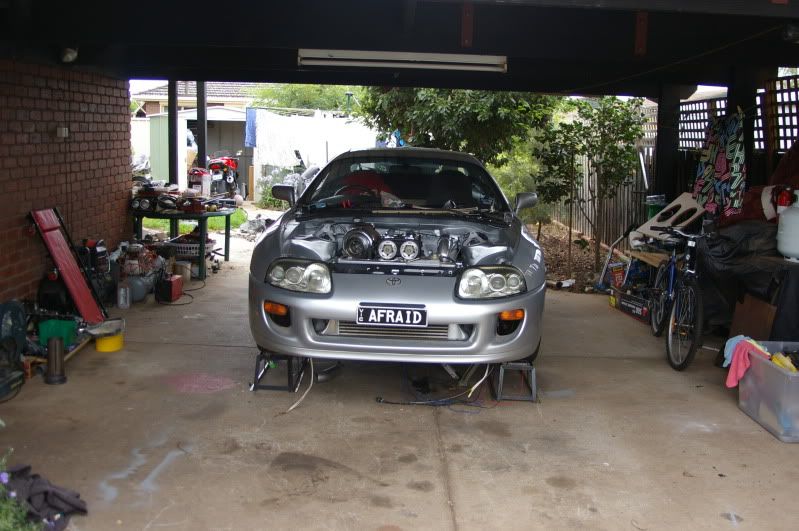
How it stood at this point;

p1497746_7.jpg


I discovered at this point that I was missing all of my coolant lines, so decided to run with braided. A conversion flange was made to fit that back of the water pump.

p1497746_8.jpg

p1497746_9.jpg


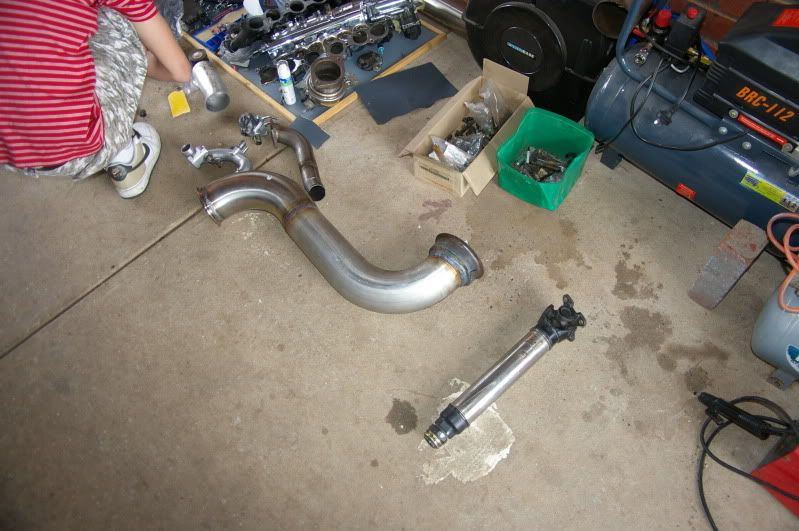
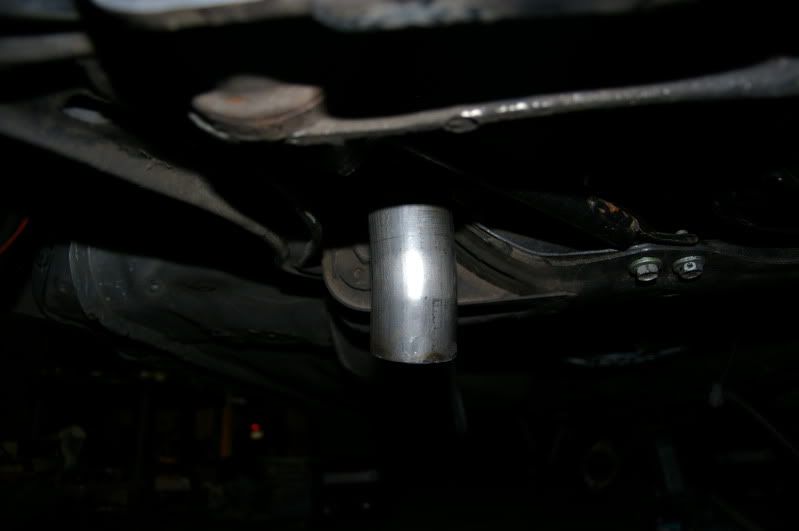
All of the exhaust piping was fabbed up.

p1497746_10.jpg


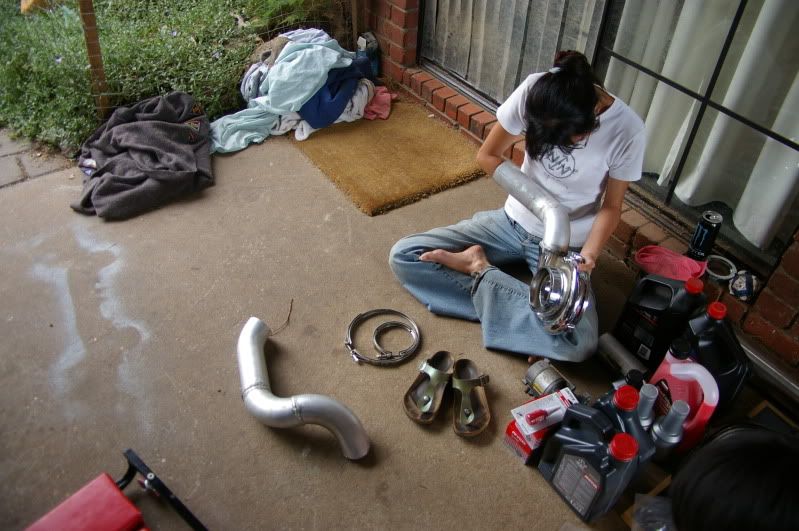
And the cooler piping.

p1497746_11.jpg


I didn't want to cut the car.

p1497746_12.jpg


I won't be running a screamer in the long term.

p1497746_13.jpg


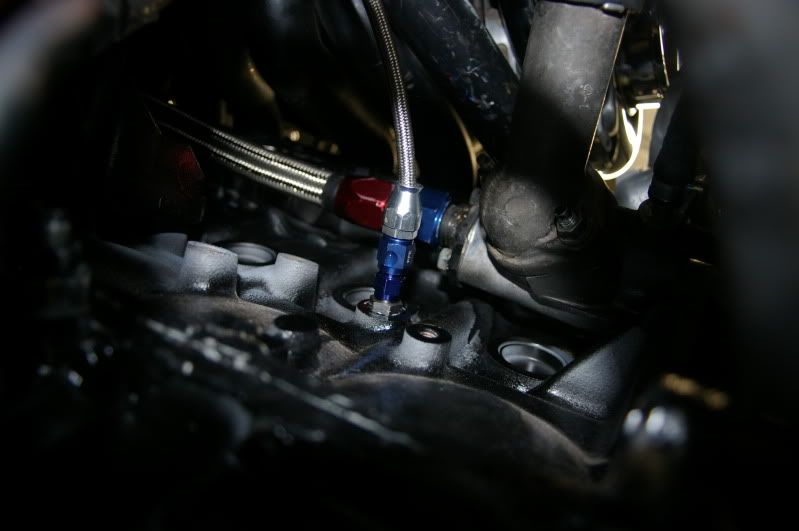
Oil feed for the turbo and the coolant lines.

p1497746_14.jpg


Continued doing the fuel system and making the cover.

p1497746_15.jpg


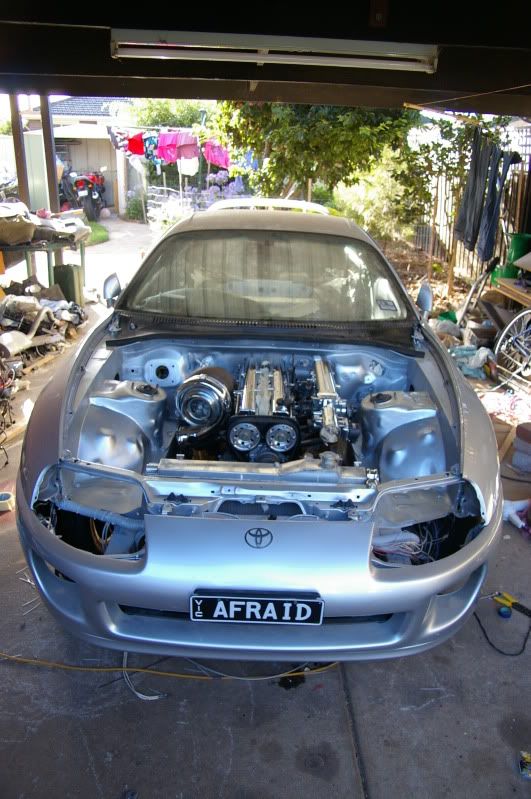
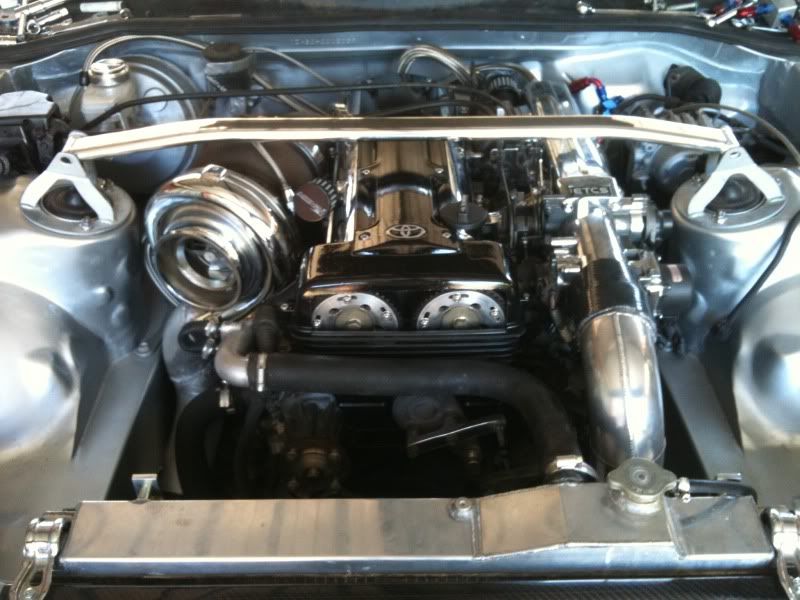
And this is pretty well how it sits now;

p1497746_16.jpg


All in all, I'm not really happy with it, but given that I'm fast approaching the two year mark, I need to get it going and then I can fix up all of the little bits I don't like.... of which there are a lot. It photographs a lot better than it actually is in person and has missed the target I set to create an incredibly clean, smooth, powerful and reliable street car.
 

deathsminion

New Member
Jan 17, 2010
9
0
0
Melbourne, Australia
IJ.;1497745 said:
Nice Bean, welcome to SM! :)

Probably a good idea to blur the Reg though :(

Too quick for me mate! Thanks for the welcome.

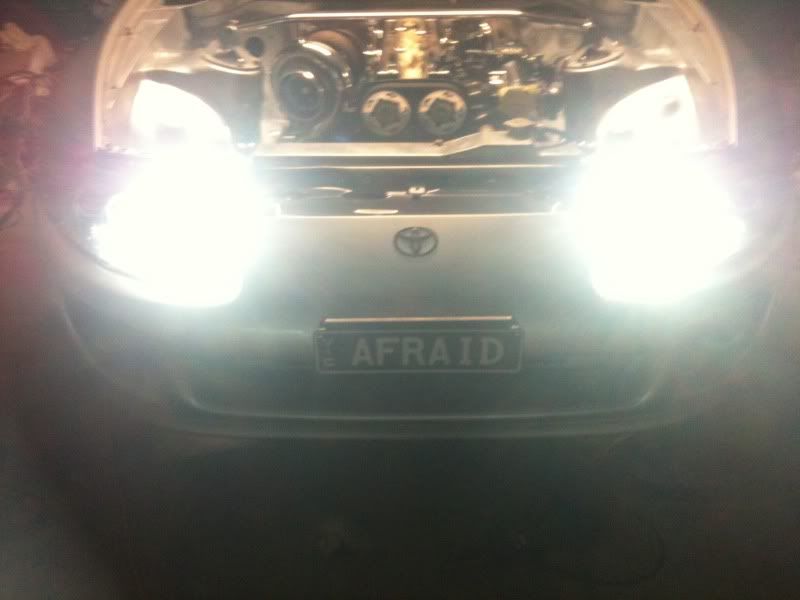
I own the AFRAID plates, but they're not registered on this car at the moment. It's also going to be engineered and street legal long before it sees the road or these plates.
 

wiseco7mgt

dirty mechanic
Aug 12, 2007
811
0
0
queensland
After seeing the work you've done so far i cant tell your pretty fussy so i understand your lack of self praise, but to the outsider your car looks great and the results of your hard work will show once it hits the road and you take it for a drive.
well done.!
 

suprahero

naughty by nature
Staff member
Aug 26, 2005
14,971
0
36
54
Roll Tide
It's hard to make our engine bay's look clean.........there's just toooo much stuff in there.

Your car looks awesome in pictures and I'm sure we'd all be happy with it. Good luck getting it where you want it though.